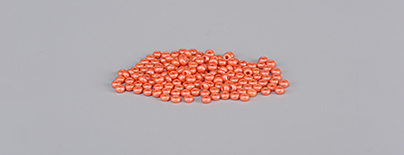
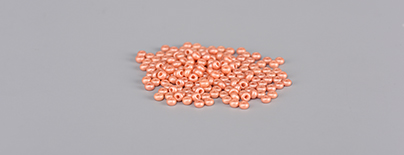
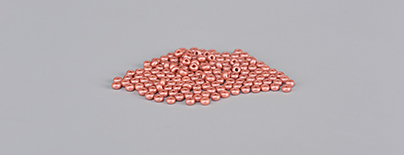
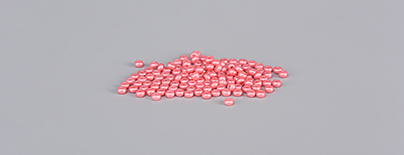
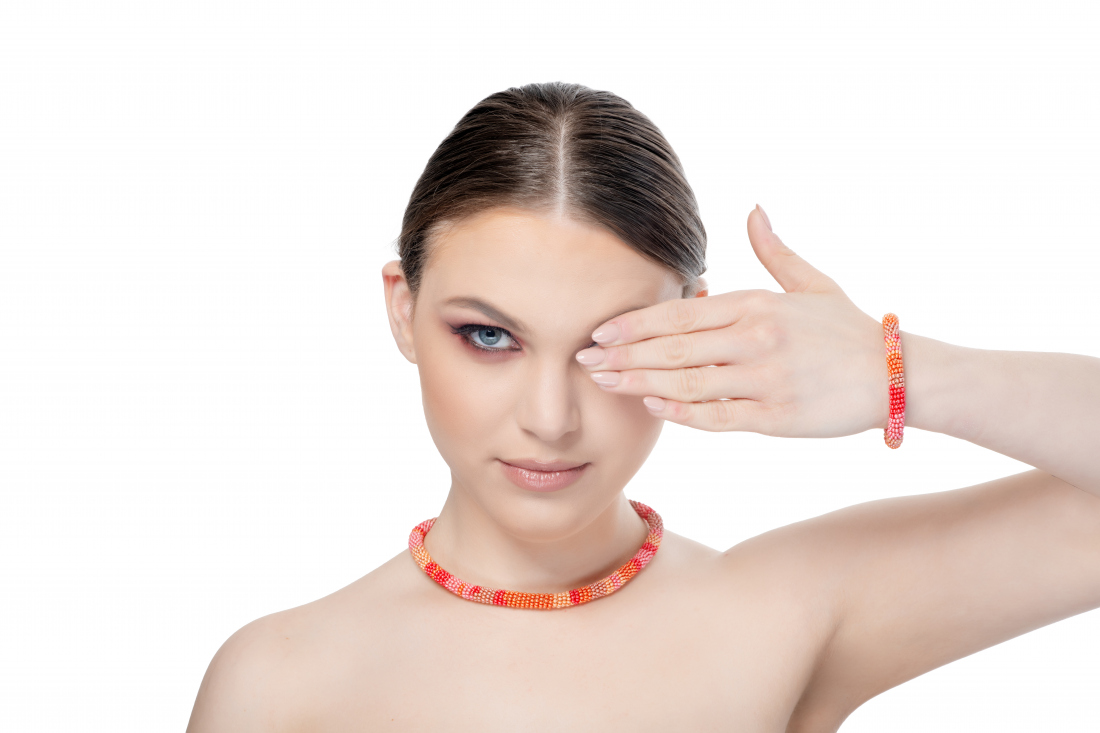
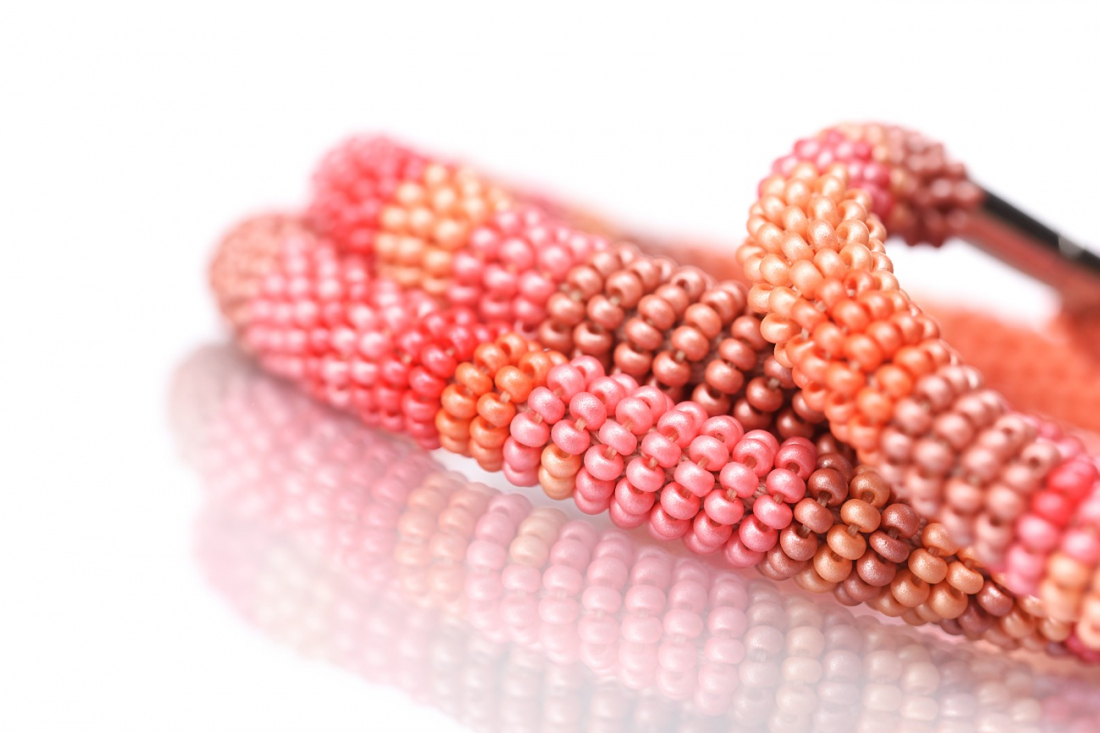
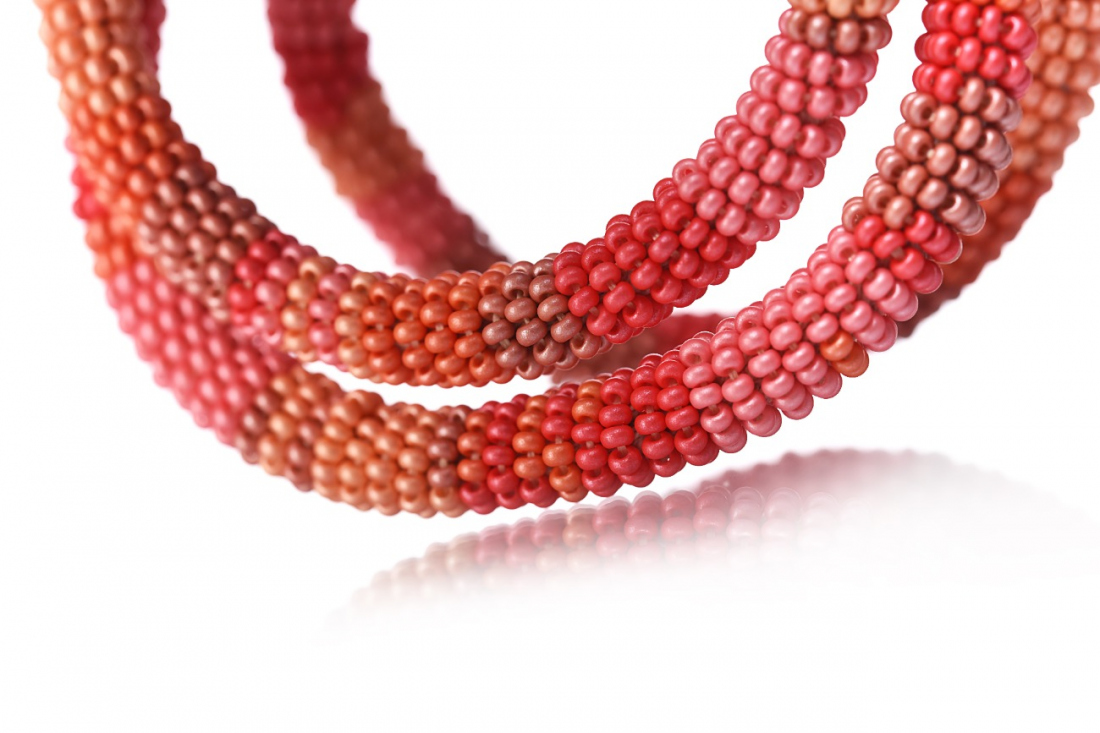
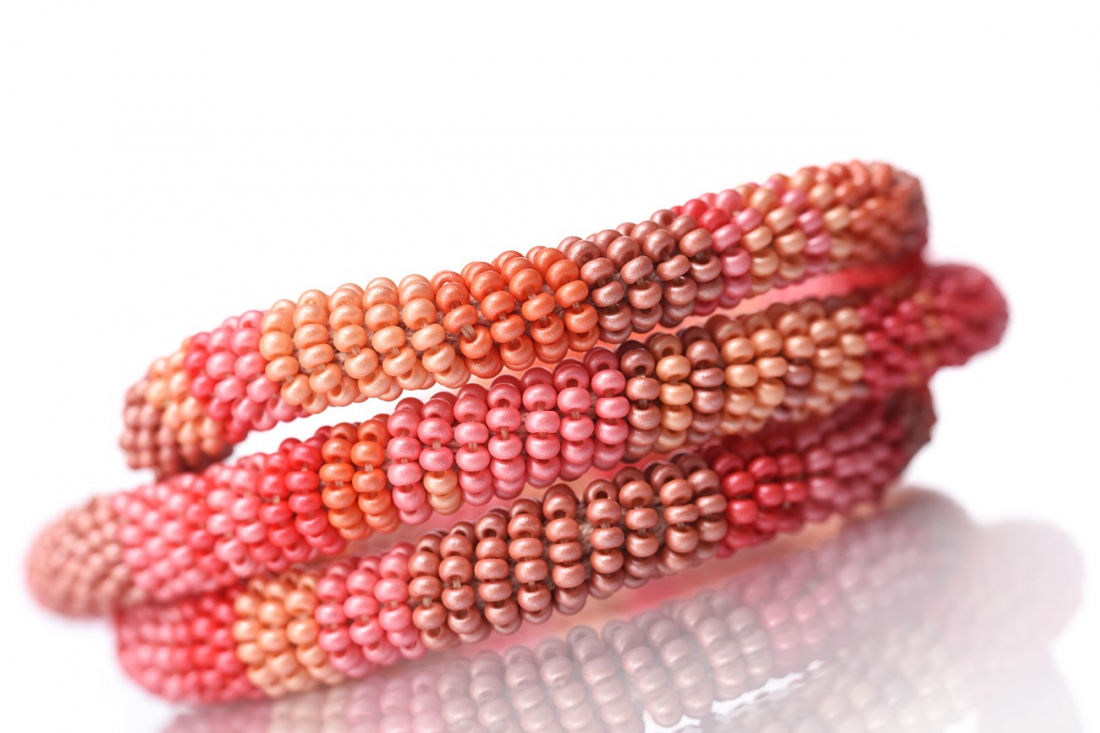
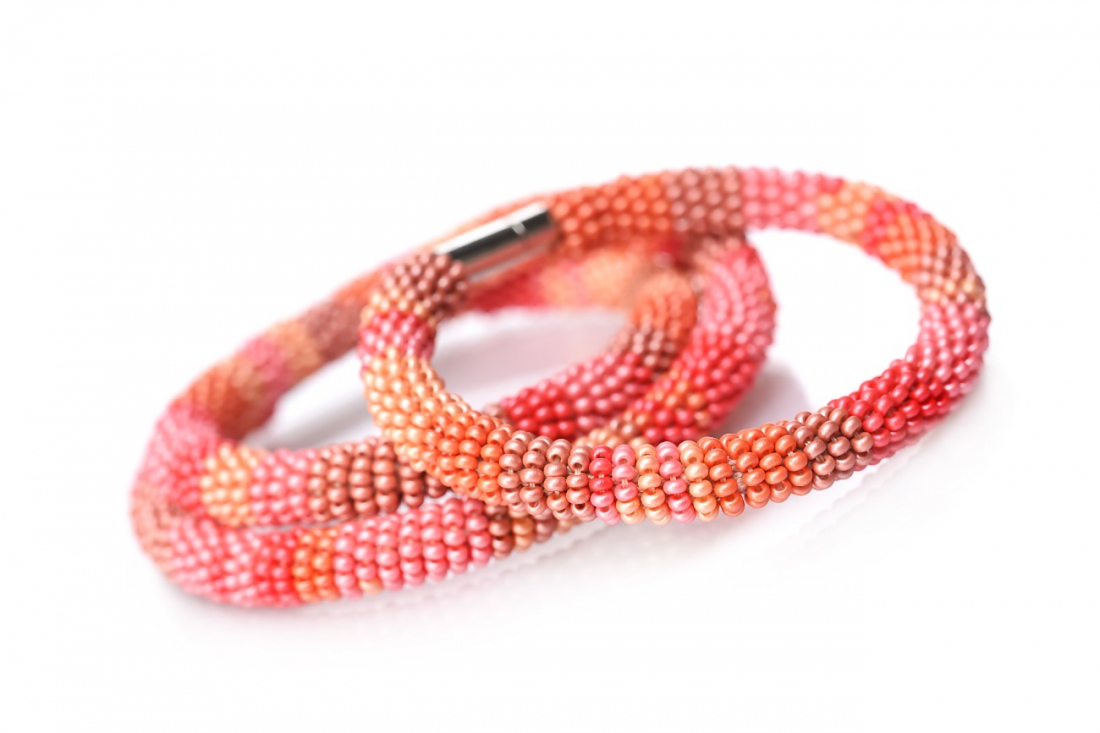
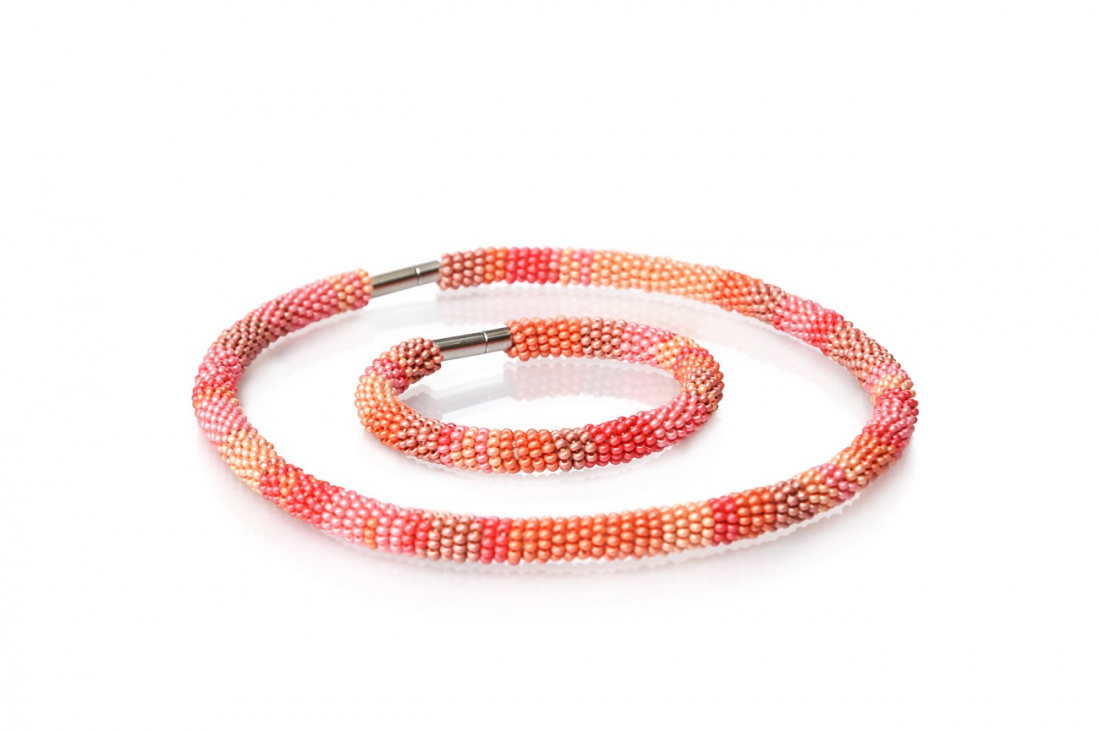
You can enjoy a great deal of fun, inspiration, new ideas and experiences with the playful new PRECIOSA PermaLux pallet of colors. We have combined warm pastel skin tones to create delicate, effective accessories that you can easily and quickly make yourself.

She is able to switch from luxurious and extravagant fashion show pieces to the preparation of hobby projects,
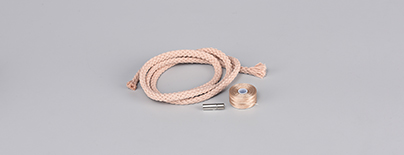
Learn More4 mm fastening/end pieces; a 0.11 mm nylon line, beige (LI04-0002-02); a 0.40 cm round coil, beige
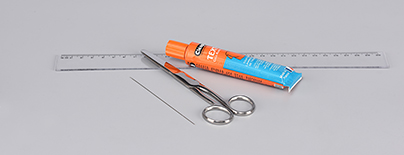
A thin needle; scissors; universal glue (absorbent/non-absorbent); a ruler
Share this project with your friends
This website uses cookies
PRECIOSA ORNELA, a.s. hereby informs you that its website uses cookies You can find more information about our cookies and how your data is processed in the privacy statement. We request your consent to use cookies specified below.