Rainbow brooch

Difficulty: 3
The technique of plaiting around the axis

Floral brooch made from PRECIOSA beads and seed beads

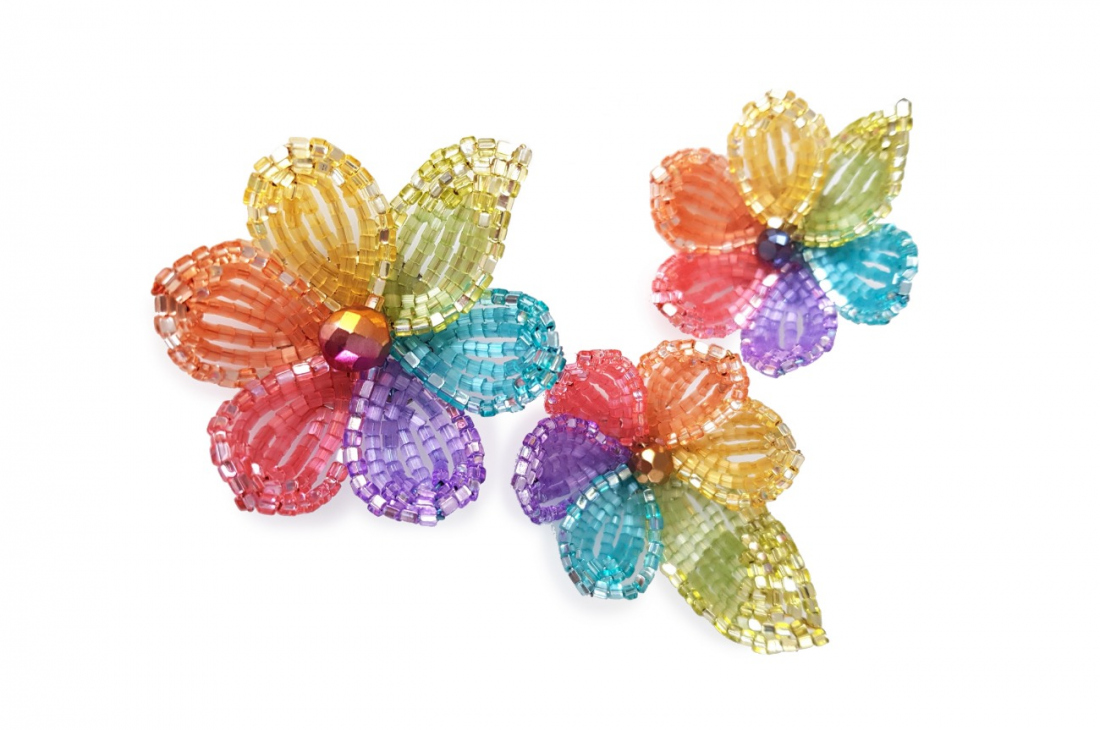
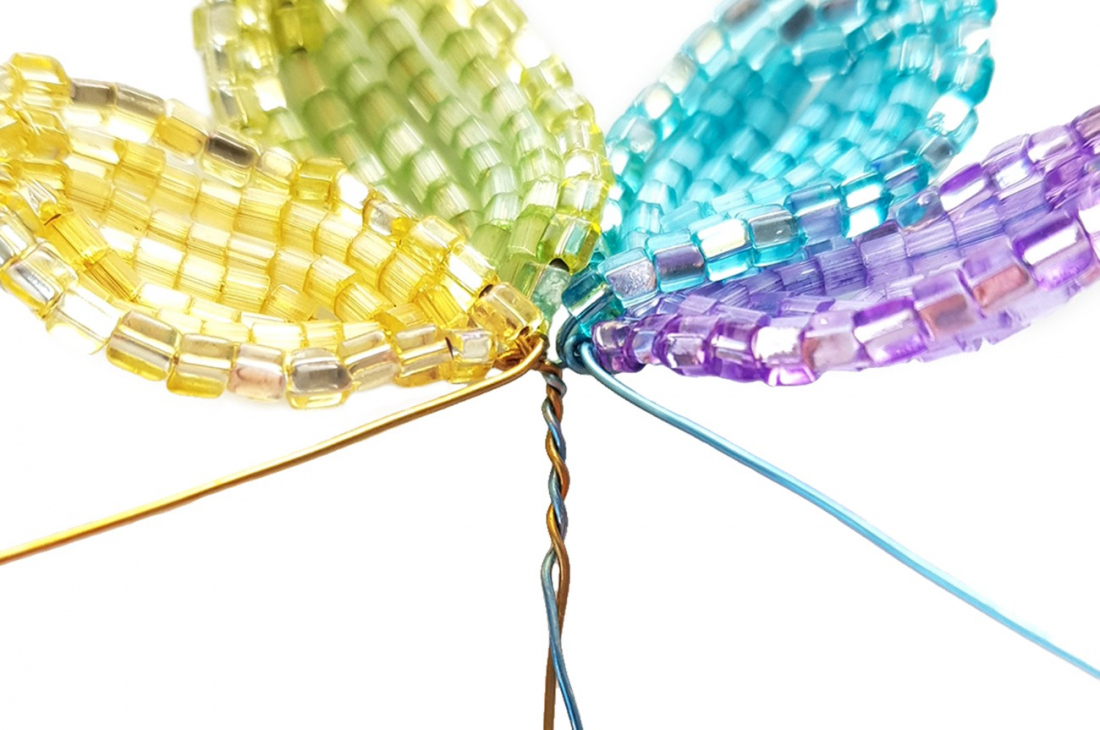
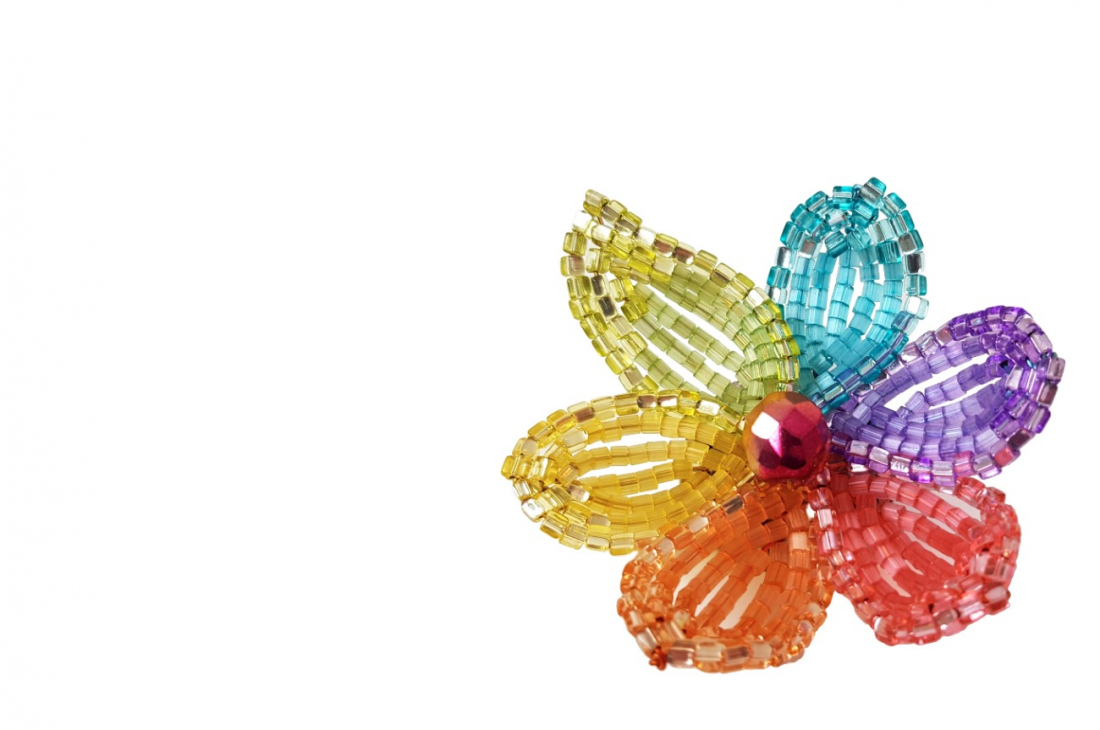
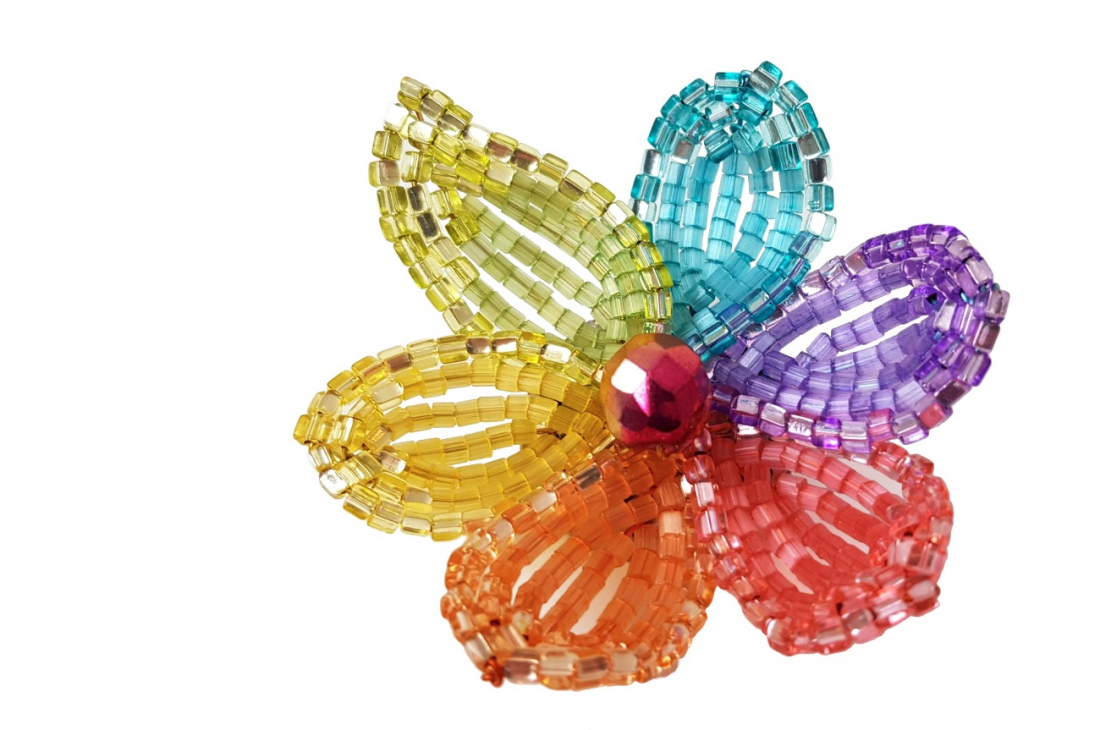
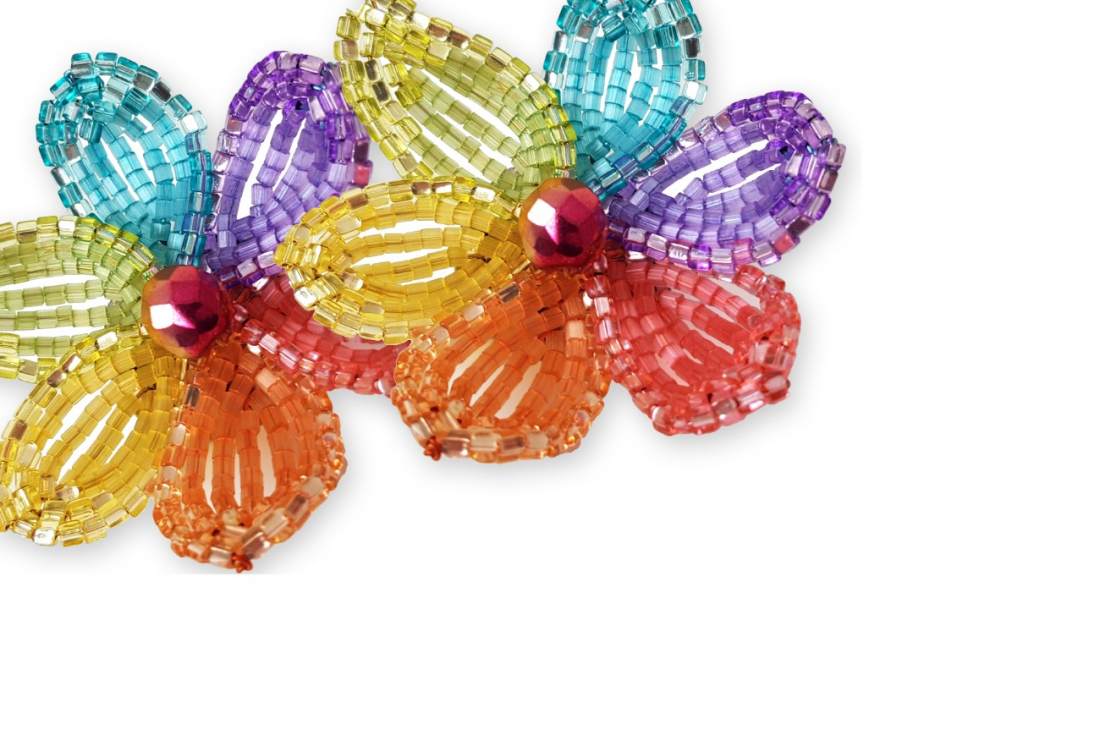
The rainbow brooch is made using the French beading technique, i.e. plaiting around the axis.

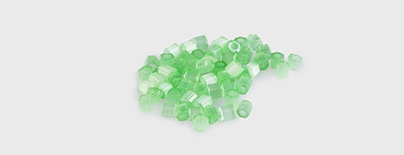
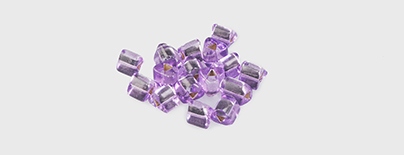
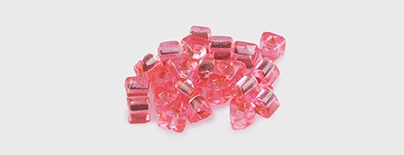
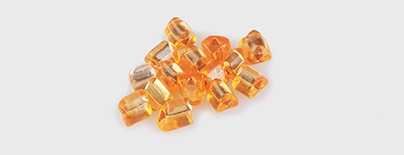
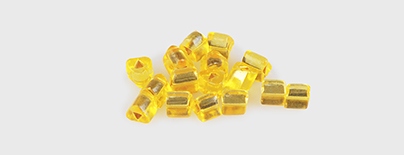
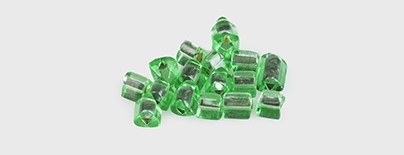
This technique is best suited to the creation of flower petals and leaves. Two textures of two-cut beads of one shade are used on each petal and a leaf. The two-cut beads are the dominant seed beads, while the triangles are secondary; they decorate the flower and give it its final appearance.

Svetlana Sapegina

Svetlana Sapegina is a famous Russian bead artist, teacher and exhibitor with many years of experience.
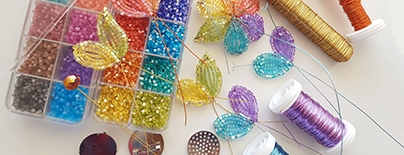
Learn More

Tools

An orange, yellow, blue 0.5 mm diameter wire; a brooch base or a ring with a perforated circumference; a standard set of tools: snipping pliers, flat nose pliers, needle nose pliers.

Procedure

Step 1

Cut off 70 cm of yellow colored wire. Create a loop around 3-4 fingers about 5 cm from the end of the wire. Shorten the wire to 1 cm behind the loop. String 6x yellow TC atlas seed beads onto the wire. Make a small loop at the end of the wire so that the seed beads do not slide off it. The piece of wire with the central row of 6 TC is now finished. The large loop should be at the bottom, while the small loop should be above the end of the wire. The working wire leads to the left of the main axis wire (fig. no. 1).

1

Step 2

Start creating rows around the central row from left to right. String 6x yellow TC and 1x yellow TR onto the working wire. Create an row to the left from the central row and affix it above the seed beads on the central row with one twist of the working wire around the main axis wire. Place the working wire across the axis wire at an angle of less than 90° so that you acquire a face side and a rounded top (fig. no. 2).

2

Step 3

Make a counter-row on the right. String 1x yellow TR and as many yellow TC as you need to complete the row and start a new one on the working wire. Turn the work "upside down" as this makes it easier to attach the row to the main axis wire. Place the working wire across the main axis wire and make one twist at an angle of less than 45° to create the pointed lower edge of the petal (fig. no. 3).

3

Step 4

Pull the seed bead from the working wire close to the axis wire and turn the seed beads downwards in order to create the sharp point of the petal (fig. no. 4).

4

Step 5

Create a second pair of rows. Shape the tops of the rows with three TR to the left and right of the axis wire (fig. no. 5).

5

Step 6

Create the third pair of rows using only TR (fig. no. 6).

6

Step 7

The joint is created on the rear side (fig. no. 7).

7

Step 8

Cut the loop at the base of the petal in half so that you create the secondary axes (fig. no. 8).

8

Step 9

Shorten the new working wire to a length of 70 cm with a new right-hand axis wire at a length of a maximum of 0.8–1 cm. String 8x green TC onto the new axis wire and make a loop at the end (fig. no. 9).

9

Step 10

Create a green petal on a new axis (a rounded base, a pointed top), which also consists of 3 rows of TC and TR. Create the top of the first pair of rows with two TR to the left and the right of the axis. Create the top of the second pair of rows from five TR on the left and four TR on the right of the axis. Create the third pair of rows using only green TR (fig. nos. 10a - 10c). Once the last row has been attached to the axis, the yellow and green petal must lie directly adjacent to one another face up.

10 / a

Step 11

Turn the product over with the rear side together in order to get rid of the axes. Cut the upper part of the green petal's axis wire using the snipping pliers, but leave about 4 mm of wire. The yellow petal must have 3 mm at the end. Use the flat nose pliers to twist the ends to the rear (fig. nos. 11a and 11b).
NOTE: it is ideal, if the ends meet in the first twist on the axis wire – this means that they will not catch on anything and the ends will remain smooth.

11 / a

Step 12

Make 2 more parts consisting of 2 petals. The second part consists of a light blue and purple petal and the third part consists of a red and orange petal. The petals are bound in the same way as the yellow petal. Choose the color of the wire according to the color of the petals (fig. no. 12).

12

Step 13

ASSEMBLING THE BROOCH

Place the first part next to the second and shorten their outer wires to about 1 cm (fig. no. 13).

13

Step 14

Connect the third part to the first two in the same way (fig. no. 14).

14

Step 15

Create the centre using  FPB with a diameter of 0.8–1 cm and a 15 cm piece of wire (fig. no. 15).

15

Step 16

Thread the centre through the hole in the middle of the flower and then thread all of the wires through the perforated disk (fig. no. 16).

16

Step 17

Shorten the ends of the wires from the rear of the disk in twos (fig. no. 17).

17

Step 18

Twist the ends of the wires and press them firmly to the disk and cut off any excess (fig. no. 18).

18

Step 19

Attach the base with the pin to the disk using the clamps or with glue (fig. no. 19).
NOTE: You can also make a ring out of the flower.

19

Downloads