Lollipop

Difficulty: 3
Technique: peyote stitch

Sweet decoration

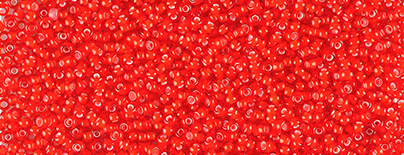
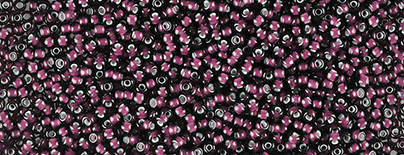
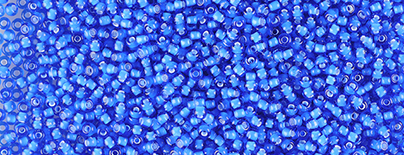
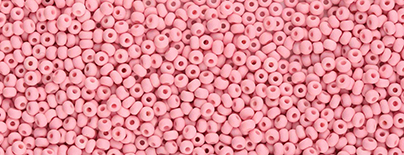
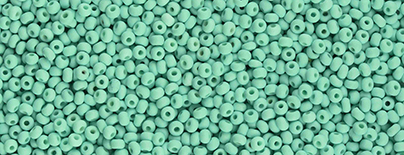
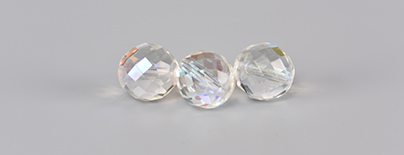
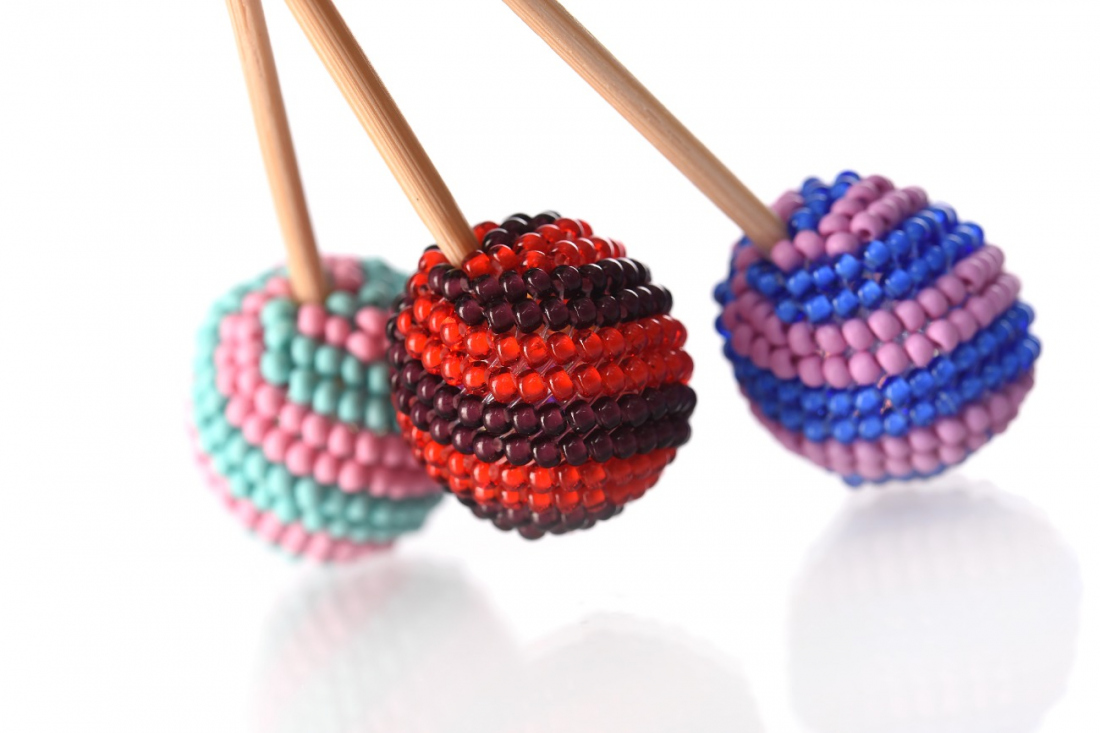
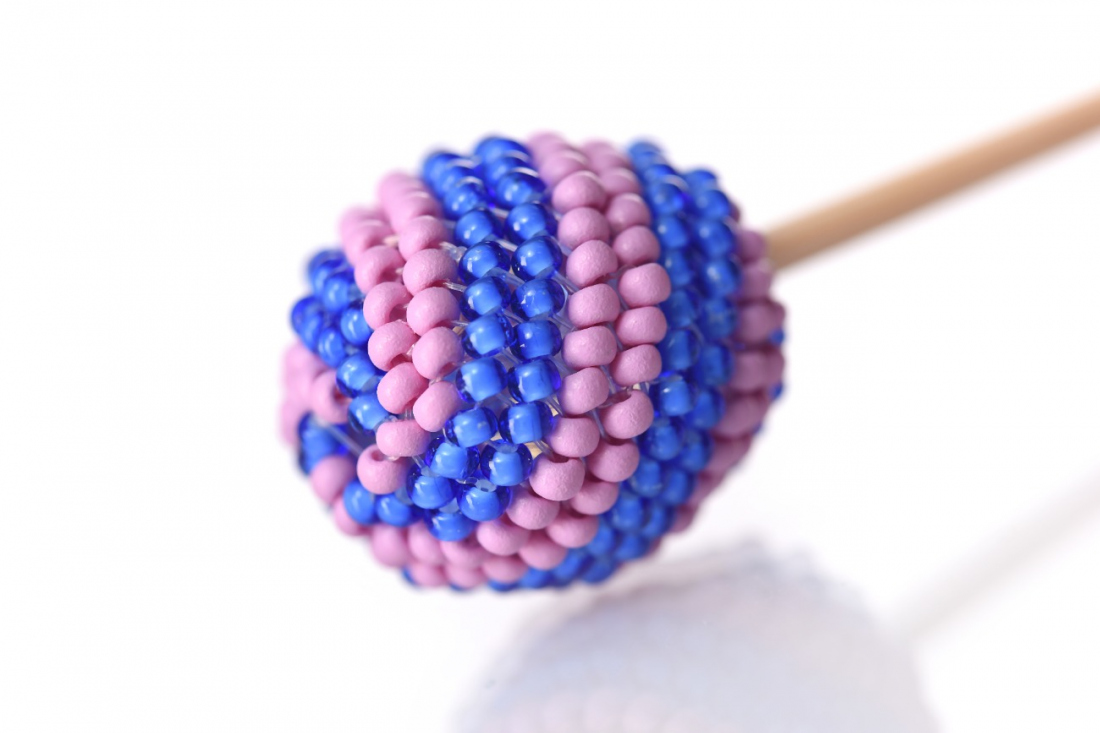
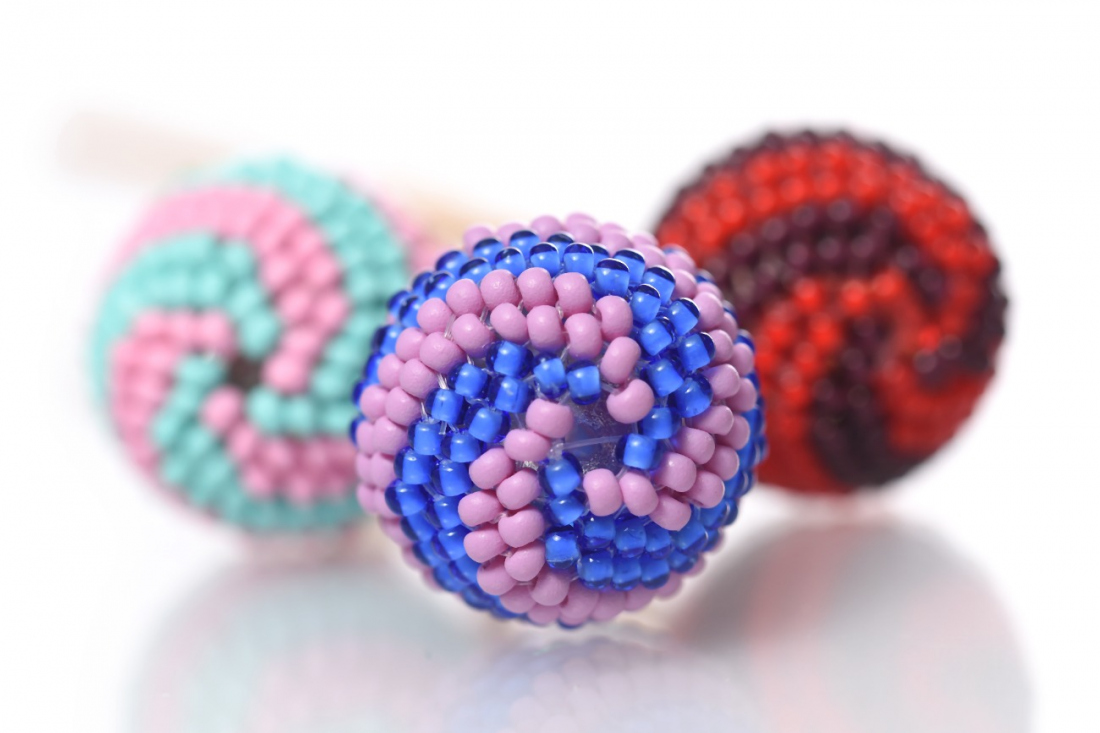
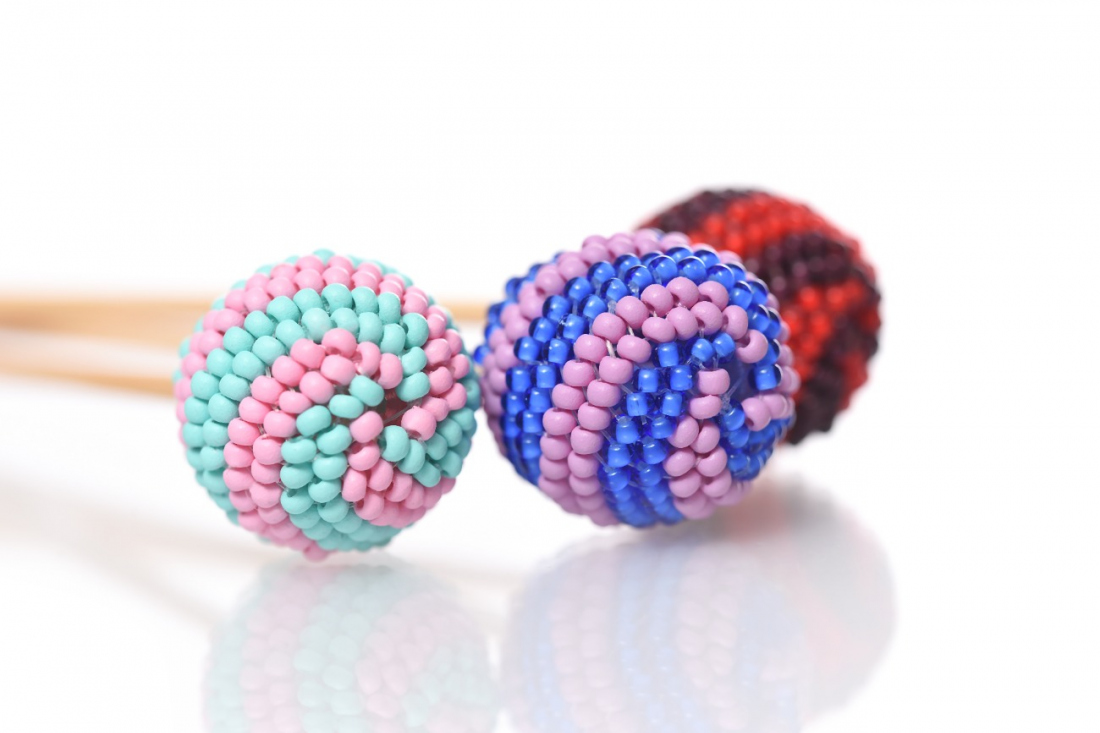
We recommend that you "sweeten up the dull, short days with playful lollipops in raspberry, blueberry and menthol" in order to ensure that the chaos and all the themes connected to the 2023/2024 autumn/winter season don't make your head spin. We wish you many happy creative hours spent with transparent PRECIOSA rocailles with a white lining or the seed beads from the PRECIOSA PermaLux collection. They are excellent for making seed bead lollipops.

Ambassadors

Helena Chmelíková

She is able to switch from luxurious and extravagant fashion show pieces to the preparation of hobby projects,

Learn More

Procedure

Step 1

Cut off the skewer about 11 cm from the point. Polish the snipped end with the emery board. Apply glue to the hole in the FPB. Insert and press in the point of the skewer. Set it aside, for example into a small glass, and let it dry.

1 / a

Step 2

1st row - String 6x R (alternately R1 and R2) onto the nylon line. Tie the line off with two knots. Leave a gap of about 1 mm between the R.

2nd row String 1x R into the gaps between the R from the 1st row. Twist the color spiral from left to right. Add an R1 behind the R1 and an R2 behind the R2. Choose the thinner R.

3rd row String 1x R into each gap between the R from the 2nd row. Twist the color spiral.

2 / a

Step 3

4th row String 2x R into the gaps between the R from the 3rd row. Twist the color spiral. Add R1 from the left and the right by the R1 from the 3rd row. Once again add R2 from the left and the right of the R2.

3 / a

Step 4

5th row String 1x R into each gap between the R from the 4th row. Twist the color spiral. Add the thinner R to the gaps between the 2x R from the 4th row.

6th row  String 1x R into each gap between the R from the 5th row. Twist the color spiral.

4 / a

Step 5

Gently tighten the next two rows. Start forming the little cup.

7th row - String 1x R into each gap between the R from the 6th row. Twist the color spiral.

8th row - String 1x R into each gap between the R from the 7th row. Twist the color spiral.

5 / a

Step 6

9th row - String 1x R into each gap between the R from the 8th row. Twist the color spiral. Place the new R directly behind the R from the previous row.

10th row - String 1x R into each gap between the R from the 9th row. Twist the color spiral. Place the new R directly behind the R from the previous row.

11th row - String 1x R into each gap between the R from the 10th row. Twist the color spiral. Place the new R directly behind the R from the previous row.

12th row - String 1x R into each gap between the R from the 11th row. Twist the color spiral. Place the new R directly behind the R from the previous row.

13th row - String 1x R into each gap between the R from the 12th row. Twist the color spiral. Place the new R directly behind the R from the previous row. Sew the line in. Place the knots outside the edge of the cup.

6 / a

Step 7

Create a second cup in the same way. Don't sew the line in.

7

Step 8

Sew the starting end of the line from both cups through the opening next to the circle from the 1st row. Cut it off at the edge of the cup. Press one cup onto the skewer and slide it up to the FPB. Place the second cup on from above. Position the cups so that the spirals continue without interruption.

8 / a

Step 9

Sew the cups together. String a protruding R on one cup and then also string a protruding R from the second cup. Proceed to the next protruding R. Continue until you have sewn the entire circumference. Sew the line in.

9 / a

Downloads