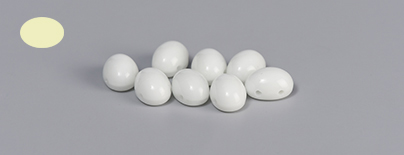
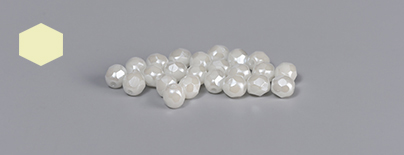
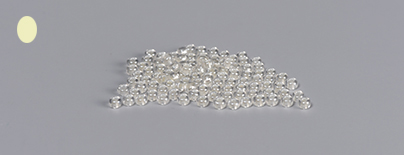
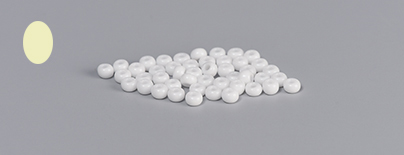
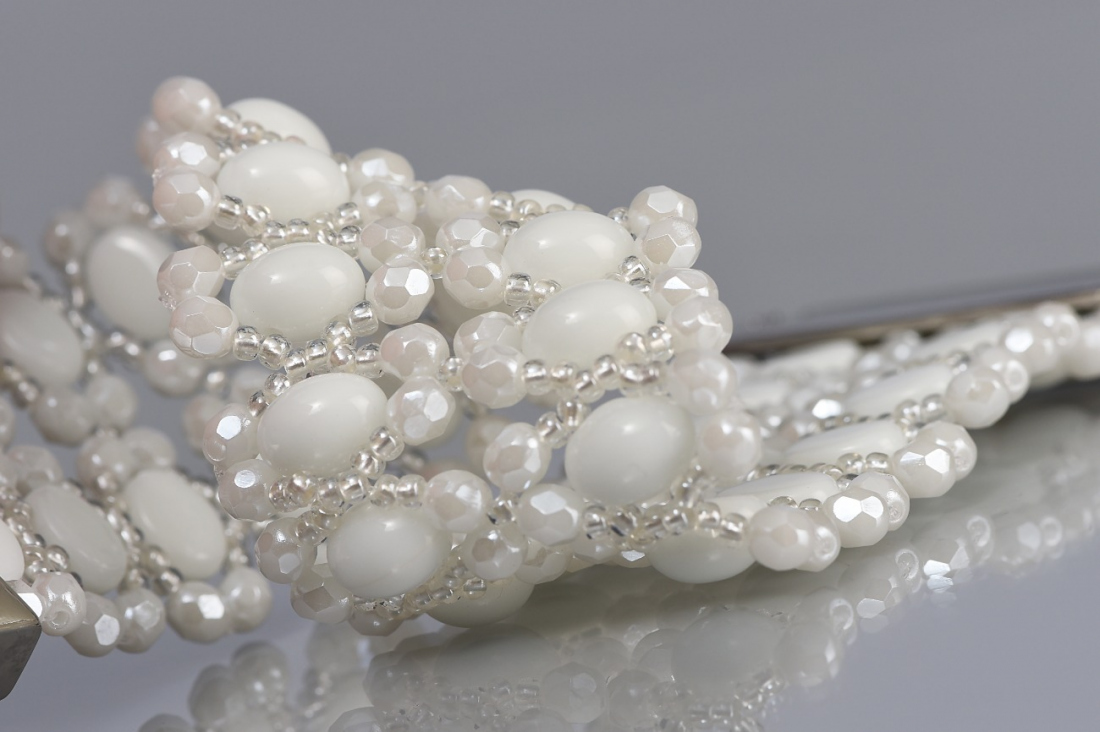
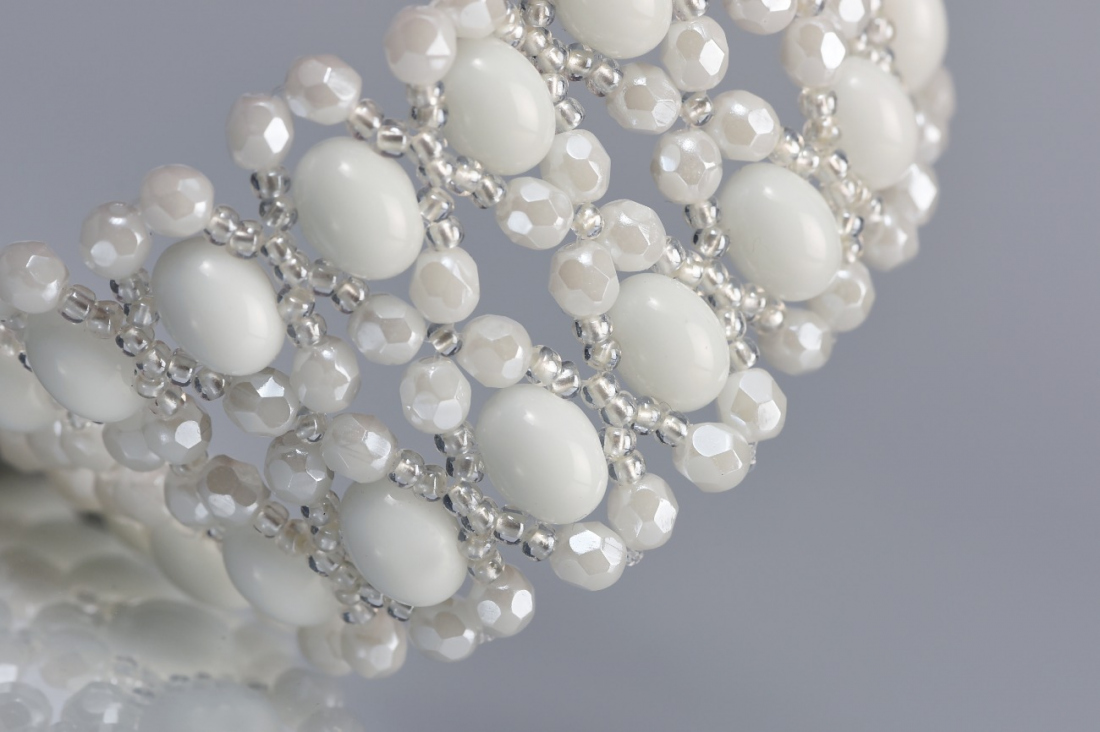
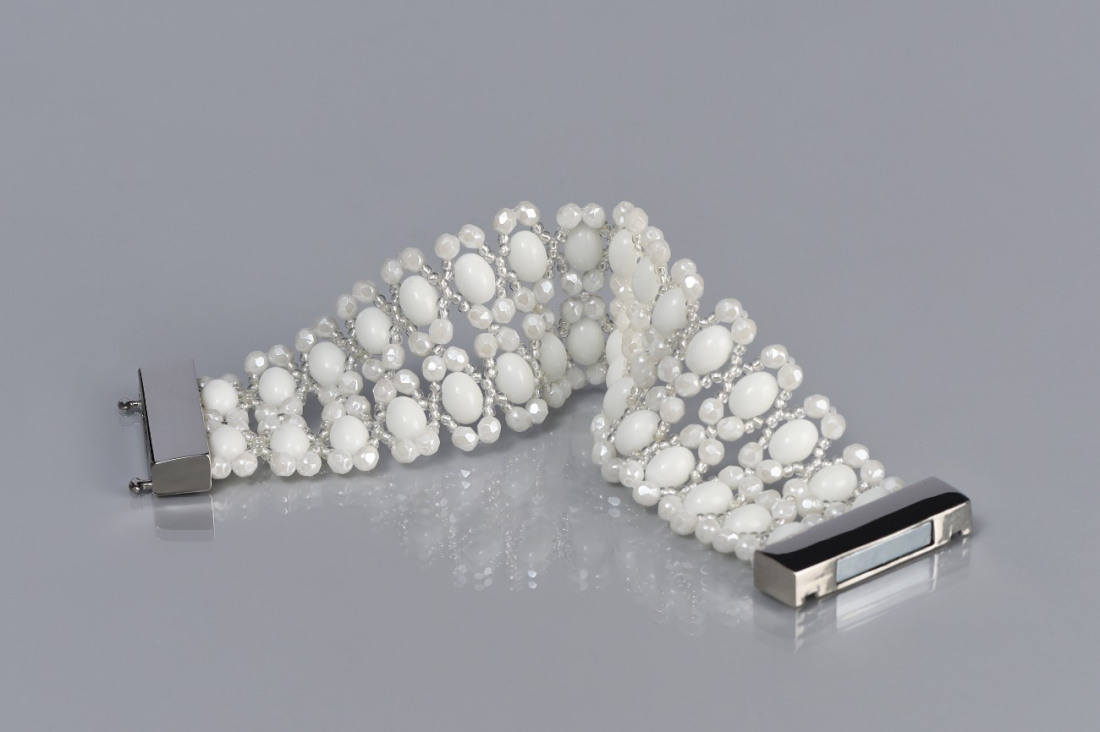
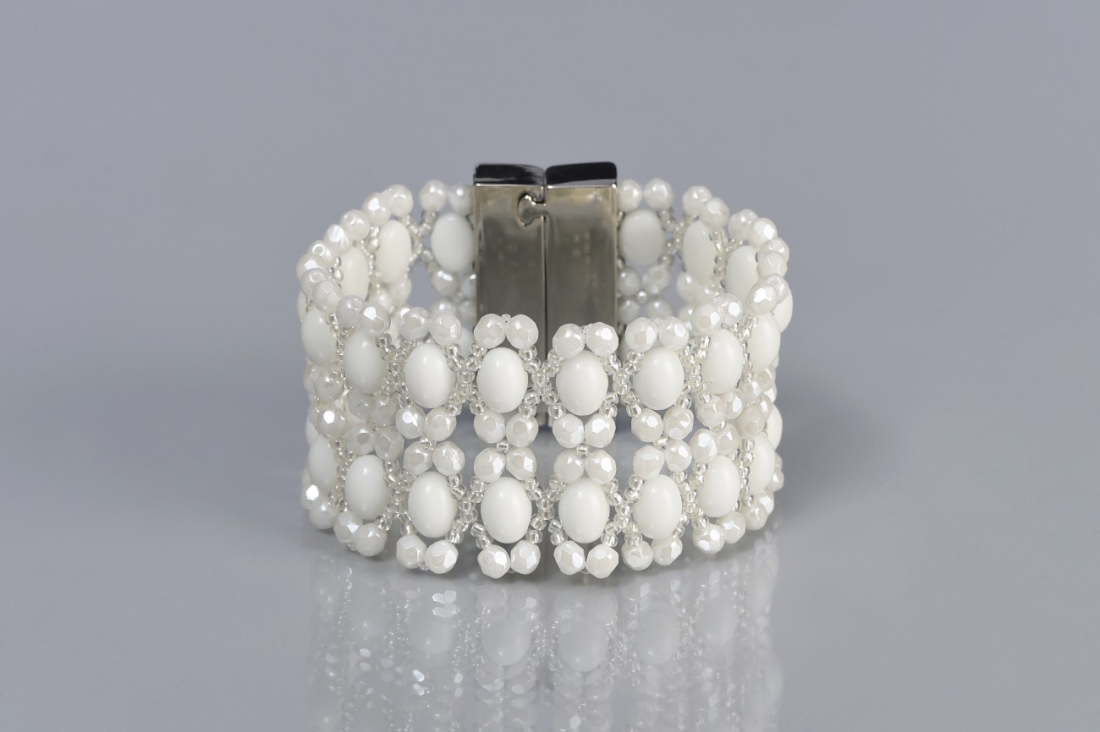
This exceptional accessory coaxed from molten glass is a byword for delicacy and elegance combined with distinctiveness. It makes use of the combination of the pressed, rounded shape of PRECIOSA Candy Oval and PRECIOSA Fire Polished Beads with their geometric facets. These beads are bound to inspire you to embark upon further creative beadworking.

She is able to switch from luxurious and extravagant fashion show pieces to the preparation of hobby projects,
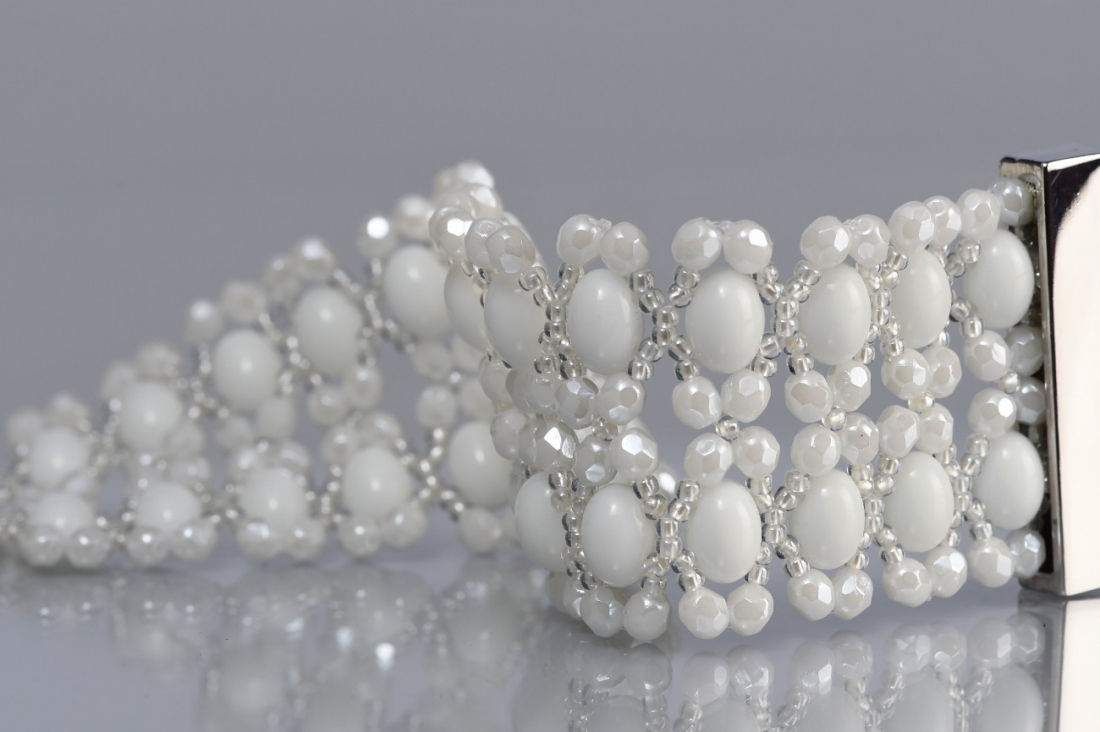
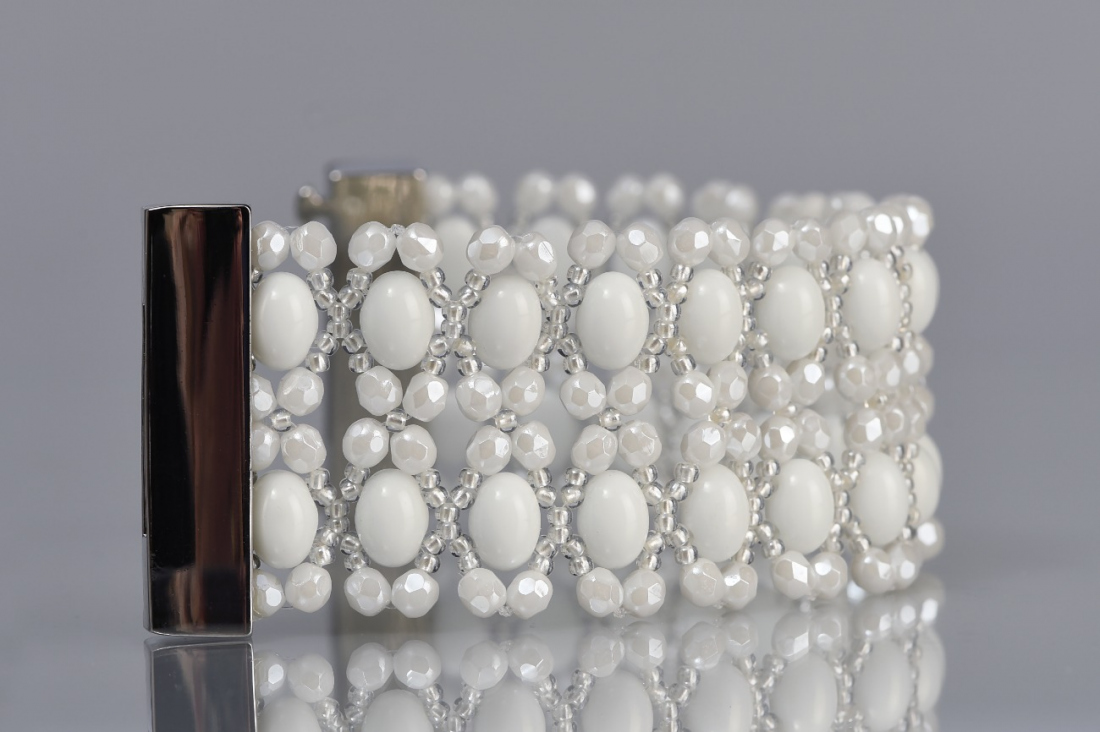
Learn MoreA magnetic clasp (a width corresponding to the width of the bracelet; ca 4 cm)
a 0.20 mm nylon line; a thin needle; scissors; glue for non-absorbent material

The bracelet consists of 16 rows (the total length with the clasps is 17.5 cm). The end rows include projections made from the R8 that are used for gluing onto the clasps. Pay attention to the orientation of the CO during sewing; the rounded section should be at the top.
Share this project with your friends
This website uses cookies
PRECIOSA ORNELA, a.s. hereby informs you that its website uses cookies You can find more information about our cookies and how your data is processed in the privacy statement. We request your consent to use cookies specified below.