Guadalupe bracelet

Difficulty: 3
TECHNIQUE: herringbone stitch

Guadalupe bracelet made from PRECIOSA White Lining seed beads

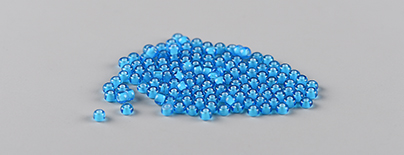
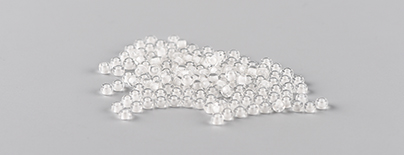
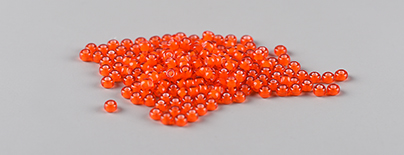
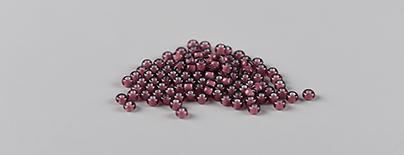
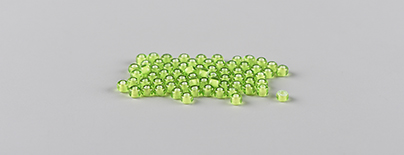
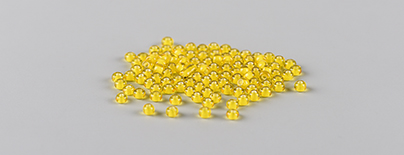
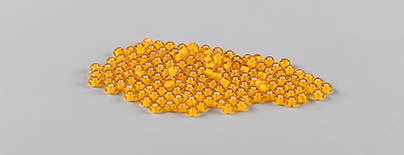
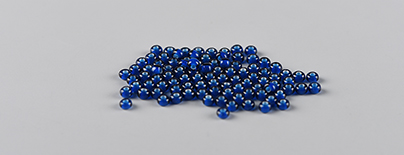
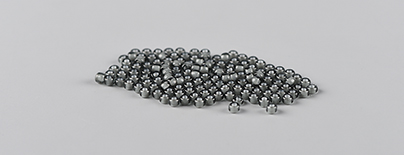
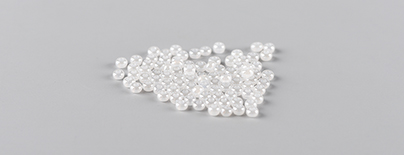
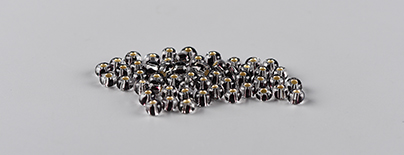
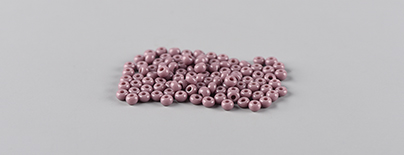
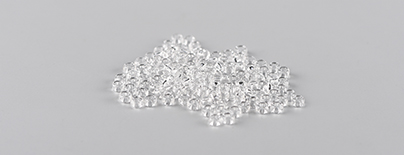
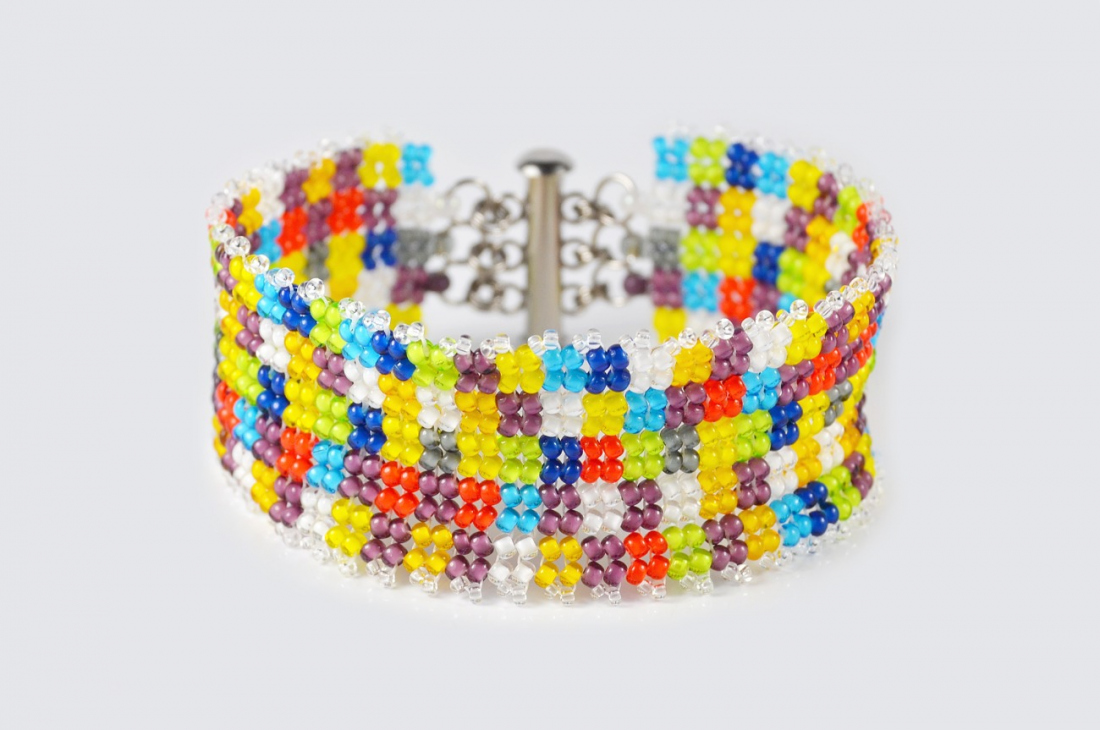
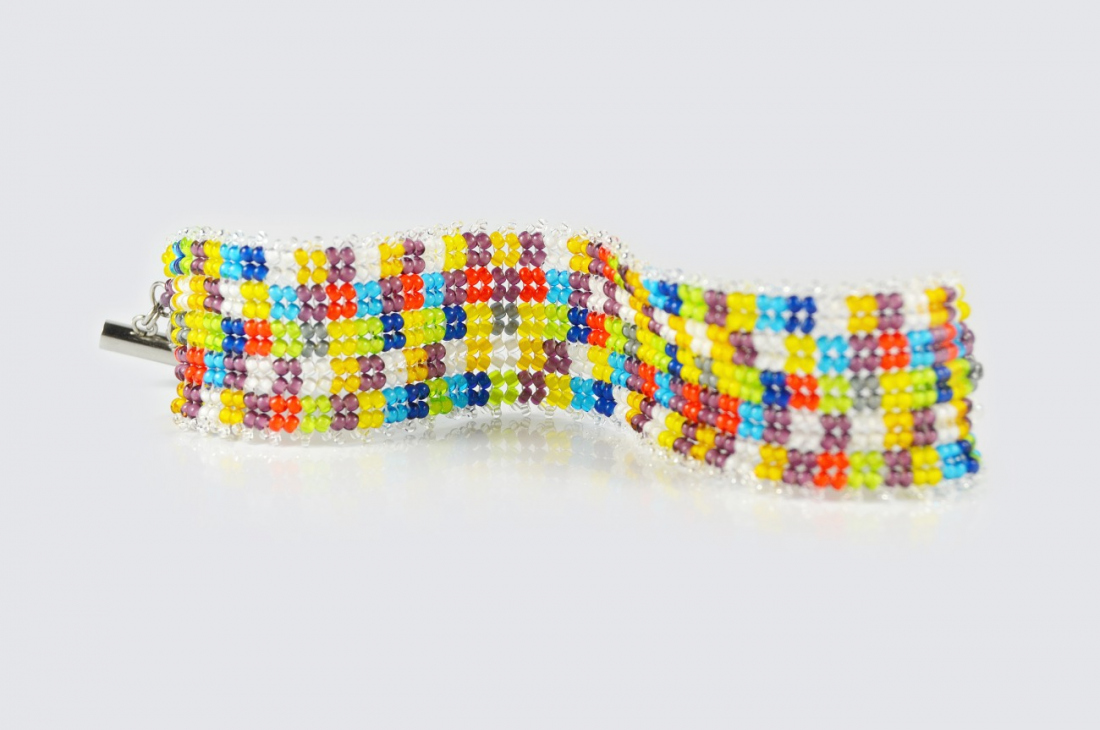
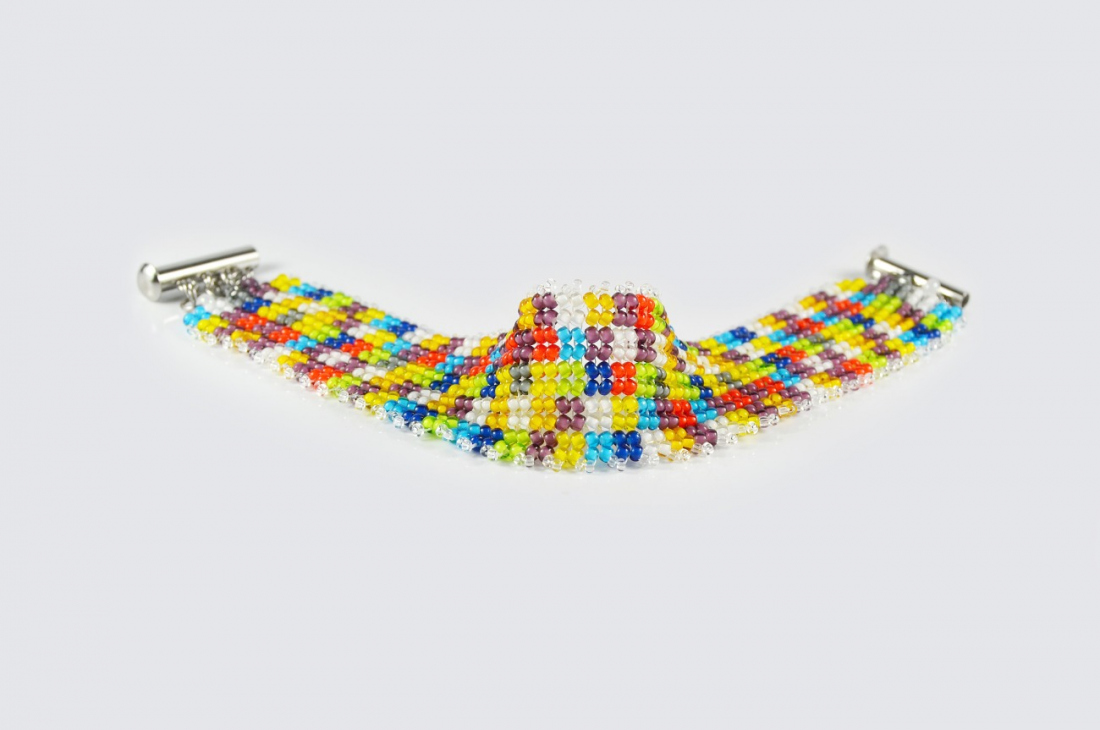
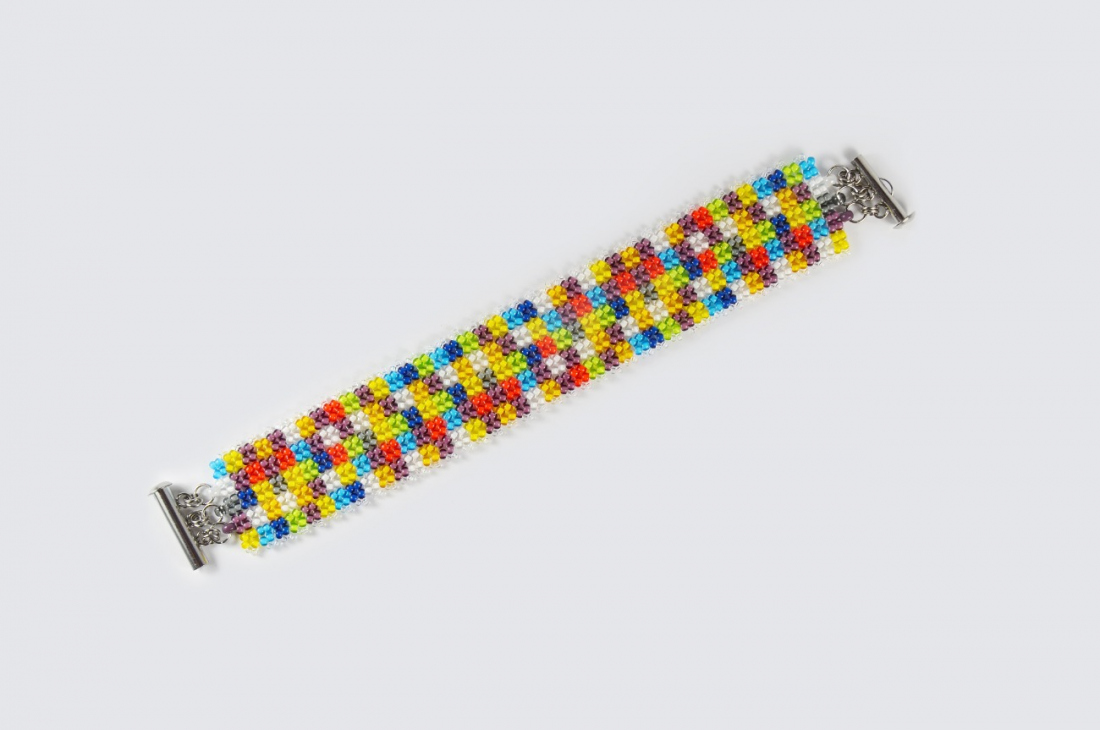
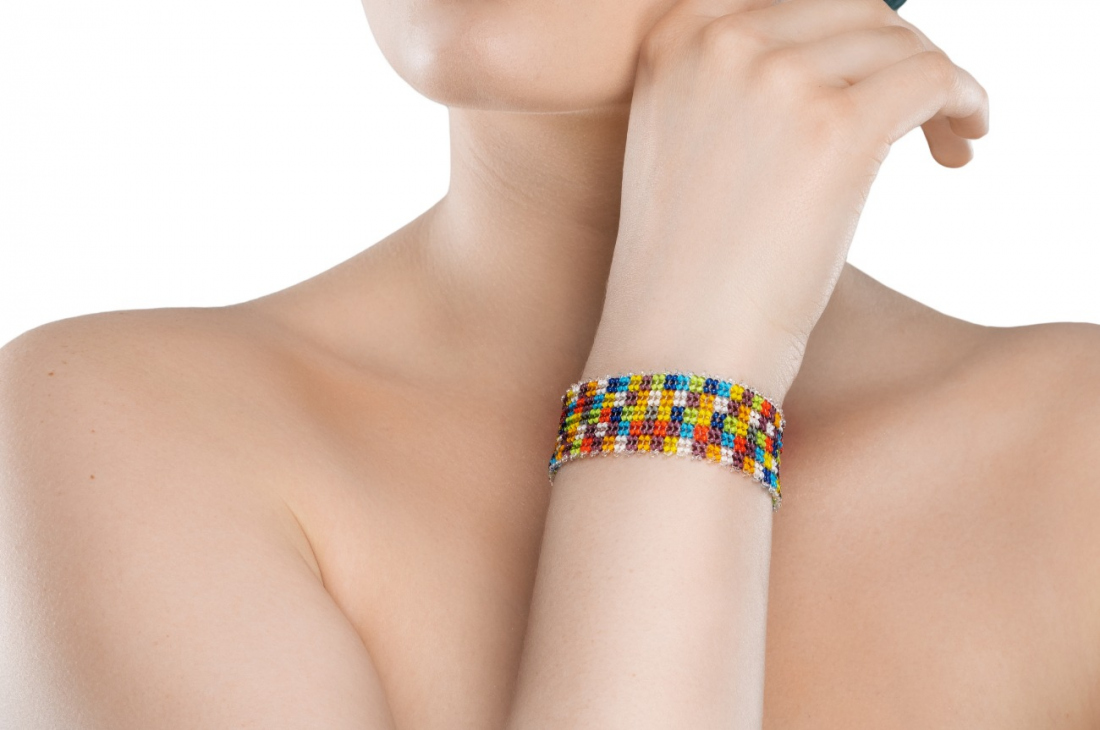
We present a tutorial for a seed bead bracelet that is perfect for the summer season. Use bright PRECIOSA White Lining seed beads in transparent glass colors with a white lining that emphasises the effect of the individual glass colors. Put the colors together as your imagination desires and you will be surprised at the effect you achieve.

Ambassadors

Karla Mokrošová

Karla Mokrošová first encountered beads when she purchased a book on wired jewelry, which she learnt how to make.
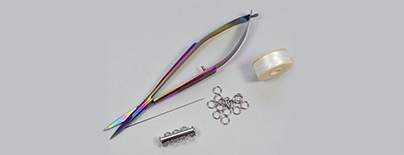
Learn More

Tools

A three-row fastening; a thin no. 10 needle; scissors; S-lon stringing thread (Fireline, DURAThread, Nymo); 6x 5 mm rings; 12 x 4 mm rings; 2x flat-nose pliers

Procedure

The length of the bracelet including the fastening: 17.5 cm, without the fastening: 15.5 cm. Width: 2.5 cm.

The bracelet is sewn using the herringbone stitch. The first row is usually sewn from two seed beads, to which one seed bead is then added. Or you can sew the first two rows all at once. Start with four seed beads and you will sew two. The seed beads are better held between the fingers and the shape is stronger.

Step 1

Cut off about 1.5 m of thread. String 4x light blue R10 approximately 30 cm from the end. Sew the thread 2x through the R10 so that the needle protrudes upwards. Don't cut off the end of the thread (marked with the green dot), as you will need it to subsequently sew the R8 to the rings – see Step 12.

1

Step 2

Thread the line downwards through the adjacent 2x R10. Pull the seed beads together.

2

Step 3

String 2x white R10 and sew downwards through 2x light blue R10. Pull the seed beads together.

3

Step 4

Sew upwards through 2x R10 in the white color. Pull the seed beads together.

4

Step 5

String 2x white R10 and sew the thread upwards through 2x white R10. Pull the seed beads together.

5

Step 6

Sew downwards through 2x white R10 (marked with the green dots). Gradually add the individual colors according to Steps 3 - 6 so that you have a total of 5 squares – see Step 7.

6

Step 7

When transitioning to the next row, string 2x R13 and sew upwards through 1x R10.

7

Step 8

String 2x white R10, sew downwards through 1x yellow R10 and upwards through the adjacent 1x purple R10 (marked with a green dot). Repeat the sequence to the end of the row. Don't forget to alternate the colors – see Step 9.

8

Step 9

When transitioning to the next row, string 2x R13 and sew through 1x R10. Sew on the next row in the corresponding colors. Each cube must have four seed beads of the same color.

9

Step 10

String the shorter piece of thread that you left free at the beginning. Gradually sew down through 1x blue R10 and up through 1x white R10. String 1x white R8 and sew the thread downwards through 1x white R10.

10

Step 11

Sew the thread upwards through the adjacent 1x white R10. In order to increase the strength, subsequently sew through the 1x white R8, 1x white R10 and the adjacent 1x grey-black R10 (marked with red dots).

11

Step 12

Sew on the remaining 1x grey-black R8 and 1x purple R8. Sew in the thread and cut it off.

12

Step 13

Gradually sew the remaining length of the bracelet so that it corresponds to 41 multi-colored squares in a row; see Step 14. Sew an additional 1x purple R8, 1x grey-black R8 and 1x white R8 according to Steps 10 - 11. Sew in the thread and cut it off.

13 / a

Step 14

Add 5 mm rings to the R8. Connect these rings to the three-part fastening using 4 mm rings.

14 / a

Downloads