Calendula Officinalis

Difficulty: 3
Technique: sewing

Sewn seed bead flower

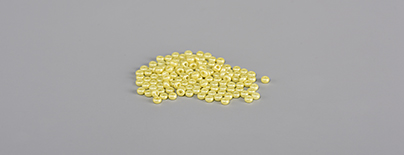
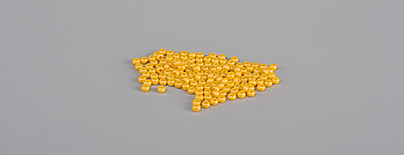
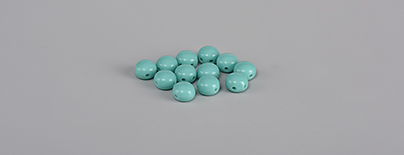
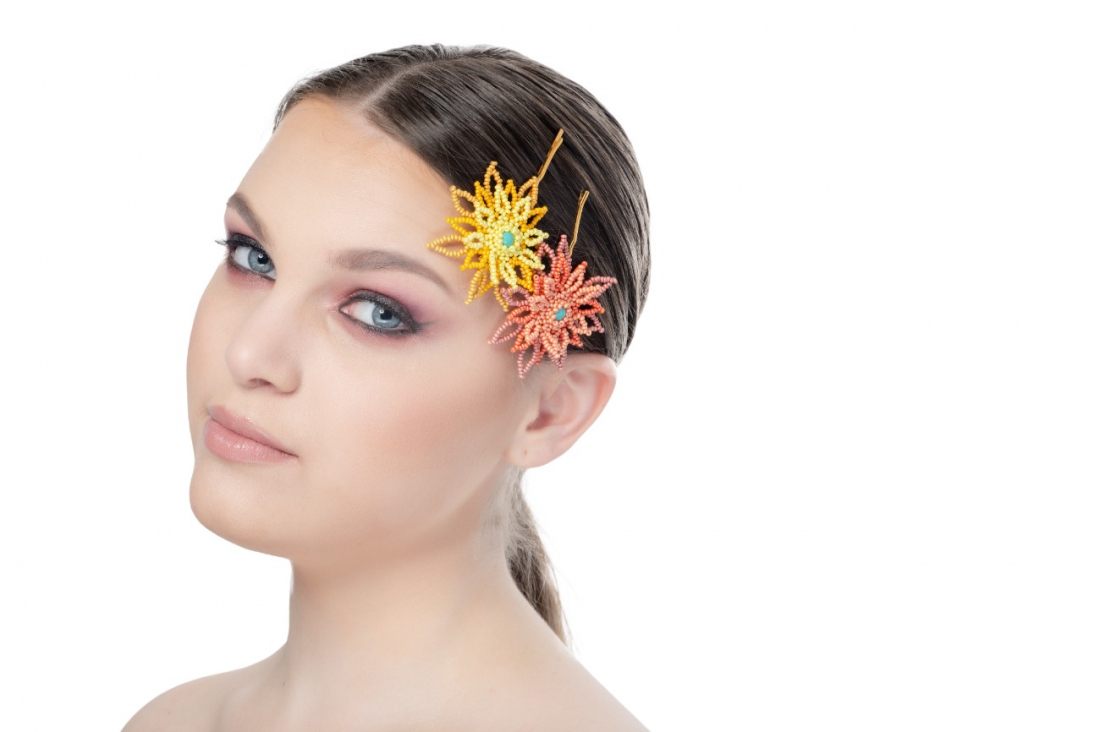
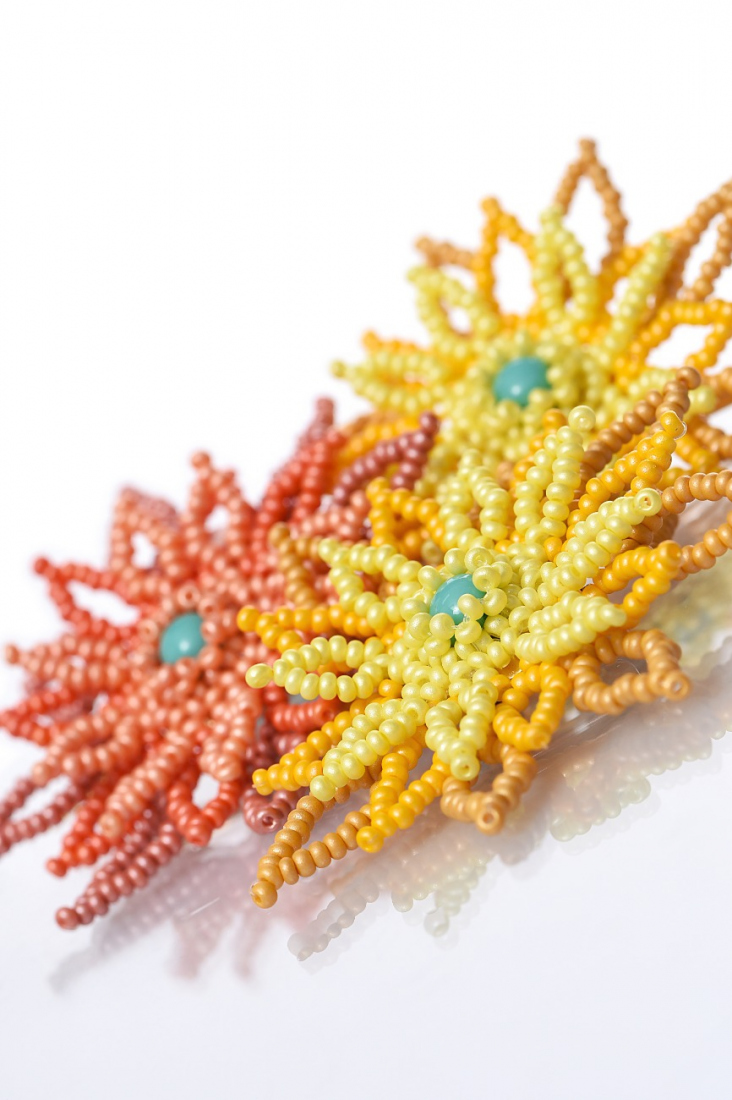
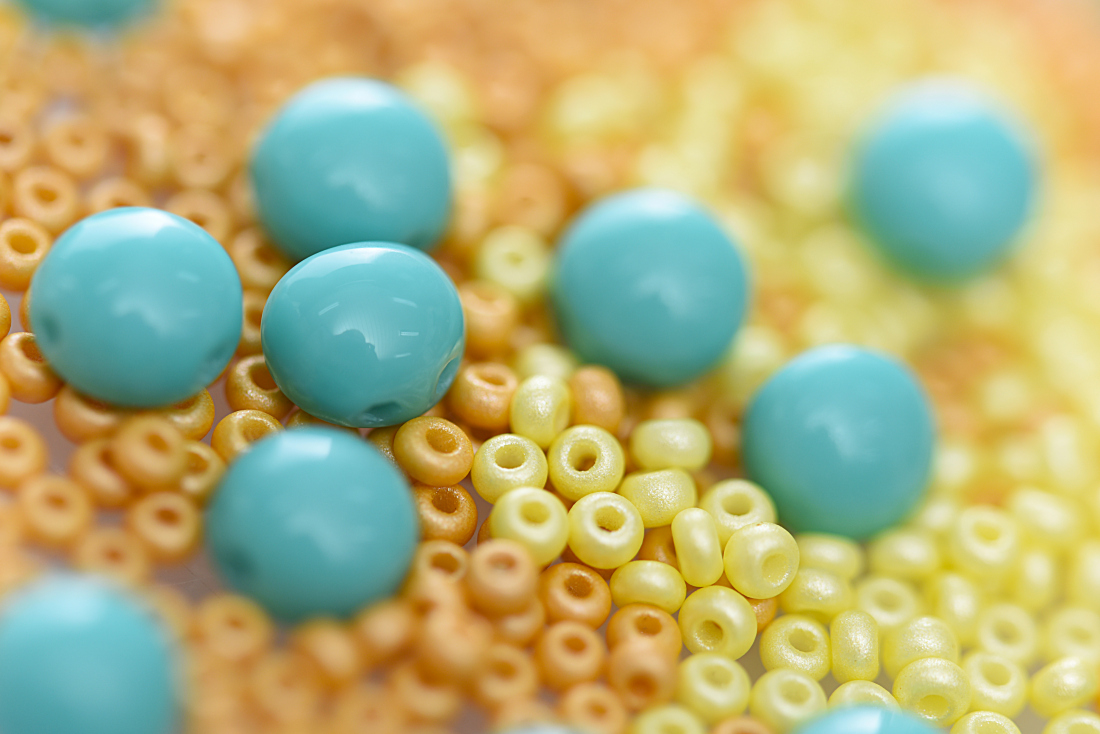
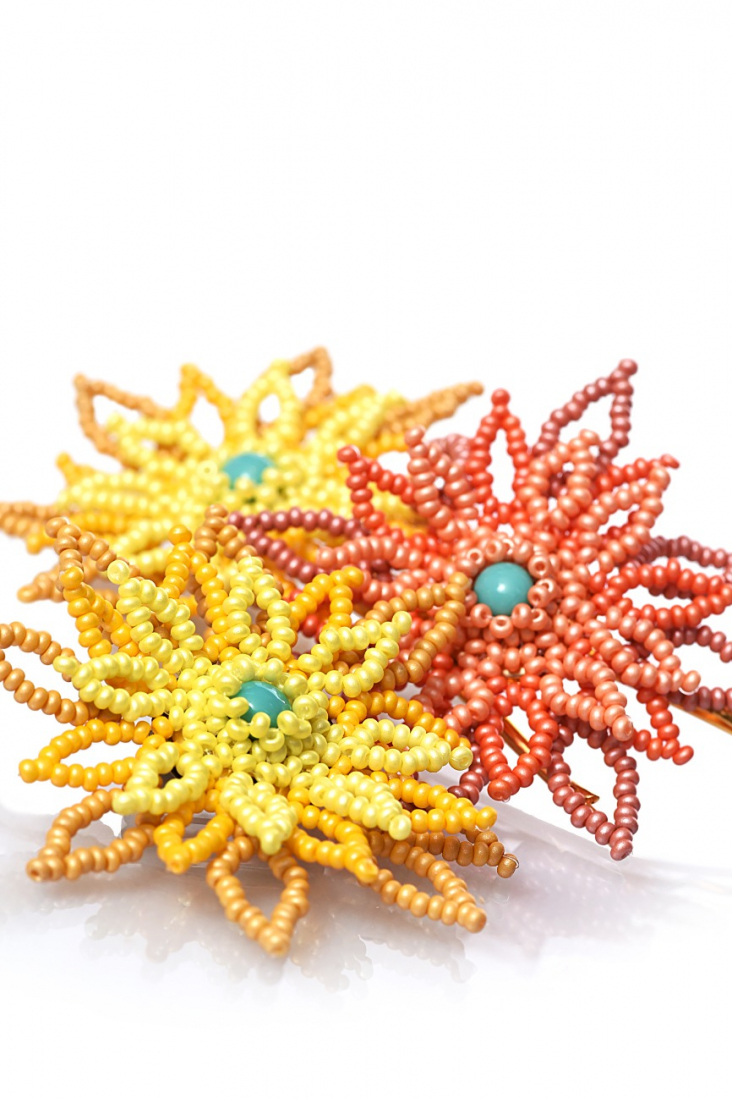
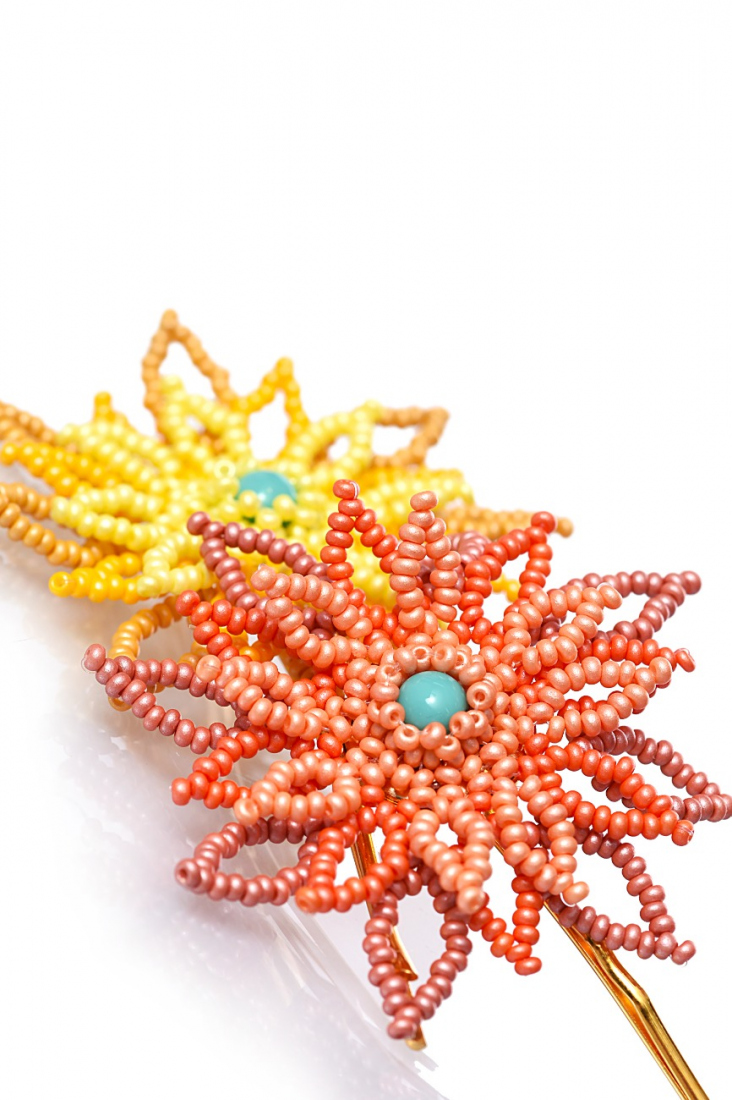
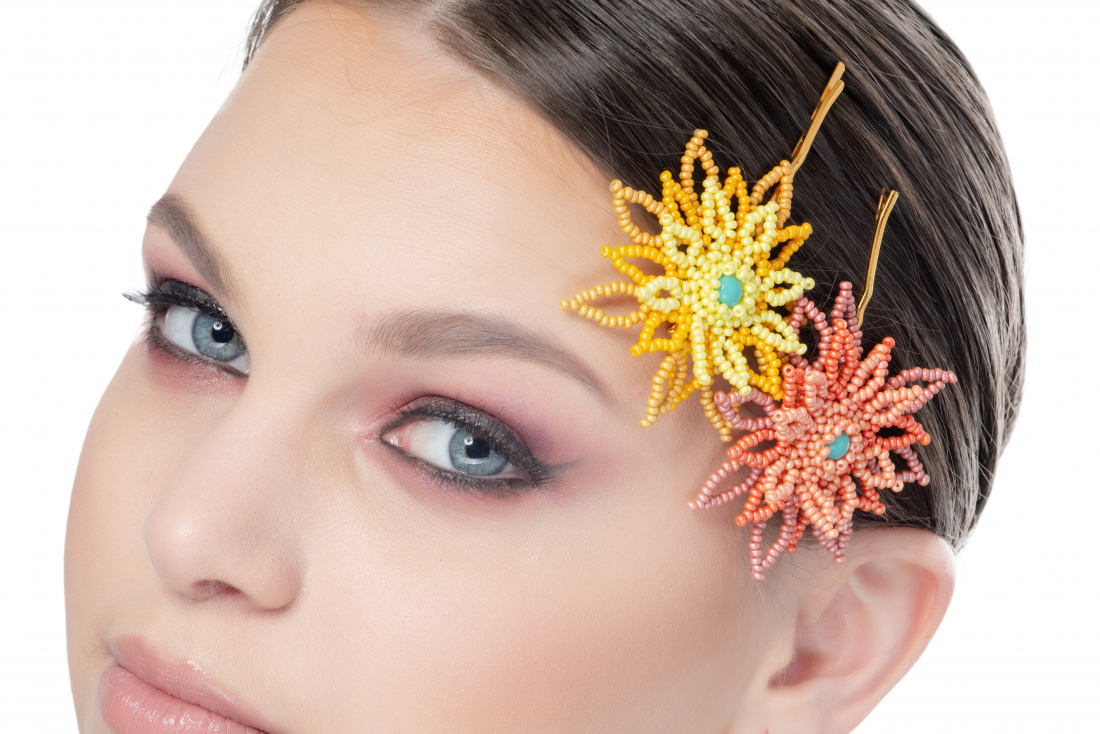
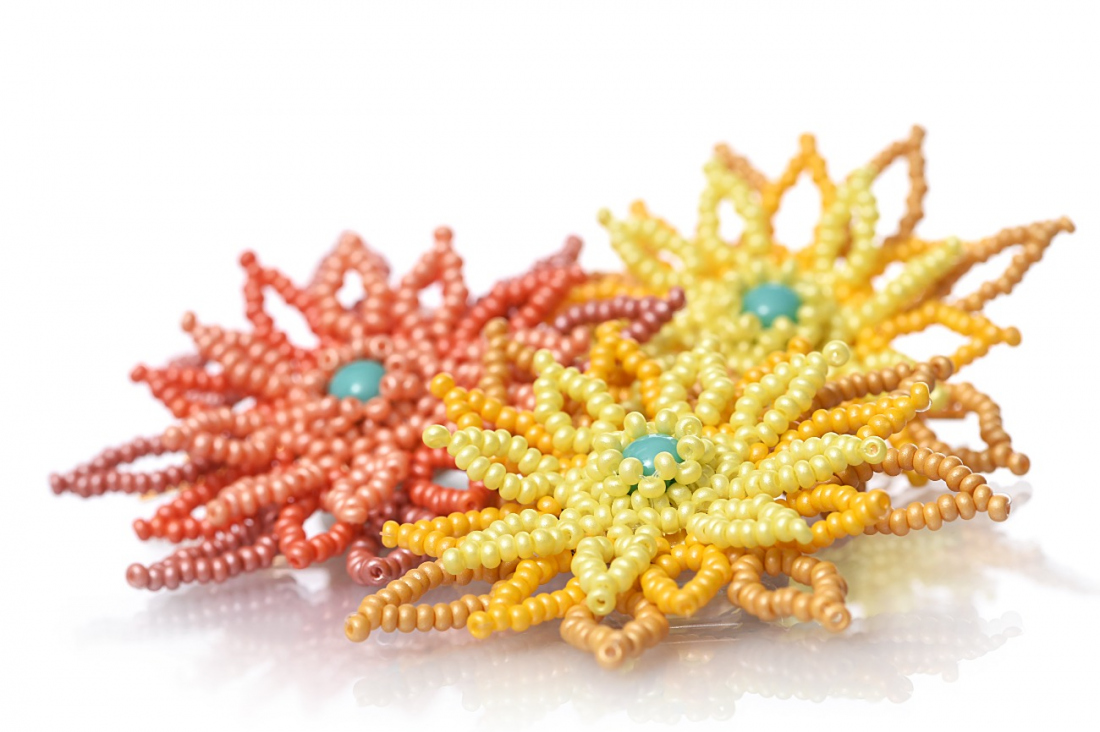
The range of 22 shades from the PRECIOSA PermaLux range in playful, bright colours will entice you to be creative. You can choose from the mother-of-pearl or matt variants and brighten up your entire day. We have prepared several interesting projects for you. As such, we offer you the opportunity to sew a flower inspired by the Calendula officinalis plant.

Ambassadors

Helena Chmelíková

She is able to switch from luxurious and extravagant fashion show pieces to the preparation of hobby projects,
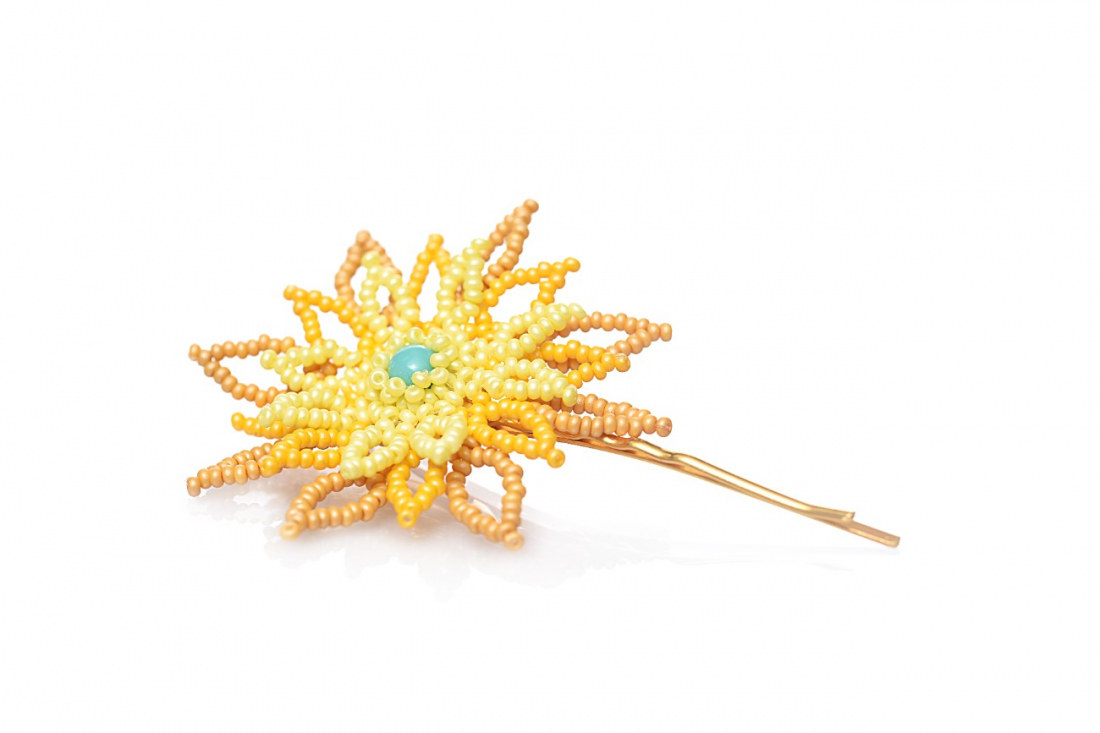
Learn More

Material and Tools

Materials

A 16 mm sieve with 8 holes around the circumference (a sieve for clip-on earrings); a metal part with a 16-20 mm surface (with projections for crimping, with a smooth edge for gluing)

Tools

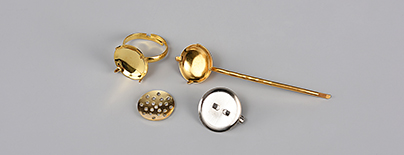
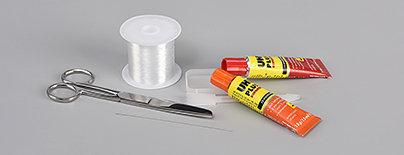
A 0.20 mm nylon line; a thin needle; scissors; a thin pointed knife or the points of scissors (for crimping the projections on the metal part) or glue for non-absorbent material

Procedure

Step 1

Sew some of the R1 using a single, long (about an arm's width) piece of line. String 16x R1. Tie them off. This will form a circle.

1

Step 2

Place the C in the circle. Thread the line through one hole. Count 6x R1 from the knot. Thread the line through a further 2x R1. Thread the line through the second hole of the C. Count 2x R1 from the knot on the opposite side. Thread the line through the 3rd R1 in the direction from the knot. Thread the other end of the line through the hole in the C and cut it off.

2 / a

Step 3

String 2x R1. Leave out 1x R1 in the circle. Thread through the next. Continue in the same way until you have added 8 x 2 R1.

3 / a

Step 4

Start sewing the petals. String 10x R1 above 2x R1 from the previous row. Thread the line through the penultimate 9th R1. String 6x R1. String 2x R1 from the side (from the bottom - they will turn to the side). String 1x R1. Thread the line through the 2nd R1 from the pair of R1 from Step 3. Pass immediately to the next pair of R1 from Step 3. Create another petal between that pair and the following pair of R1 from Step 3. String 1x R1. Create eight petals in the same way. Sew in the line at the end, preferably at the top of the petal.

4 / a

Step 5

Secure the bordering of the central C. The circle of R1 has 16x R1. String 3x R1. Thread the line through the 1st and the 3rd beads one more time. Secure the line after every 2nd R1. Thread the needle at one end of the line. Thread under line and return to the second side. Then string a further 2x R1. Secure the 2nd bead again. Add 2x R1 another 5 times (a total of 6x). Complete the bordering of the C by stringing 1x R1, tying off the line and threading it through the R1.

5 / a

Step 6

Cut off the new line. Thread it through 1x R1 from the base of the petal from Step 4. String 12x R2. thread the line through the penultimate 11th R2. String 8x R2. Thread the line through the 2nd R2. String 1x R2. String Thread the line through 1x R1 from the base of the adjacennt petal. Create all eight petals from R2 in the same way. Tie off and thread the ends of the line through several R2.

6 / a

Step 7

Cut off a new line. Thread it through 2x R2 from the R2 intersection next to a petal from Step 6. String 14x R3. Thread the line through the penultimate 13th R3. String 10x R3. Thread the line through 2x R3. String 1x R3. Thread the line through 2x R2 above the intersection of the adjacent petal from Step 6, including the R2 where the line crosses over. Create all eight petals out of R3 in the same way. Tie off the line and thread the ends through several R3.

7 / a

Step 8

Sew on the sieve. The eight petal repeat and the sieve has eight holes along its circumference, which you will sew it to. Sew it at the base of the petals from Step 4. Thread the line through the holes in the sieve. Thread the needle through on one side of the line. Pass it under the line and return to the sieve hole on the other side. Tie the line to the back of the sieve (in the dimple). Initially secure (sew on) the flower in the opposite holes of the sieve. Then sew on the other holes. Tie off the ends of the lines and cut them off.

8 / a

Step 9

Glue the sieve to the surface of the metal part or crimp the projections onto the sieve.

9 / a

Downloads