For Mum

Difficulty: 4
Technique: embroidery, cross stitch

Embroidered picture with PRECIOSA seed beads

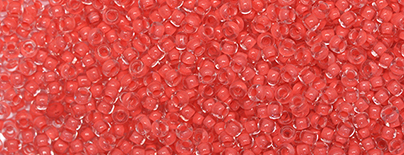
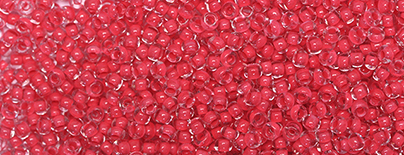
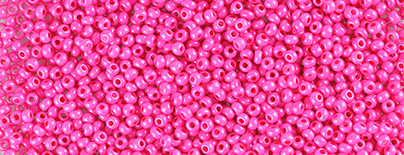
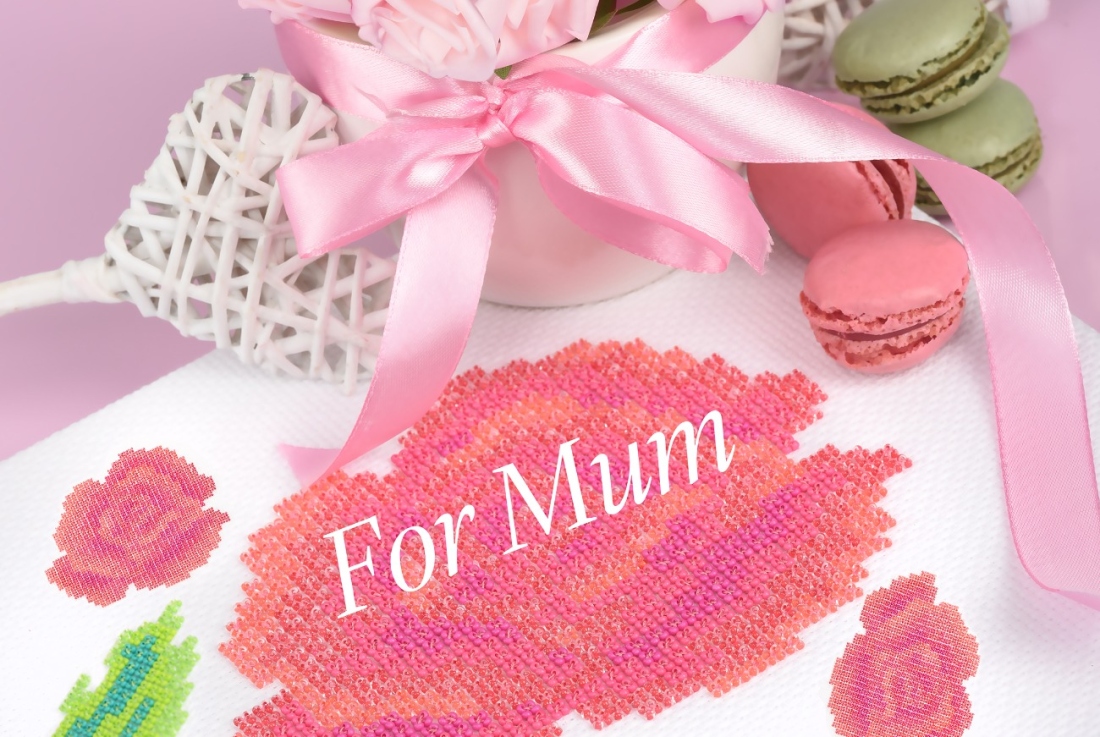
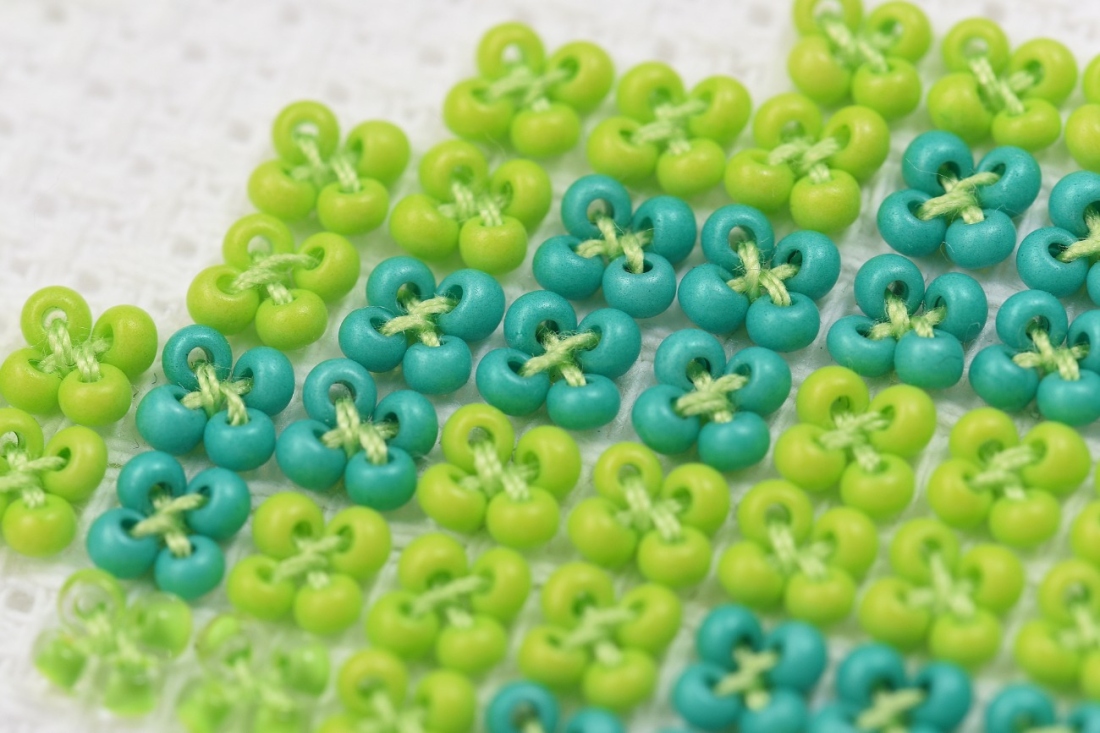
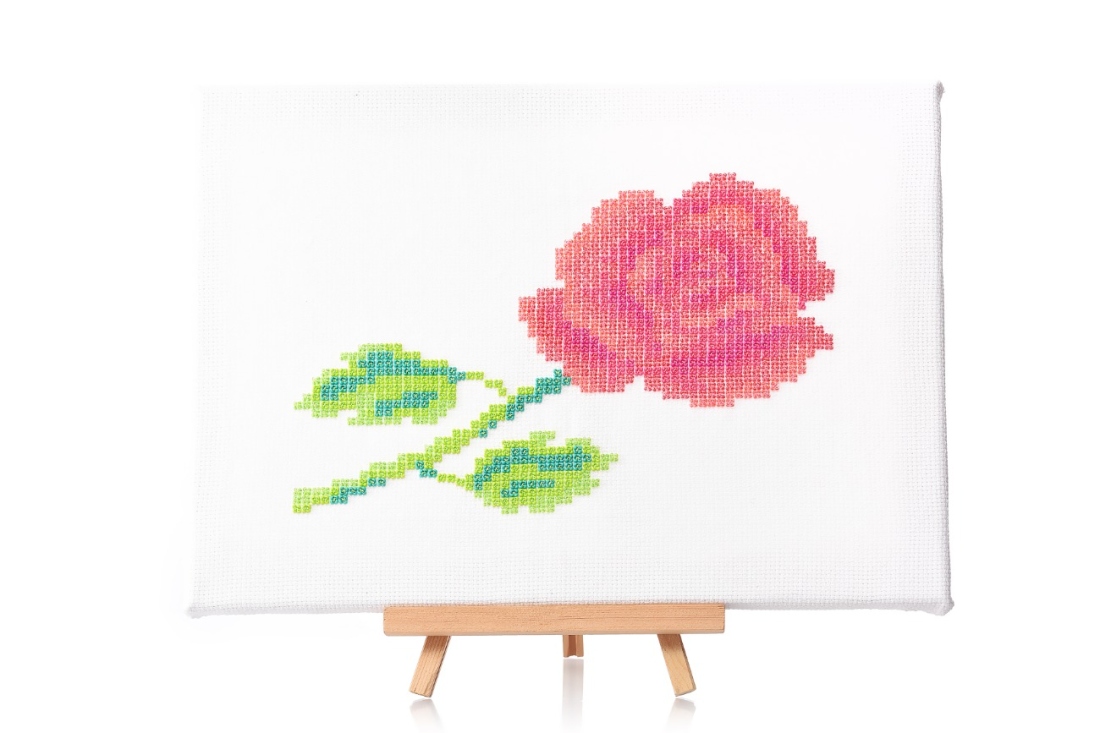
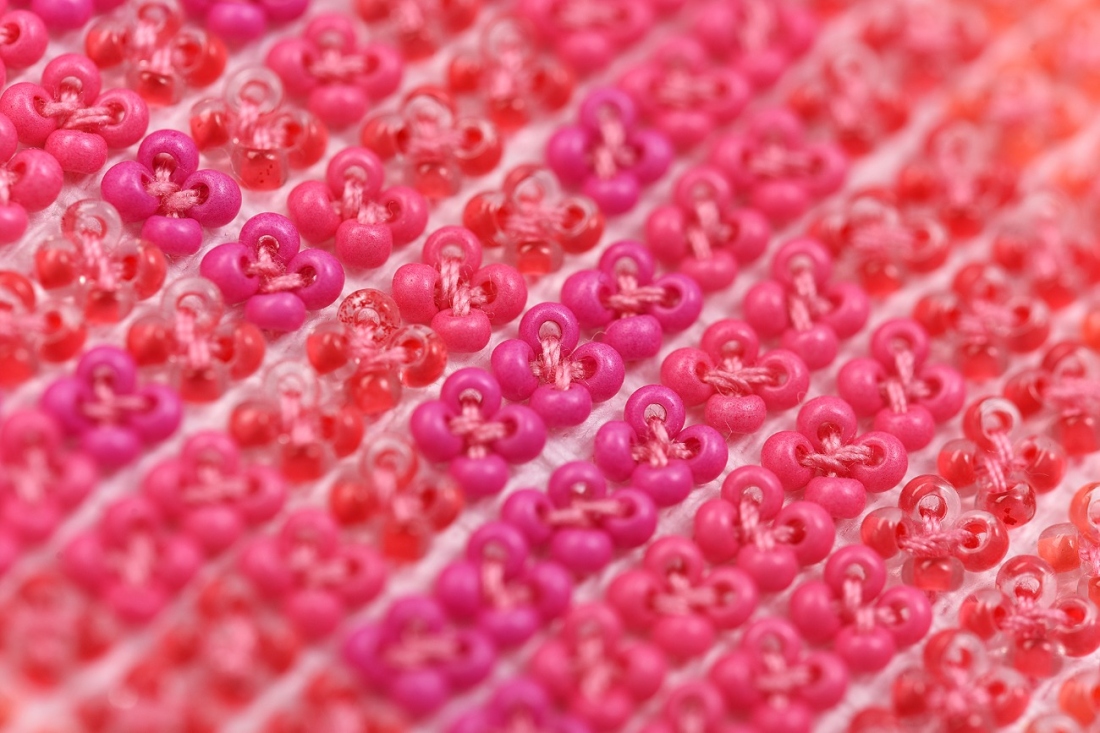
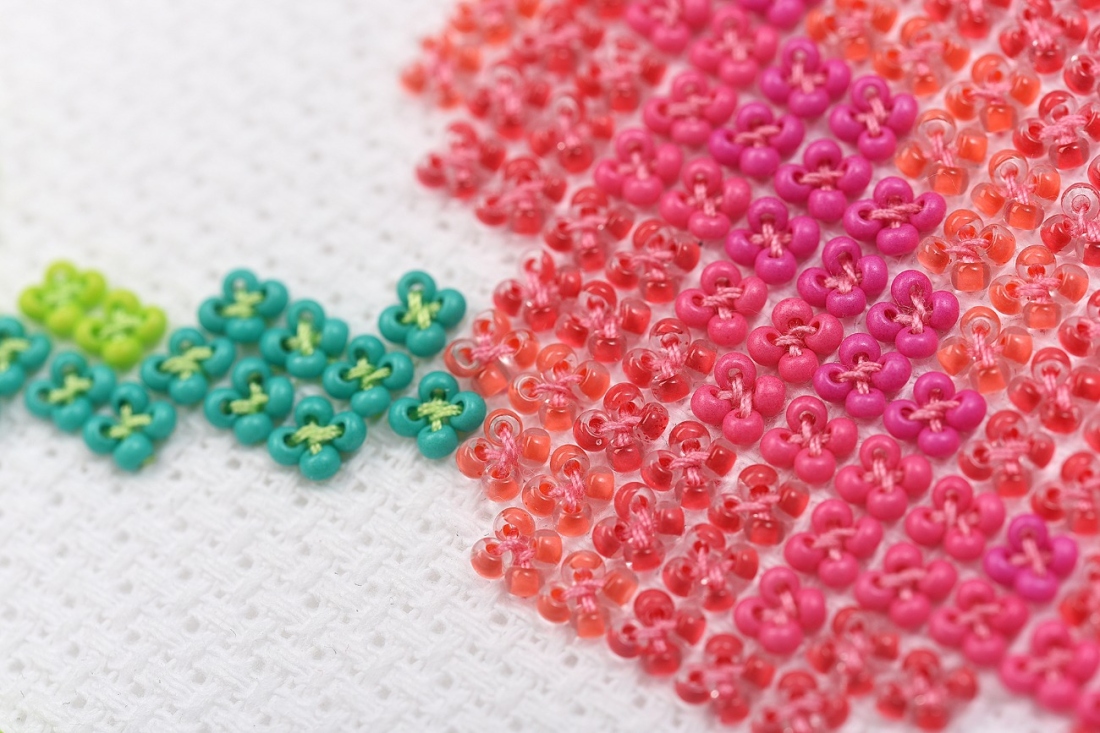
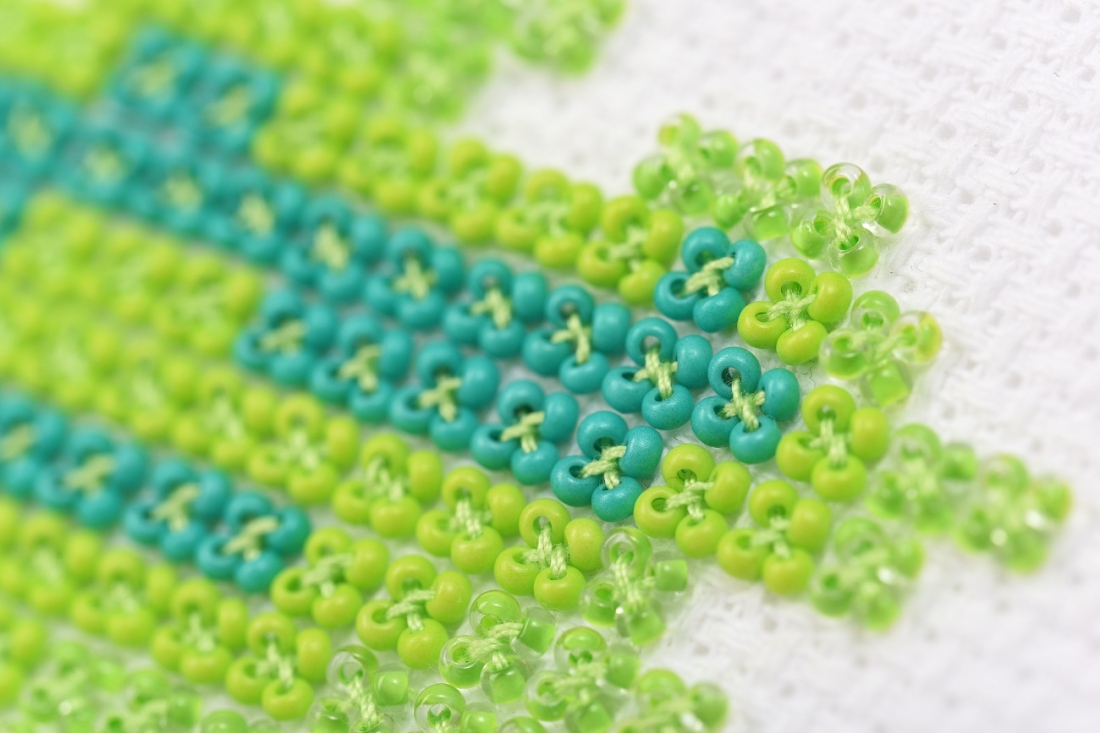
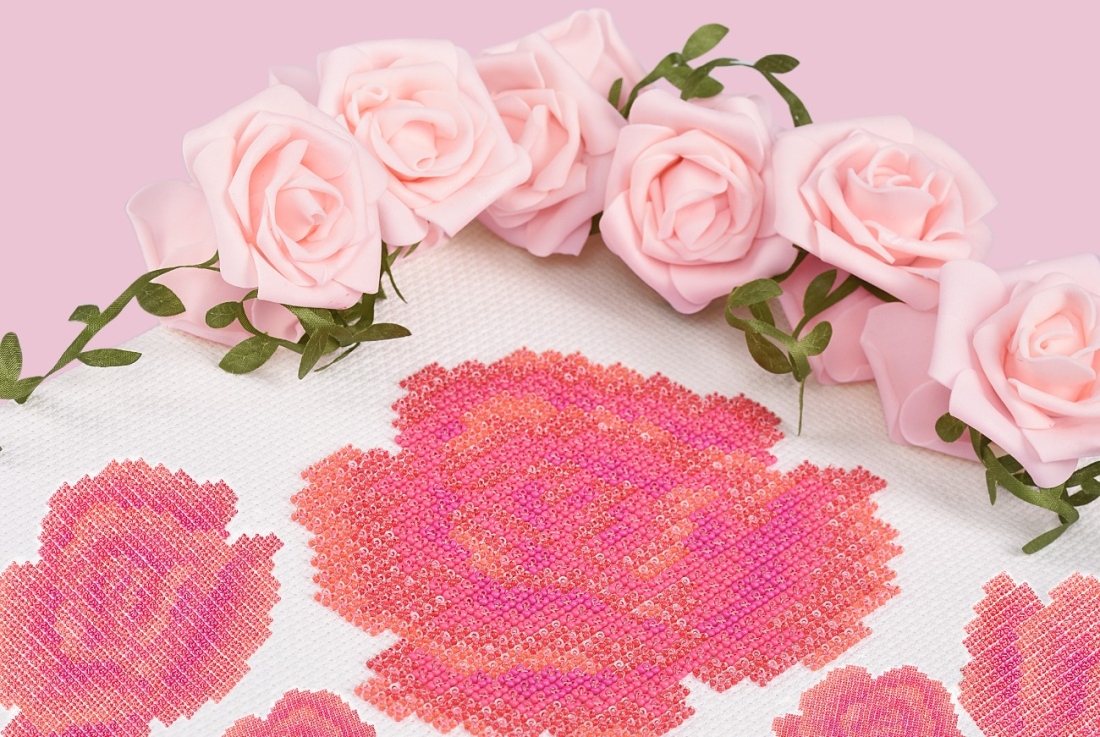
Do you enjoy innovating, while at the same time drawing on well-established techniques? Would you like to try cross-stitch embroidery with PRECIOSA seed beads? Well, here is your chance. We have prepared the popular classic pattern of a rose for you using PRECIOSA Terra Intensive Lining and PRECIOSA Terra Intensive seed beads.

Ambassadors

Helena Chmelíková

She is able to switch from luxurious and extravagant fashion show pieces to the preparation of hobby projects,
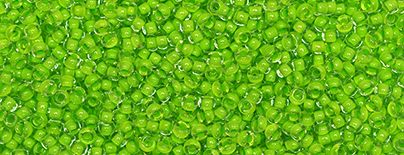
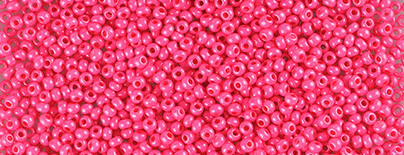
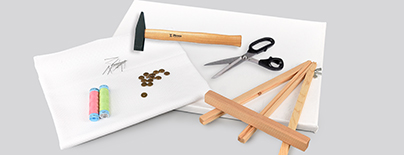
Learn More

Procedure

Step 1

The frame with the canvas measures 40 cm x 30 cm. Cut the canvas so that it is 10 cm bigger on each side, i.e. 50 cm x 40 cm. This extra 10 cm allows for covering the sides and the back of the wooden frame. The complete embroidery (the rose and leaves with a stem) measures 28.5 cm x 19 cm. Find the middle of the canvas. Fold it into the middle down from above and from the left to the right. Mark the intersection point with a pin. Measure 14.25 cm to the left and right, mark these lines with pins or a tacking thread. Measure 9.5 cm up and down. Also mark the line.

The flower of the rose amounts to 35 cross stitches horizontally and 29 cross stitches vertically (16.7 cm x 13.3 cm) at its widest point . The size of the leaves without the leafstalk is 17 cross stitches horizontally and 10 cross stitches vertically (8.1 cm x 4.5 cm) for the smaller leaf and 18 cross stitches horizontally and 10 cross stitches vertically (8.6 cm x 4.5 cm) for the bigger one.

1 / a

Step 2

It is best to string the needle with 2 m of thread. Then move the needle to the centre and embroider with the doubled thread. String the 08A98, 08A54, 16A77 and 16A26 shades onto the light salmon thread. Thread the 08A54, 16A54 and 16A58 shades onto the light green thread.

2

Step 3

Pass the thread under the top filaments on the rear of the canvas at the beginning and the end. Create a knot just before the beginning of the cross stitch. When finishing a thread, place the knot behind the last cross stitch.

3 / a

Step 4

The neighbouring cross stitches do not have any shared loops. Each cross stitch has its own four loops in the corner of the square. Pass the thread through one loop from the back to the front. String 2x R. Pass the thread diagonally to the adjacent loop from the front to the back. Pass the thread through an empty loop from the back to the front. String 1x R. Move the R to the canvas. Guide the embroidery thread above the filament between the previous two R. Pass the thread under the filament between the R. Complete the loop above the filament between the R. Hold the R and tighten the embroidery thread. String 1x R and pass the thread through the last empty loop in the corner of the square.

4 / a

Step 5

Start embroidering the right-hand side of the rose. You have already marked the edge with the pins or tacking from Step 1. Count 13 cross stitches (26 loops) down from the top right-hand corner. Sew the first cross stitch in the 25th and 26th loops. Proceed according to the cross stitch pattern. The entire completed embroidery weighs 85 g thanks to the used glass beads (the canvas accounts for 35 g of that).

5 / a

Step 6

Stretch the embroidery onto the frame. Place the embroidery on the surface of the frame. The distance from the edge of the frame to the edge of the embroidery is approximately the same on the left and the right. The distance from the top and bottom edges should also be the same. Place temporary drawing pins in the middle of the individual sides of the wooden frame. Turn the frame over to the back. Cut off any excess canvas corners. Arrange the canvas on the corner and rear of the wooden frame. Press in the drawing pins. Tighten the canvas and secure it with drawing pins on the rear. Remove the temporary pins. Tap the others in with a hammer.

6 / a

Downloads

This website is using cookies

To improve our services and provide information that suits your interest, we use the advanced website traffic analytics tools. However, we need your consent. More information about how we process and protect your data can be found in the privacy statement. We ask you for approval of the terms.

Functional cookies These cookies are necessary for the proper functioning of the website and therefore cannot be turned off.
Analytics cookies Analytical cookies help us track and analyze the way visitors interact with our site in Google Analytics 4. This information allows us to improve content and provide a better user experience.
Marketing cookies Reading and writing cookies for marketing purposes for advertising systems such as Google Ads or Sklik. These cookies allow us to track user behavior and measure website performance and the effectiveness of our advertising campaigns.
Personalized advertising Remarketing cookies allow us to present you with personalized advertising based on your previous interactions with our site in systems such as Google Ads, Sklik.
Use of personal data With this option, you consent to the sending and processing of your personal data to Google for the purposes of targeting and evaluating online advertising and targeted marketing.