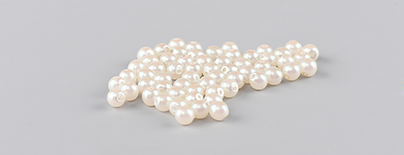
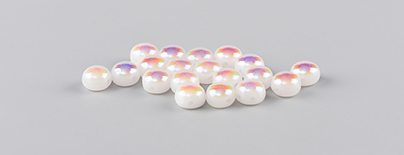
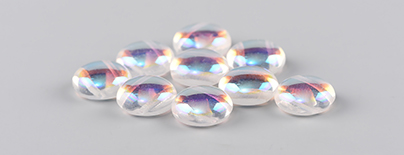
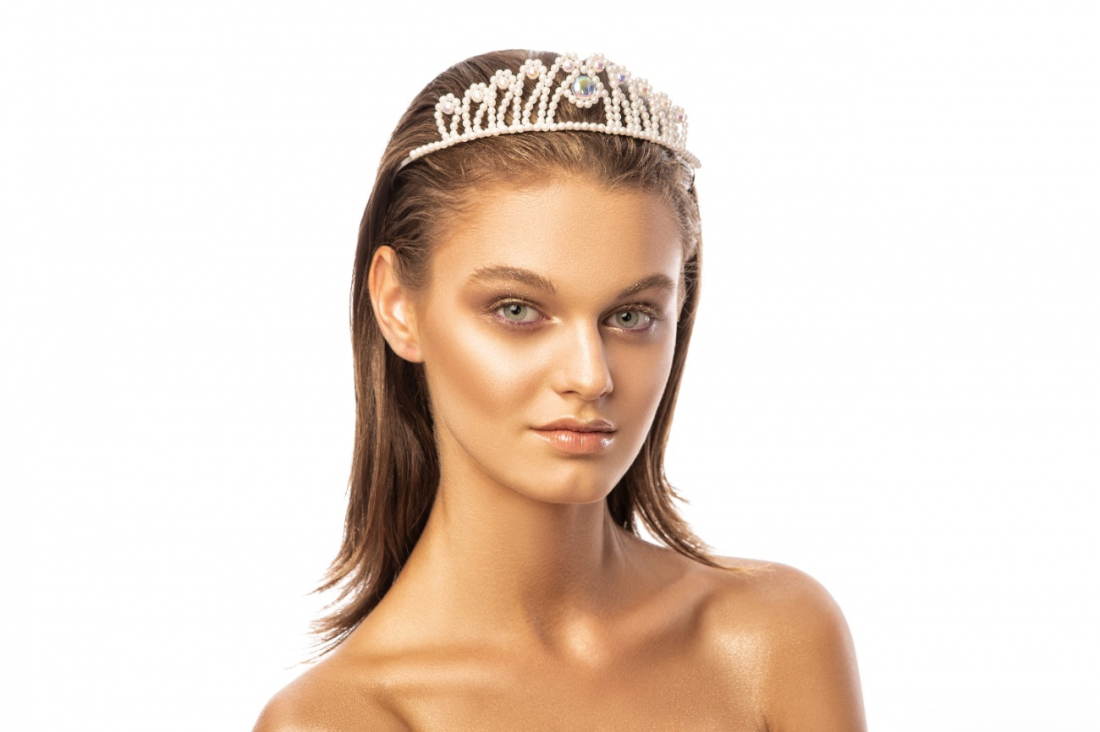
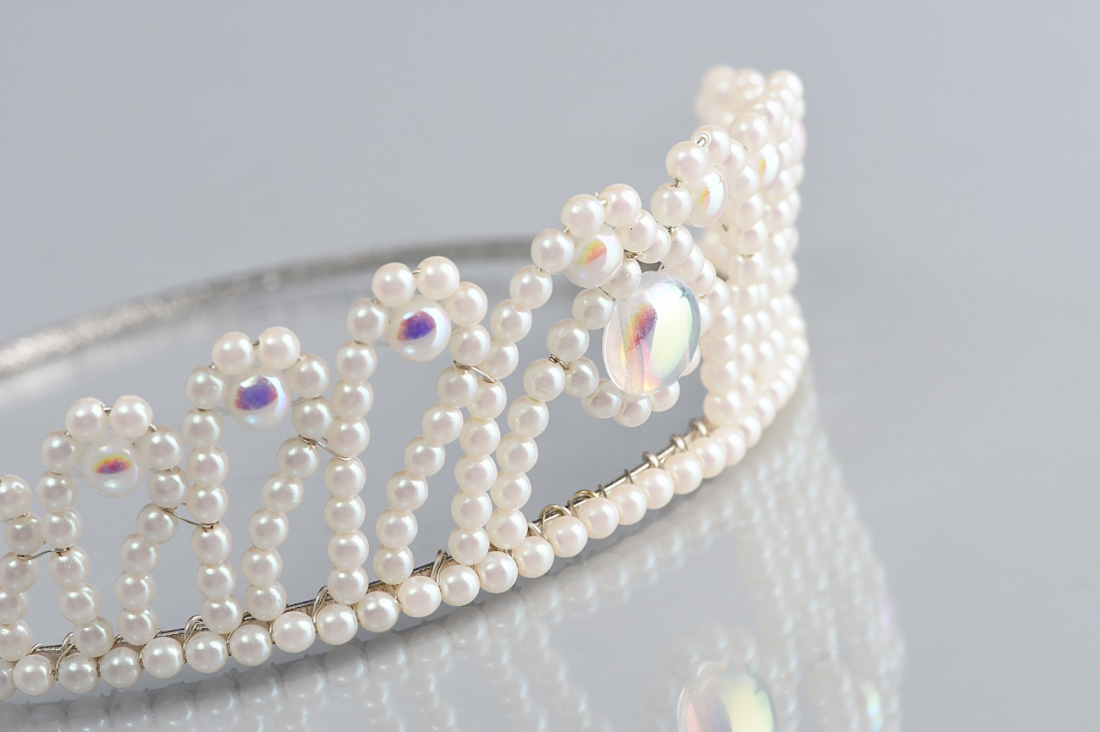
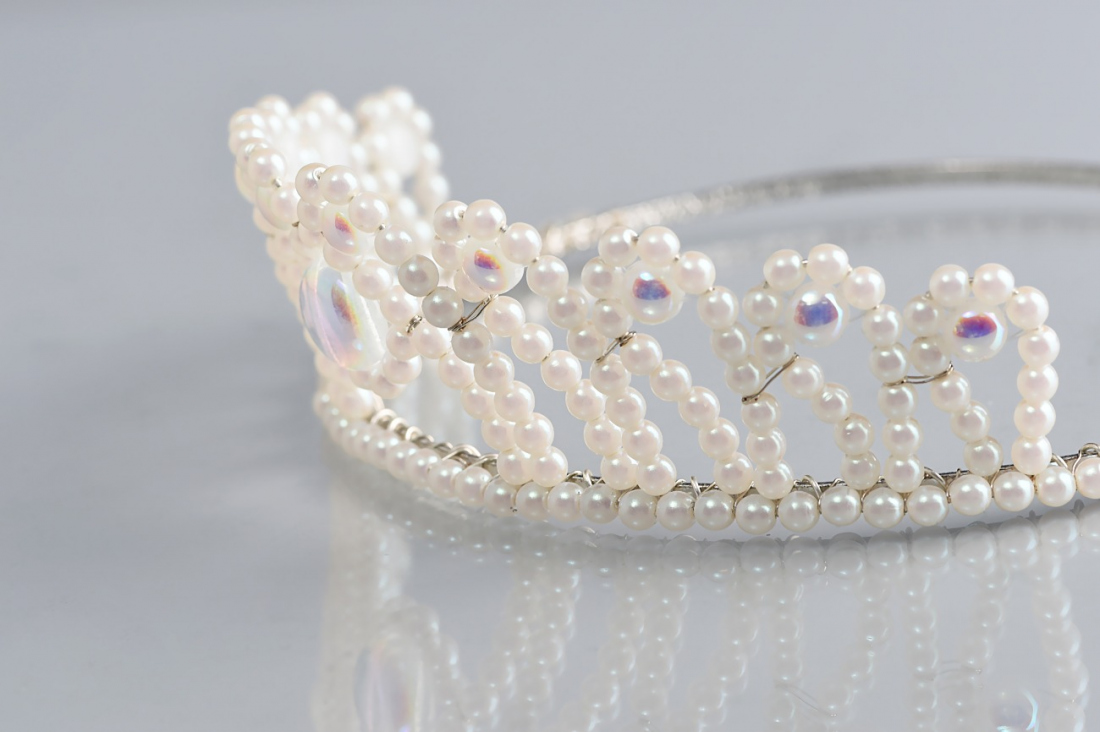
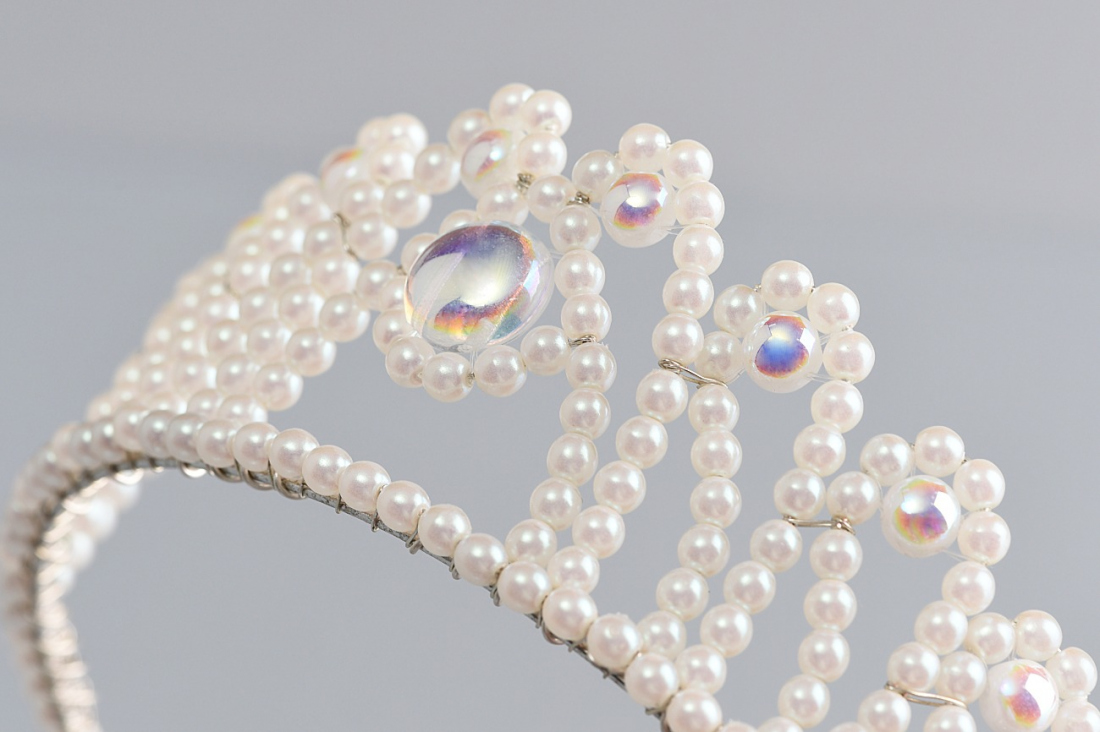
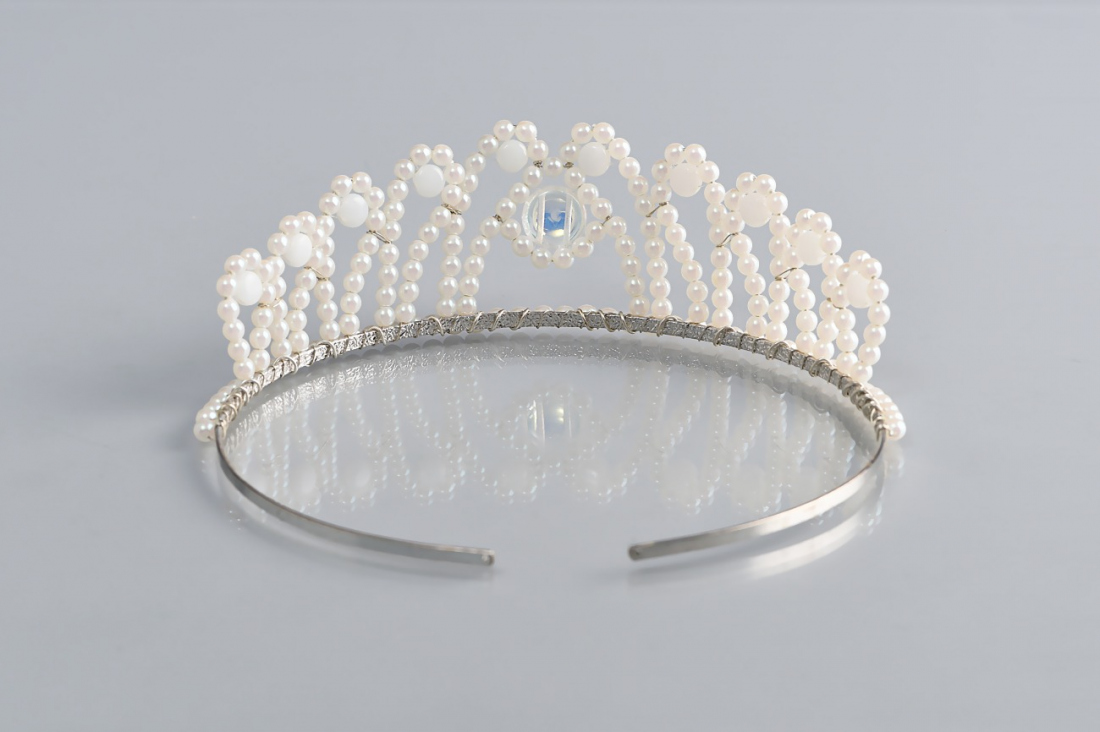
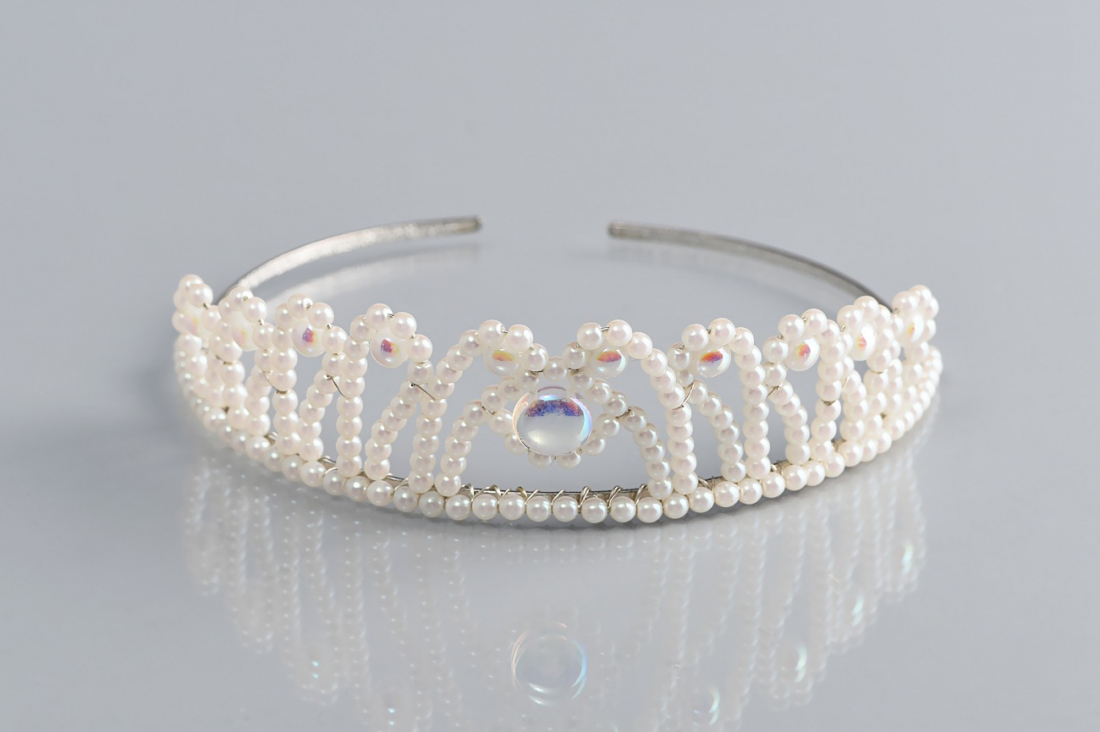
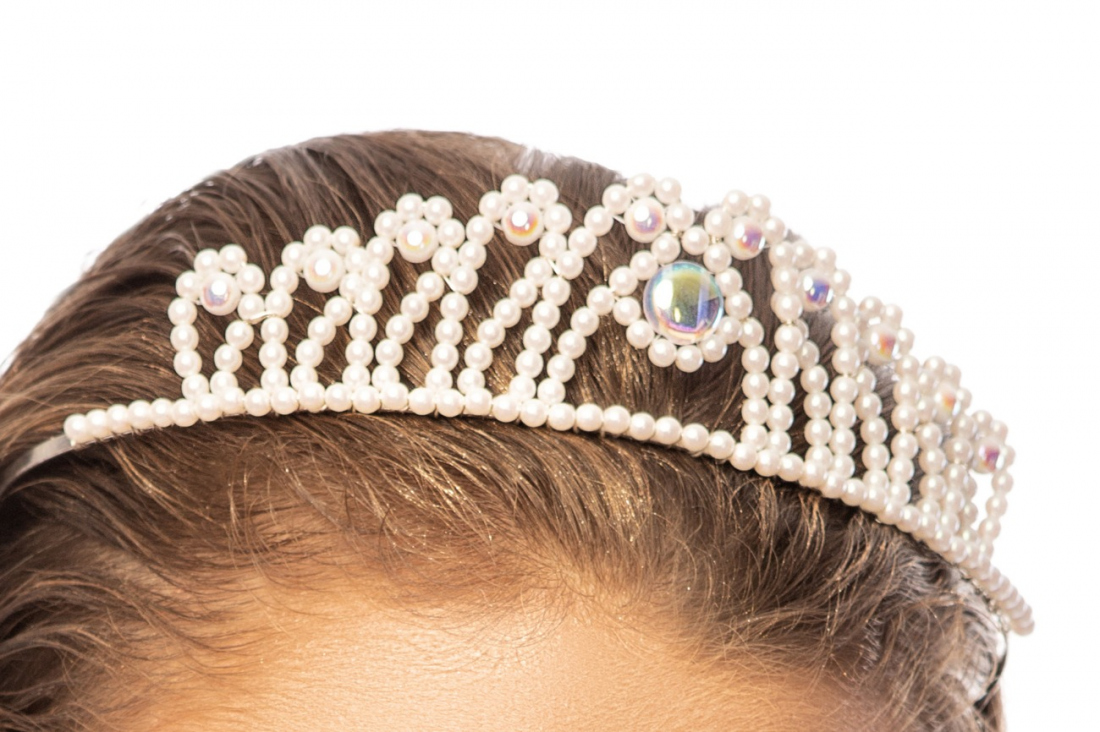
The extensive range of PRECIOSA Tradition Czech BeadsTM includes beads with an imitation mother-of-pearl finish. We have prepared a headband for you in wedding tones that combines these imitation pearls with the two-hole PRECIOSA CandyTM Pressed Bead. Choose from the wide range of shades, effects and surface finishes to achieve the look you want.

She is able to switch from luxurious and extravagant fashion show pieces to the preparation of hobby projects,
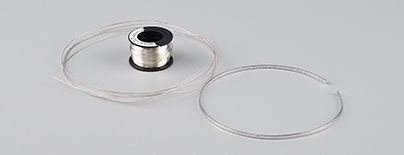
Learn MoreA circular headband; 0.30 mm and 0.40 mm binding wire
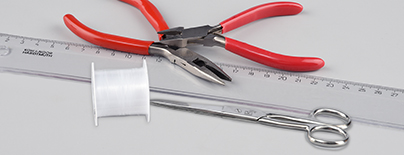
A 0.20 mm nylon line; scissors; snipping pliers, flat-nose pliers, a ruler
Share this project with your friends
This website uses cookies
PRECIOSA ORNELA, a.s. hereby informs you that its website uses cookies You can find more information about our cookies and how your data is processed in the privacy statement. We request your consent to use cookies specified below.