Touch of Luxe

Difficulty: 2
Technique: Netting stitch

Ring and bracelet made with the PRECIOSA Luxury Coating seed beads

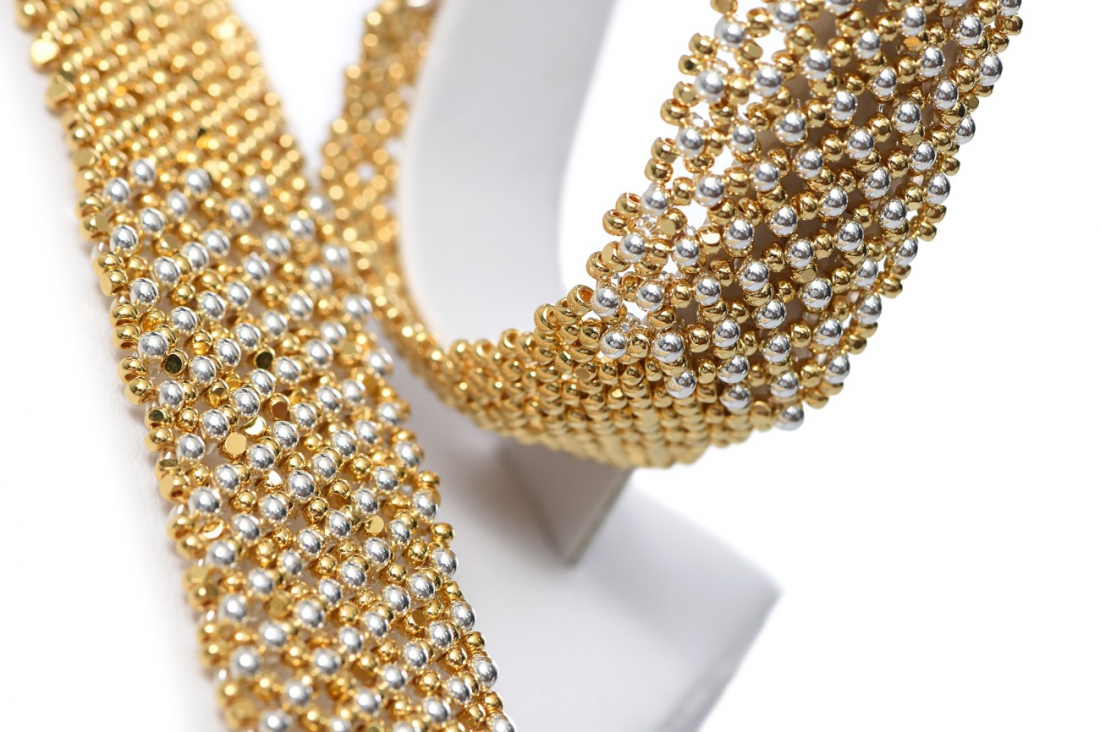
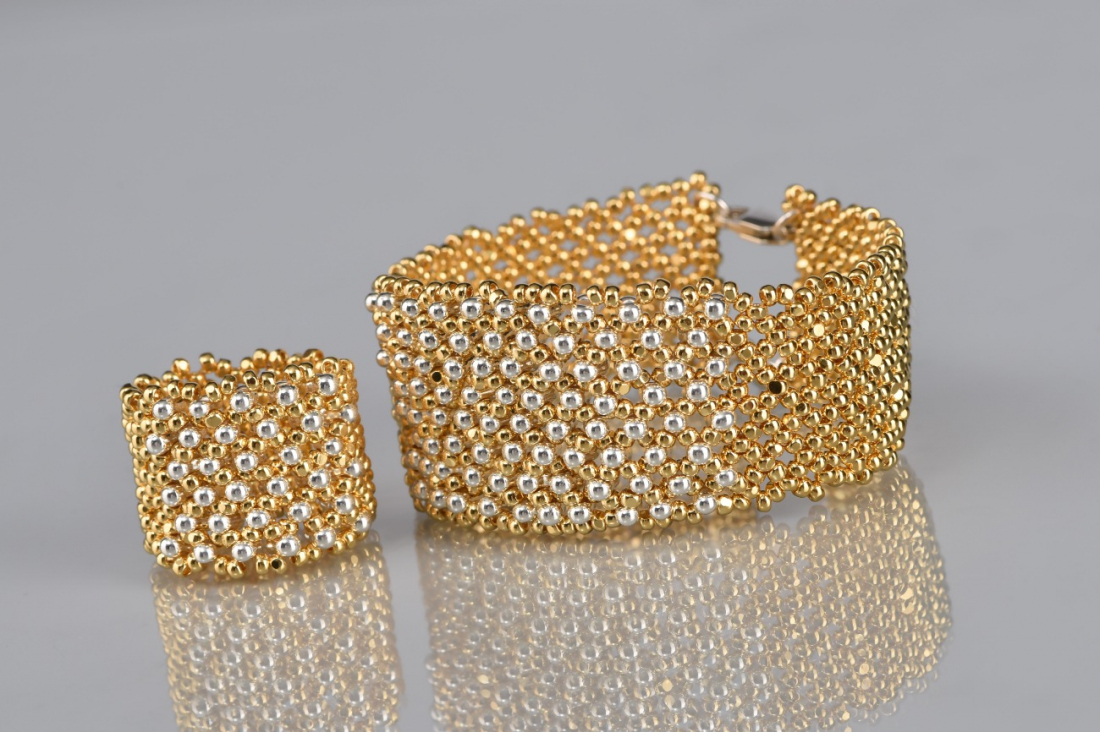
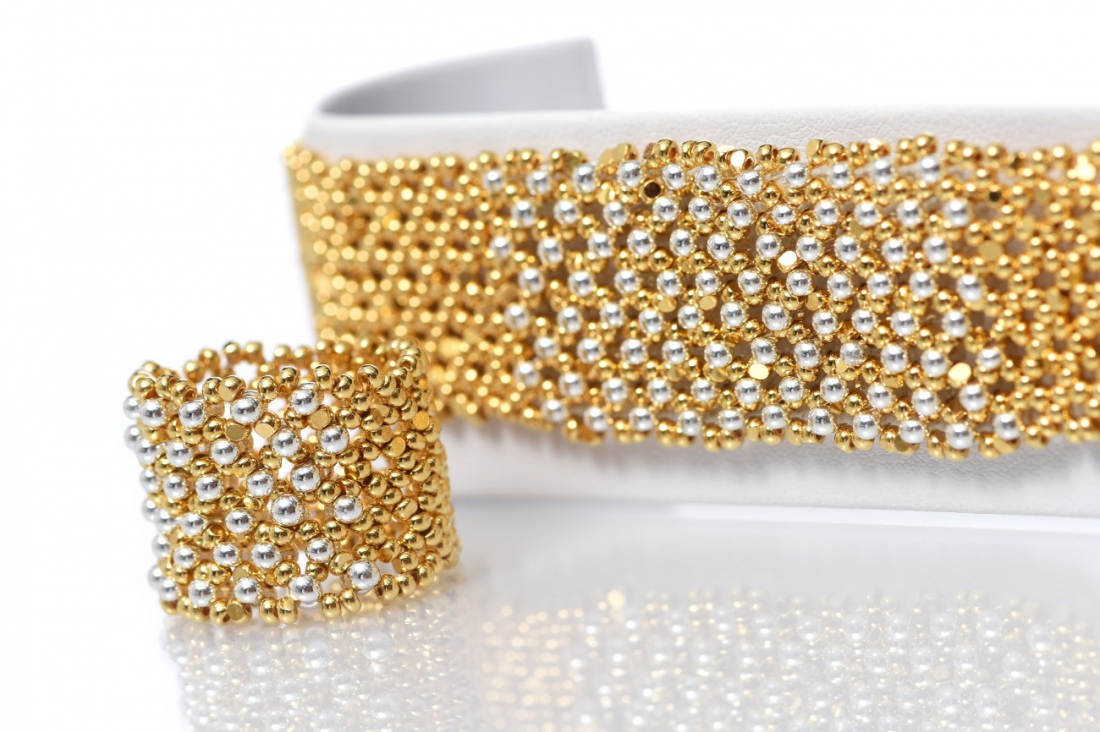
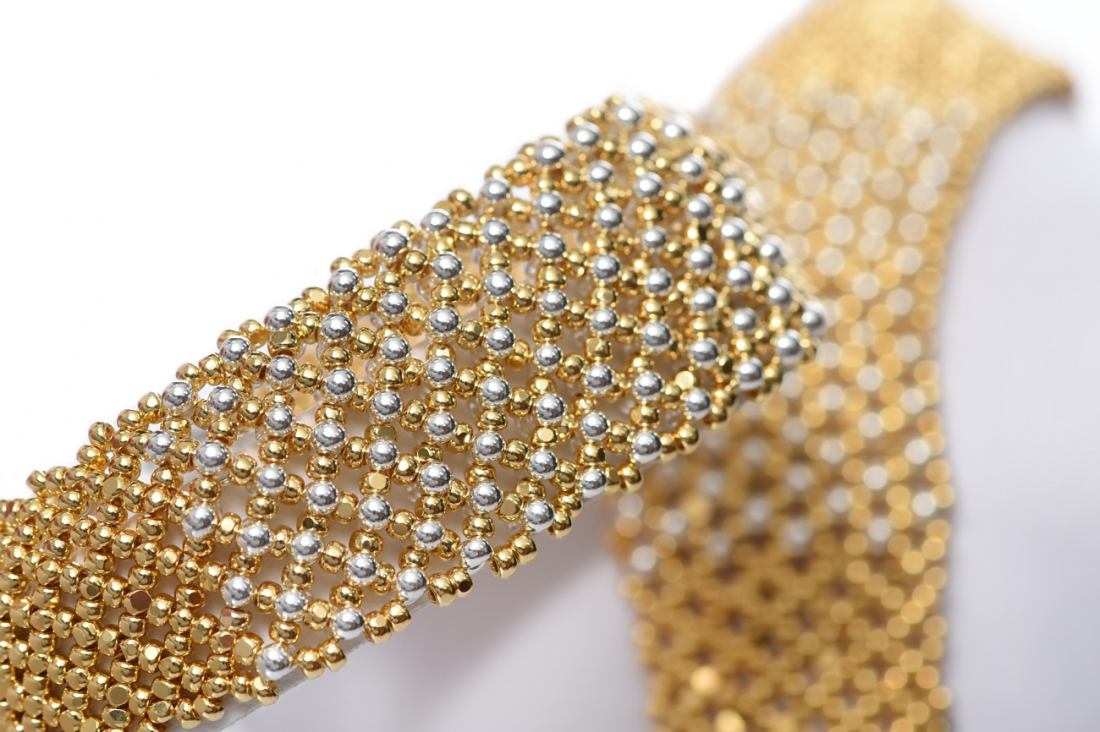
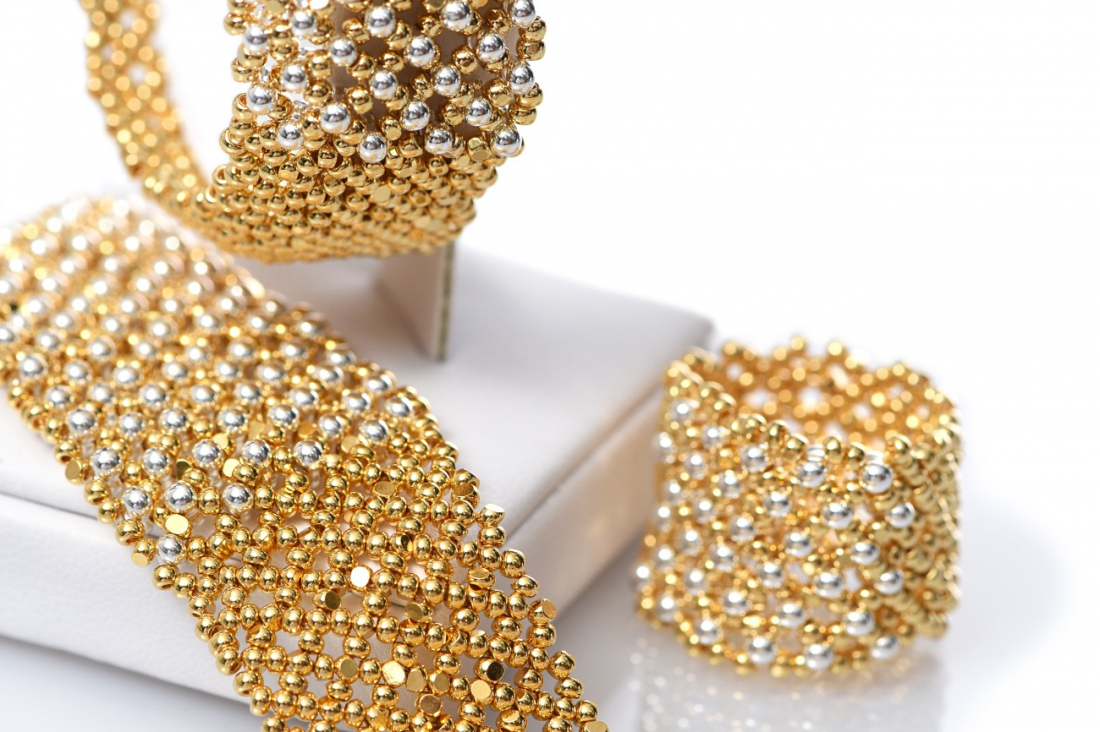
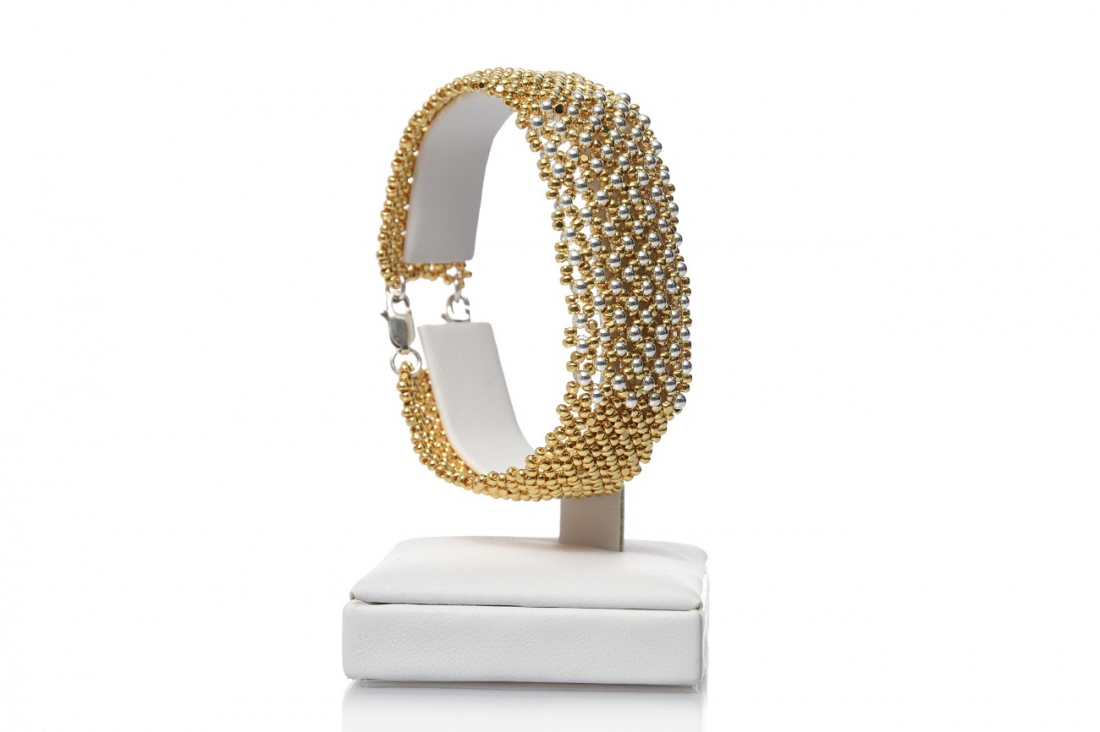
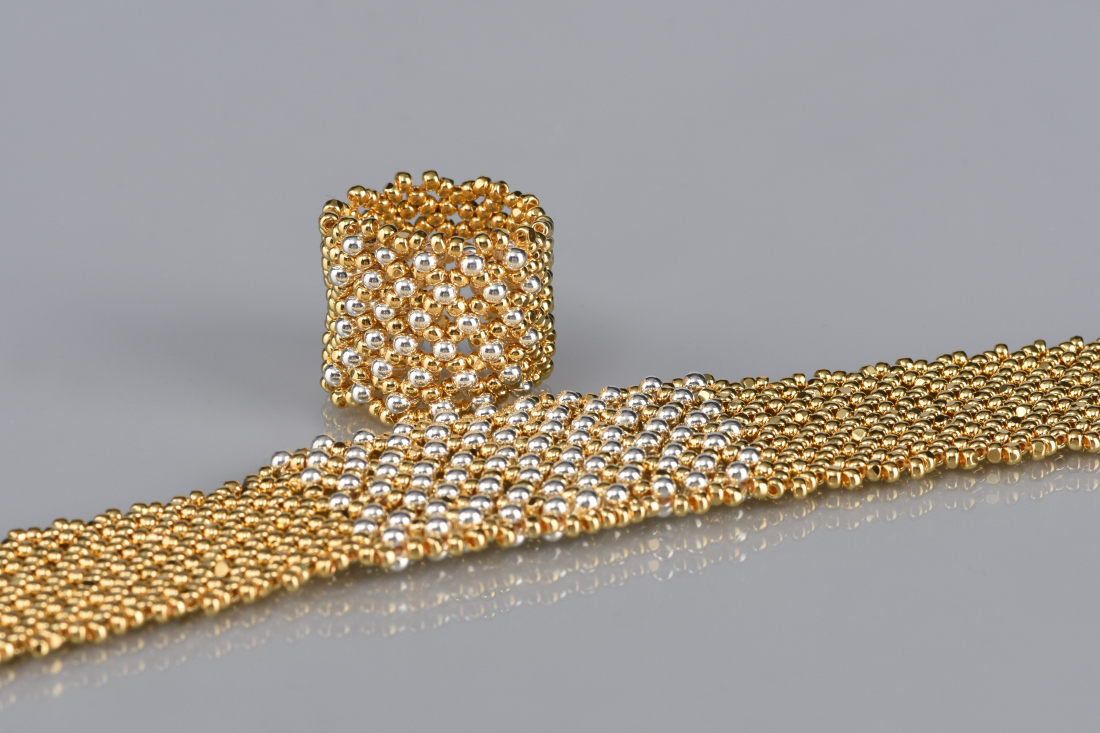
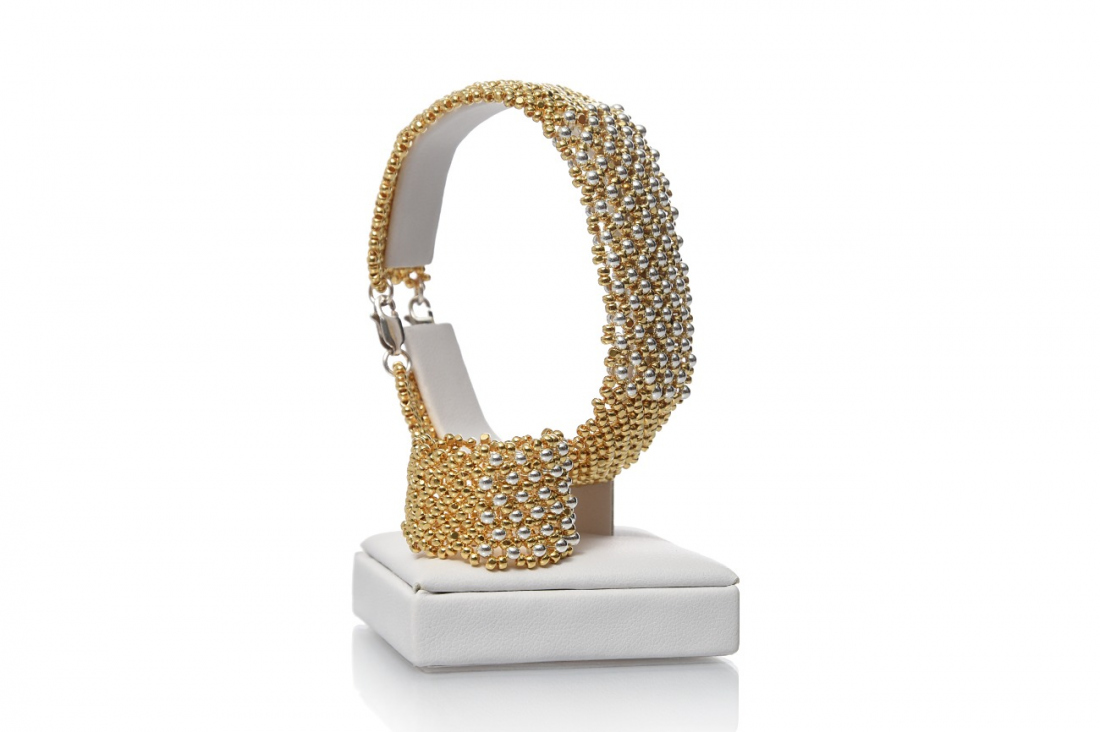
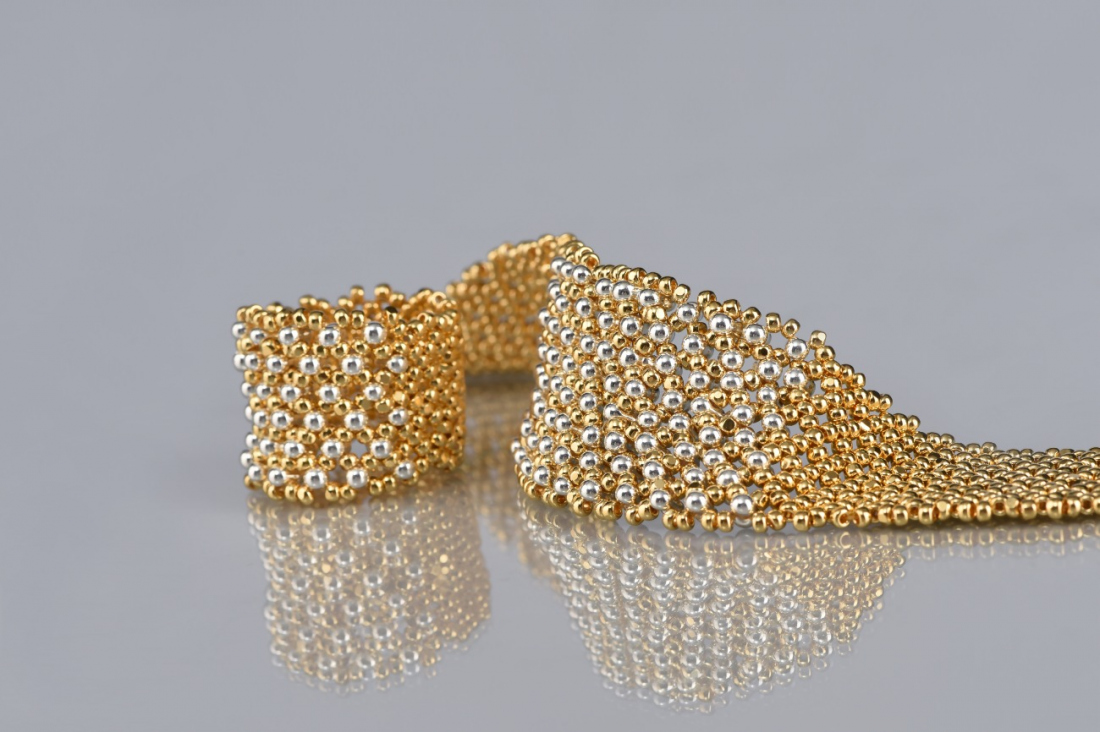
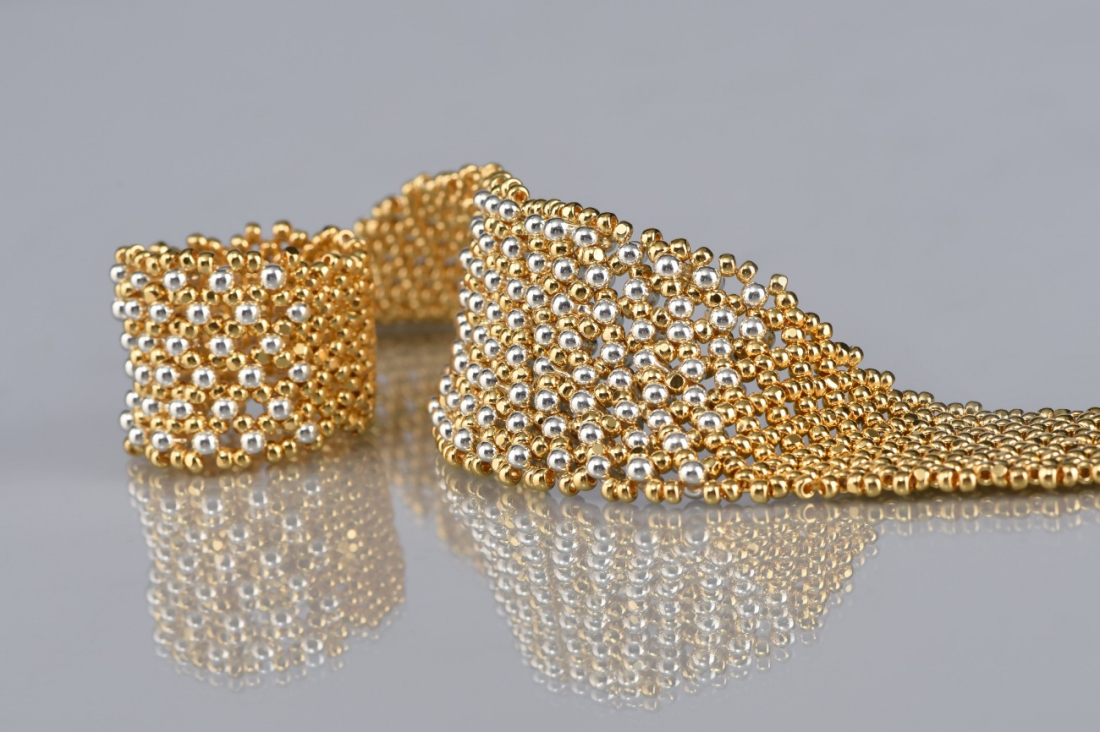
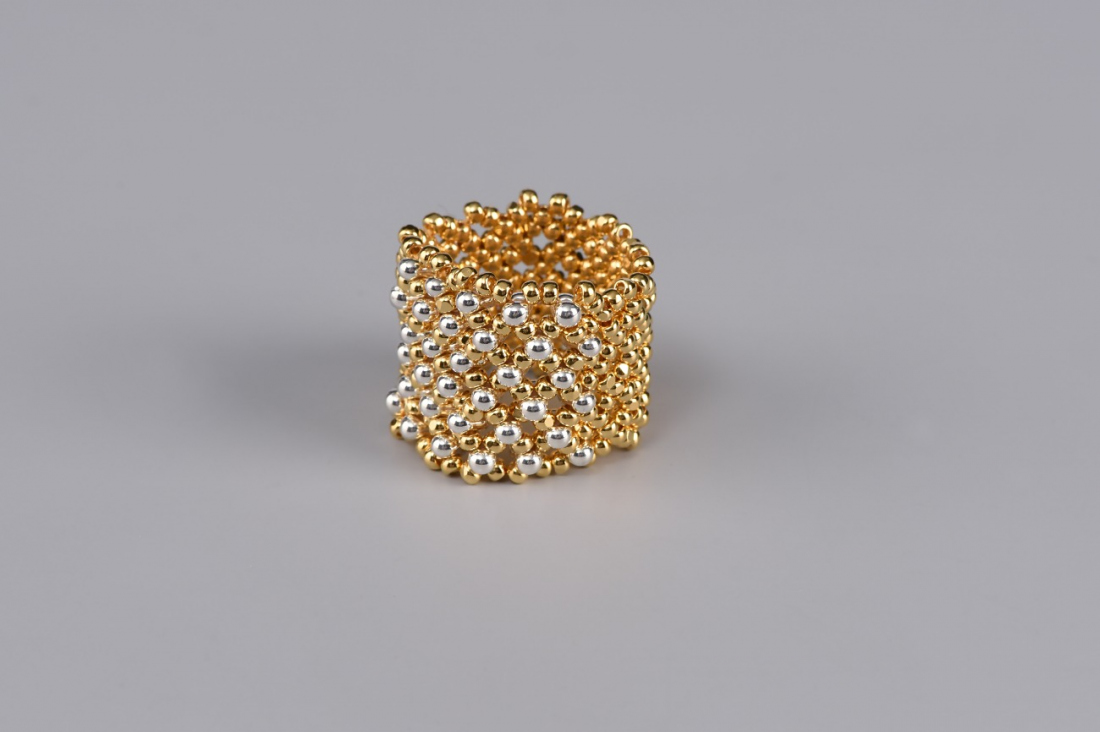
Weave opulent PRECIOSA Luxury Coating cut rocailles and PRECIOSA Farfalle™ together to create a sparkling band to adorn your finger. The pattern can also be adapted to make a matching bracelet for a deluxe shimmering set.

Ambassadors

Kerrie Slade

Kerrie Slade have used Czech PRECIOSA Traditional Czech seed beads in her creation.

Learn More

Materials and tools

PRECIOSA Cut Rocailles

361 11 001; 11/0; 68304 Golg; 5g
(R11)

PRECIOSA Farfalle™

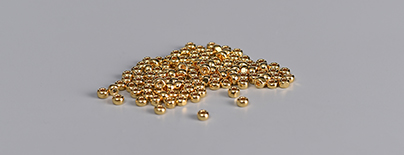
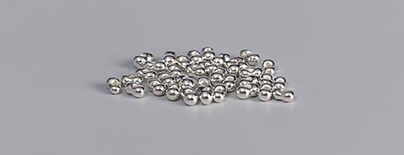
321 90 001; 2 x 4 mm; 68303 Silver; 33x
(F)

Tools

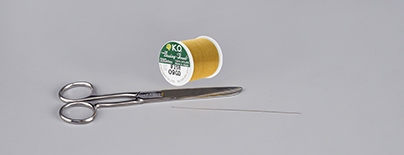
Beading thread; K.O. gold
Scissors
Size 10 to 15 beading needles

Procedure:

To make a Ring

Step 1

Thread your needle with 1.2 m of thread and pick up 15x R11. Leaving a 20 cm tail, pass your needle back through the ninth R11 to create a loop at the end of the row (this forms the beginning of the next row). 

1

Step 2

To complete the second row, pick up 3x R11 and pass back through rocaille 5 of the previous step. Pick up 3x R11 and pass your needle back through the first R11 of the previous step.

2

Step 3

To begin the next row, pick up 4x R11 and pass your needle back through the middle R11 of the last group of 3 added in the previous step. Pick up 3x R11 and pass back through the next middle R11 and complete the row by picking up 3x R11 and passing back through rocaille 14 from step 1. 

3

Step 4

For the next row, pick up 4x R11 and pass your needle back through the middle R11 of the last group of 3 added in the previous step. Pick up 3x R11 and pass back through the next middle R11 and complete the row by picking up 3x R11 and passing back through the third R11 added in the previous step.

4

Step 5

Repeat step 4 for another 7 rows. Remember to pick up 4 rocailles for the first stitch of each row and 3 for the second 2 stitches.

5

Step 6

Continue with the same method as step 4 but for the first stitch in each row pick up 2x R11, 1x F, 1x R11 and for the second 2 stitches pick up 1x R11, 1x F, 1x R11.

6

Step 7

Using the same method, work another 9 rows using R11 and F. Figure 7.

7

Step 8

Using the same method as step 4 work approximately 9 rows with R11 only. See Figure 8a for the first 2 rows. Wrap the band around your finger to check the size. Work more rows if necessary but the final row should have the working thread on the opposite side of the ring band to the tail thread. Figure 8b.

8 / a

Step 9

When your ring is the required length, connect the first and final rows together using new R11s as shown in Figure 9a. Pass your needle through the new R11 and the rocailles either side to reinforce the join. Tie off and trim both threads. Figure 9b.

9 / a

Show pictures of finished ring and bracelet option.

/ a

Download