Seed bead bowl

Difficulty: 2
Technique: stringing (the peyote stitch)

Decorative bowl made from PRECIOSA Rocailles

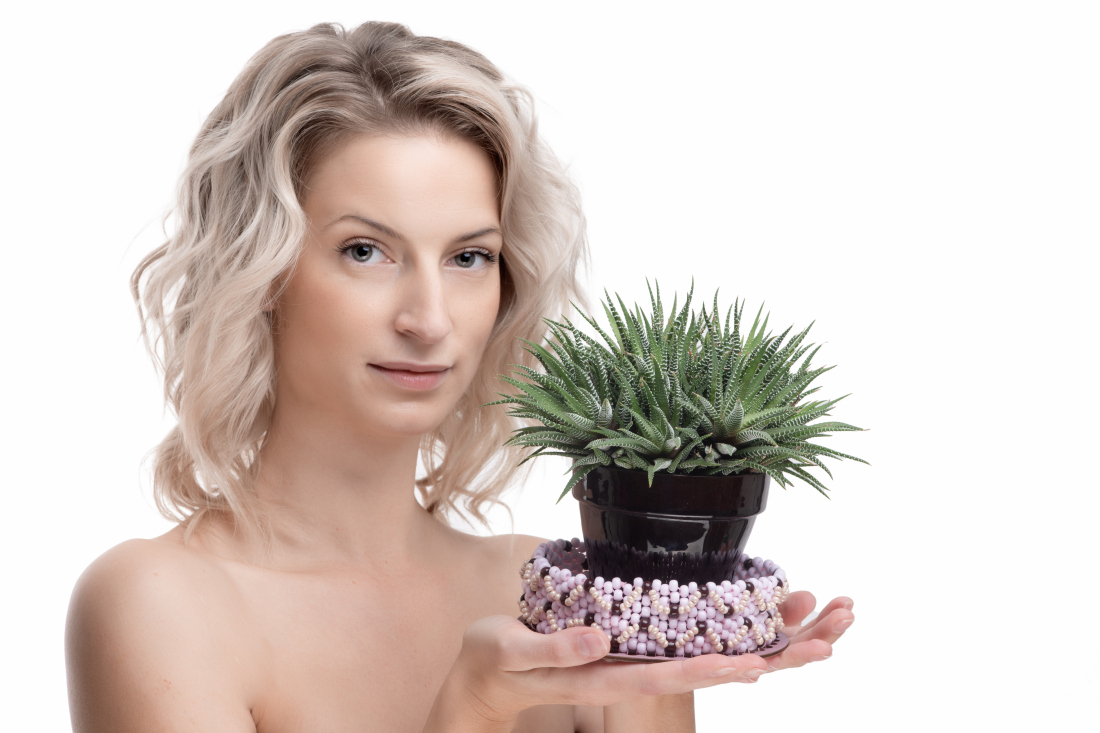
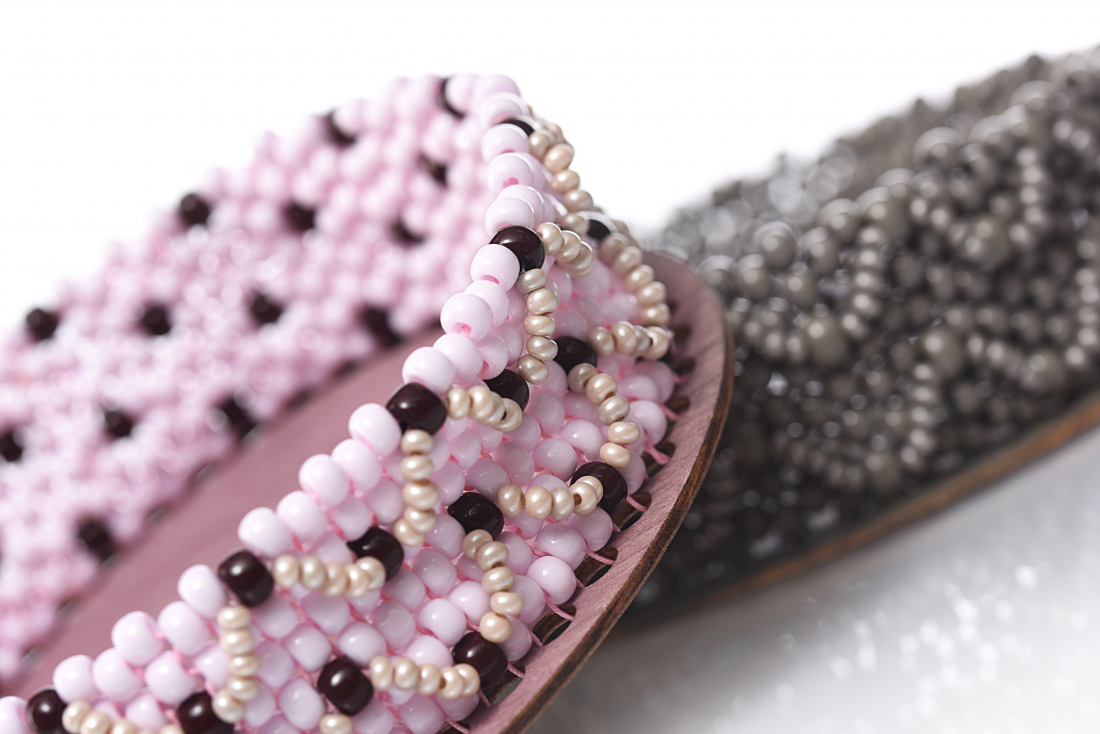
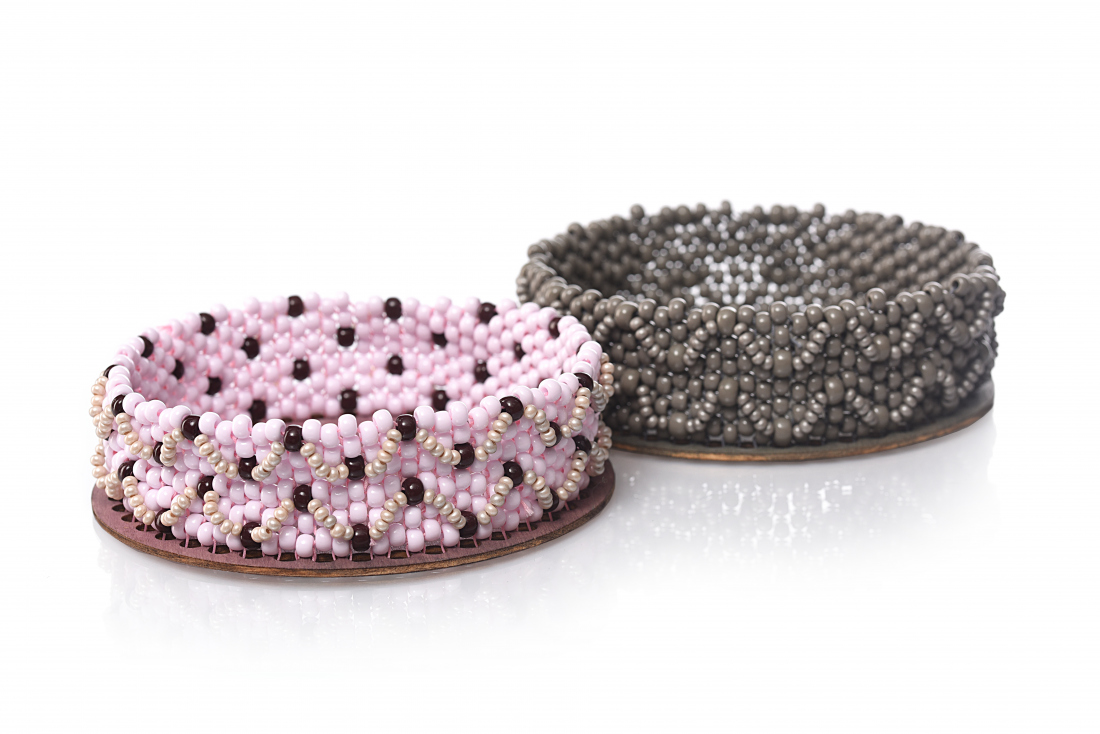
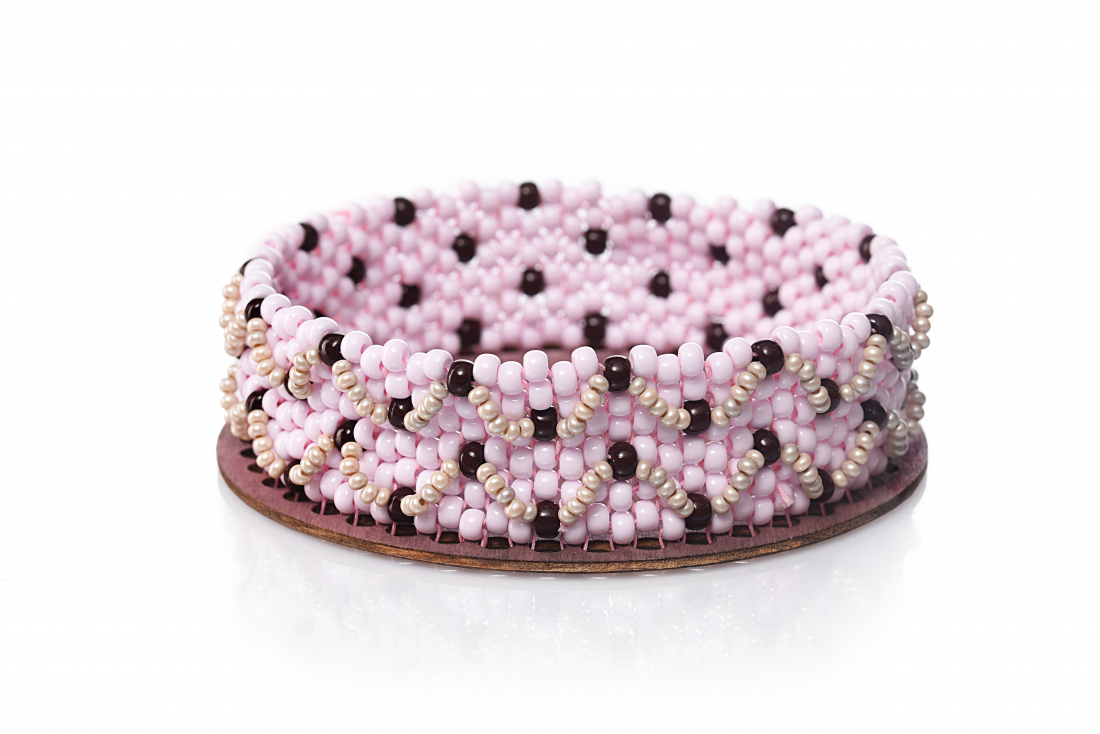
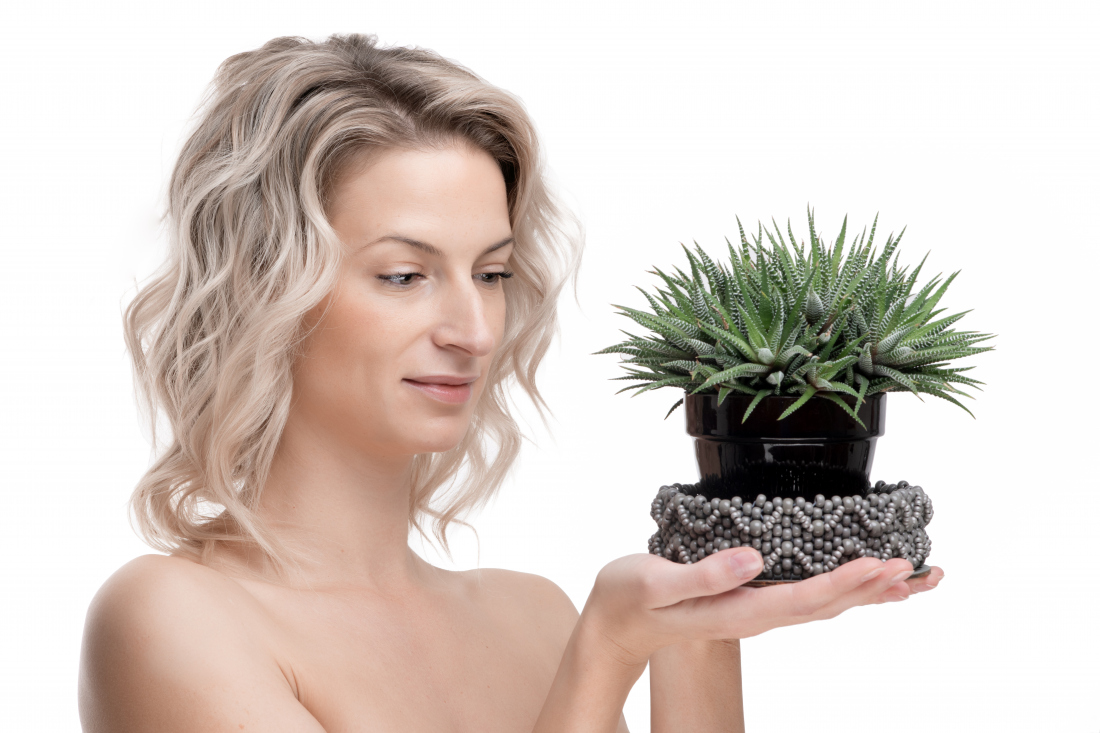
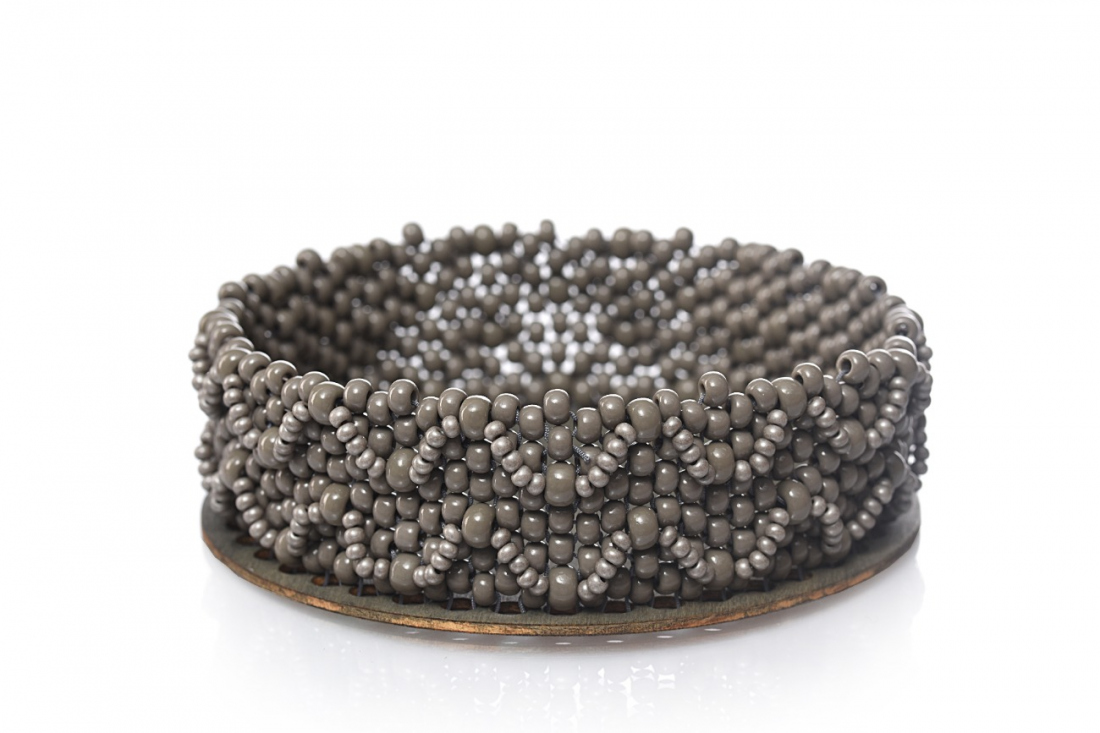
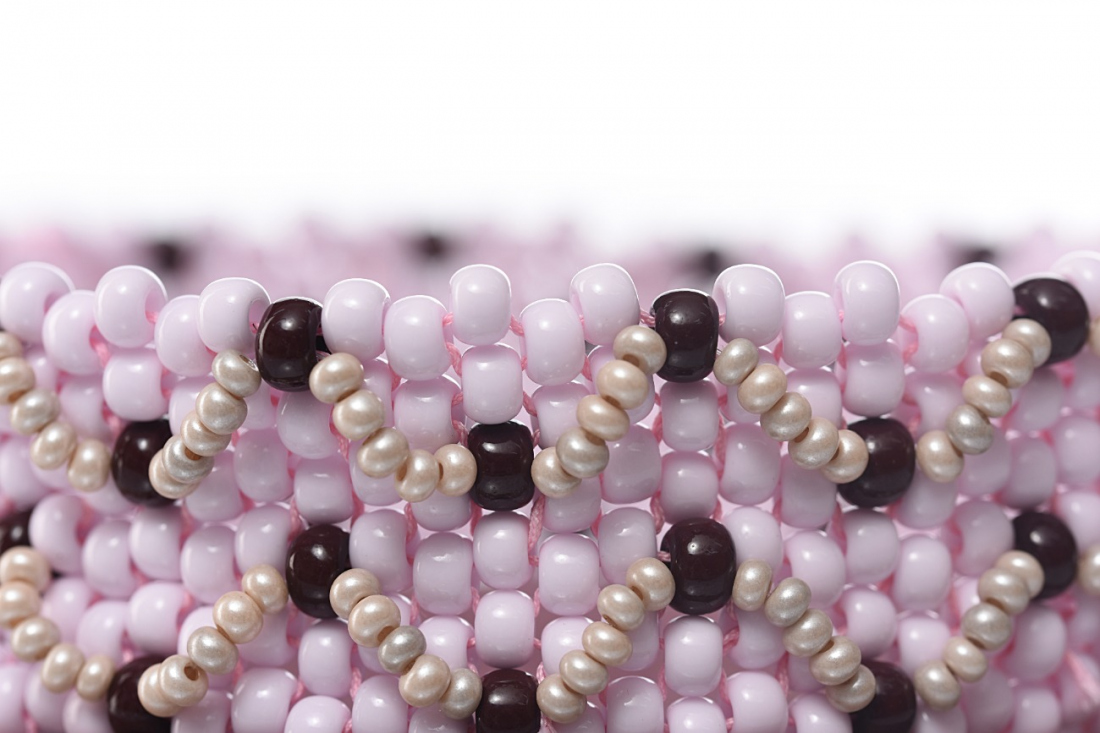
Is being creative your hobby? This tutorial will enable you to easily make a seed bead bowl to sit under a flower pot which will add to the the design scheme in your room. We have taken inspiration from the trending colors for the 2022/2023 winter/autumn season. Be inspired by the trending color schemes in the shades and mood of the Boho style. We wish lots of fun!

Ambassadors

Helena Chmelíková

She is able to switch from luxurious and extravagant fashion show pieces to the preparation of hobby projects,
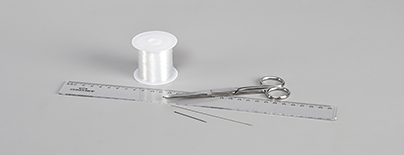
Learn More

Material and Tools

Material

Scissors; a tailor's needle with a larger eye (for stringing the cord); a ruler; a nylon line; a thin needle

Tools

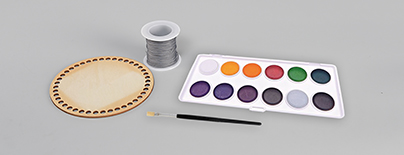
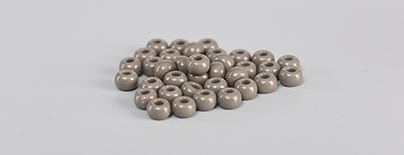
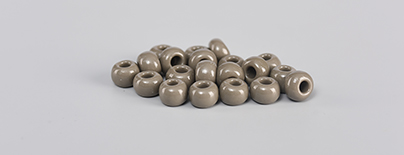
A wooden base for weaving with a diameter of 15 cm (42 holes); a grey cord with a diameter of 0.5 mm; water paints; a small brush

Procedure

Step 1

Paint the base on the day before you start making the bowl. The simplest way is to use water colours and to mix black so that is significantly diluted with water. Once the paint has been absorbed and the surface has dried, you can put a weight on the base in order to prevent the wood from twisting.

1

Step 2

Create the base. Cut off about 150 cm of cord. Thread it through a hole in the base. Shift the base to the centre of the cord. Secure it with a simple knot. First string one half of the cord. Thread the cord into the eye of the needle. Thread a hole on the base from below. String 1x R1. Twist the cord around the connecting point between the holes. Thread the cord through the hole next to the connecting point. Continue to the next free connecting point between two holes. Once again, string 1x R1 and twist it around the connecting point. Continue in the same way. Secure the cord about 10 cm before the end by threading the cord through a hole and tying a simple knot. Work with the second half of the cord. After stringing the last R1, undo the end knot from the first half. Also thread it through the last R1. Tie off the cord. Pull the ends of the cords into the R until you have created several rows.

Note!

The most demanding thing in the entire project is keeping the R1 above the connecting point. It will help, if you keep the cord tight. Otherwise, the R1 can be raised from the holes on the base using the needle.

2 / a

/ a

/ a

Step 3

Cut off 80 cm of cord. String the 1st row using the peyote stitch. String 1x R1 or R2 into each of the gaps between the R1 as follows: 2x R1, 1x R2, 2x R1, 1x R2 etc. Tie it off.

3 / a

Step 4

String the 2nd row. String 1x R1 into each gap between the R1 or R2 from the previous row. Tie off the cord. You can sew the ends of the cords into three or four R from the base and the 1st row.

4 / a

Step 5

String the 3rd row. Repeat the same stringing as in the 2nd row. String the 4th row. Now, it is necessary to once again string 1x R in the same way as in the 1st row – 2x R1, 1x R2, 2x R1, 1x R2 etc. You must keep an eye on the placement of the R2. It is located in the gap between the R1 while taking into account the placement of the R2 in the 1st row. Sew in the ends of the cords from the 2nd and 3rd rows.

5 / a

Step 6

String the 5th row using only R1. String the 6th row using only R1. String the 7th row from R1 and R2. Place the R2 in the same way as in the 1st row.

6 / a

Step 7

String the 8th row using only R1. String the 9th row using only R1. String the 10th row from R1 and R2. Place the R2 in the same way as in the 4th row. String the 11th row using only R1. Sew in all of the cords.

7 / a

Step 8

Prepare 1 m of line or thread with a needle. Thread it through the R2 in the 1st row. String 5x R3. Thread the line through the R2 from the 4th row. Thread the line through the 5x R3 again. Continue until you have added arches around the entire circumference. Tie off the thread, pull the ends into an R3 and cut off the ends. Continue in the same way when creating the 2nd row of arches. This time, thread the line through the R2 from the 7th and 10th rows.

8 / a

Downloads