Season’s Greetings

Difficulty: 3
Technique: 2 and 3-drop brick stitch, square stitch and surface embellishment

Christmas card with PRECIOSA PermaLux seed beads

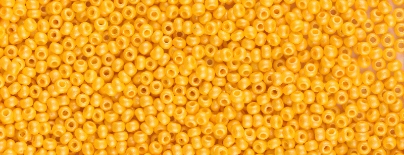
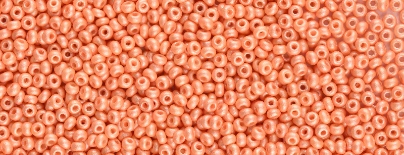
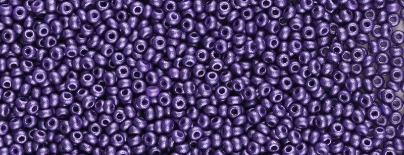
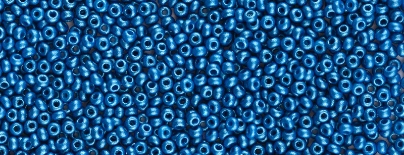
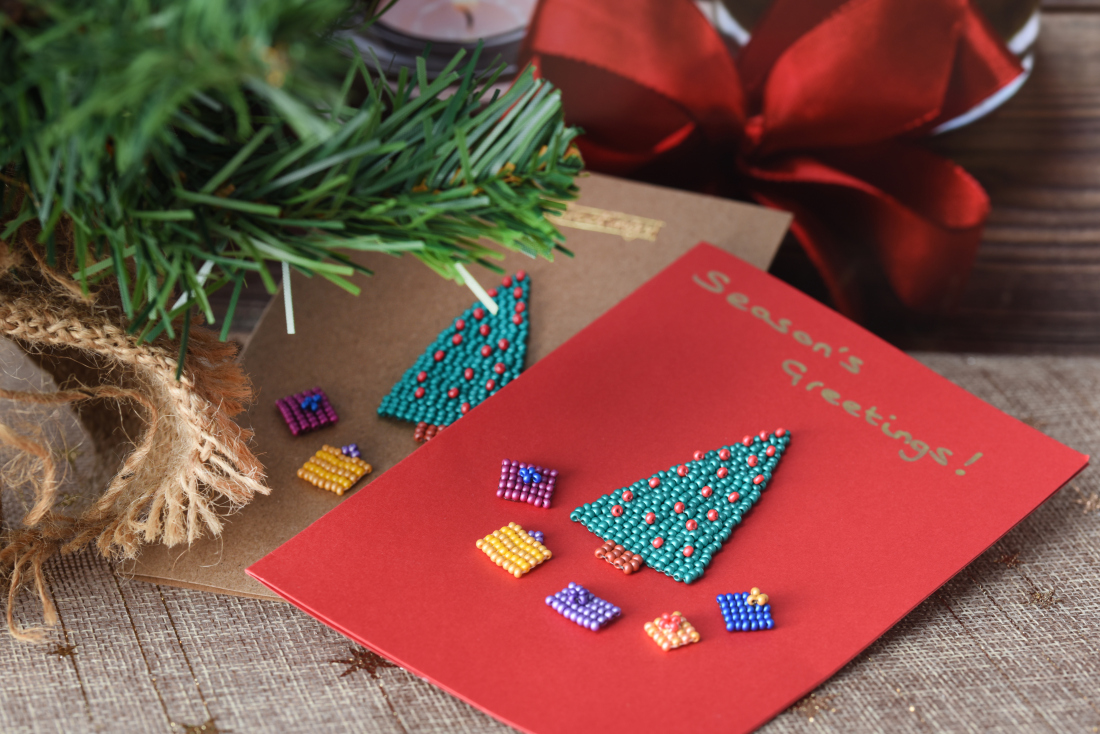
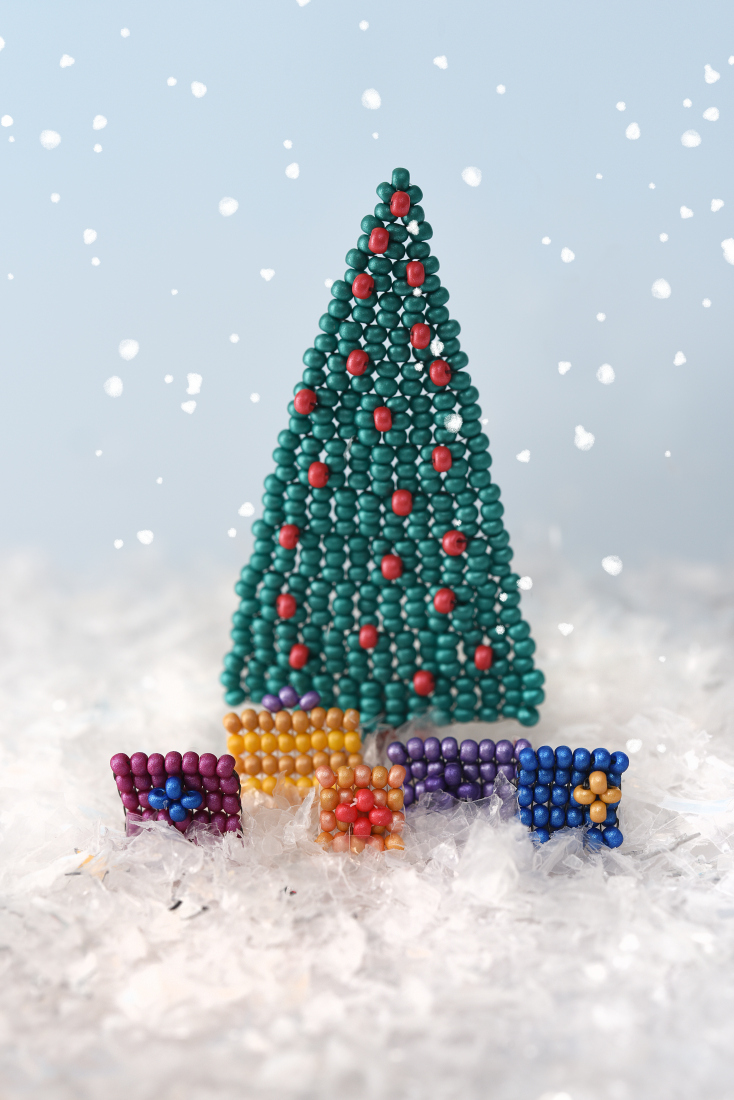
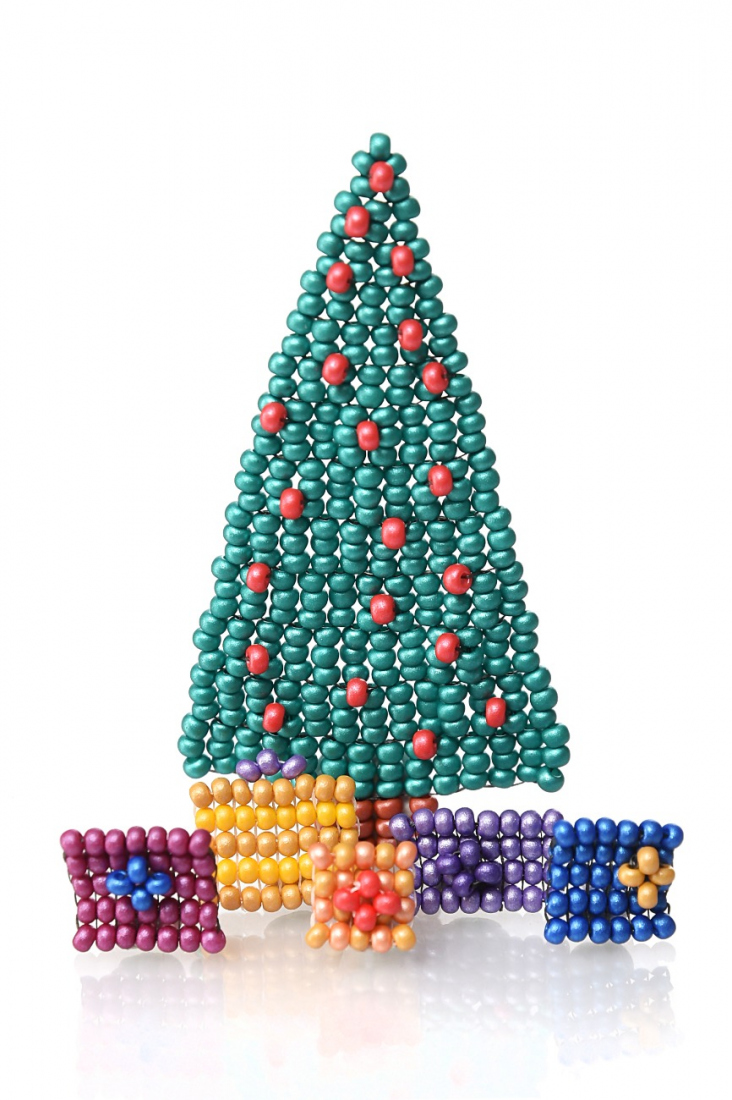
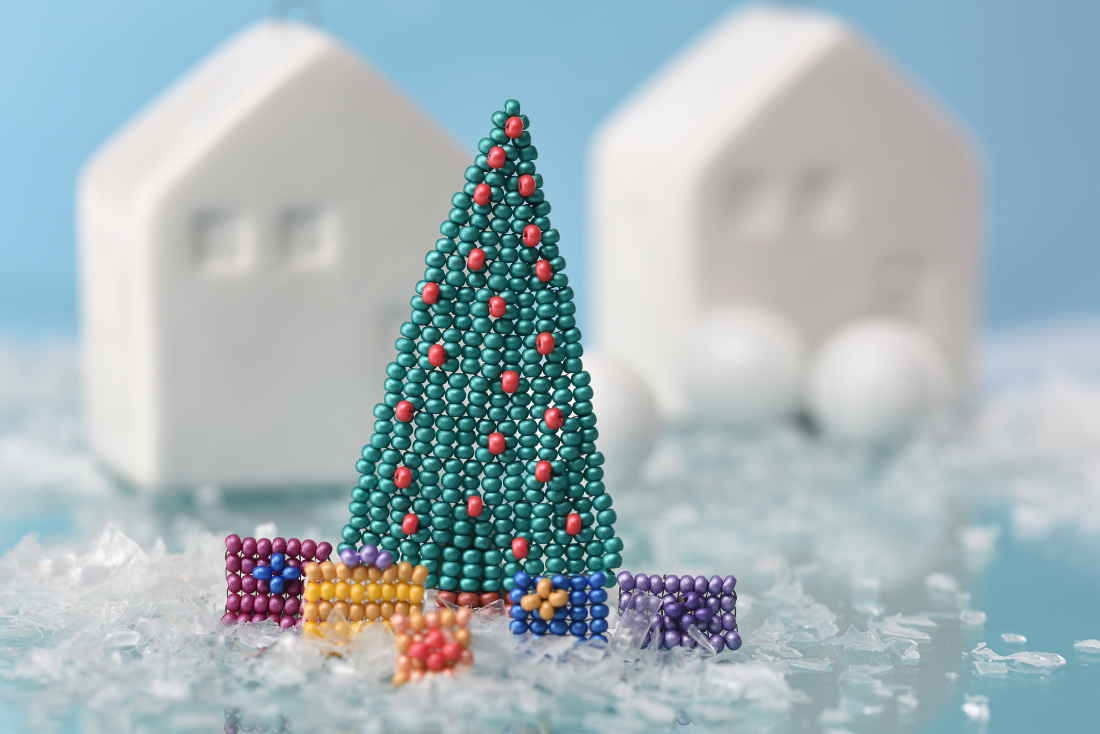
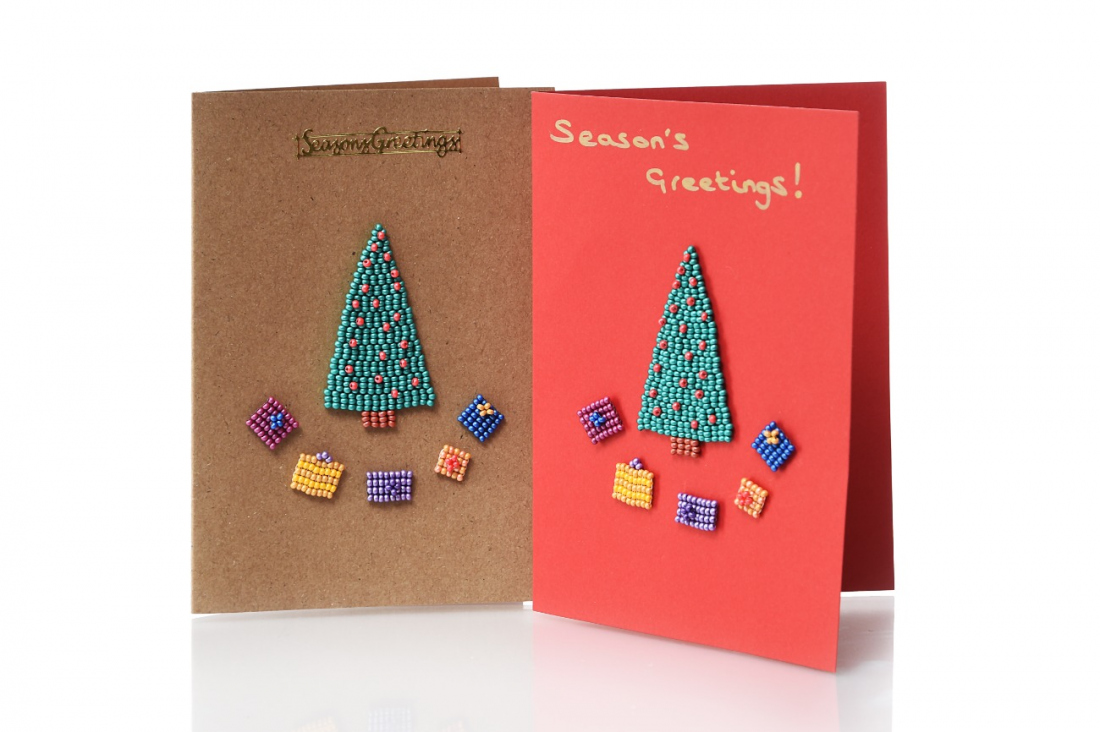
Pick your favourite PRECIOSA Permalux colors and delight your family and friends this holiday season by making them a special greetings card they will want to keep forever.

Ambassadors

Kerrie Slade

Kerrie Slade have used Czech PRECIOSA Traditional Czech seed beads in her creation.
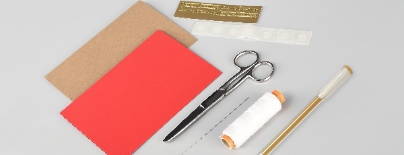
Learn More

Procedure

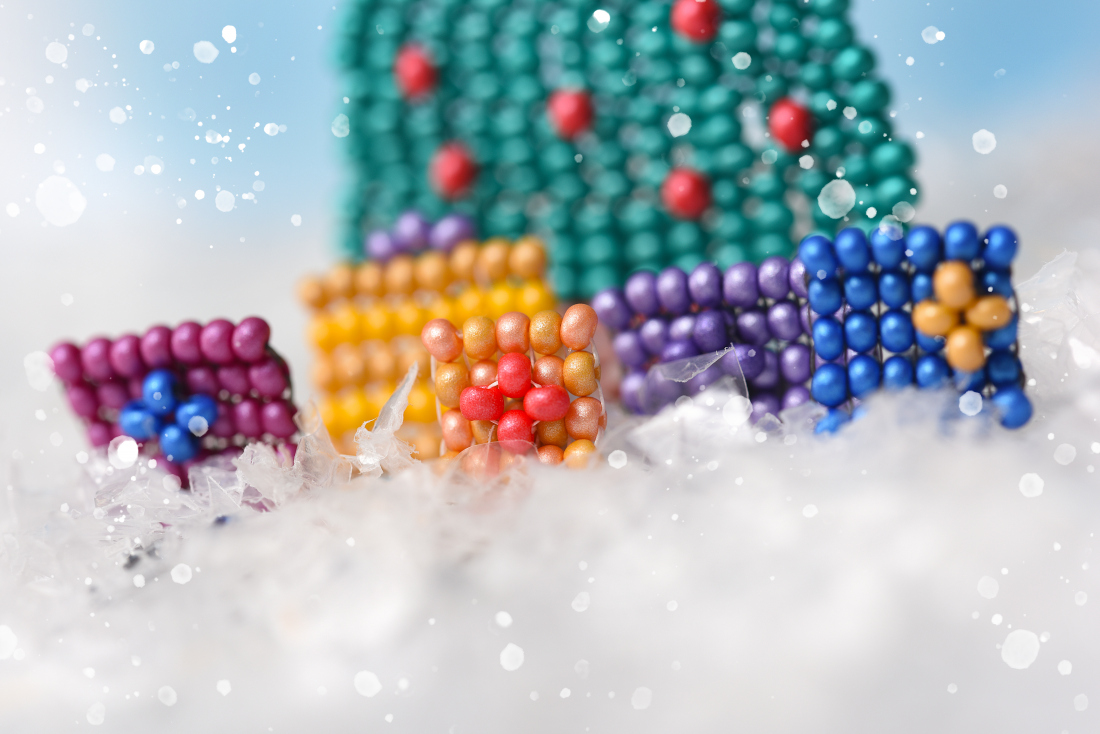
In the diagrams, beads with a black outline are the new beads being added, beads with no outline were added in previous steps.

Step 1

To make your tree

Thread your needle with 2 m of thread and pick up 4x R10A. Leaving a 15 cm tail, pass your needle through the first 2x R10A again and encourage the 2 stacks of rocailles to sit side by side. Figure 1.

TIP: If you prefer working with shorter lengths of thread, begin with a comfortable length and tie in additional thread as required.

1

Step 2

Pass through the second 2x R10A added in the previous step, pick up 1x R10A and then pass through the first 2x R10A added in step 1. Figure 2.

2

Step 3

Working in 2-drop brick stitch, pick up 4x R10A and pass your needle under the thread bridge on top of the stacks of R10A added in step 1 and back through the second 2x R10A just added. Figure 3a. Complete the row by picking up 2x R10A, passing your needle under the same thread bridge and back through the new R10A. Figure 3b.

3 / a

Step 4

Using the same method, follow the diagrams in Figures 4a and 4b to work the next 2 rows. Note that the first 4x R10A at the beginning of each row are picked up at the same time and the remaining R10A are added 2 at a time. Add 4x R10A to the first and last thread bridges in each row and 2x R10A to the other thread bridges. Pull your thread firmly as you work to avoid any gaps and to encourage the stacks to sit in neat lines.

4 / a

Step 5

Continuing in the same way, follow the pattern in Figure 5 to work the next 2 rows. Remember that the 4x R10A at the beginning of each row are picked up at the same time and the remaining rocailles are added 2 at a time.
Add 4x R10A to the first and last thread bridges in each row and 2x R10A to the other thread bridges.

5

Step 6

Begin working in 3-drop brick stitch by picking up 6x R10A, passing your needle under the thread bridge created at the end of the previous row and back through the last 3x R10A just added. Complete the row by adding 3x R10A to each remaining thread bridge created in the previous row with 2 sets of 3x R10A added to the final thread bridge. Figure 6.

6

Step 7

Using the same method, follow the pattern in Figure 7 to work the next 6 rows. Remember that the 6x R10A at the beginning of each row are picked up at the same time and the remaining rocailles are added 3 at a time.

Add 6x R10A to the first and last thread bridges in each row and 3x R10A to the other thread bridges.

7

Step 8

To create the trunk of the tree, follow the thread path in Figure 8a to get into the correct starting position, then pick up 6x R10B and pass down and up the stacks shown. Encourage the 2 stacks to sit side by side. Pick up 6x R10B and follow the thread path shown in Figure 8b. Follow Figures 8c - 8e to connect the trunk stacks.

Note: for clarity, the diagrams show the final 3 rows of the tree only.

8 / a

Step 9

To decorate your tree, turn your work around so that the trunk is at the bottom. Travel to exit the R10A shown in Figure 9a, pick up 1x R10C and pass through the next 5x R10A as shown. Pick up 1x R10C and pass through the 6x R10A shown in Figure 9b and then follow the thread path shown in Figure 9c to add the next 1x R10C.

Using the same method, and the photo of the finished piece as a guide, travel around your tree adding R10C in a pleasing formation. Tie off and trim both threads.

9 / a

Step 10

To make the gifts

To make the striped gift

Thread your needle with 65 cm of thread and pick up 8x R11A. Working in square stitch and leaving a 20 cm tail, pick up 2x R11B and pass through the last 2x R11A just added and through both R11B again. Figure 10a. Pick up 1x R11B, pass through the 6th and 7th R11A and through the 2nd and 3rd R11B. Figure 10b. Pick up 1x R11B and pass through the 5th and 6th R11A and through the 3rd and 4th R11B. Figure 10c. Using the same method, add another 4x R11B to complete the row. Figure 10d.

10 / a

Step 11

To work the following row, pick up 2x R11A, pass through the 7th and 8th R11B added in the previous step and through both new R11A again. Figure 11a. Pick up 1x R11A, pass through the 6th and 7th R11B added in the previous step and through the 2nd and 3rd R11A in this row. Figure 11b. Pick up 1x R11A, pass through the 5th and 6th R11B added in the previous step and through the 3rd and 4th R11A in this row. Figure 11c. Using the same method, add another 4x R11A to complete the row. Figure 11d.

11 / a

Step 12

Using the method above, create 2 more rows, the first using R11B and the second using R11A.

Step 13

To add the decoration, use the tail thread and follow the thread path shown in Figure 13, pick up 3x R11C and pass your needle through the 3x R11A at the end of the row. Tie off and trim both threads.

13 / a

Step 14

To make the checked gift

Thread your needle with 55 cm of thread and pick up 5x R11 in the following order: ADADA. This will form the first row. Leaving a 15 cm tail, pick up 1x R11D and 1x R11A and pass through the last 2x R11 in the first row and through the 2 new R11 again. Figure 14a. Pick up 1x R11D, pass through the 3rd and 4th R11 in the first row and the 2nd and 3rd R11 in this row. Figure 14b. Using the same method, add another 1x R11A and 1x R11D to complete the row. Figure 14c.

14 / a

Step 15

Using the method above, create 2 more rows using alternate R11A and R11D. Figure 15.

15

Step 16

To add the decoration, travel to exit the R11A shown in Figure 16a. Pick up 1x R11E, pass through the R11D shown, pick up 1x R11E and pass through the first R11A and R11E again. Pick up 1x R11E and pass through the second R11E added in the previous step, then pick up 1x R11E and pass through the first R11E added in the previous step. Figure 16b. Pass through all R11E again and then tie off and trim the threads.

16 / a

Step 17

Using the same method, make another 3 gifts using the remaining colours. Vary the number of R11s in the original rows and the number of rows to create different shapes and sizes. Add a decoration as detailed in step 13 or 16 to each gift.

17

Step 18

To assemble your card

Attach the greetings sticker to the top front centre of a card blank (alternatively use a metallic pen to hand write a personalised greeting). Using the photos as a guide, carefully attach your tree and gifts to the front of the card using the adhesive of your choice.

18 / a

Downloads