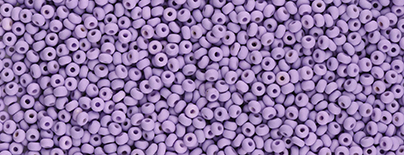
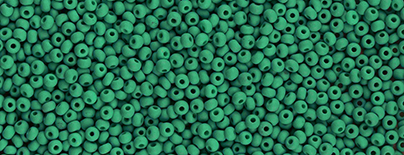
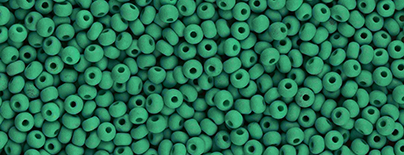
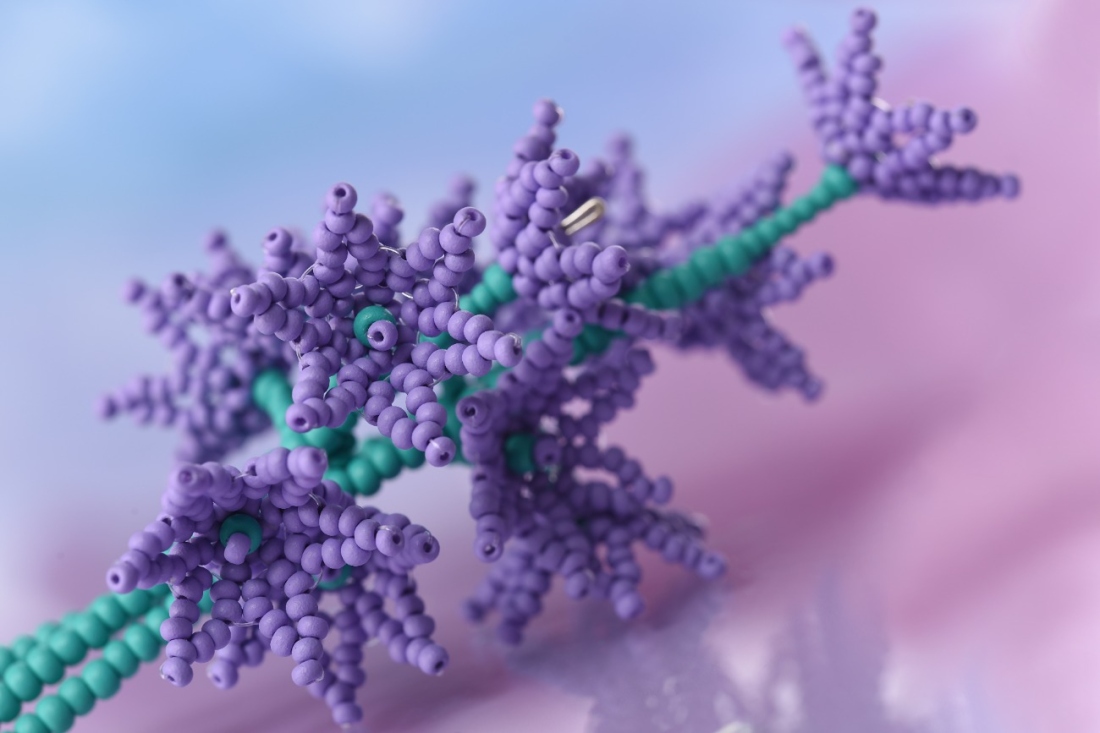
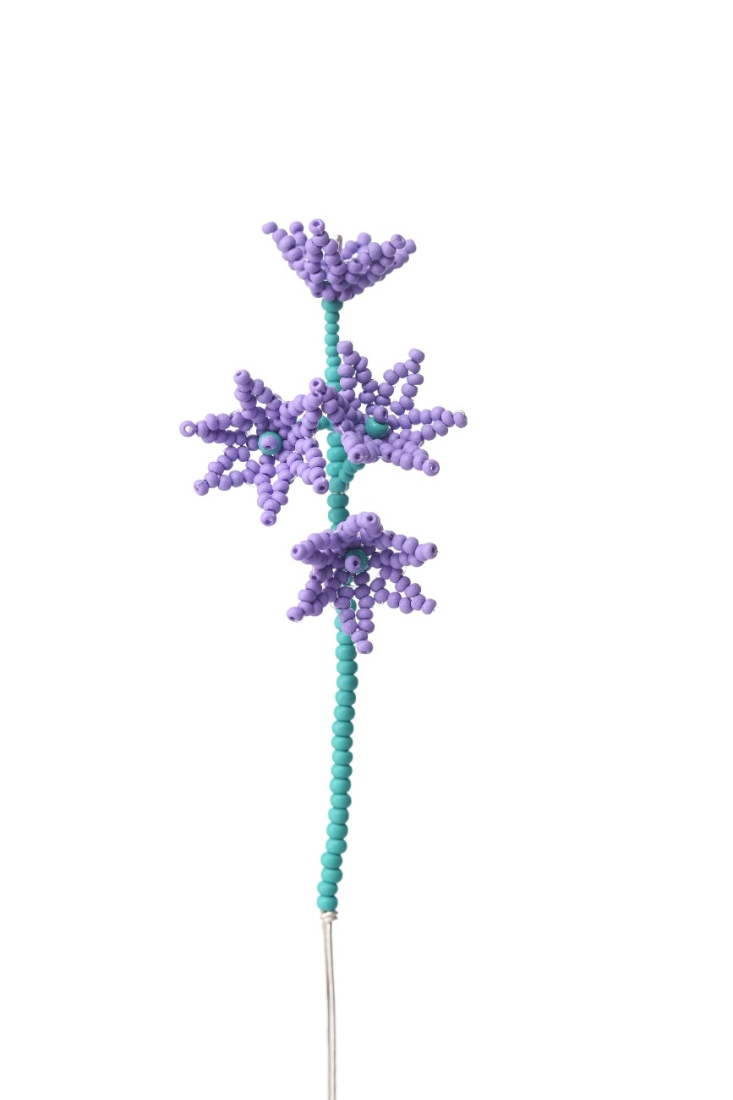
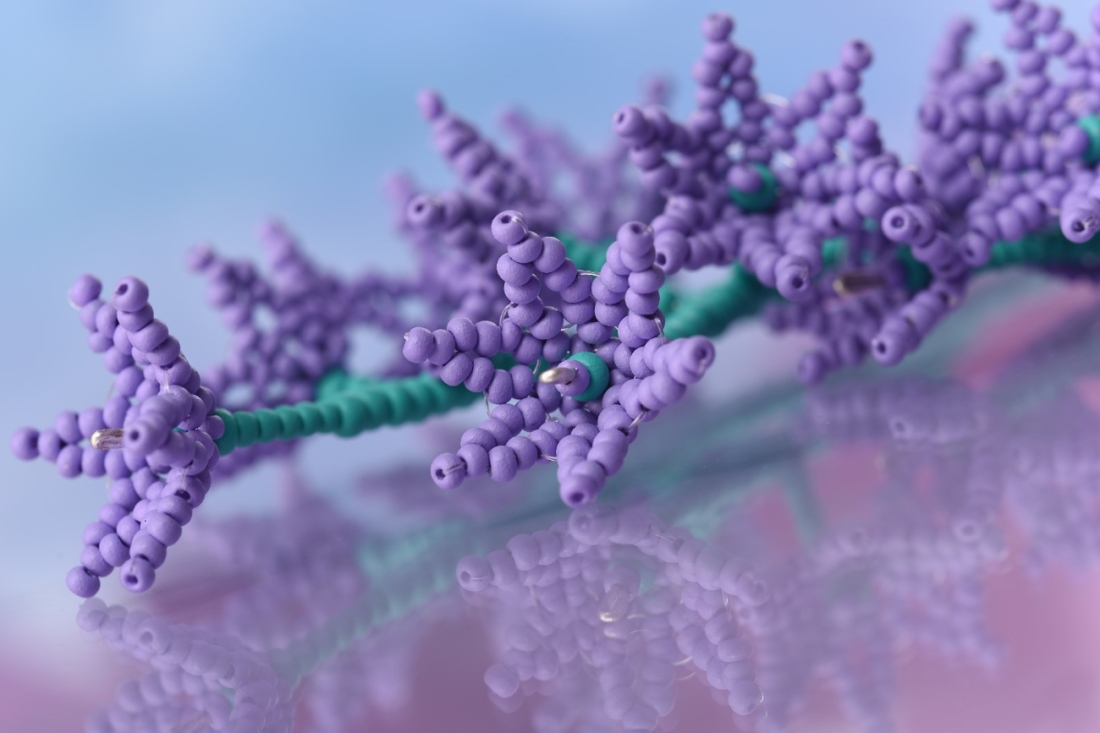
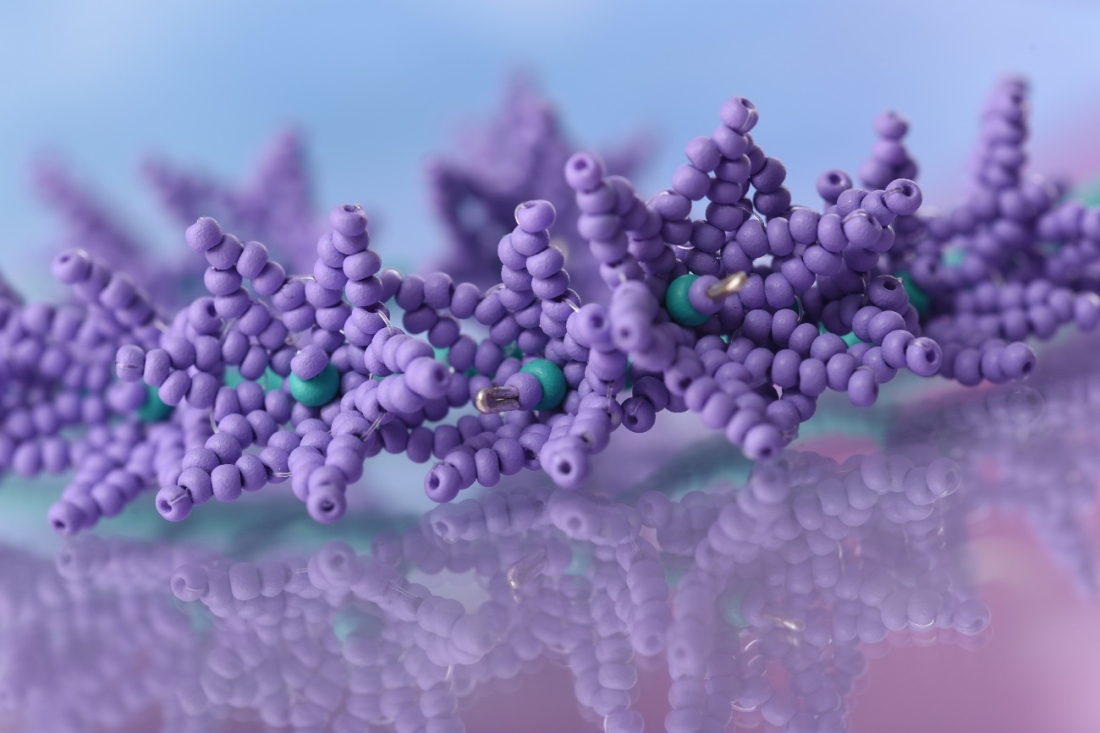
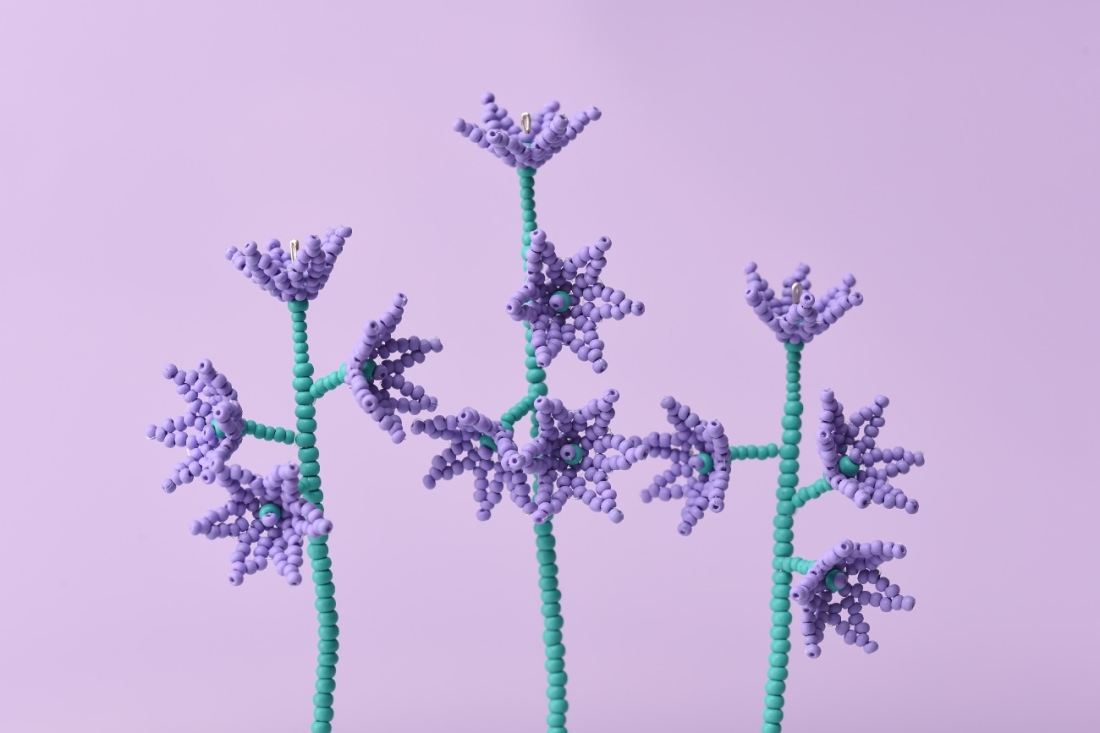
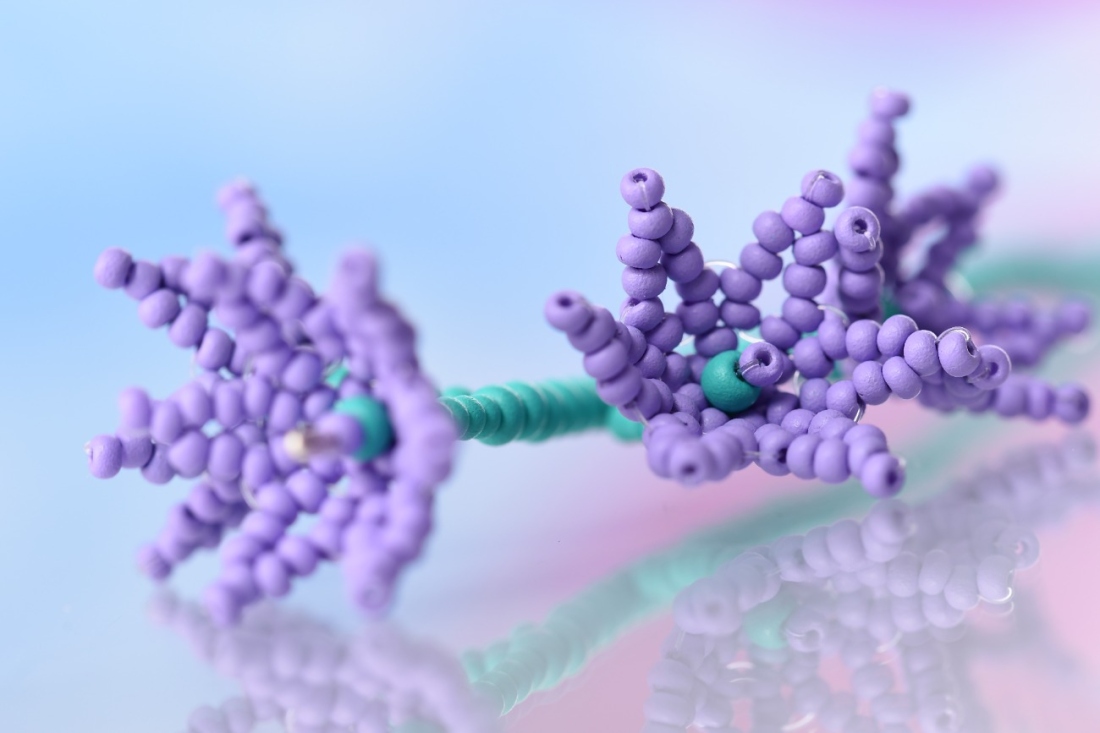
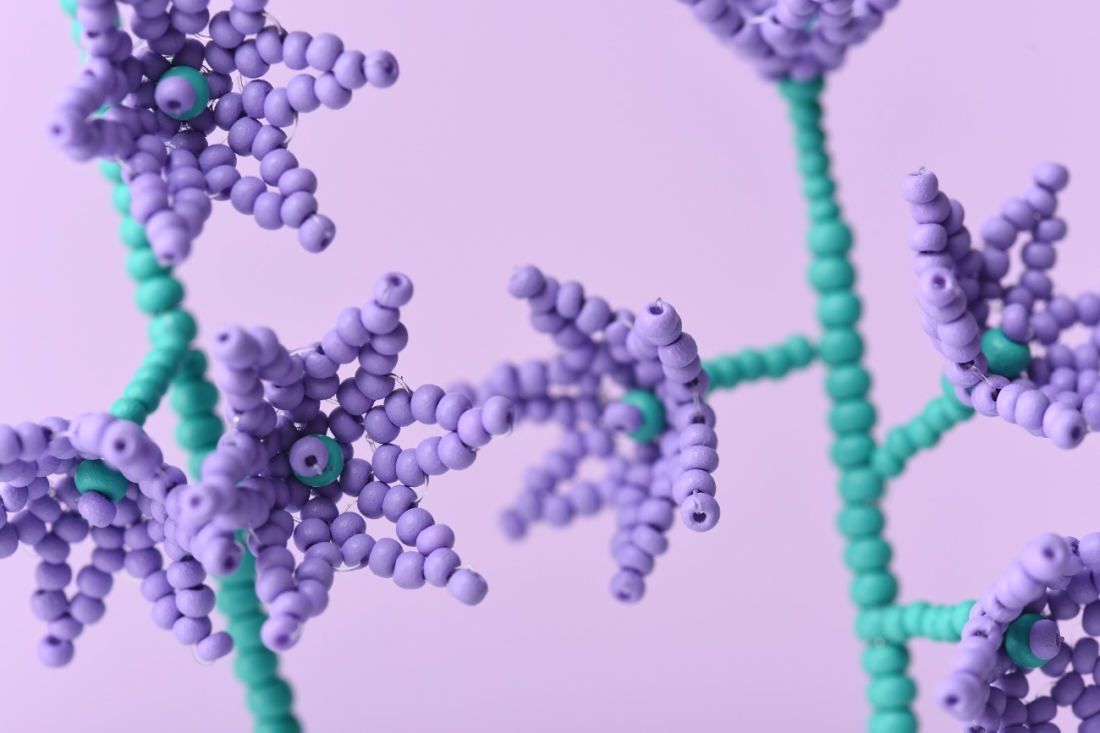
Spring has yet to manifest itself in full strength and you are no doubt impatiently waiting for the first signs of life to bud. Redirect your anticipation and enthusiasm into the Scilla project. These spring bulbs bloom in ideal shades of purple, blue and pink from the range PRECIOSA PermaLux seed beads.

She is able to switch from luxurious and extravagant fashion show pieces to the preparation of hobby projects,
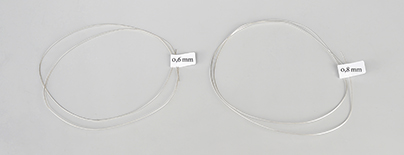
Learn More0.6 mm and 0.8 mm wire
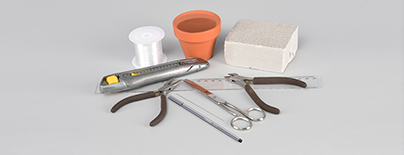
A thin needle; a 0.25 mm nylon line; scissors; snipping pliers; flat-nosed pliers; a ruler; a small flowerpot with a diameter of 7 cm (the top outer edge); extruded polystyrene (a height of 4 cm); a cutting knife; a felt tip
Share this project with your friends
This website uses cookies
PRECIOSA ORNELA, a.s. hereby informs you that its website uses cookies You can find more information about our cookies and how your data is processed in the privacy statement. We request your consent to use cookies specified below.