Round and Round

Difficulty: 2
Technique: gluing

Christmas tree decorations

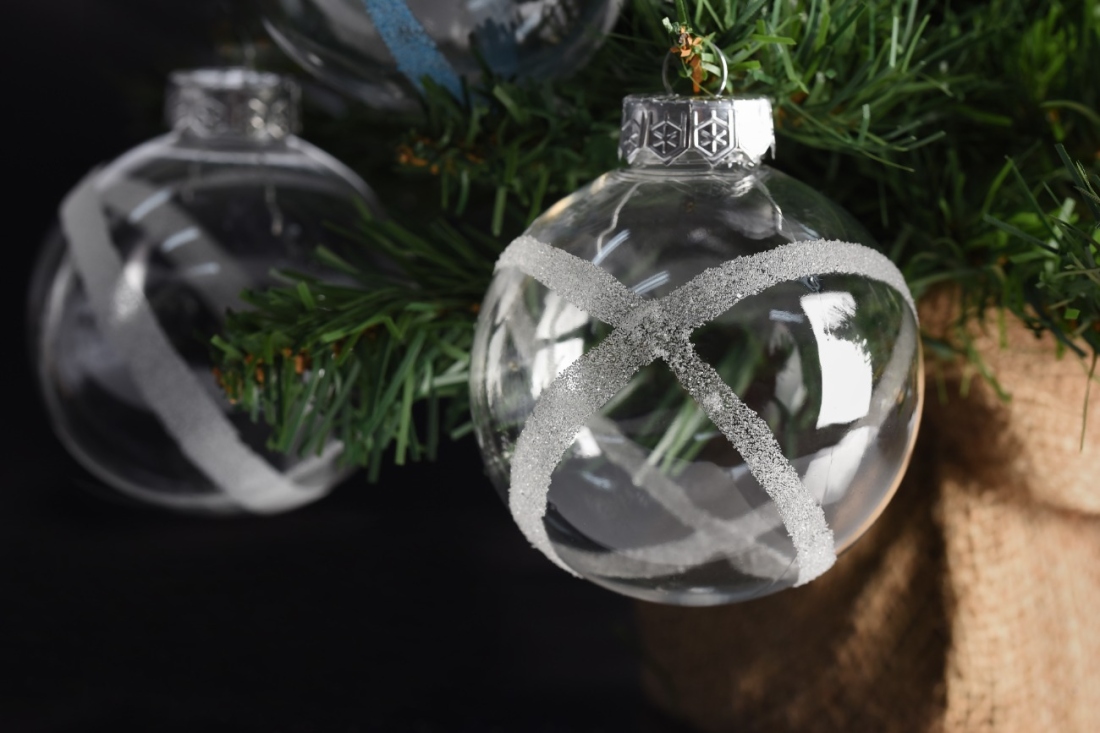
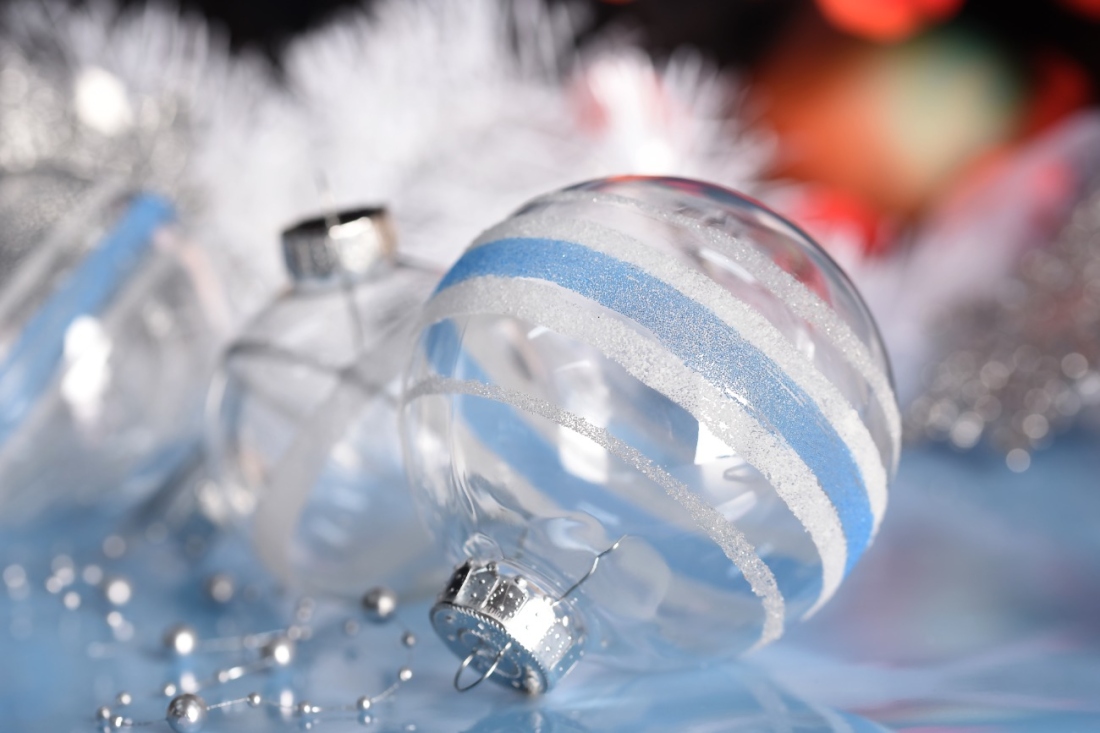
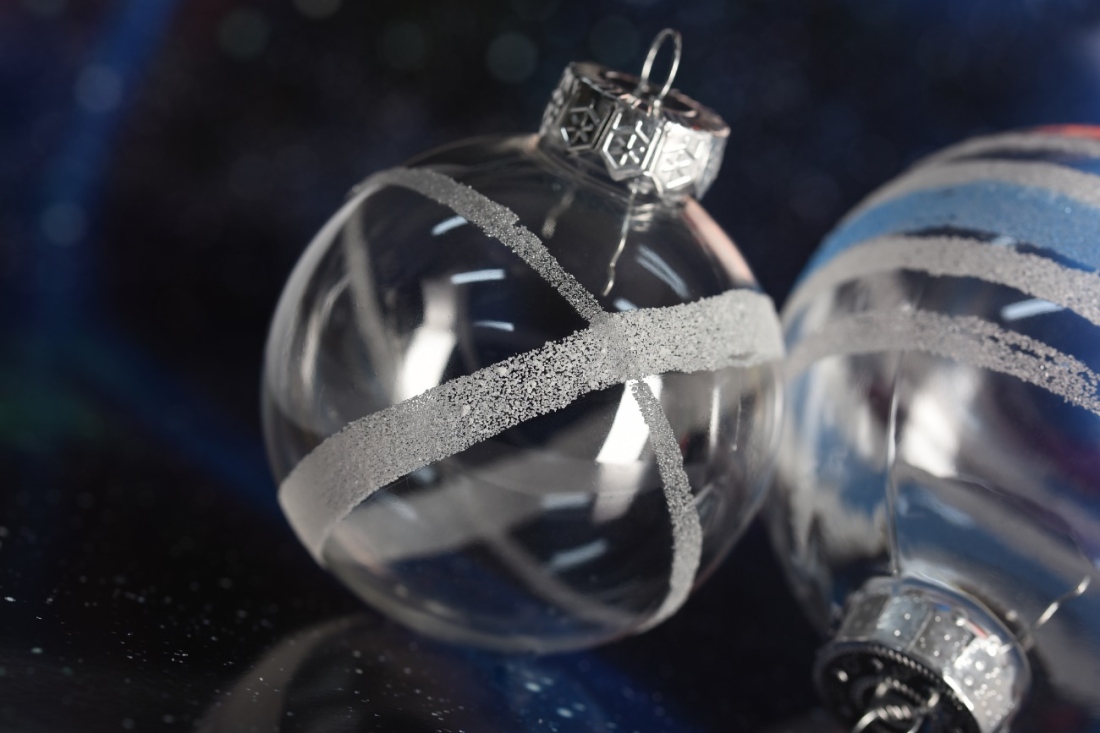
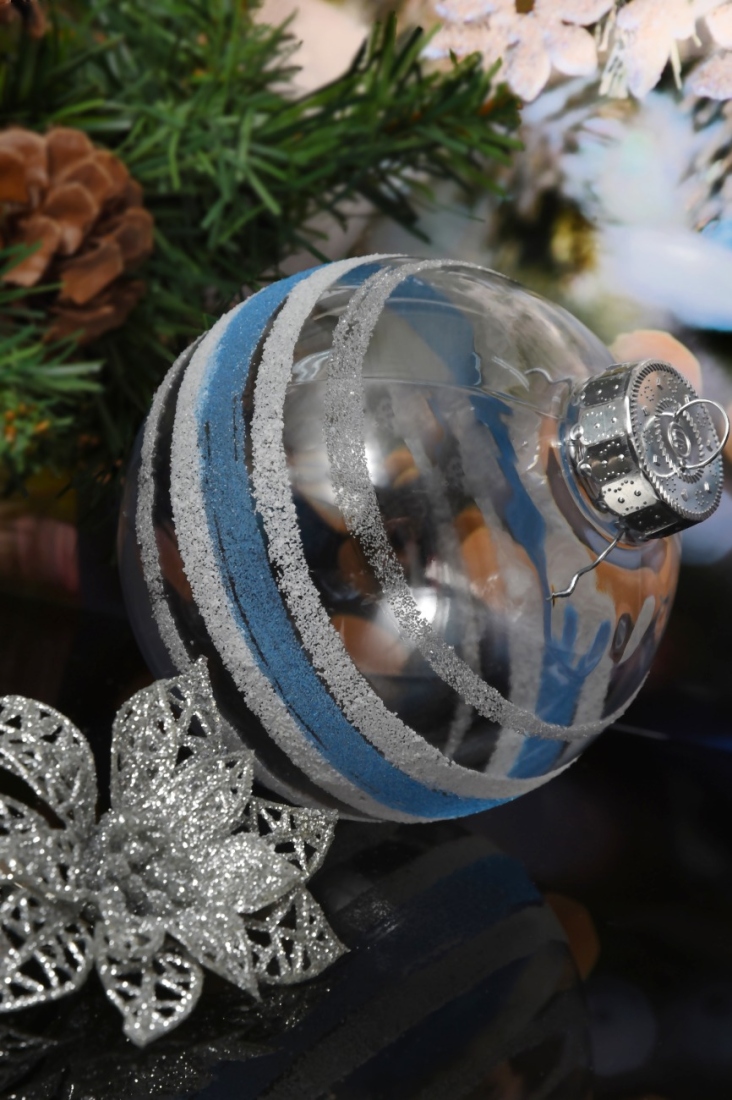
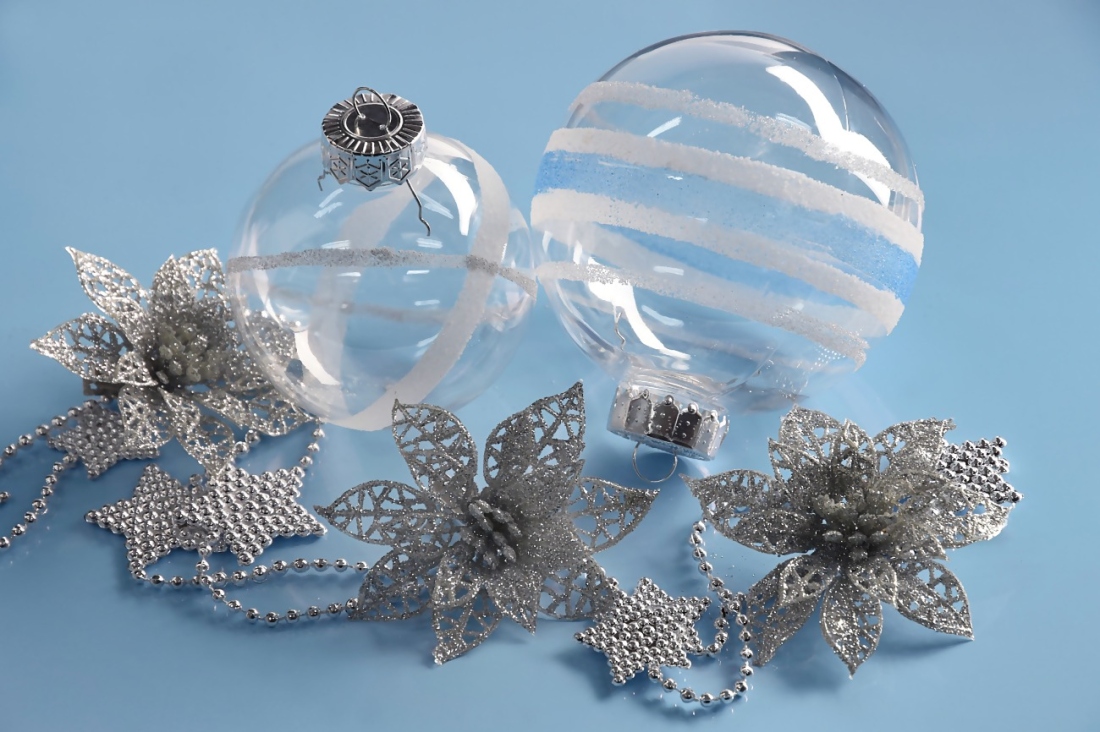
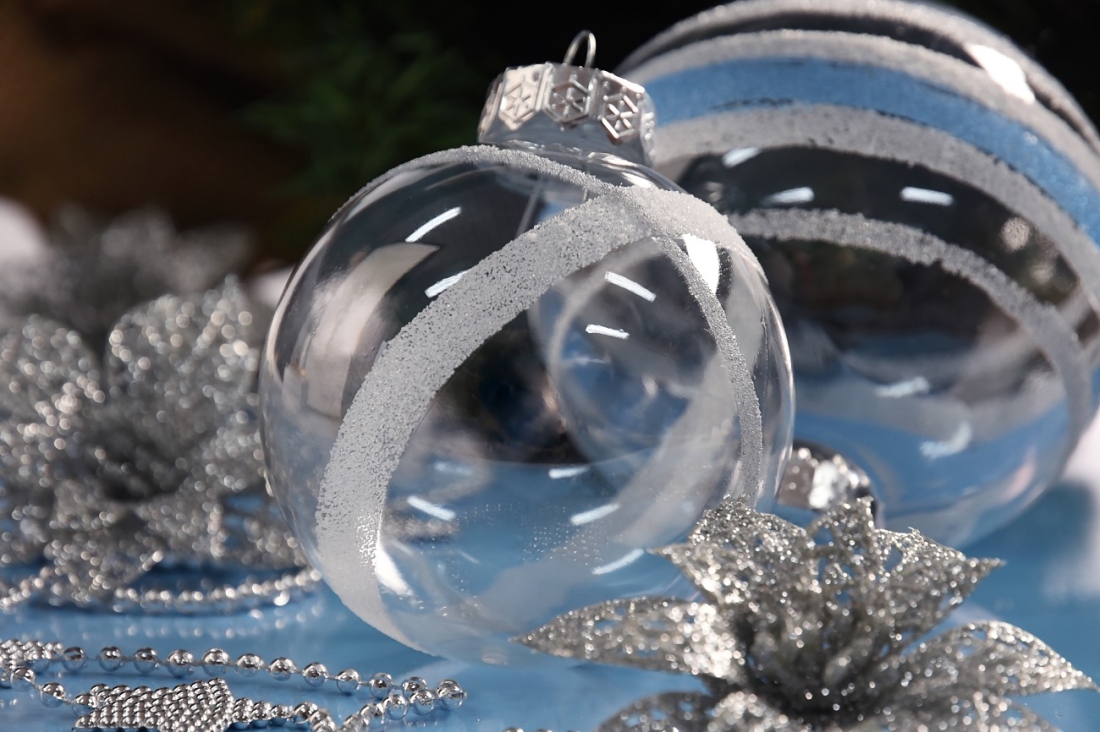
The joy of decorating a Christmas tree is enhanced by decorations of various shapes decorated with glass microbeads from the PRECIOSA Traditional Czech Glass™ brand. Anybody can make them, young and old alike.

Ambassadors

Helena Chmelíková

She is able to switch from luxurious and extravagant fashion show pieces to the preparation of hobby projects,
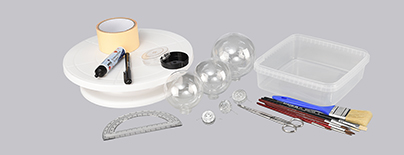
Learn More

Material and Tools

Tools

A water-based glue for strass stones (Kreul); plastic flasks – diameters of 8 cm and 10 cm; round school brushes - nos. 1, 2, 7, 8; flat school brushes - nos. 8, 10; a flat brush for varnish and paint, for example size 1.5"; a cake decorating turntable; skewers; 5 cm wide double-sided tape; a permanent marker; a small ruler; a container for the glue; a container for the microbeads; scissors

Procedure

Step 1

Wash the flasks. This will degrease them. The glue will adhere better.

Step 2

Cut off about 8 cm of double-sided tape. Adhere it to the centre of the cake decorating turntable.

2 / a

Step 3

Measure the span of the flask's neck. Place the centre of the neck on the centre of the turntable. Mark four small dots corresponding to the diameter of the neck using the marker.

3 / a

Step 4

Prepare the glue in the containers. The glue should form a drop on the point of the brush and then drip after a moment. You can achieve this with Kreul glue by diluting it with water (about 4 parts glue to 1 part water).

4 / a

Step 5

Horizontal

Turn the flask so that it is neck is at the bottom. Place it on the centre of the turntable so that the points are all the same distance from the neck.

5

Step 6

Choose one of the brushes. A size 1 brush: the thinnest line, size 2: a medium line, size 7 or 8: a thicker line, size 10: a wide line and so on. Dip it in the glue. Gently wipe it around the edge of the bowl. Place it on the flask. Start the central line. Brace your forearm on the table. Use your other hand to revolve the turntable. Do this twice, so that the initial drop is spread out. You can repeat the application of the glue one more time.

6 / a

Step 7

Pour microbeads onto the line over a container.

7 / a

Step 8

If you choose a different color for the next line, empty the microbeads from the container. Don't throw them away, as you may need them again. At the end, brush out the container using the size 1.5“ brush.

8 / a

Step 9

Create another line. You can choose the distance from the centre. Apply the glue onto the flask. Sprinkle it with microbeads over the container.

9 / a

Step 10

Measure the distance of the side stripe from the central stripe. Also mark the same dimensions on the opposite hemisphere using glue dots. Apply the glue and sprinkle on the microbeads.

10 / a

Step 11

Create as many lines as you want.

Step 12

Let the glue dry at the end. Set the flask aside placed on its neck.
 

Step 13

Use the connection of the hemispheres, i.e. the distinct line between the two parts of the form on the flask (marked with a black line). The line on the flask will be perpendicular to the line on the turntable. Press the flask onto the turntable and prop it on its neck.

13 / a

Step 14

Create a stripe in the centre of the flask. Apply the glue and sprinkle on the microbeads.

14

Step 15

Prepare the flask for the intersecting line. Once again prop the flask on its neck. It should be rotated by 90°. The flask line will be horizontal from the front, while the lines on both sides will be the same height from the turntable (marked in red).

15 / a

16 / a

Step 17

You can brush off any excess microbeads using the size 1,5“ brush once the glue has dried, i.e. on the second day. You can also use the brush throughout your work if the microbeads are clinging to the surface of the flask.

17 / a

Downloads