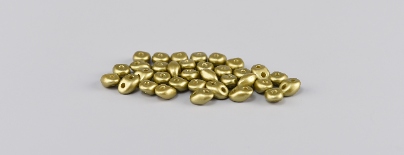
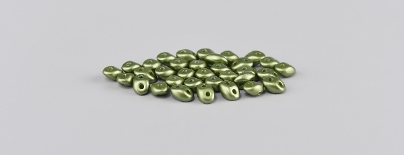
The individual two-hole beads from the PRECIOSA Traditional Czech Beads™ range can easily be mutually combined. An excellent example is this Preciosa Ornela tutorial for a sewn bracelet made from PRECIOSA Twin™ and PRECIOSA Candy™.
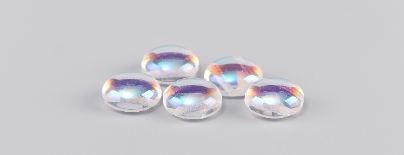
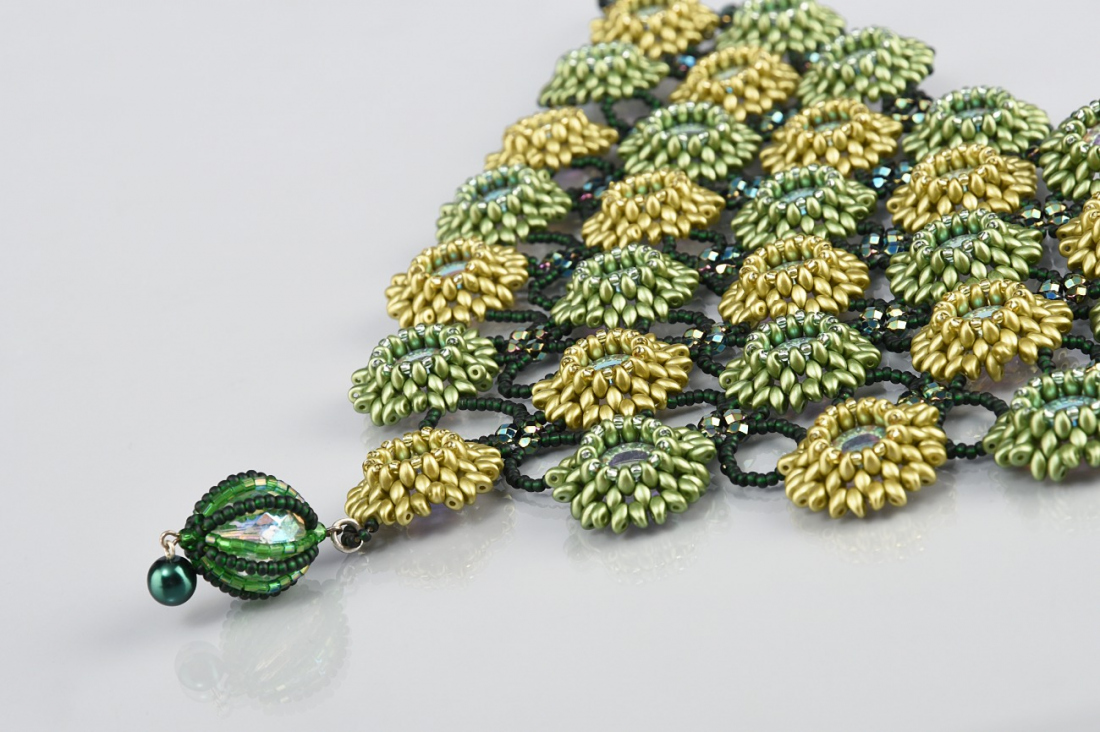
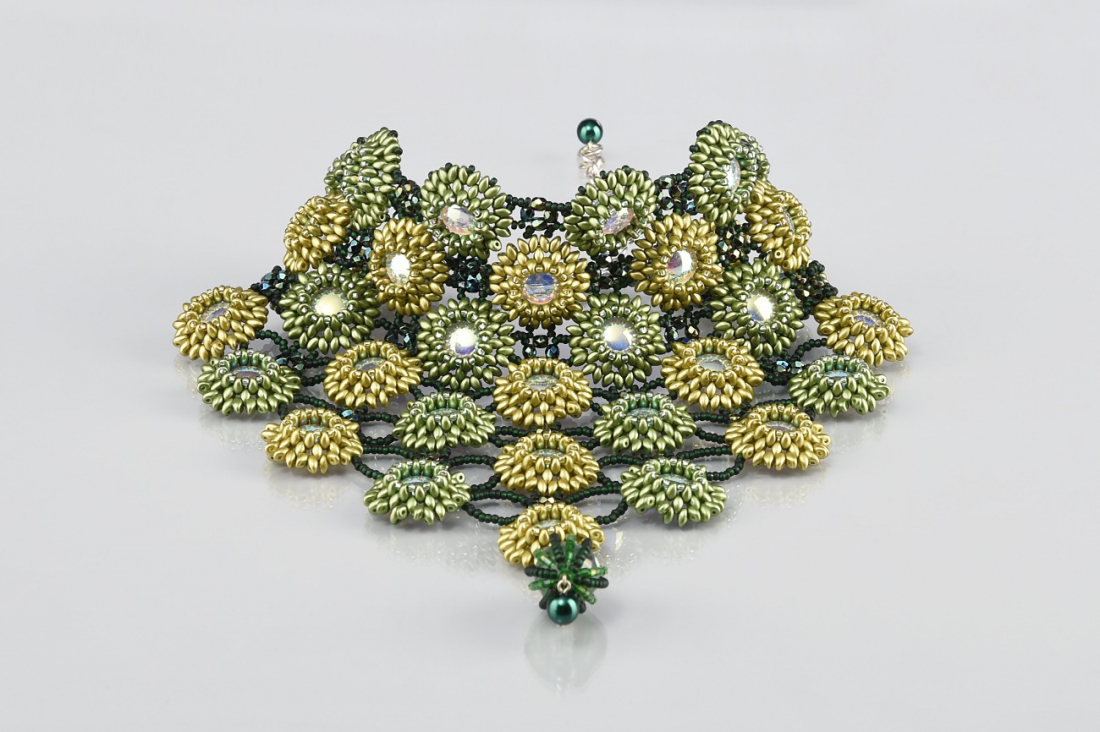
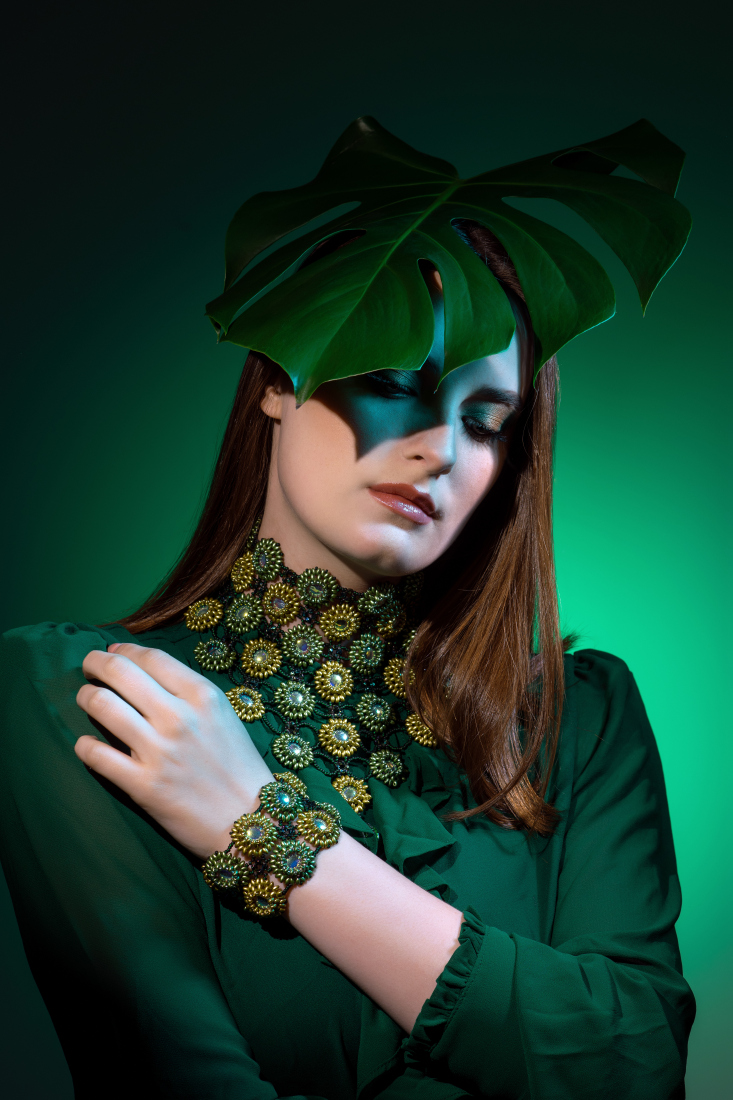
The basic motif of stitched two-hole cabochons can form the basis for the creation of elegant earrings, which can easily be expanded to create a luxurious necklace so that you have a perfect collection of evening jewelry.

She is able to switch from luxurious and extravagant fashion show pieces to the preparation of hobby projects,
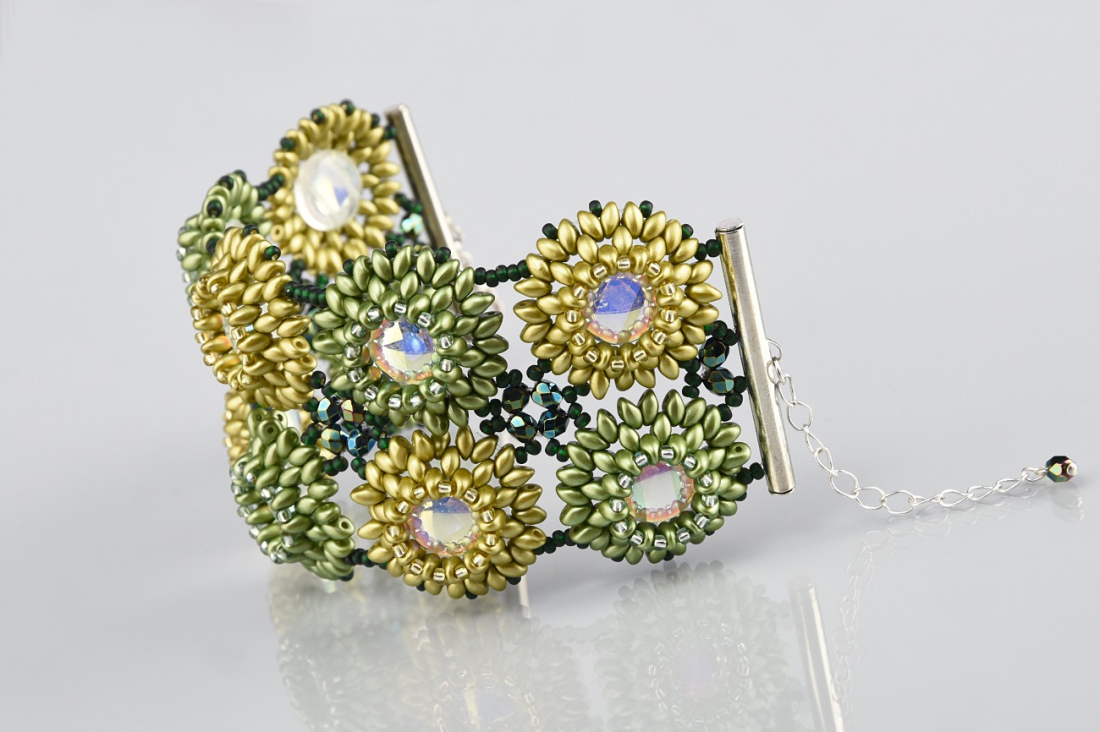
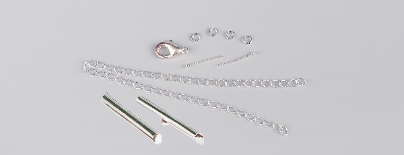
Learn MoreSilver metal parts; a 4 cm long hollow tube arm; an adjusting chain; a carabiner; 4 mm rings; a 12 mm eye pin
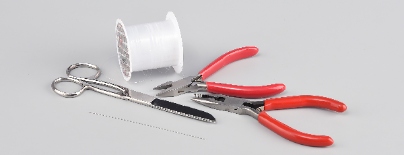
A 0.20 mm nylon line; a thin sewing needle; scissors; flat nose and snipping pliers
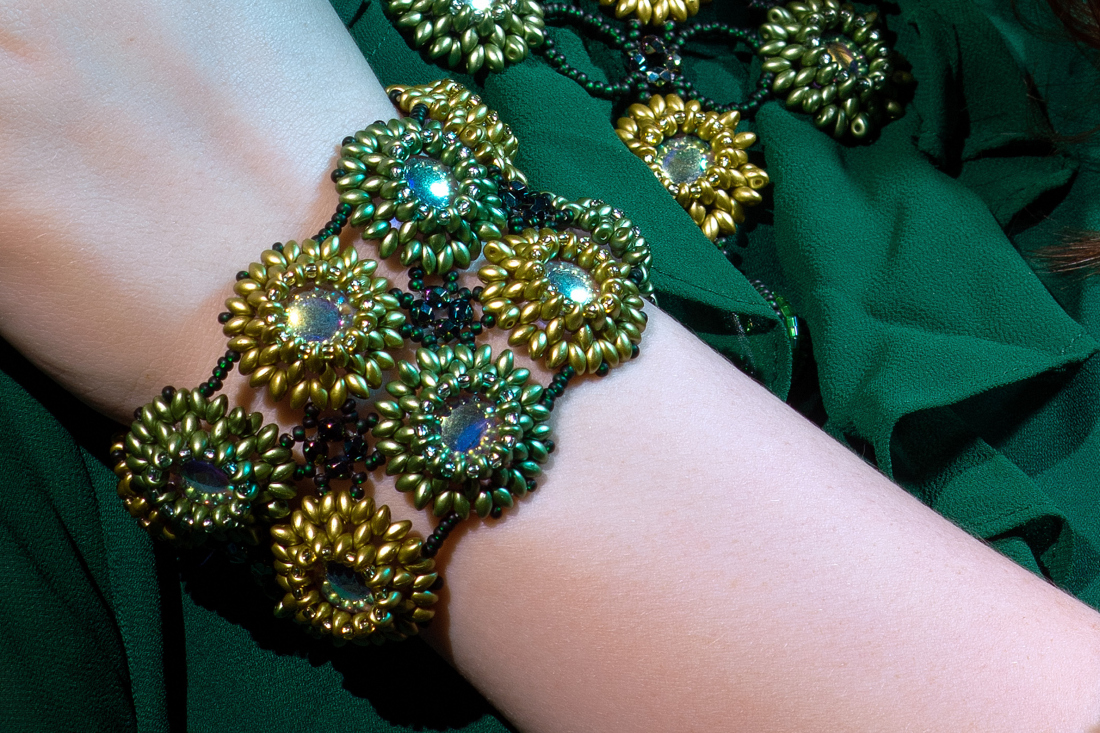
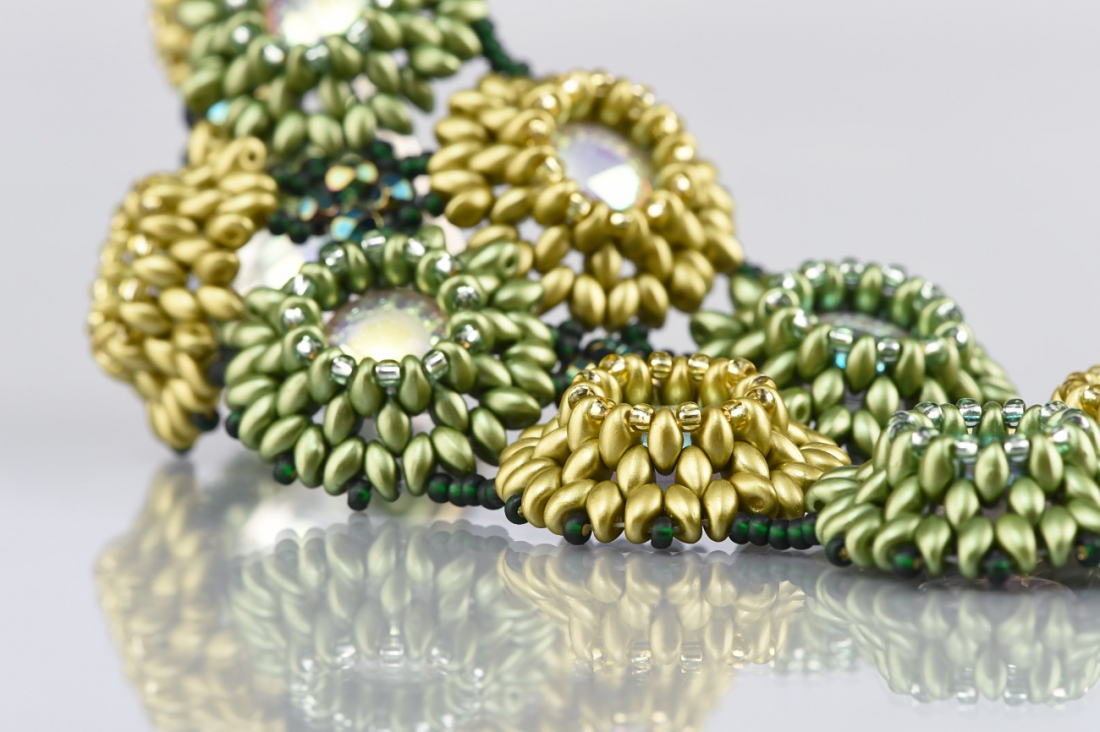
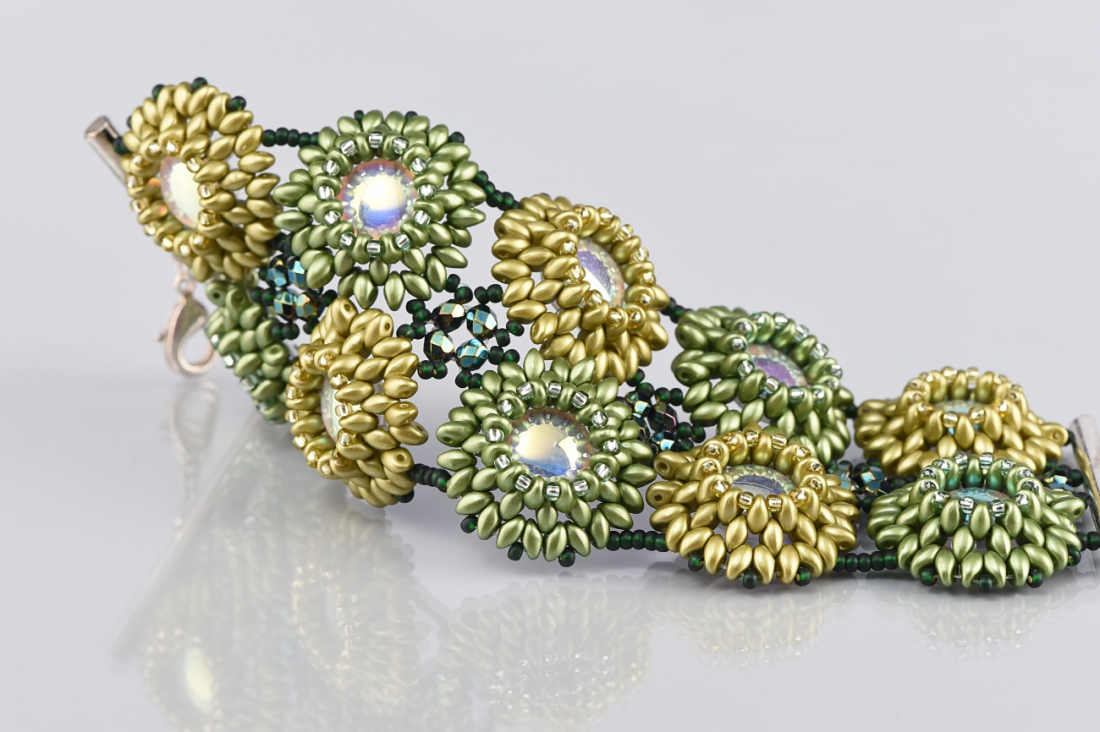
Sew 10 circles, with the C in the middle: each with 5 T1 and 5 T2. Arrange them like the colors on a chessboard. Always sew 4 in the central band. Only sew two circles at the edge of the central band. Sew through the circles on the longer sides of the bracelet. String the arm and finish.
Share this project with your friends
This website uses cookies
PRECIOSA ORNELA, a.s. hereby informs you that its website uses cookies You can find more information about our cookies and how your data is processed in the privacy statement. We request your consent to use cookies specified below.