Millefiori

Difficulty: 3
Technique: Peyote stitch, stringing, linking

Floral seed bead pendants

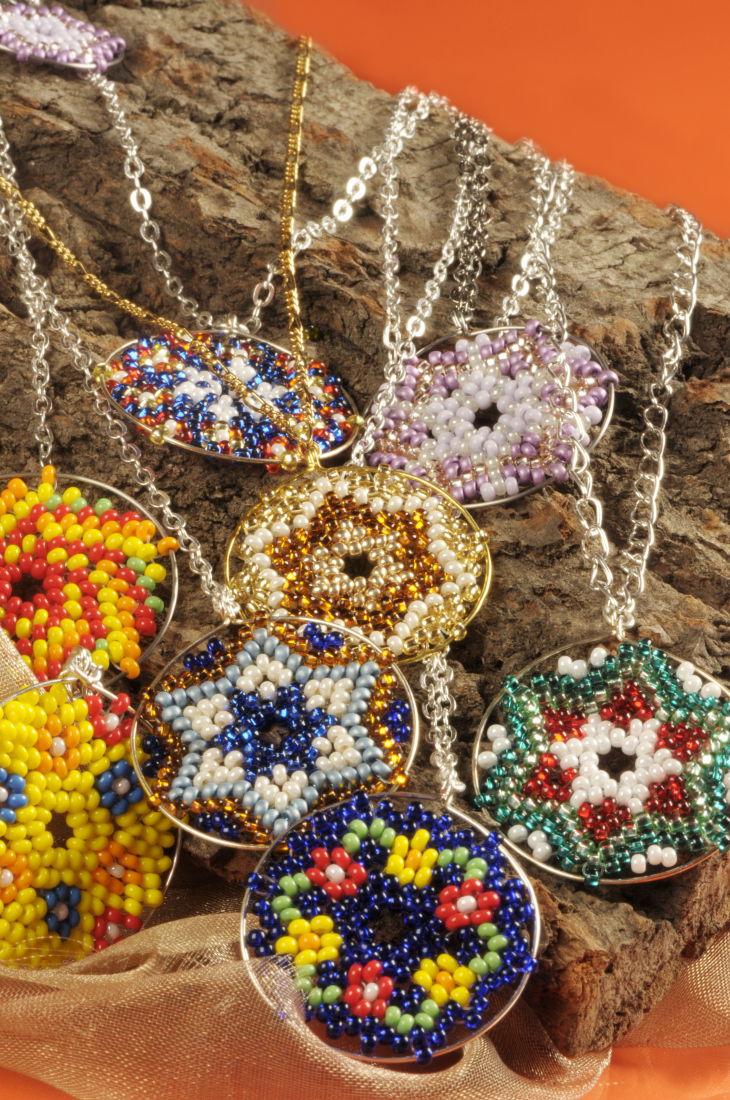
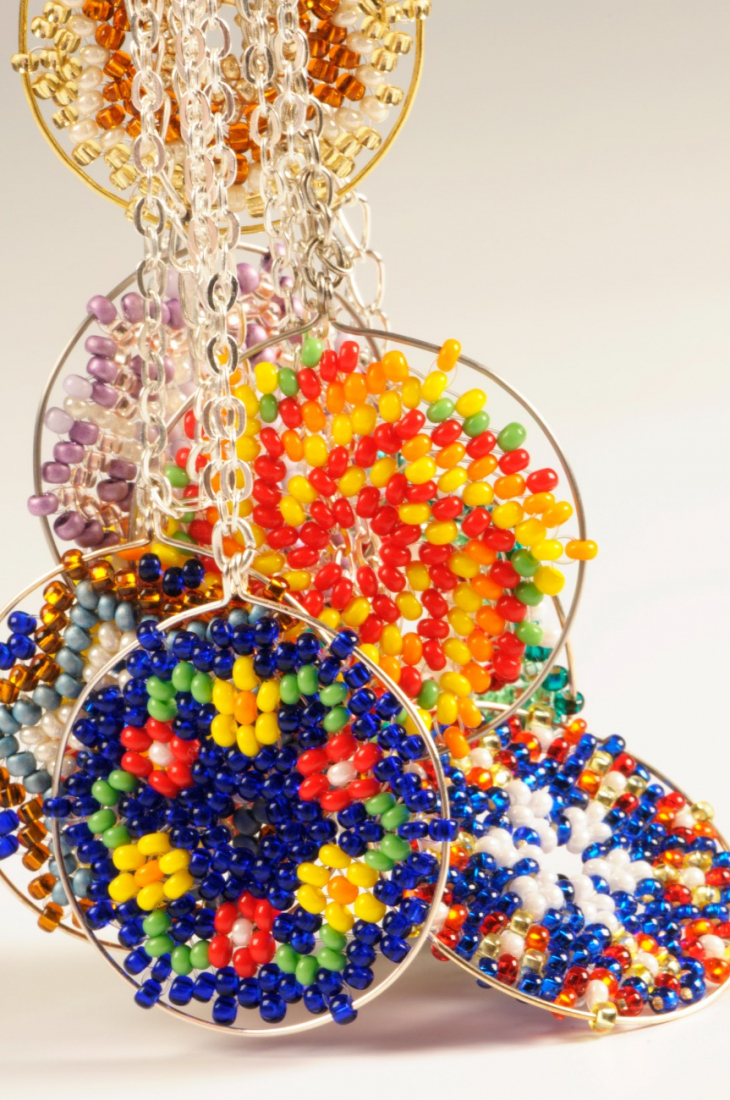
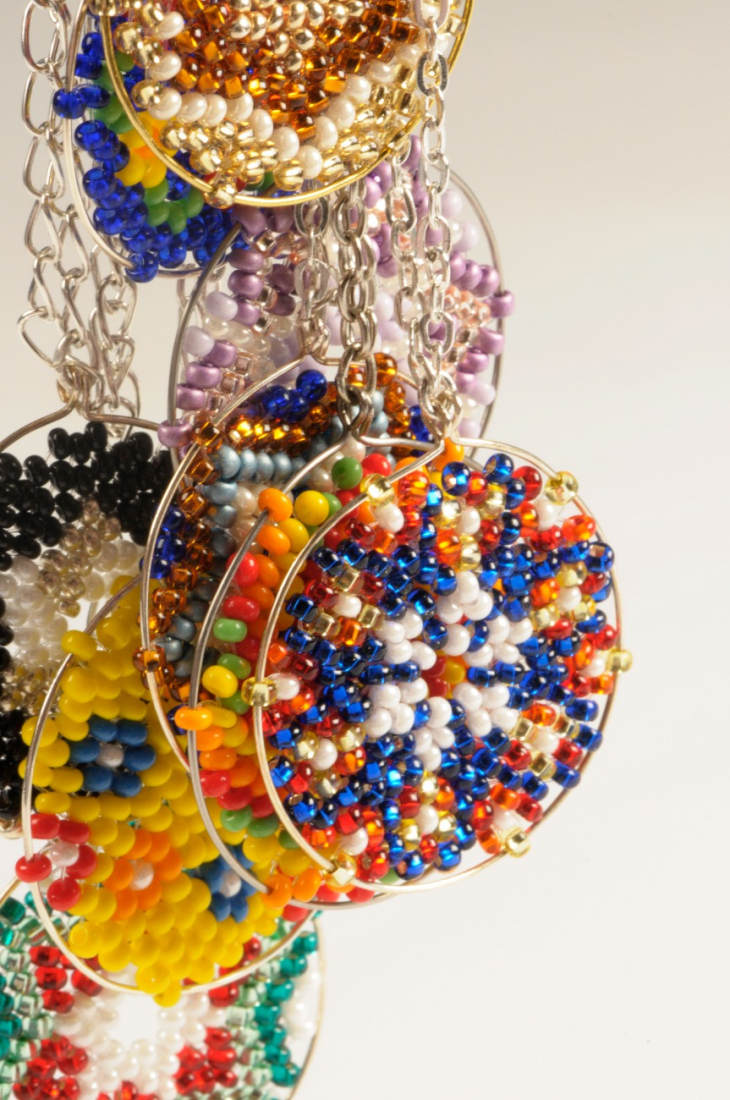
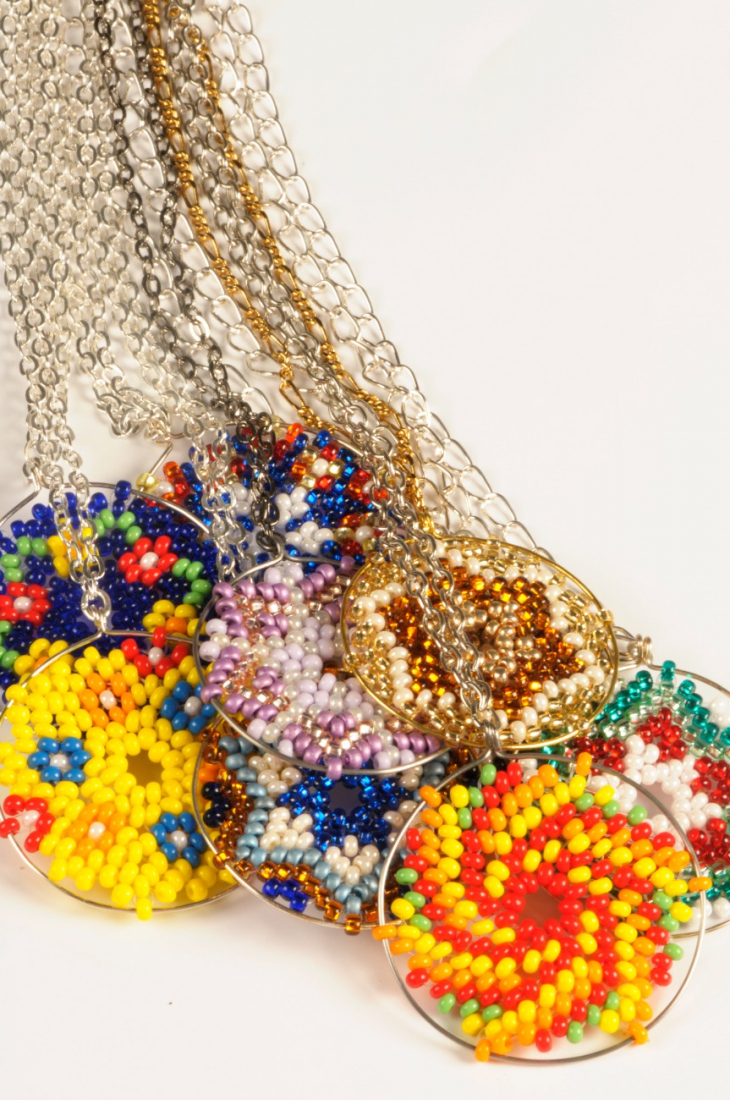
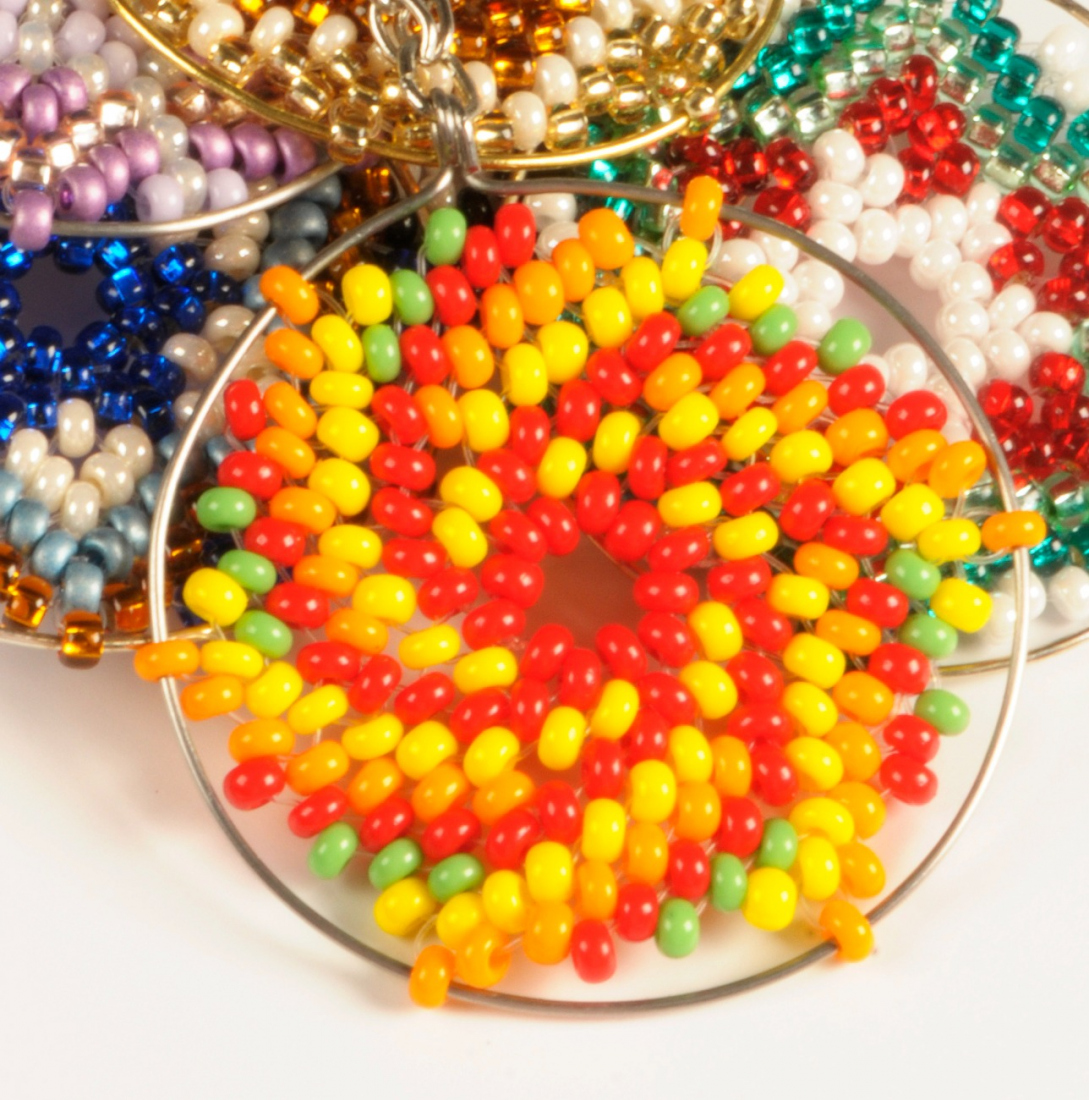
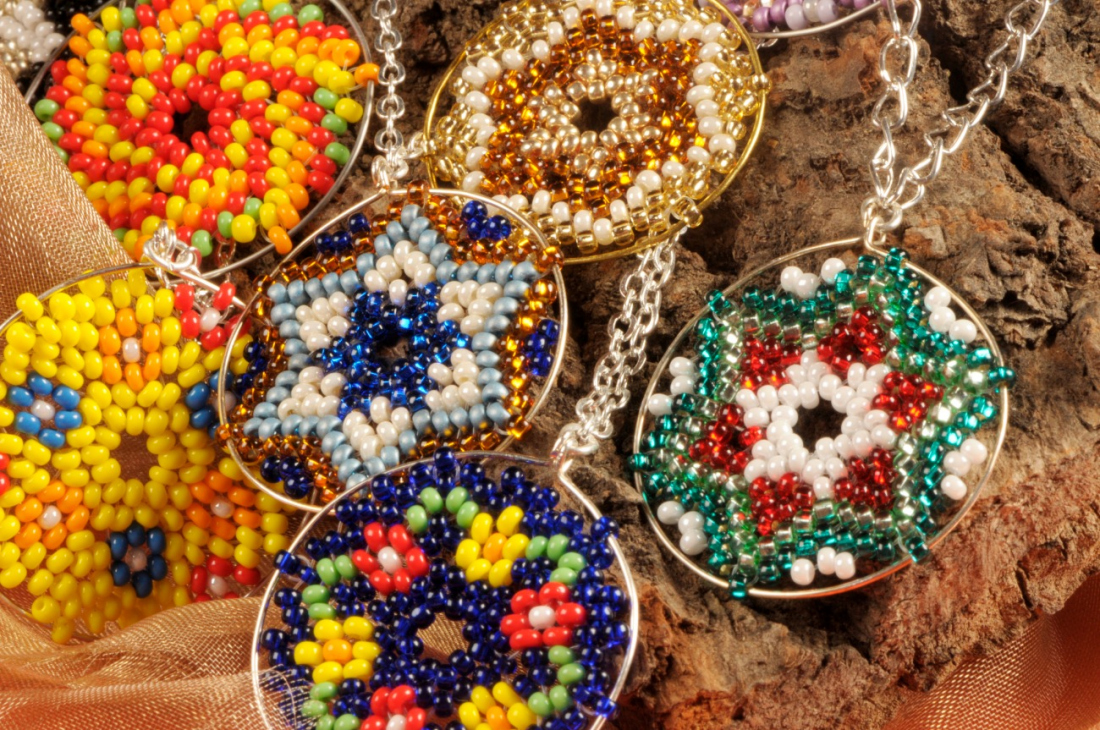
Millefiori, a word which means “thousands of flowers” in Italian, represents an ancient glassmaking technique connected with Murano in Italy. We have borrowed the name for our multi-coloured pendants made from seed beads from the PRECIOSA Traditional Czech Bead™ brand. The seed bead motifs can form a similar effect to a varicoloured floral mosaic of Murano décor and you can play with your own concept of floral motifs in a relatively simple way. All you have to do is to combine the colours and decide in favour of the décor which suits you. Ornela presents a detailed tutorial for the production of sewn seed beads floral mosaics.
We wish you many creative ideas when working with all types of Czech beads and seed beads :o).

Ambassadors

Helena Chmelíková

She is able to switch from luxurious and extravagant fashion show pieces to the preparation of hobby projects,

Learn More

Materials & Tools

Other materials

0.60 mm wire, a small oval or ring (3x), a fine chain, a counter-ring, a carabiner

Tools

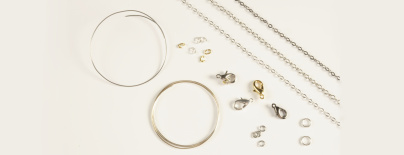
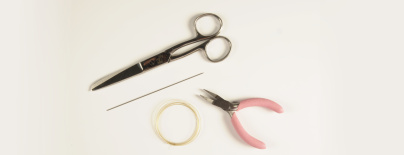
Scissors, a thin sewing needle, flat nose pliers (for flattening the line for easier threading through the eye of the needle), a 0.20 mm silicon line.

Procedure

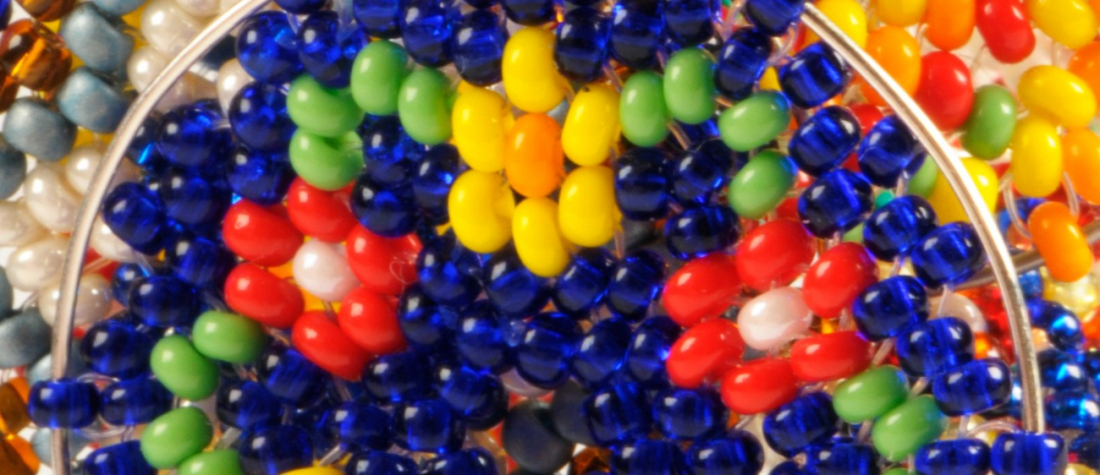
Sew a peyote stitch all around. Check the pattern and the colours. Add 1-2x rocailles in most rows.

Step 1

The 1st row
String 12x R and tie them into a circle.
The 2nd row
Thread the line through the first R one more time, string 2x R and pass the line through the third rocaille from the first row. This procedure is repeated a total of 6x.
The 3rd-4th rows
Add one R between the individual rocailles from the previous row.
The 5th row
Alternately add 1 - 2 - 1 - 2 - 1… between the individual R from the previous row.
Follow the illustration when you first add 2x R so that you add them in the same place as the R was located in the initial row.
The 6th-7th rows
Add one R between the individual rocailles from the previous row.
The 8th row
Alternately add 1 - 1 - 2 - 1 - 1 - 2 - 1 - 1 - 2… between the individual R from the previous row.
Once again follow the illustration. Add 2x R in the same place as in the second row.

1

Step 2

The 9th row
Add one R between the individual rocailles from the previous row.
The 10th row
Add one R between the individual rocailles from the previous row.
Always add 1 - 1 - 1 according to the illustration, then string a rocaille onto the line, add another R and thread the line through the same rocaille one more time. Repeat this procedure a total of 6x.

Cut the wire at a length of ca 1.5x the circumference of the sewn seed bead ring. String the wire with 6x R according to the drawing. Create a regular circle. Create a loop at one end of the wire using the needle nose pliers. Adjust the wire so that only 8 mm remain for the creation of the second loop. Halve the overall length of the chain. Thread the ovals onto the links at each end, as well as the chain closing loop and close the ovals. Then finish the chain with the carabiner and the counter-ring. Connect both parts of the fastening to the chain using the oval.

2 / a

Downloads