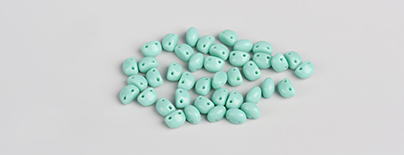
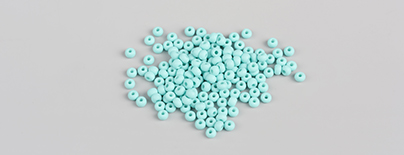
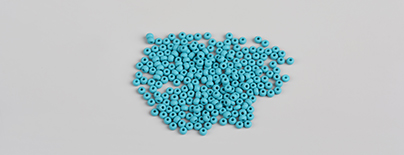
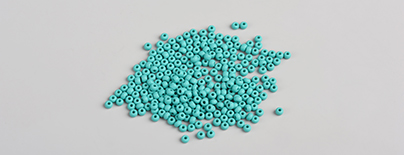
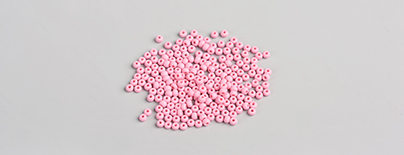
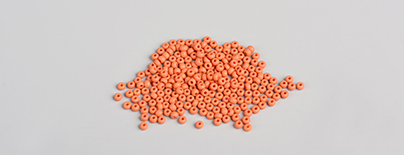
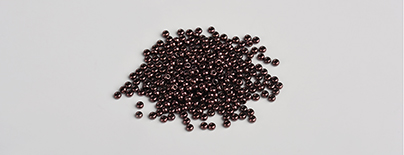
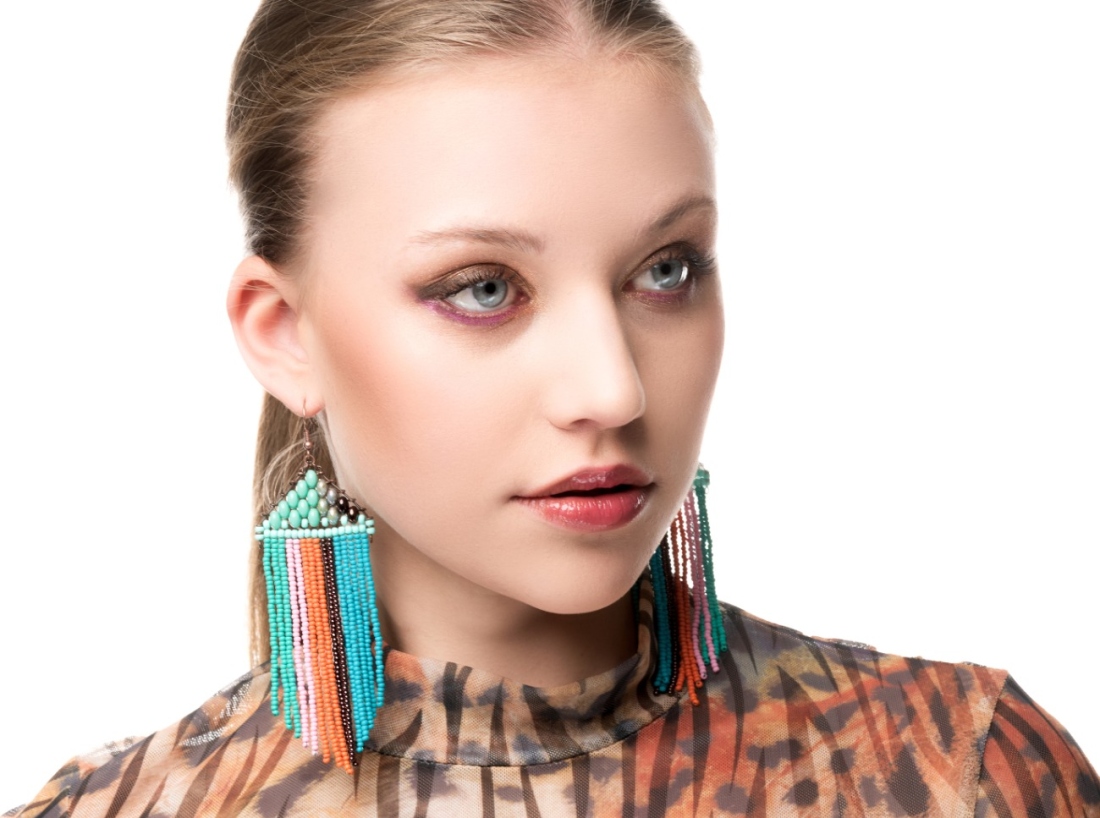
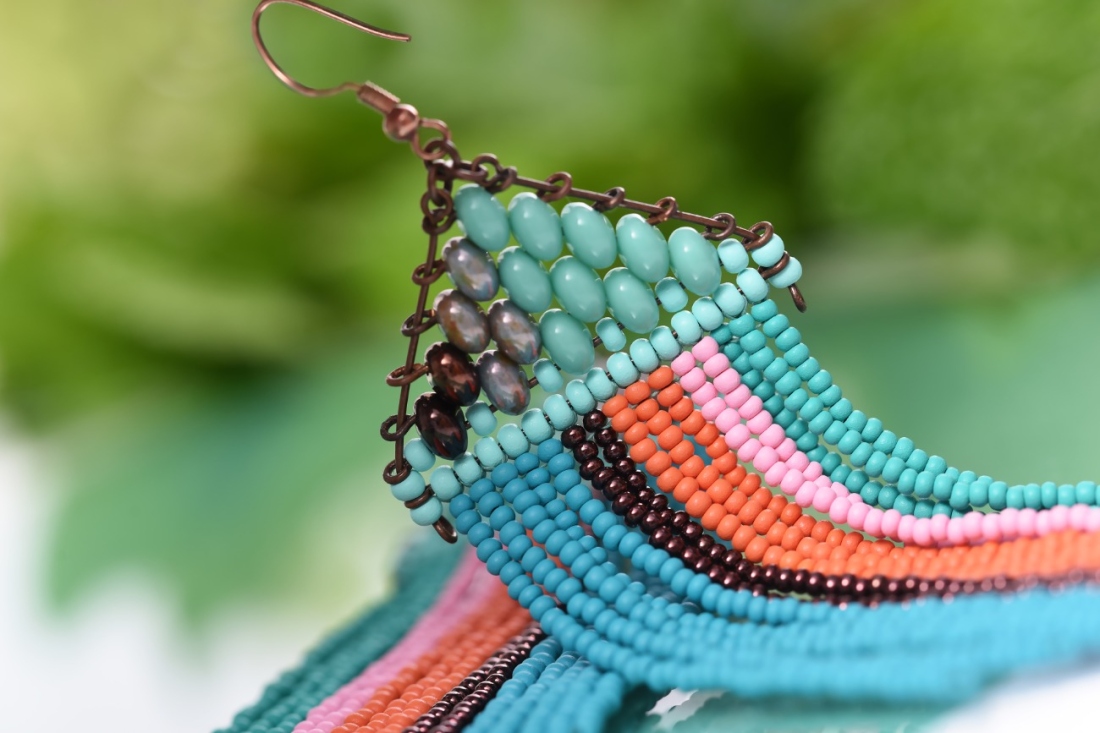
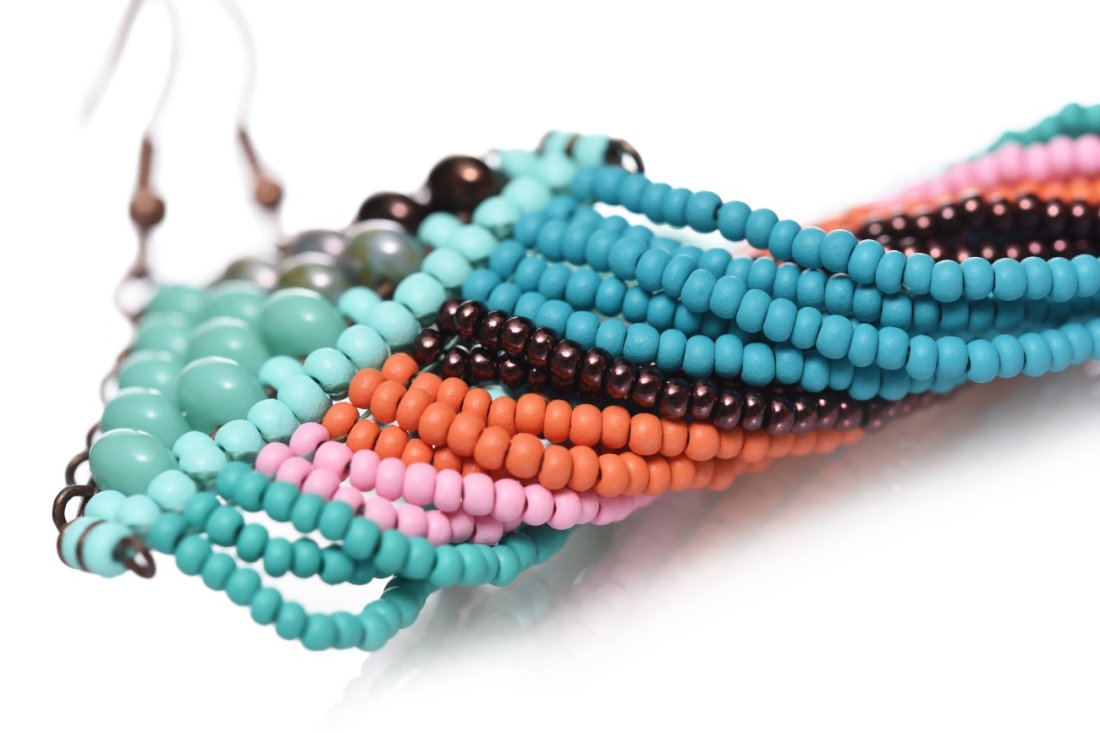
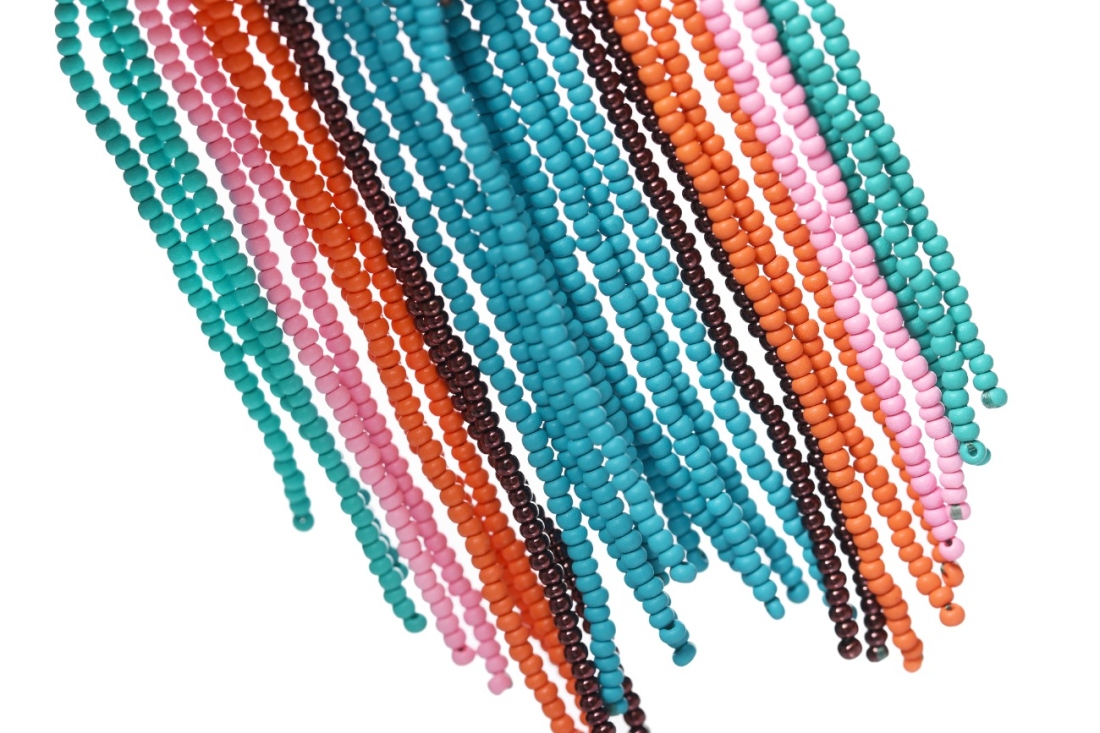
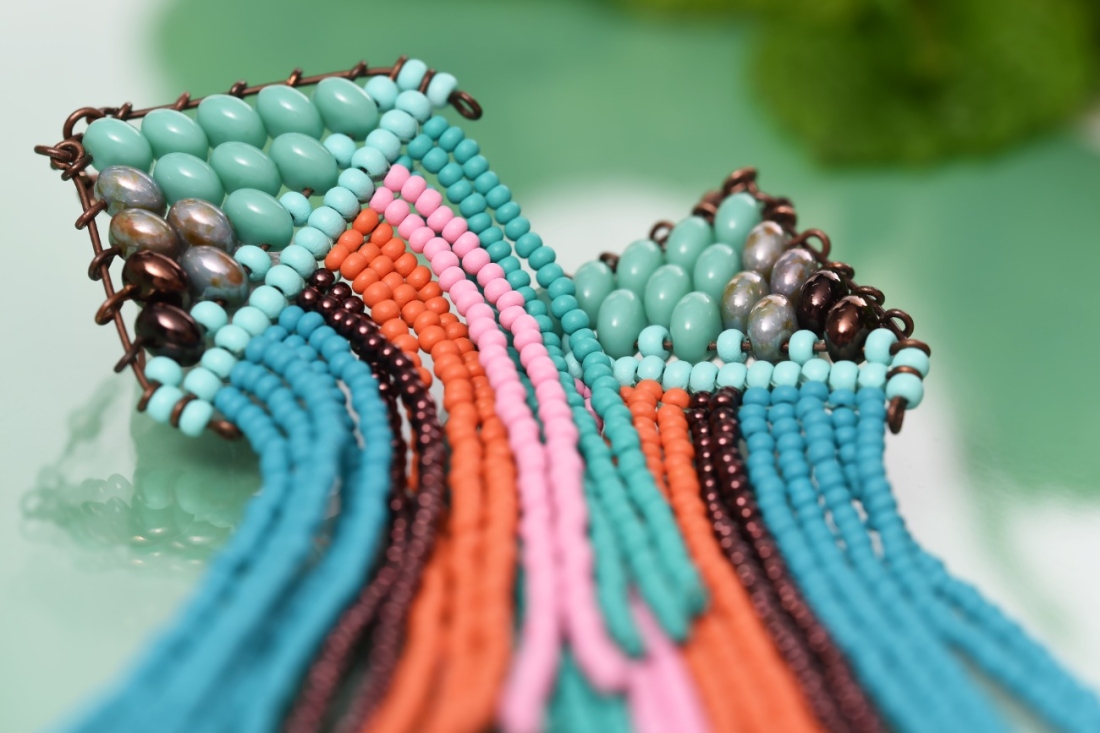
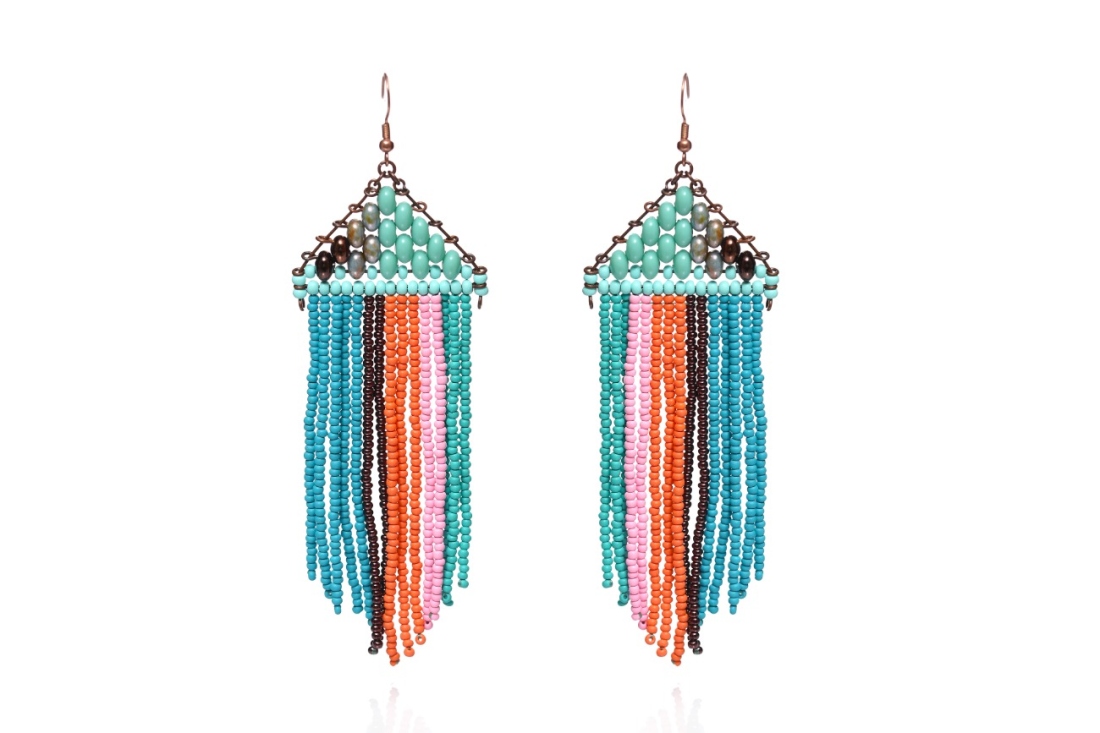
Delicate, playful, yet still elegant: these are the Menthol earrings that you can easily make for yourself. They combine the freshness of PRECIOSA PermaLux seed beads and modern color shades inspired by the trends for autumn/winter 2025. The combination of rich, deep tones and delicate accents gives these pieces of jewelry a unique character.

She is able to switch from luxurious and extravagant fashion show pieces to the preparation of hobby projects,
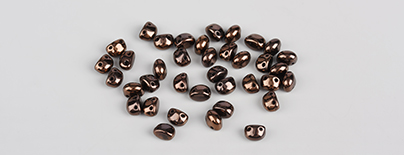
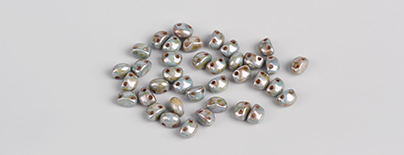
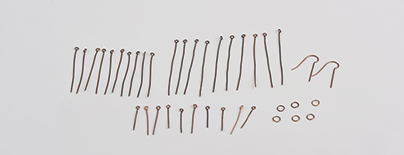
Learn MoreEye pins: 50 mm – 10x, 40 mm – 10x, 30 mm – 4x, 22 mm – 4x : longer eye pins are best, as they can be shortened; 4mm rings – 6x; earring hooks
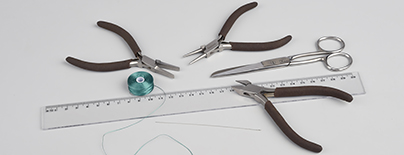
A thin needle; scissors; thin S-lon or Nymo nylon thread; pliers with rounded, pointy ends; snipping pliers; flat-nosed pliers
Share this project with your friends
This website uses cookies
PRECIOSA ORNELA, a.s. hereby informs you that its website uses cookies You can find more information about our cookies and how your data is processed in the privacy statement. We request your consent to use cookies specified below.