Icey necklace

Difficulty: 3
TECHNIQUE: beadweaving

Sewn necklace made using PRECIOSA Candy™

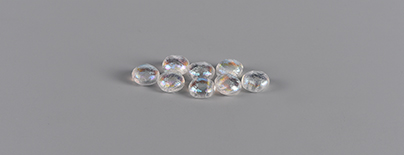
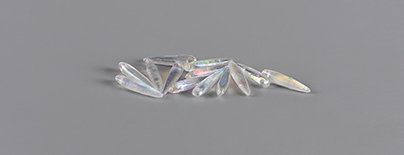
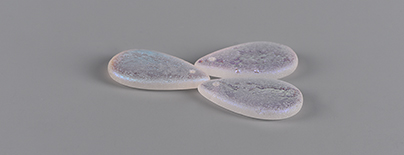
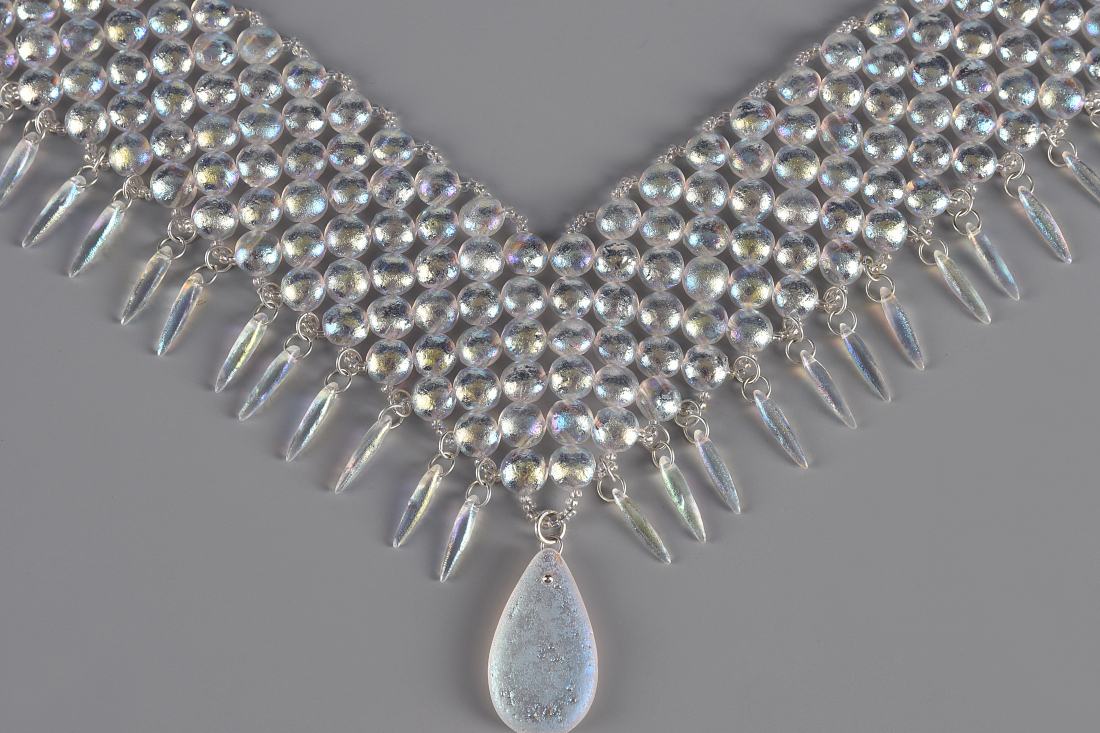
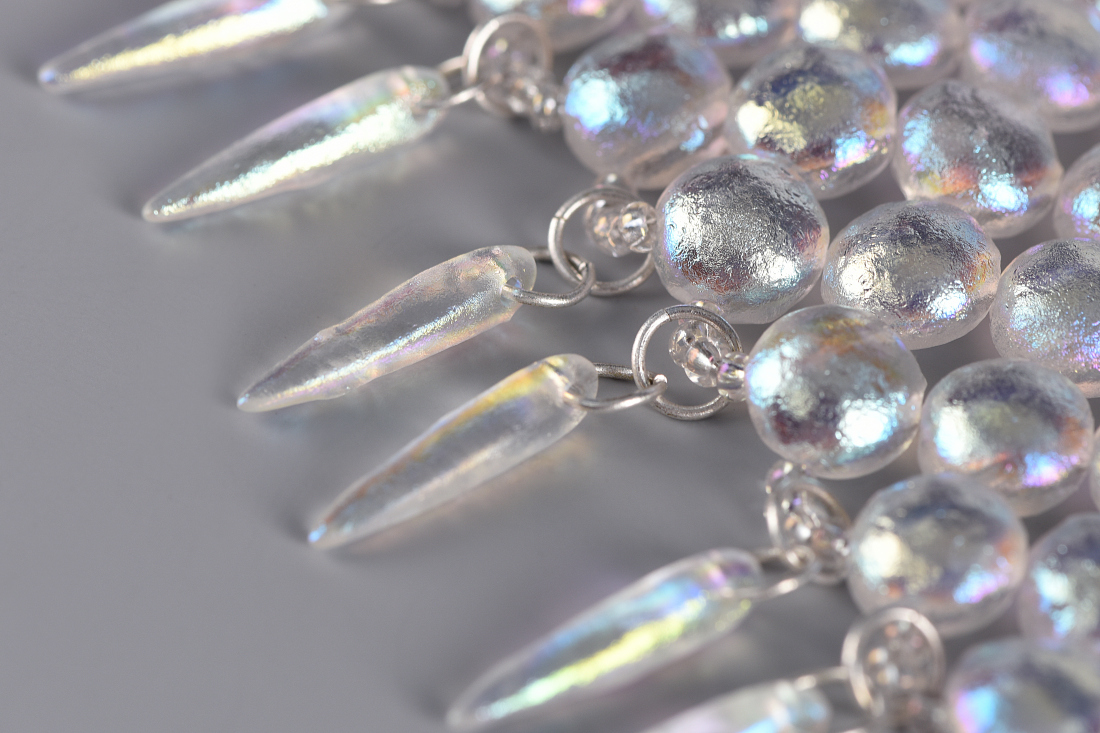
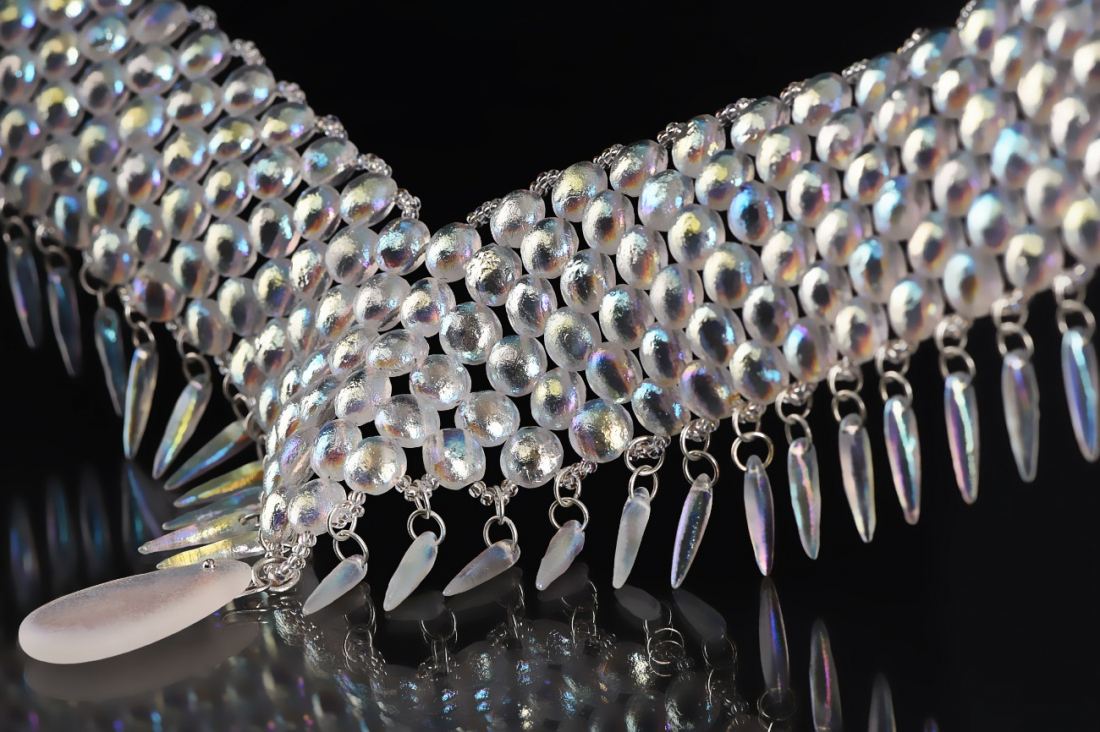
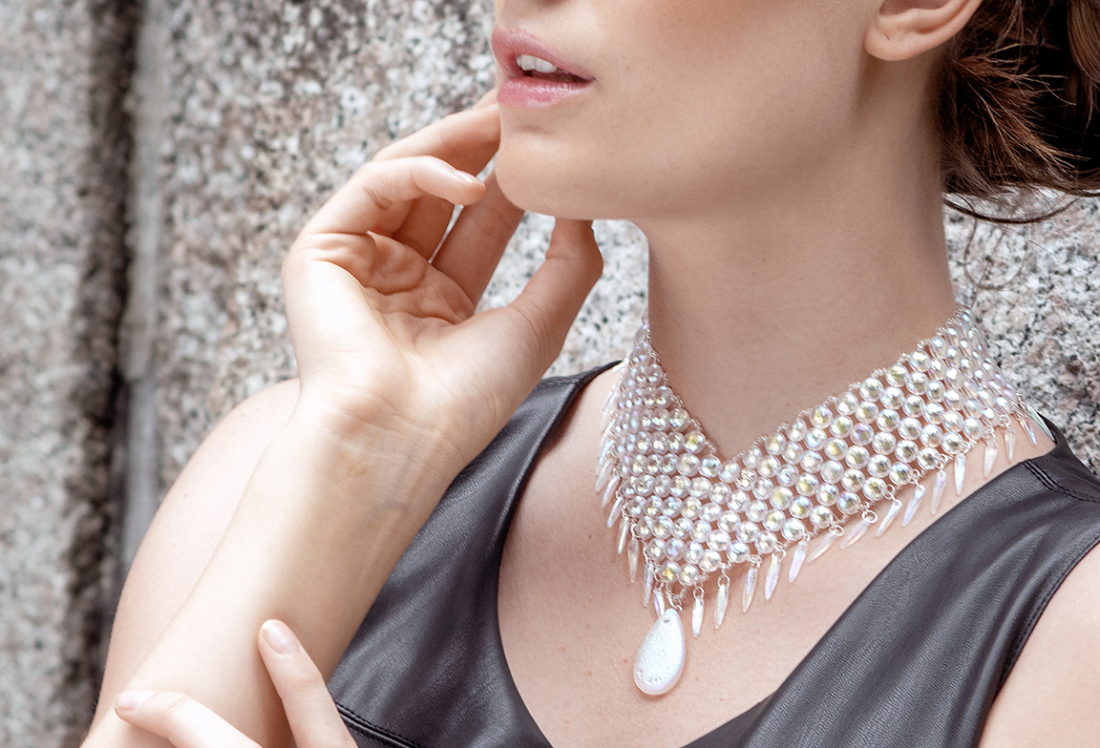
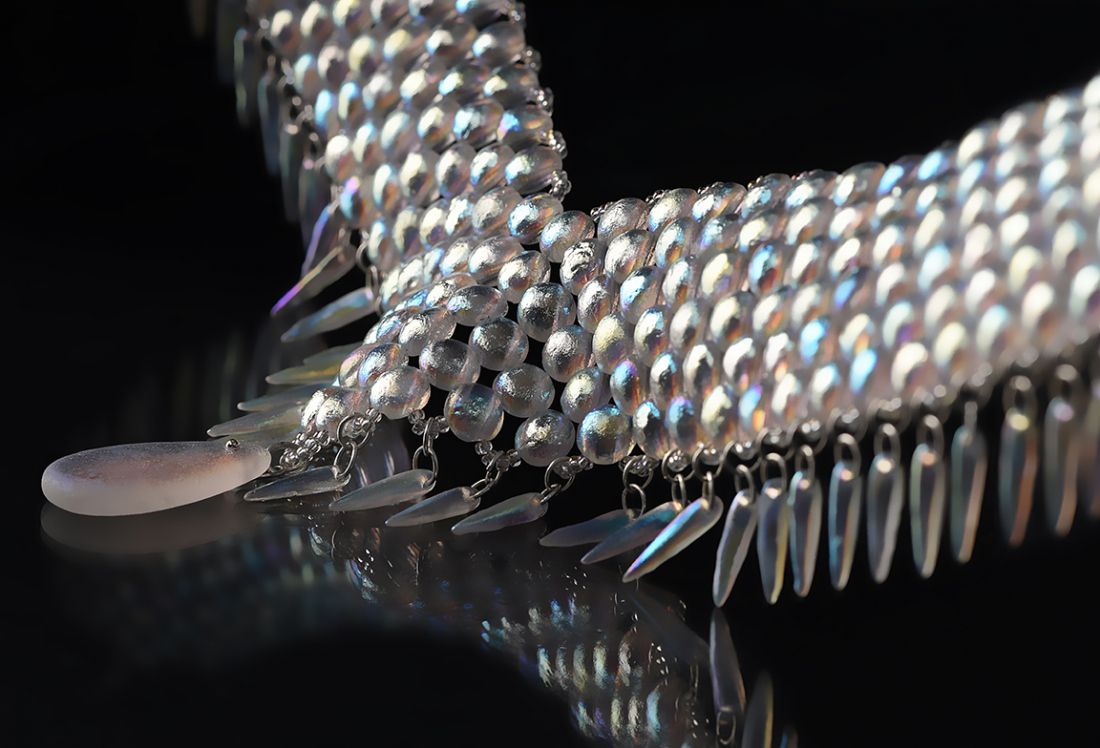
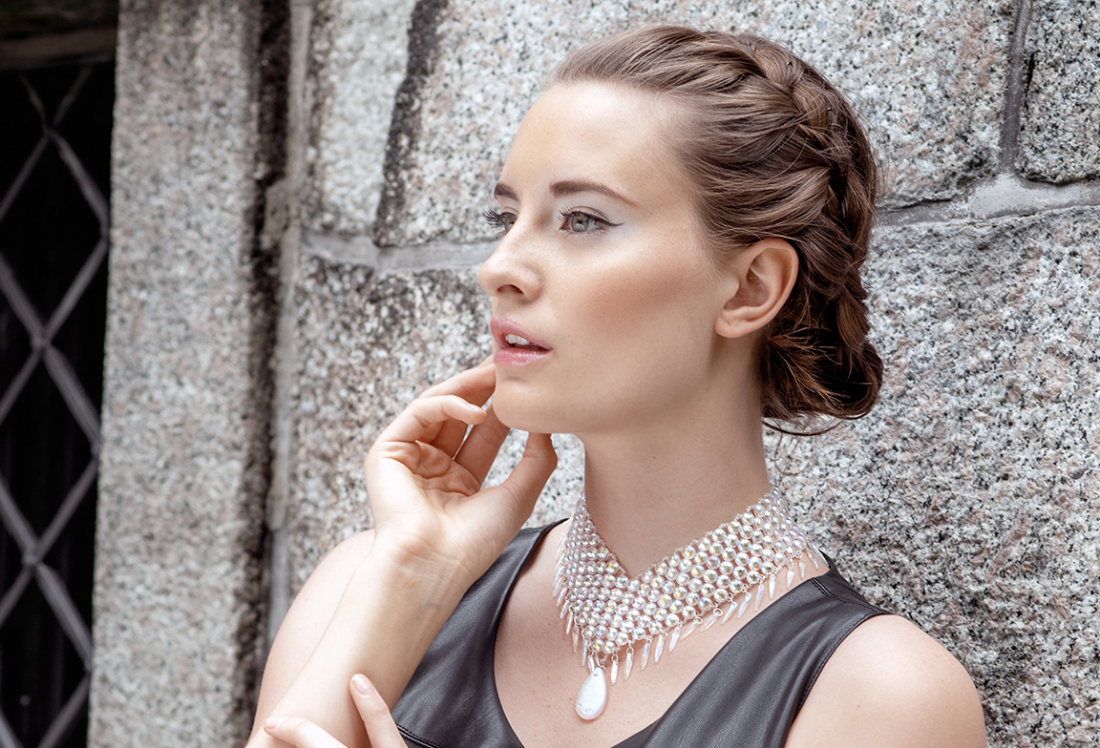
Try making an accessory from the PRECIOSA CandyTM and PRECIOSA ThornTM Pressed Beads decorated with a distinctive finish. The use of deep etching gives rise to an irregular pattern reminiscence of a growing icy surface. You can also choose form the many other color shades.

Ambassadors

Helena Chmelíková

She is able to switch from luxurious and extravagant fashion show pieces to the preparation of hobby projects,
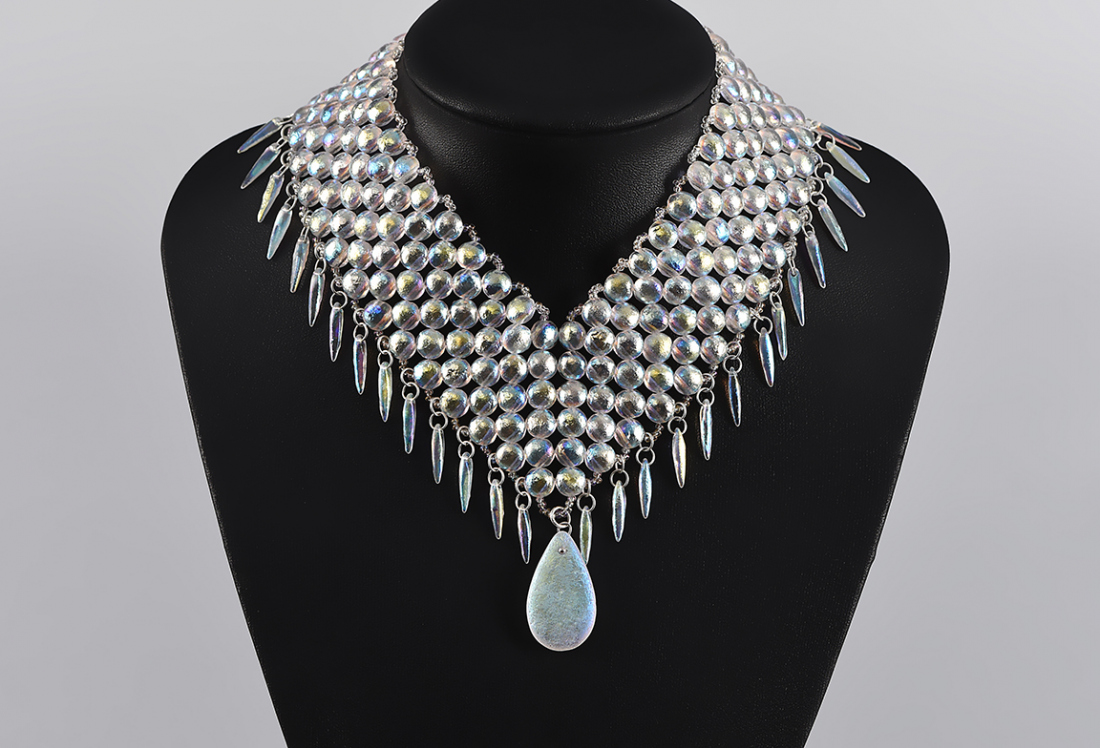
Learn More

Material and Tools

Materials

Silver: thin 5 mm rings (73x); thicker 6 mm rings (7x); 4 mm rings (3x); an 18 mm eye pin; a carabiner; an adjusting chain (larger links)

Tools

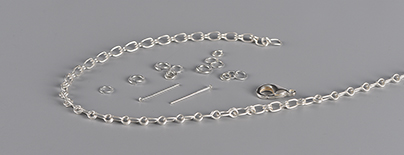
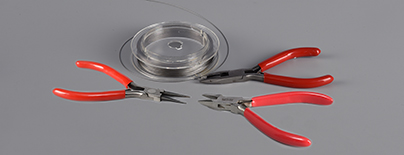
A regular 0.30 mm wire; snipping pliers; flat-nose pliers (for handling the rings); needle-nose pliers (round points)

Procedure

The bands


Step 1

Cut off about 1 m of wire. Thread the wire through 1x R twice about 15 cm from the start. This will be the stop bead.

1 / a

Step 2

Start the right-hand band.

Pay attention to the way the C are turned (forwards and backwards). C are two-row beads. Therefore string them alternately onto the wire with 1x C through the left-hand hole and 1x C through the right-hand hole and do this three times.

2 / a

Step 3

String 4x R.

3

Step 4

Add 1x C 1 into each gap. Thread them through the left-hand hole. Thread the C from Step 2 between them. This time thread the wire through the right-hand hole.

4

Step 5

String 4x R.

5

Step 6

Repeat Steps 2 - 5, until only about 15 cm of wire is left.

6

Step 7

Continue with the left-hand band.

Repeat Steps 1 - 6, but as a mirror image (Step 1 - String 1x C through the right-hand hole, 1x C through the left-hand hole and do it three times).

Step 8

Back to the right-hand band.

Repeat Steps 1 - 6 one more time. This time watch the length of the band (a total of 34 rows, 17x C on the upper edge and 17x C on the lower edge). Create several rows. Sew them together with the already created part. The outer C will fit into the gaps. Add R. It is sufficient to thread through the holes from the edge of the band to the centre. Thread the wire through one section from the top and the other from the bottom. Tie it off in the middle with two knots. Pull the wires into the holes and snip off the excess. Complete the band.

8 / a

Step 9

Continue the left-hand band as in Step 8. Don't forget that everything is a mirror image.

9

Step 10

After stringing the 34th row, add 6x R in the corner at the end. String 5x R into the gaps between the C. Thread the wire through the holes in the C that are common for the 33rd and 34th rows. Also thread it through the second hole of the bottom C. Sew it in (Create a loop around the wire between the C and thread the end of the wire through it twice and tighten). Thread the wire through a further 2 C. Sew it in again. Thread the end of the wire into the holes and snip it off.

10 / a

The centre

Step 11

Connect both bands in the hollow of the necklace using two knots. Thread the ends of the wire through the holes and snip them off.

Step 12

Add the larger circuit (the red line). Cut off about 40 cm. Start threading it through the C under the tied Vee. Locate the middle of the wire approximately under the Vee. Thread it through the empty holes of the central protruding C. Add 1x C into each gap. Add 4x R to the lower edge of the band. Add the other C and return underneath the Vee. Tie off the wire using two knots. Pull the ends into the holes and snip them off.

12 / a

Step 13

Add the smaller circuit (the blue line). Proceed similarly to Step 12.

Step 14

Thread the wire through the point and the empty holes of the C and add 8x R. Tie off between the C (the green line).

14

Thorn

Step 15

Prepare 36x T. Thread a thin ring through the hole in the T. Close it. Use another thin ring to hang it onto the small arch of 4x R on the lower edge of the necklace.

15 / a

The teardrop (IT)

Step 16

Thread the pin through the hole. Grasp the end of the wire between the round points of the pliers. Twist the wire around the point to make an eye. Straighten the eye so that it is level with the flat surface of the teardrop. Hang it from the small arch at the point using a 6mm ring.

16 / a

Finishing

Step 17

Attach a 6 mm ring to the second C from the top at the ends of the left and right-hand bands. Connect both rings to yet another 6 mm ring . Connect 10 cm of adjusting chain to the right-hand band (as sewn). Connect a T to the end of it using a 4 mm ring. Connect a carabiner to the ring of the left-hand band (as sewn) using two 4 mm rings.

17 / a

Downloads