Everlasting Boutonnière

Difficulty: 3
TECHNIQUE: brick stitch, ladder stitch, surface embellishment, wirework

Wedding Accessory from Beads and Seed Beads

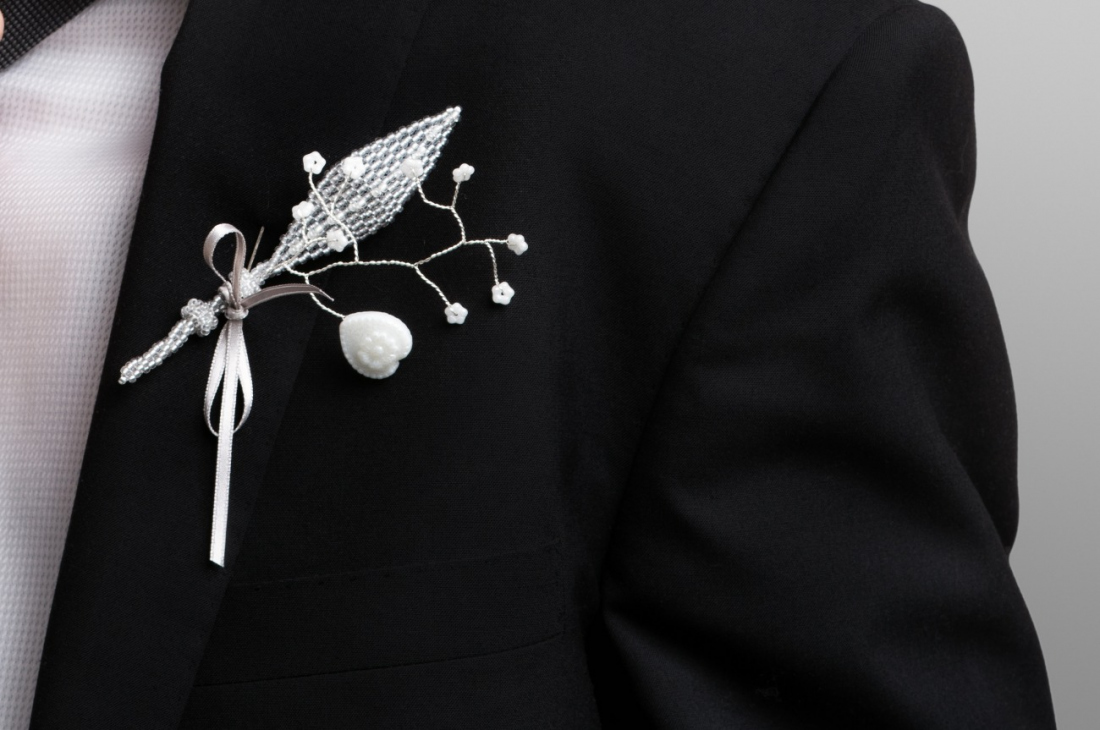
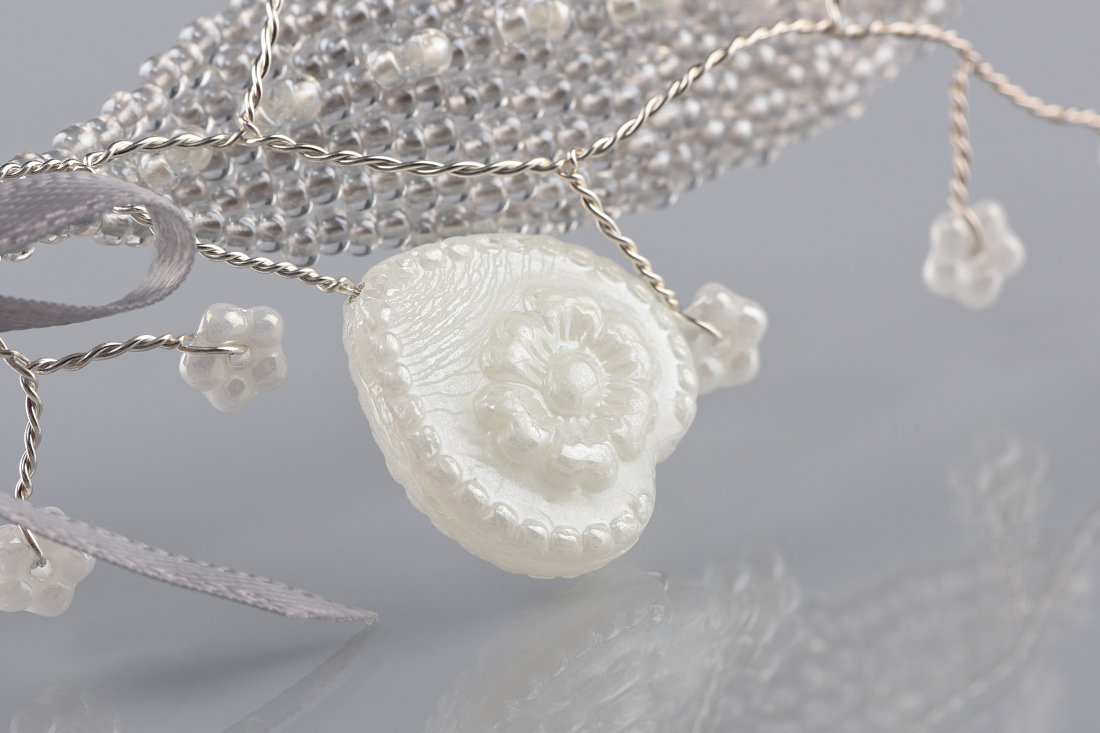
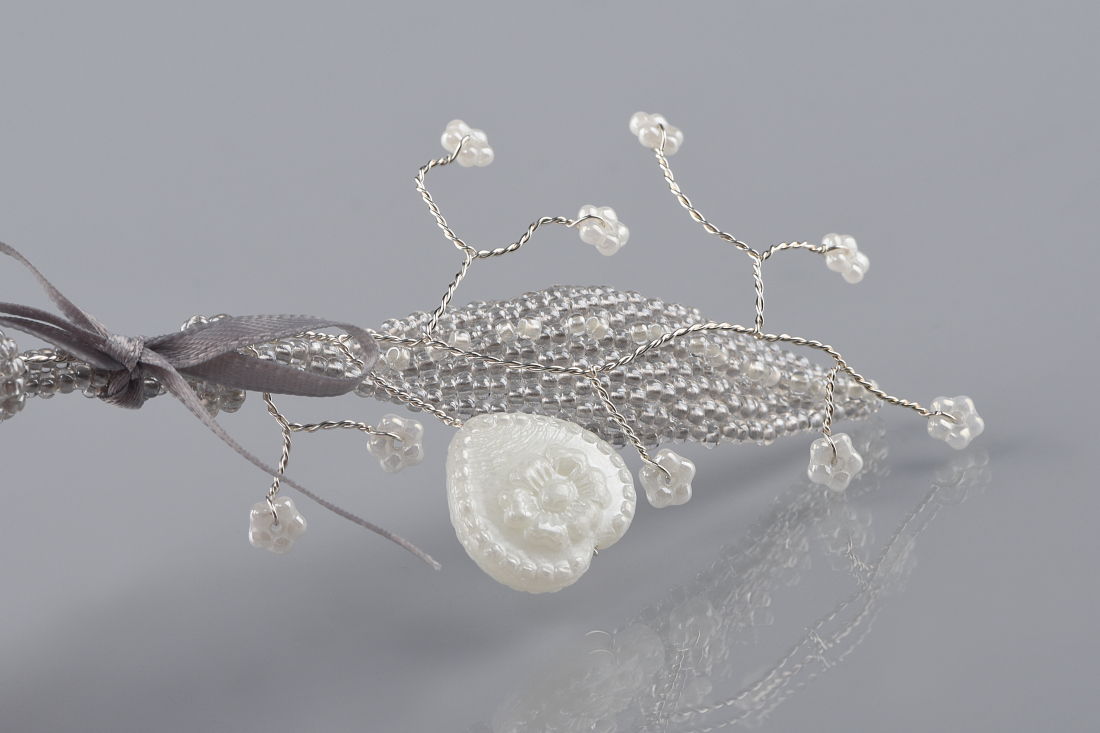
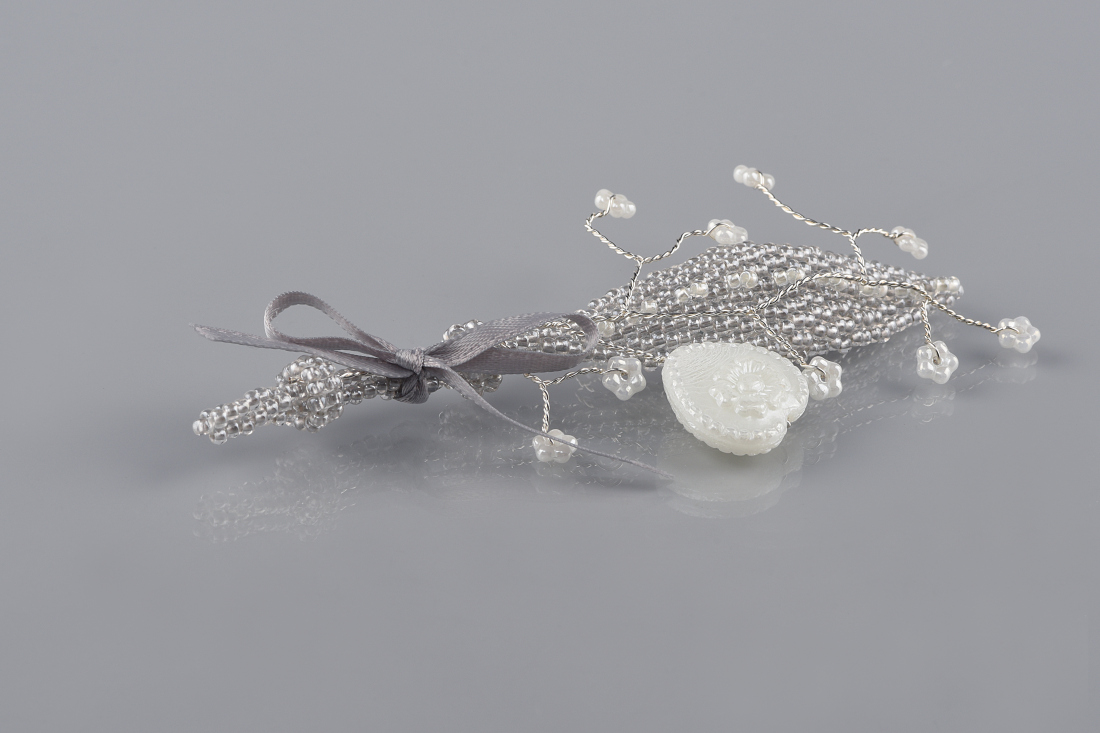
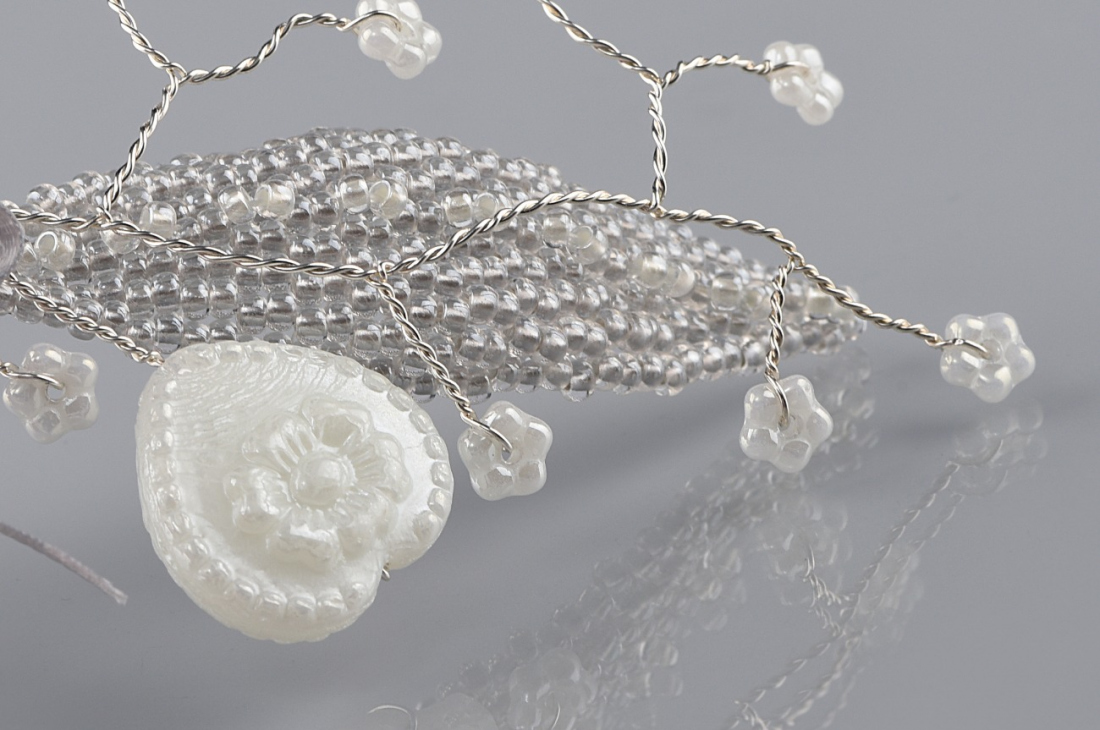
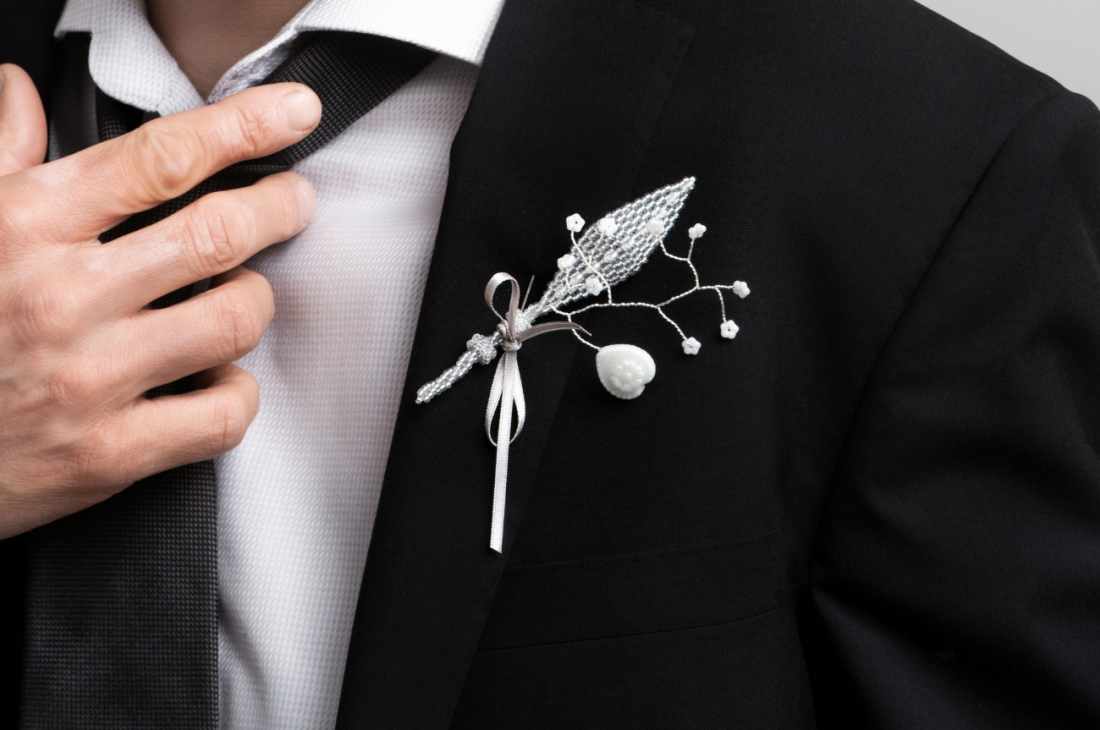
Combine bead weaving and wirework with PRECIOSA Pearl Pastel Lining seed beads and Light Ivory Wedding beads to create a buttonhole for the groom. The finished piece can be treasured as a lasting keepsake from the special day.

Ambassadors

Kerrie Slade

Kerrie Slade have used Czech PRECIOSA Traditional Czech seed beads in her creation.
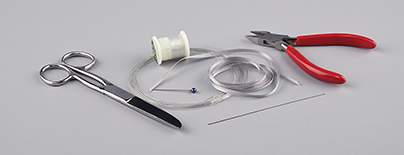
Learn More

Material and Tools

Tools

Beading thread to match your chosen beads (KO grey); soft silver-plated wire, 0.4 mm, 80 cm; ribbon 30 cm; pin; scissors; wire cutters; size 10 to 15 beading needles

Procedure

The finished piece measures approximately 10 cm x 4 cm.

Step 1

To make the leaf:

Thread your needle with 2.4 m of thread and pick up 4x R10A. Leaving a 90 cm tail, pass your needle through the first 2 R10A again so that you have 2 stacks of 2x R10A sitting side by side. Pass your needle through both stacks a second time. Figure 1.

1

Step 2

Using 2-drop increasing brick stitch, work row 2. Pick up 4x R10A and pass your needle under the thread bridge on top of the 2 pairs of R10A in row 1 and back up the last 2 R10A just added. Complete the row by picking up 2x R10A, passing your needle under the same thread bridge and back up the 2 new R10A. Figure 2.

2

Step 3

Continuing with the same method, follow the pattern in Figure 3 to work the next 8 rows. Remember that the 4x R10A in the first 2 stacks of each row are picked up at the same time and the remaining stacks in each row are added 2x R10A at a time. Add 2 stacks to the first and last thread bridges in each row and 1 stack to the other thread bridges.

3

Step 4

Using 2-drop decreasing brick stitch, follow the pattern in Figure 4 to work the rest of the leaf. Decrease rows are worked in the same way by picking up the first 2 stacks together, but the first thread bridge is skipped with the R10As added to the second thread bridge as shown in Row 11. Only 1 stack is added to all the other thread bridges. Tip – for a professional finish, pass your needle through the first 2 stacks in each decrease row a second time as this avoids gaps.

4

Step 5

Pick up 1x R10A and pass your needle down the first stack in the final row and travel through all the R10A around the edge of the leaf. Be careful not to pull your thread too tightly as the leaf should only have a gentle curve in it and not be curled. Finish by exiting the single R10A just added. Figure 5.

5

Step 6

Following the pattern shown in Figure 6, add 2x R10B between all the odd-numbered stacks in the centre of the leaf. Pass down and up the 2 stacks at the base of the leaf and retrace the thread path to secure the R10B. Tie off and trim the working thread only.

6 / a

Step 7

Using the tail thread, and working from the back of your leaf, ladder stitch 2x R10A to 1 of the pairs of R10A at the base of the leaf. Figure 7a. Ladder stitch the 2 new R10A to the remaining pair in row 1 to create a triangle. Figure 7b.

7 / a

Step 8

Using the 3 thread bridges created in the previous step, begin working tubular brick stitch from the base of the leaf. Pick up 2x R10A and pass your needle under the nearest thread bridge created in the previous step and back up the second R10A just added. Pick up 1x R10A and pass your needle under the next thread bridge created in step 7 and back up the new R10A. Ladder stitch the first and last R10A added in this step together to create a new triangle. Figures 8a – 8d.

8 / a

Step 9

Using the same method and always working in the same direction, work another 27 rows of tubular brick stitch, adding 3x R10A per row and joining them into a triangle. After several rows, your work will begin to form a natural twist.

9

Step 10

Add 1x R10A to the tip of the stem, then travel to the top of the stem passing through connected rocailles. Pull the thread firmly as you work to strengthen the stem. Tie off and trim the thread and set the leaf aside.

10

Step 11

To make the connecting bands:

Thread your needle with 50 cm of thread and pick up 2x R10A. Leaving a 20 cm tail, pass your needle through the first R10A again so that the 2 rocailles sit side by side. Figure 11.

11

Step 12

Pick up 2x R10A and pass your needle through the second R10A added in the previous step, through the first R10A from the previous step and through the first R10A of the current row. Figure 12.

12

Step 13

Repeat step 12 a further 10 times. Figure 13.

13

Step 14

Join the strip of beadwork into a ring by passing your needle through the first R10A added in step 11, through the second R10A added in step 11 and through the second R10A of the final row. Figure 14a. Check that the stem of your leaf will pass through the new ring and then reinforce the connection by passing through rocailles on either side of the join several times. Tie off and trim both threads. Figure 14b.

14 / a

Step 15

Repeat steps 11 to 14 to create a second band. Figure 15.

15

Step 16

To make the wire spray:

Cut an 80 cm length of wire and gently fold it in half leaving a small loop in the middle. Slide 1x F to the centre and using your non-dominant hand pinch the 2 sections of wire together approximately 10 - 12 mm from the F. Using the other hand, pinch directly below the F and twist the wire approximately 12 – 14 times until a neat spiral forms which captures the F. Figure 16.

16

Step 17

Thread 1x F onto the longest length of wire, slide it approximately 5 mm from the end of the twisted section and fold in half. Using your non-dominant hand pinch the junction where the 3 sections of wire meet. Using the other hand, pinch directly below the F and twist the wire approximately 9 – 10 times until a neat spiral is formed and the F is secure. Figure 17.

17

Step 18

Hold the 2 main wires together and with your non-dominant hand pinch them approximately 7 mm below the twisted section. Using the other hand, pinch where the twists meet and gently twist the wire approximately 7 – 8 times until a small section of the main stem is neatly twisted. If there are any gaps along the branches of F, twist them again until all gaps are closed. Figure 18.

18

Step 19

Using the method above and Figure 19a as guidance, continue creating small branches and a main stem, adding the F and 1x H. When creating a new branch, always begin with the longest of the 2 wires. To add the H, pass the wire through the H and down the back before pinching and twisting the wire. Figure 19b. Finish by cutting the 2 remaining wires to the same length and form a neat twist to the end of the stem. Tip – neat wirework takes practice so do not be disheartened if your first attempt has some gaps or uneven twists!

19 / a

Step 20

To assemble the buttonhole:

Pass the two bands along the stem of the leaf and slide the wirework spray through the bands to sit at the front of the leaf. Figure 20.

20

Step 21

Tie the ribbon around the centre of the arrangement to sit between the 2 bands. Tie a double knot at the back and a bow at the front. Figure 21a and 21b. Trim the ends of the ribbon.

21 / a

Step 22

To wear, pass a pin through the back of the jacket lapel, through the ribbon knot at the back of the buttonhole and through the lapel again. Figure 22.

22

Downloads