Easter magnets

Difficulty: 1
Technique: gluing, cutting

Springtime fun with microbeads

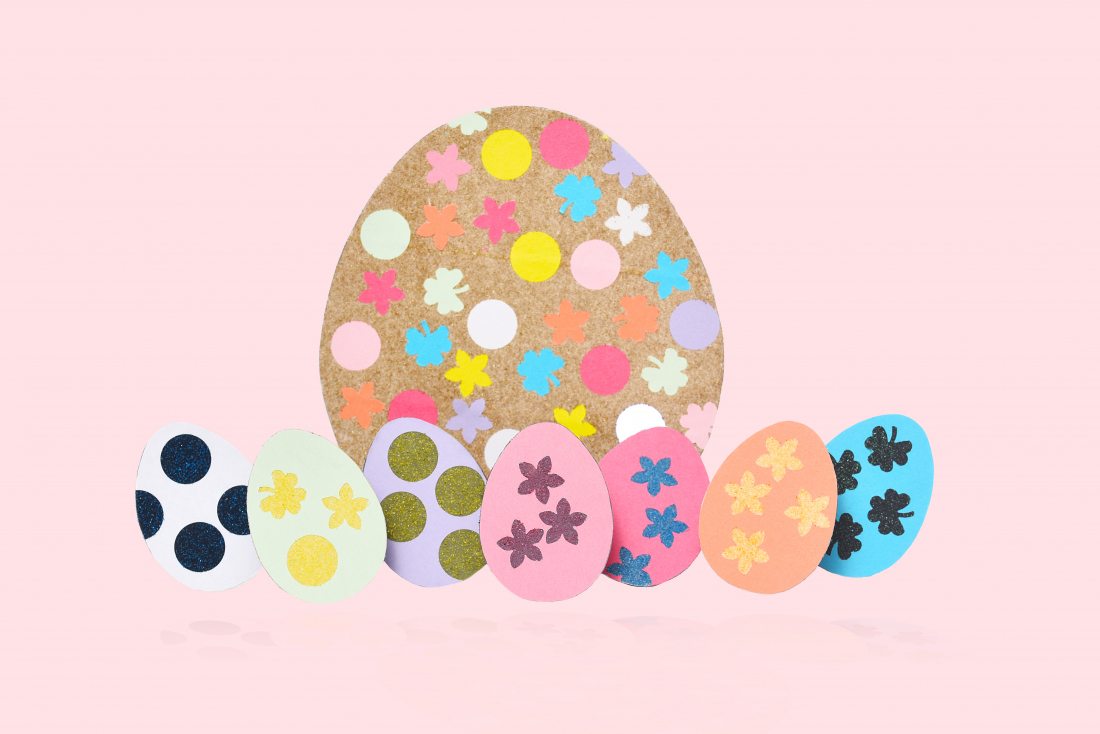
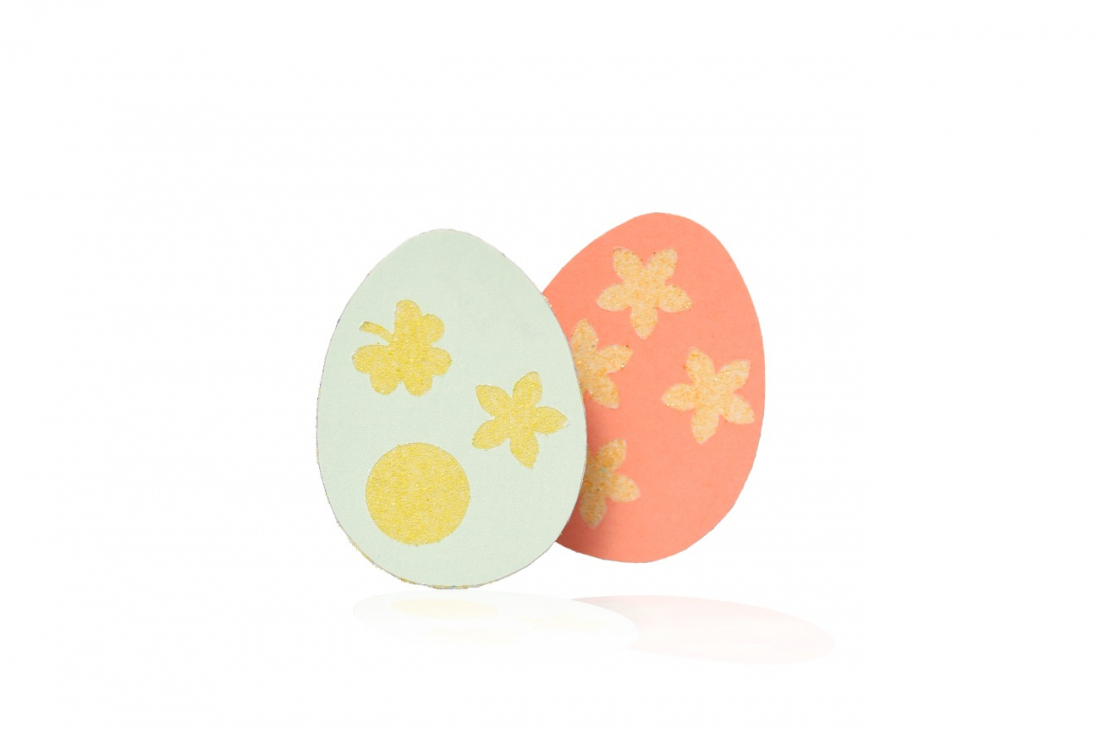
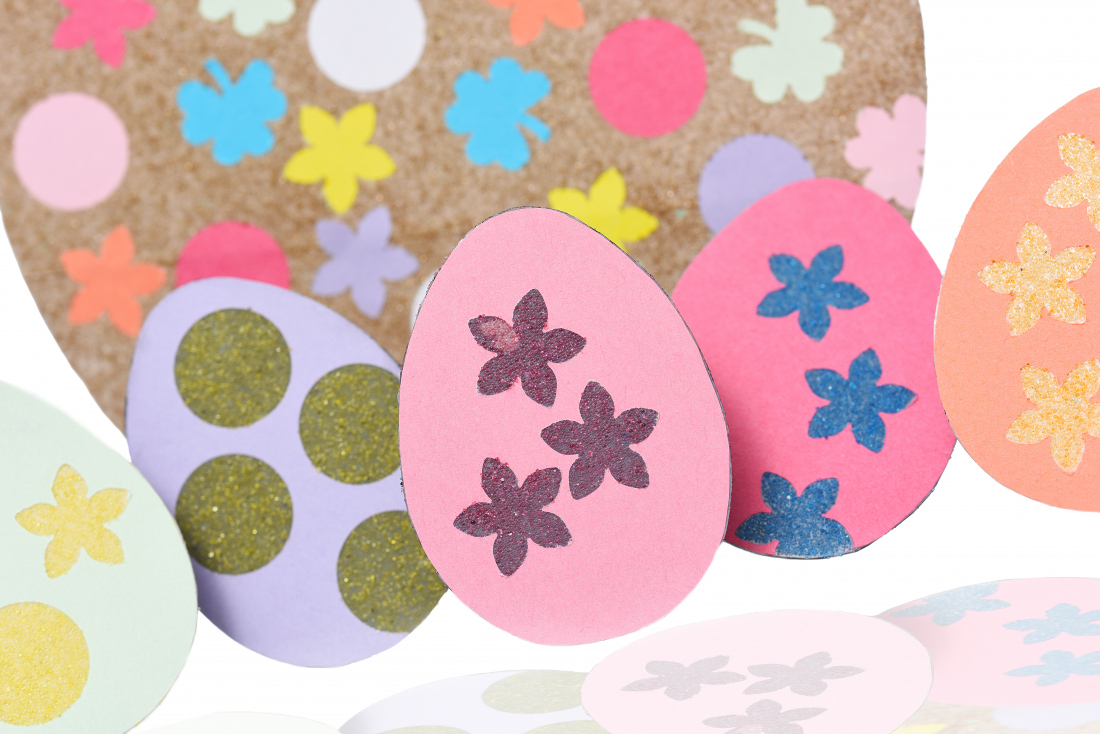
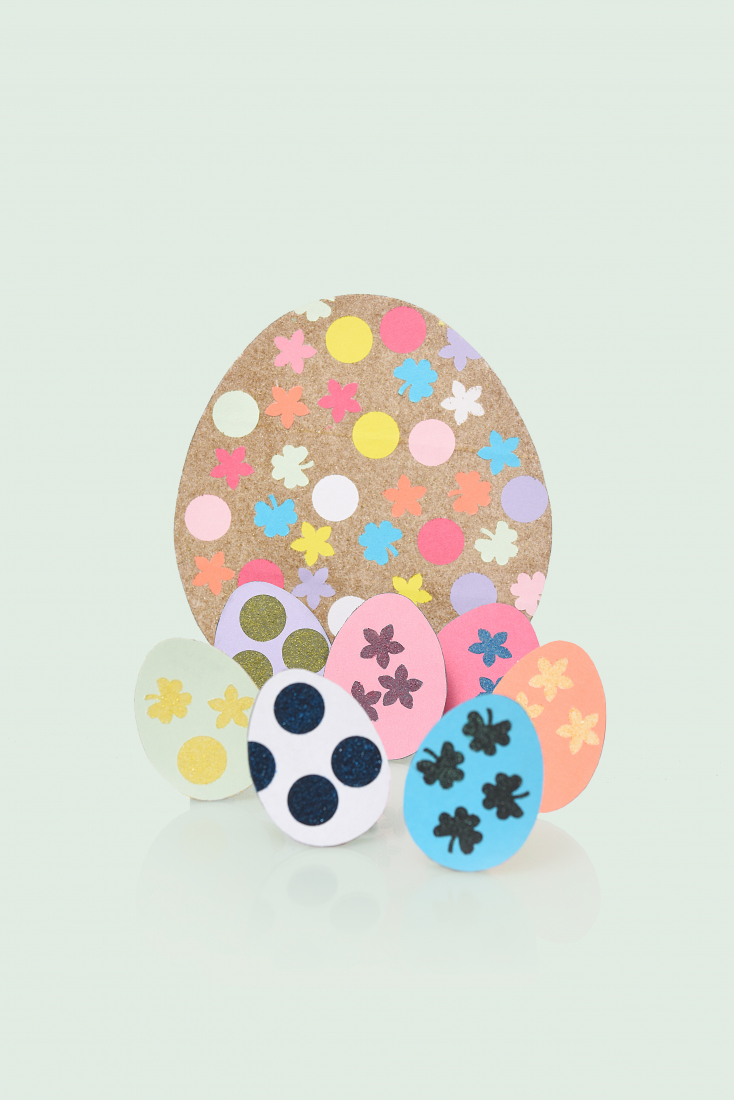
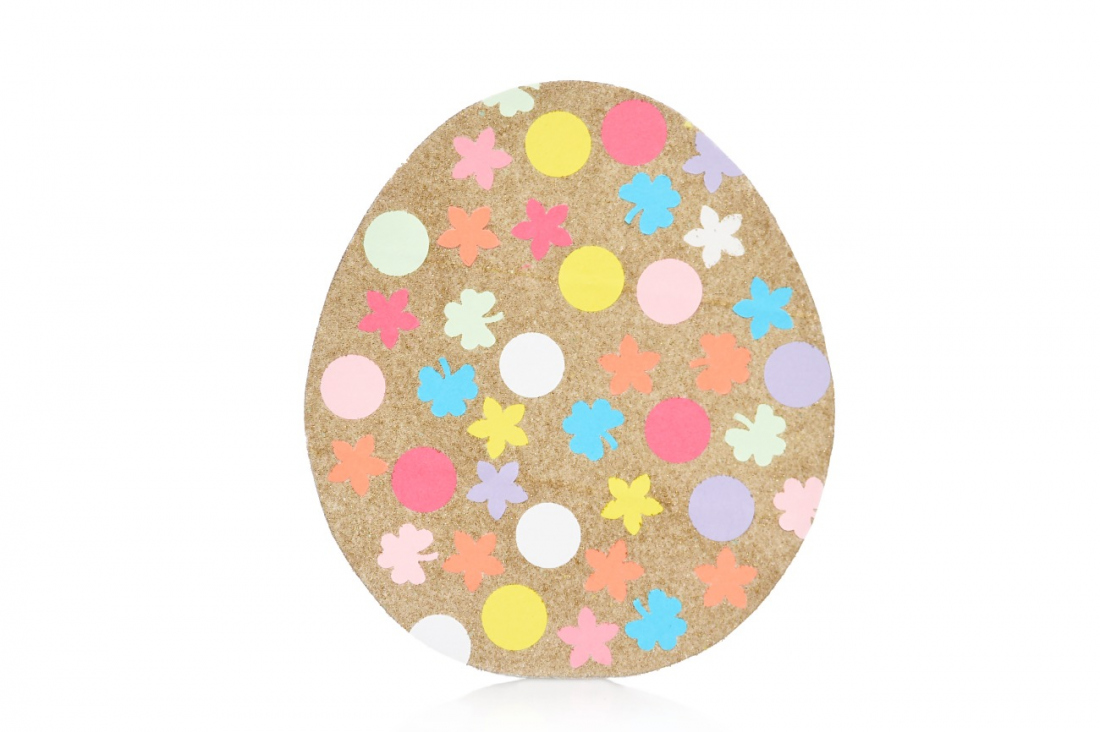
Welcome in the spring with some fun creative work. You and your children can brighten up the Easter days and prepare your fridge for the incoming goodies by decorating it with permanently flecked eggs made from magnetic film, colored paper and the essential microbeads.

Ambassadors

Helena Chmelíková

She is able to switch from luxurious and extravagant fashion show pieces to the preparation of hobby projects,
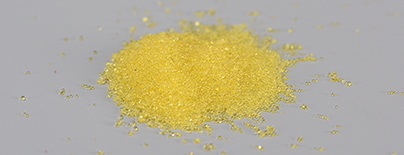
Learn More

Material and Tools

PRECIOSA BMX 40 microbeads

632 651 9 400 080 lemon yellow

PRECIOSA BMX 40 microbeads

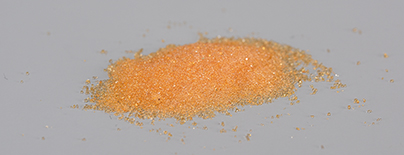
632 651 9 400 010 orange

PRECIOSA BMX 40 microbeads

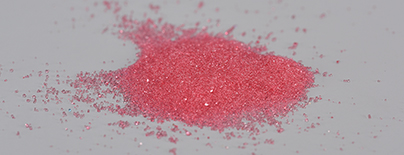
632 651 9 400 095 pink

PRECIOSA BMX 40 microbeads

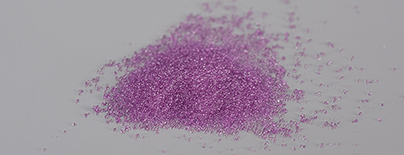
632 651 9 400 021 purple

PRECIOSA BMX 40 microbeads

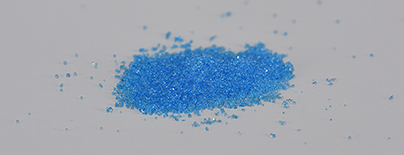
632 651 9 400 032 blue

PRECIOSA BMX 40 microbeads

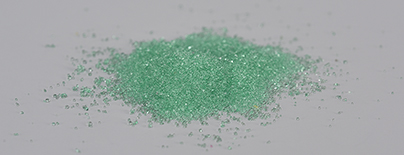
632 651 9 400 050 green

PRECIOSA BMX 40 microbeads

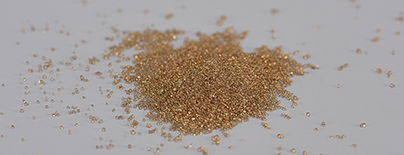
632 651 9 400 140 gold

Tools

Self-adhesive magnetic film (the thinner variants are the best); A4 colored paper; A4 white paper; scissors; decorative hole-punches; double-sided white tape; a pencil for tracing the template (a regular pencil, a felt tip for smooth surfaces)

Procedure

Step 1

Create the template for tracing. Trace around it onto the white paper and cut out the shape of the egg (a hen's egg - 5.5 cm x 4 cm).

1 / a

Step 2

Place the shape of the egg on the colored paper and trace around it.

2

Step 3

Cut the shape out of the colored paper.

3

Step 4

Place the shape into the hole-punch and punch some holes. Repeat the process several times, moving the shape at your own discretion.

You can select various degrees of layering on the magnetic foil according to the opacity and distinctiveness of the colors – a color scheme consisting of four basic colors.

4 / a

Step 5

A – gluing the cut-out egg
magnetic film - a sparkly hint of color from the microbeads)

Glue the hole-punched colorful egg onto the magnetic film.

5

Step 6

Cut the film around the edge of the egg.

6

Step 7

Sprinkle it with microbeads.

7 / a

Step 8

B – gluing the cut-out egg
(magnetic film, sticky tape - more intense shades of microbeads)

Remove the protective layer and glue on the double-sided tape.

8 / a

Step 9

Adhere hole-punched, colorful egg onto it.

9

Step 10

Cut the film and the tape around the edge.

10

Step 11

Sprinkle it with microbeads.

11 / a

Step 12

C – gluing the cut-out egg
magnetic film, white paper, sticky tape - clean shades of microbeads)

Glue some white paper onto the magnetic film.

12 / a

Step 13

Apply the double-sided tape.

13 / a

Step 14

Adhere the hole-punched, colorful egg.

14

Step 15

Cut the film, paper and tape around the edge of the egg.

15

Step 16

Sprinkle on the microbeads.

16 / a

Step 17

D – gluing the cut-out shapes

First cut the egg from the magnetic film.

17 / a

Step 18

Select the method of layering. Adhere the layers and cut around the edge of the egg.

18

Step 19

Glue on the cut-out shapes.

19 / a

Step 20

Sprinkle it with microbeads.

20 / a

Downloads