Delicate brute

Difficulty: 3
Technique: Right Angle Weave, Basic Beadweaving, Stringing

Necklace made from PRECIOSA Pip™ beads

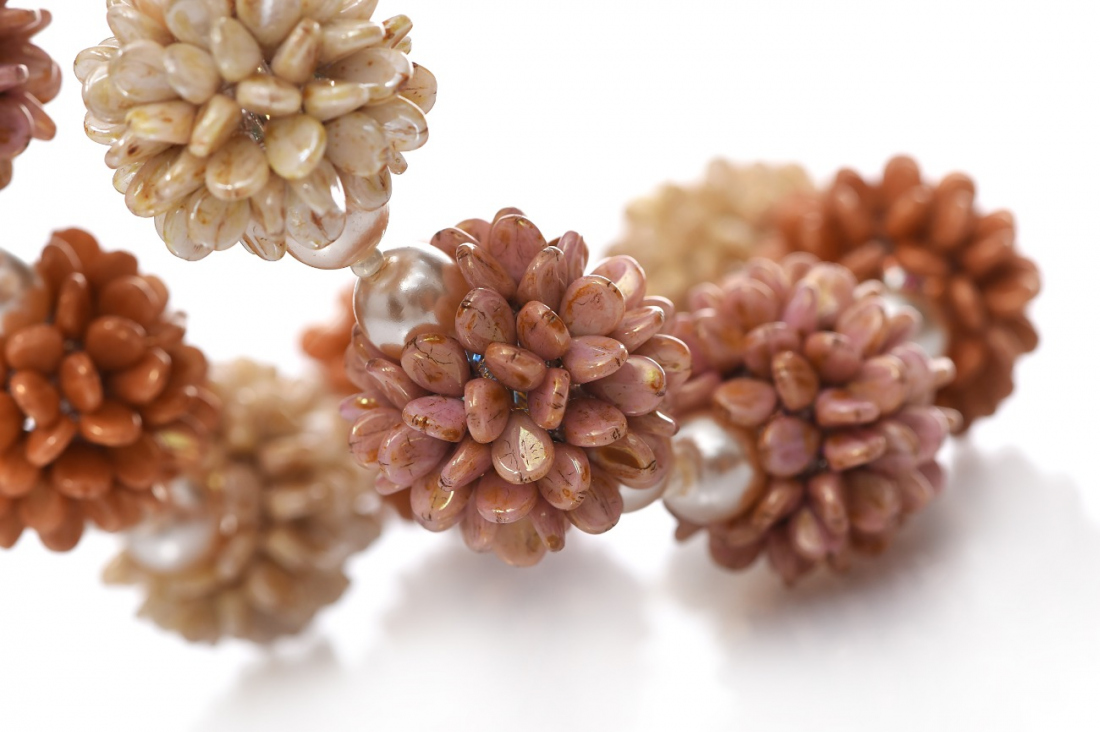
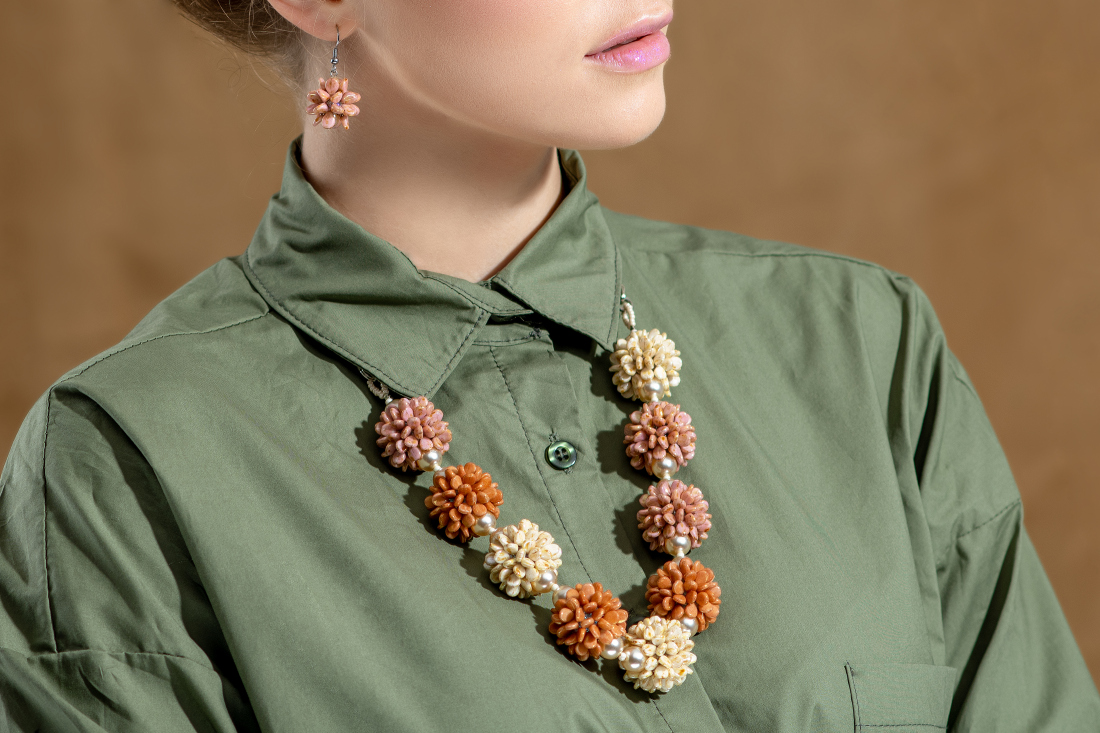
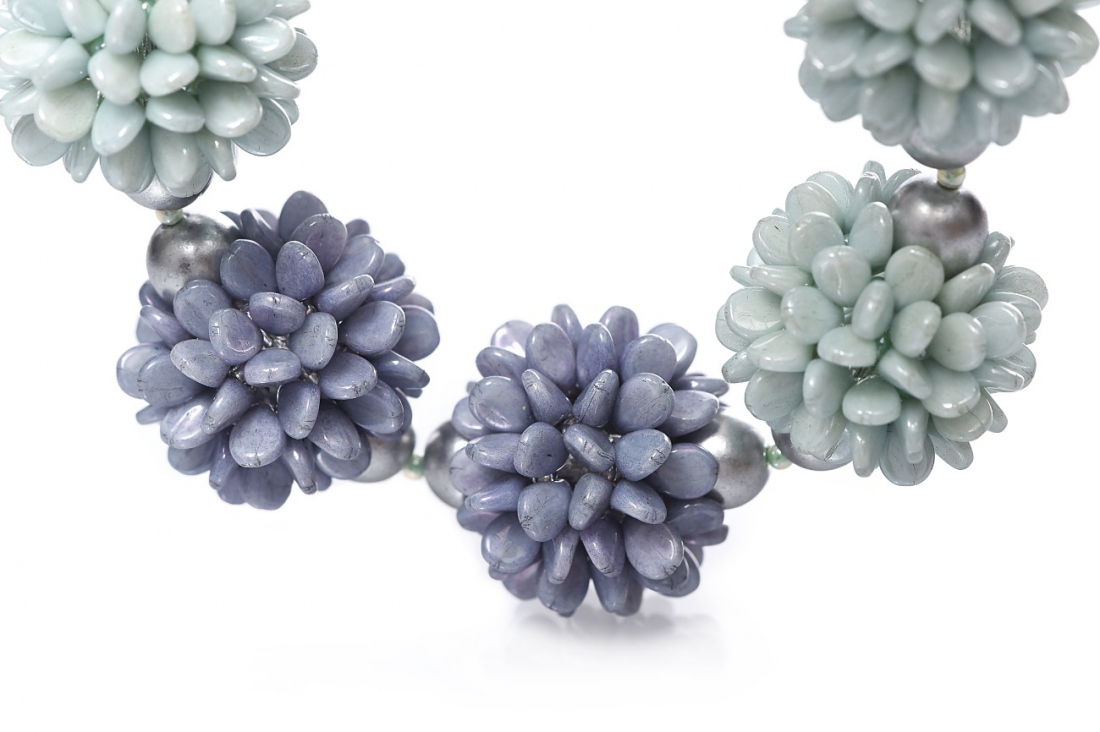
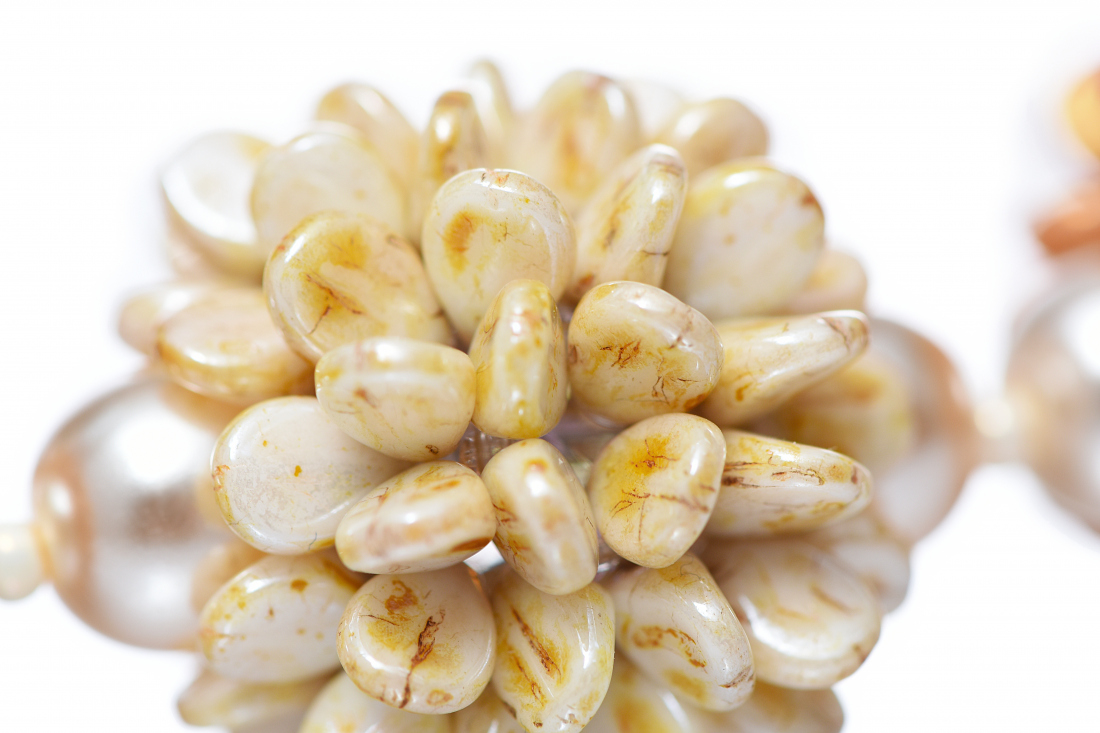
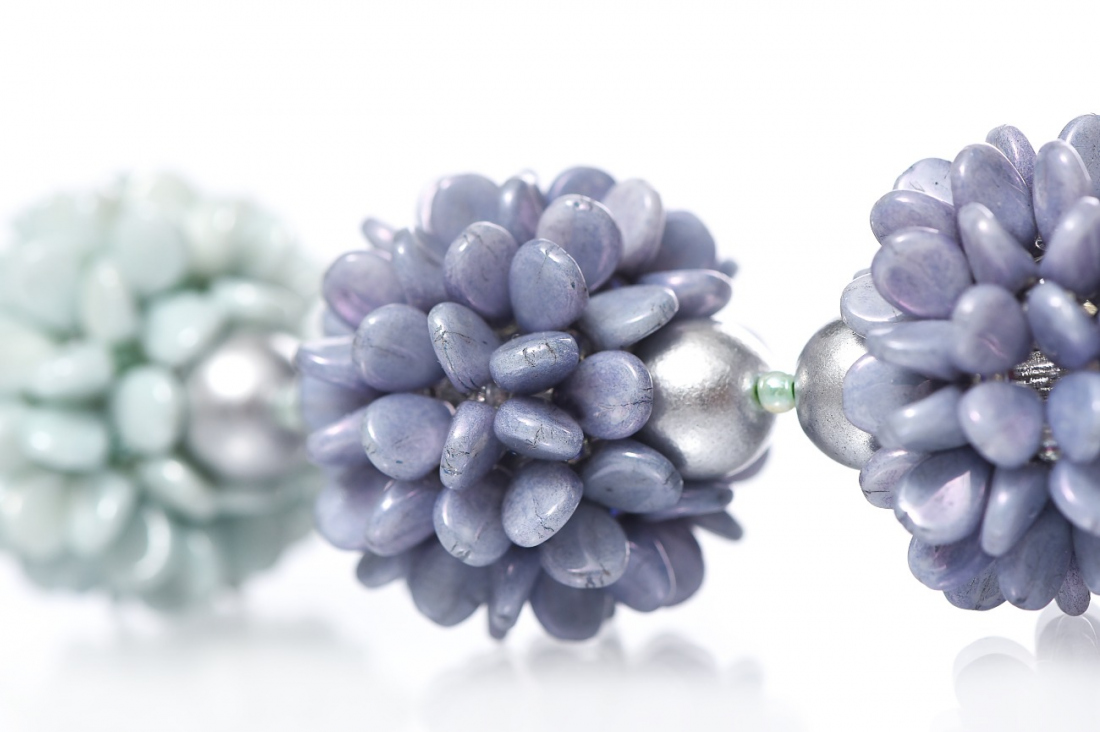
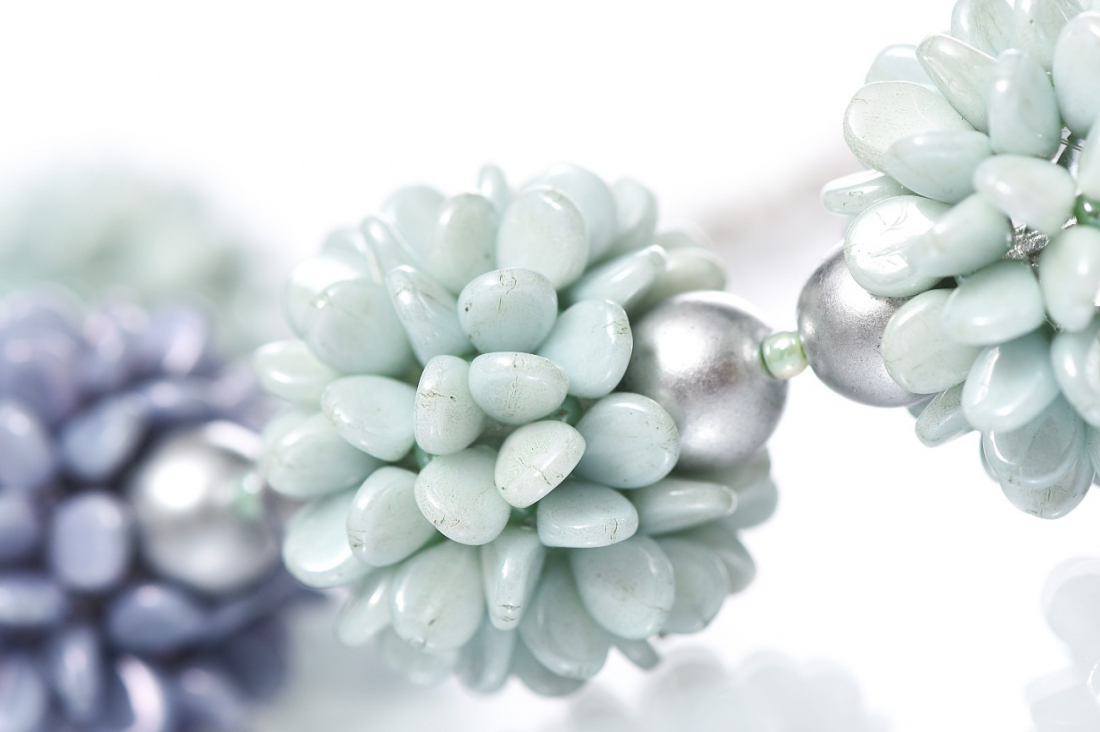
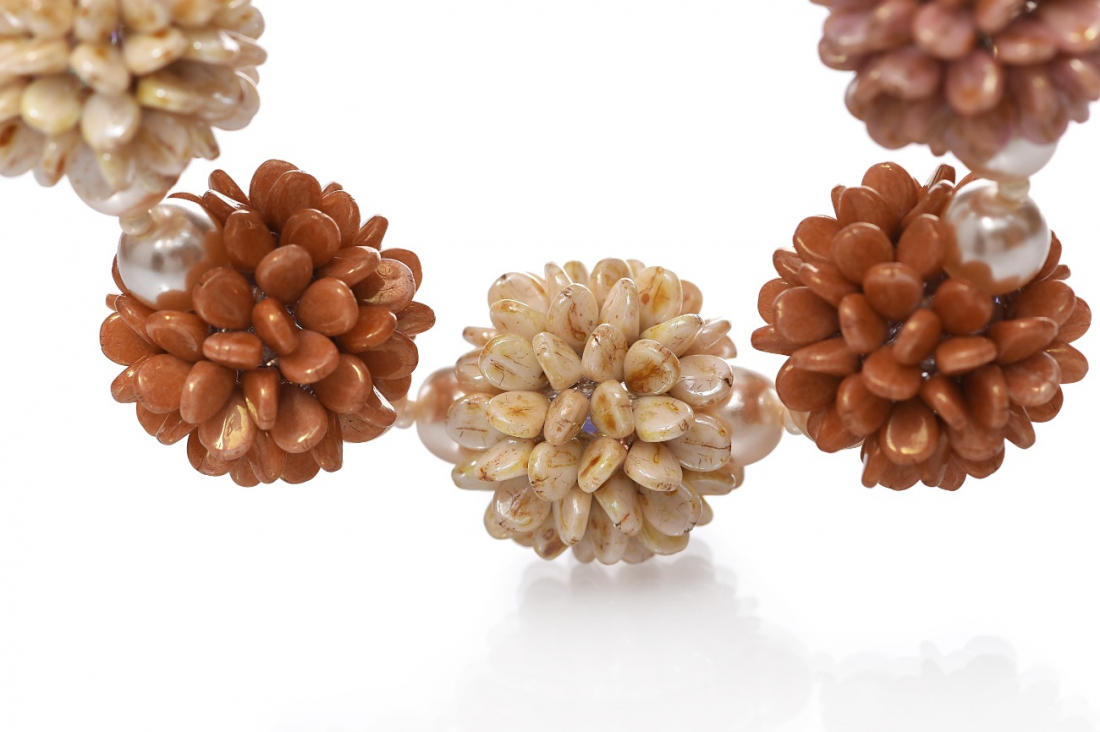
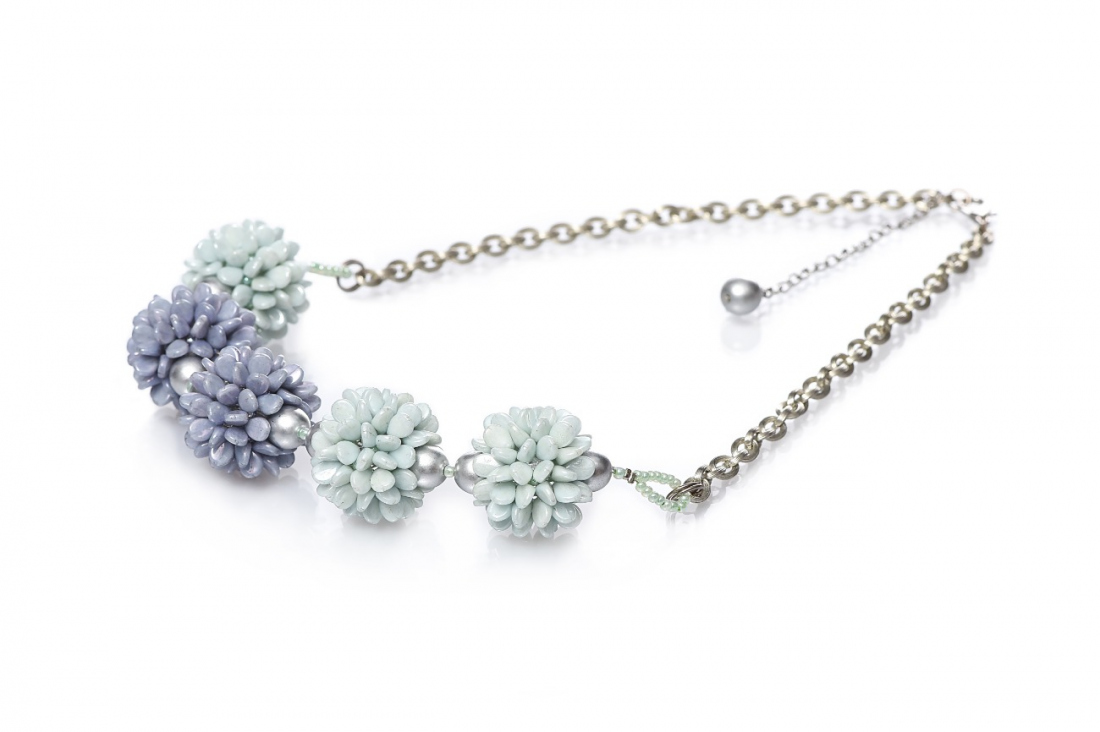
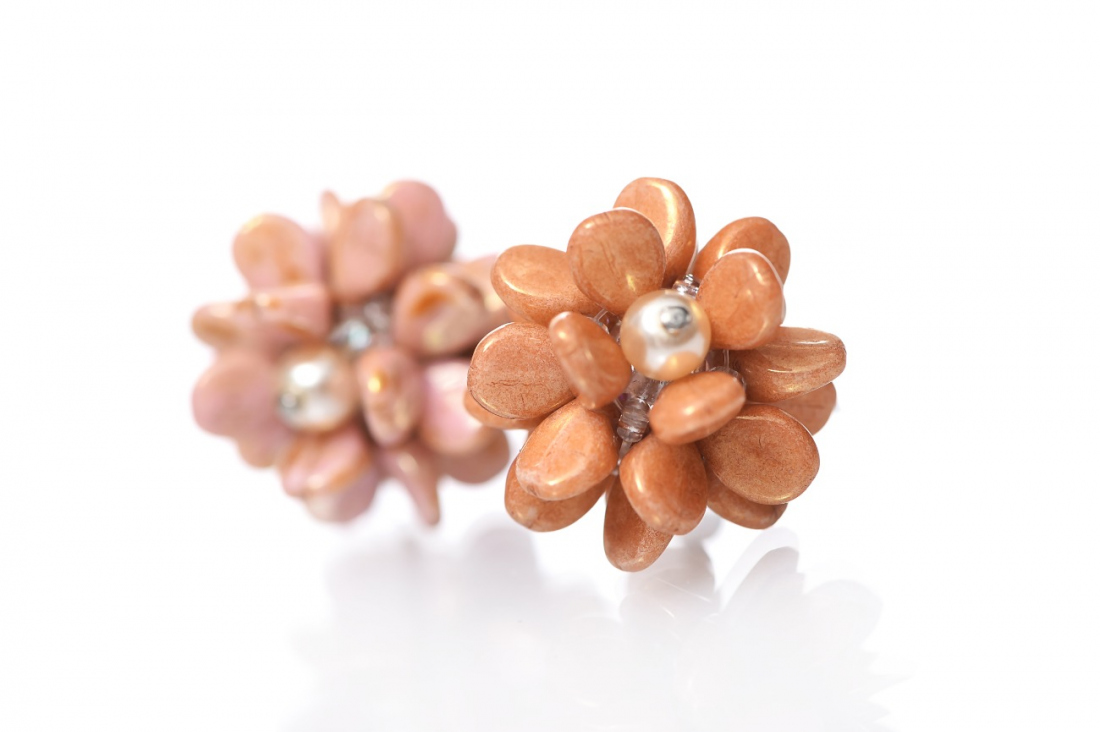
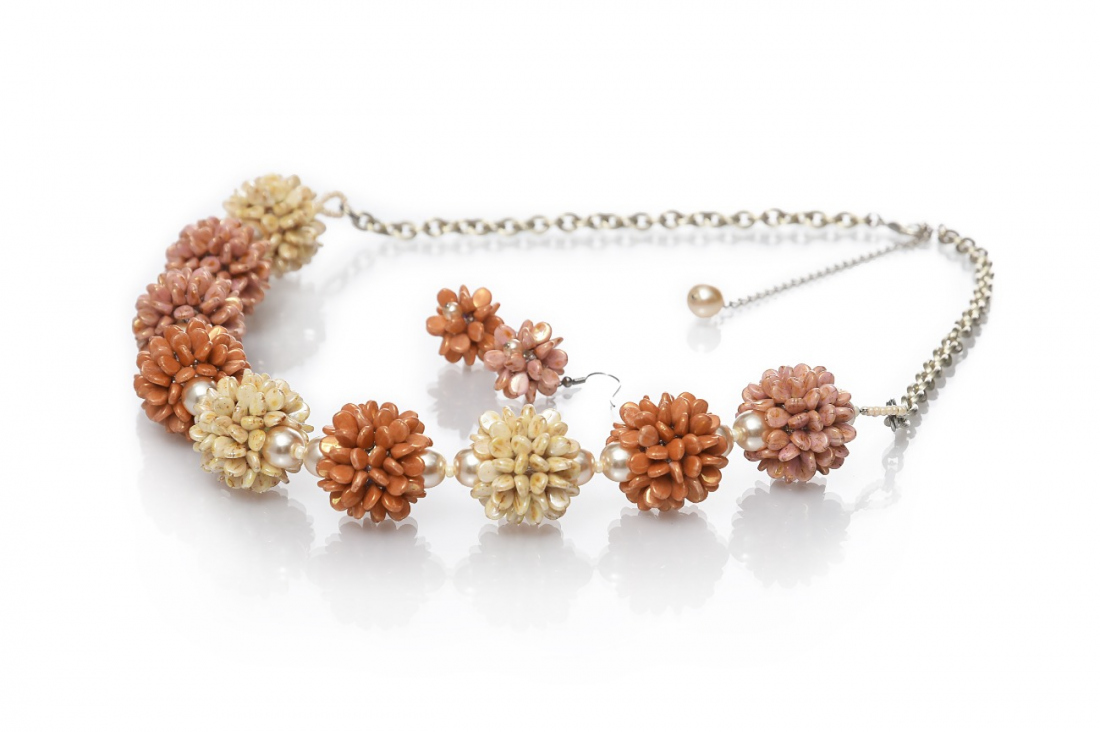
Create yet another in the series of original pieces of jewelry according to our tutorial. Refined pastel colors contrast even more with spiny balls made from PRECIOSA Pip™ beads. Preciosa Ornela offers several color variants and surface finishes. Combine PRECIOSA Pip™ beads with rocailles according to your own ideas and coordinate the accessories with your wardrobe. You can also produce several spiny balls and connect them into a bracelet or hang them as earrings. Your new piece of jewelry is sure to attract the attention of your surroundings. The facets of the individual PRECIOSA Pip™ beads will reflect the light to all sides. Preciosa Ornela wishes you much enjoyment when creating and discovering new options.

Ambassadors

Helena Chmelíková

She is able to switch from luxurious and extravagant fashion show pieces to the preparation of hobby projects,
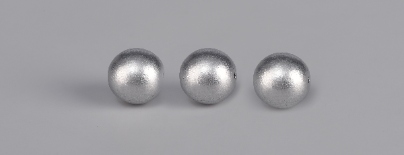
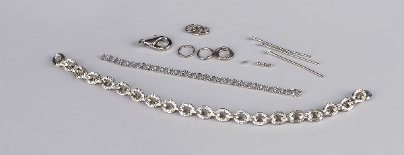
Learn More

Materials & Tools

Other materials

Metal parts – platinum: 8 mm and 6 mm rings; a strong chain; a carabiner; an adjusting chain; an eye pin; a metal crimp bead

Tools

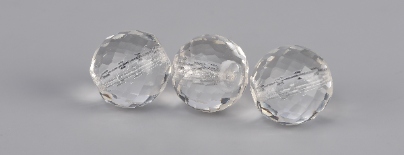
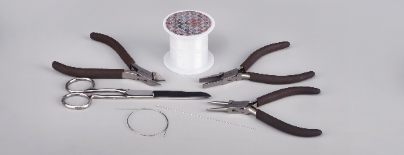
A 0.20 mm nylon line; a long thin needle; scissors; a 0.40 mm nylon line; flat nose pliers (for flattening the end of the line, closing the rings); large snipping pliers; needle nose pliers

Procedure

Sewing round the individual balls. Start by sewing the band on the central, largest circumference. Then additionally sew the upper and lower sections. Sew on two rows of Pip beads (P).

Step 1

The central band.

Use one of the “right angle weave” stitch techniques.

Alternately string 1x P and 1x R10. Start and end the stringing with a P.
The total stringing: 16x P and 15x R10. (fig. no. 1)
 

1

Step 2

Start threading the line back through the strung row. Count 4x P and 4x R10 from the end. Thread the line through the fourth rocaille (R10) in the opposite direction. String 1x P, 1x R10 and 1x P. Count off 2x P and 2x R10 from the strung row. Once again thread the line through the second rocaille in the opposite direction. Continue stringing 2x P, 2x R10 and threading the line through the second rocaille up to the end of the row. Thread the line through the final R10 in the row. Tie off the line (fig. 2a and 2b).

2 / a

Step 3

The upper and lower section

Take the line to the top or bottom outer rocailles. String 2x P and 1x R10 between them. Arch them above the band. Thread the line through another outer rocaille. In doing so, you will create the entire first row (fig. no. 3a and 3b). You can make things easier by doing the stringing on a thick cylinder, for example a felt pen. 

3 / a

Step 4

Take the line to the outer rocailles from the previous row. Always additionally string 1x P between the other outer rocailles. Create the top row (fig. no. 4a and 4b).

4 / a

Step 5

Thread the line through the already sewn section up to the second edge of the central band. Insert a 14 mm ball inside. Repeat steps 3 and 4 (fig. no. 5a and 5b).

5 / a

Step 6

Assembly

Connect the sewn balls (fig. no. 6a). String 10 mm beads along both sides. Insert 1x B10. String it all onto the 0.40 mm line. Create a loop from 16x R10 at its ends. Secure them using two metal crimp beads (fig. no. 6b).

6 / a

Step 7

Snip off the chain. Use two 8 mm rings to connect it to the rocaille loops on both sides. Attach the carabiner and the adjusting chain with the attached stop bead on opposite ends (fig. no. 7a and 7b).

7 / a

Downloads