Candy skull

Difficulty: 3
Technique: brick stitch

Sweetly ghostly decoration made from seed beads

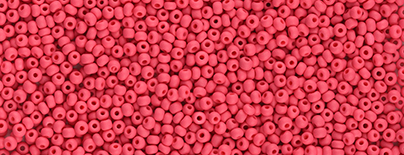
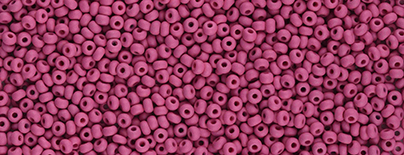
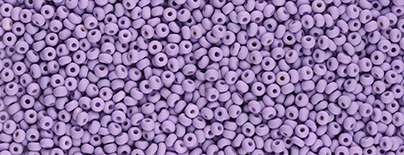
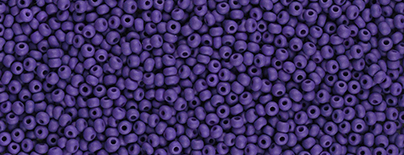
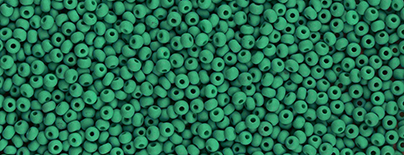
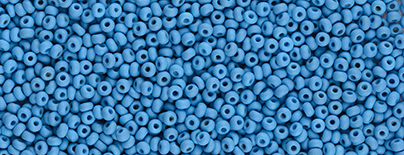
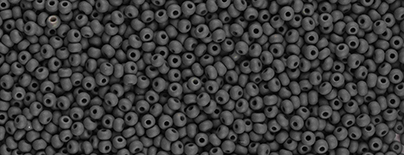
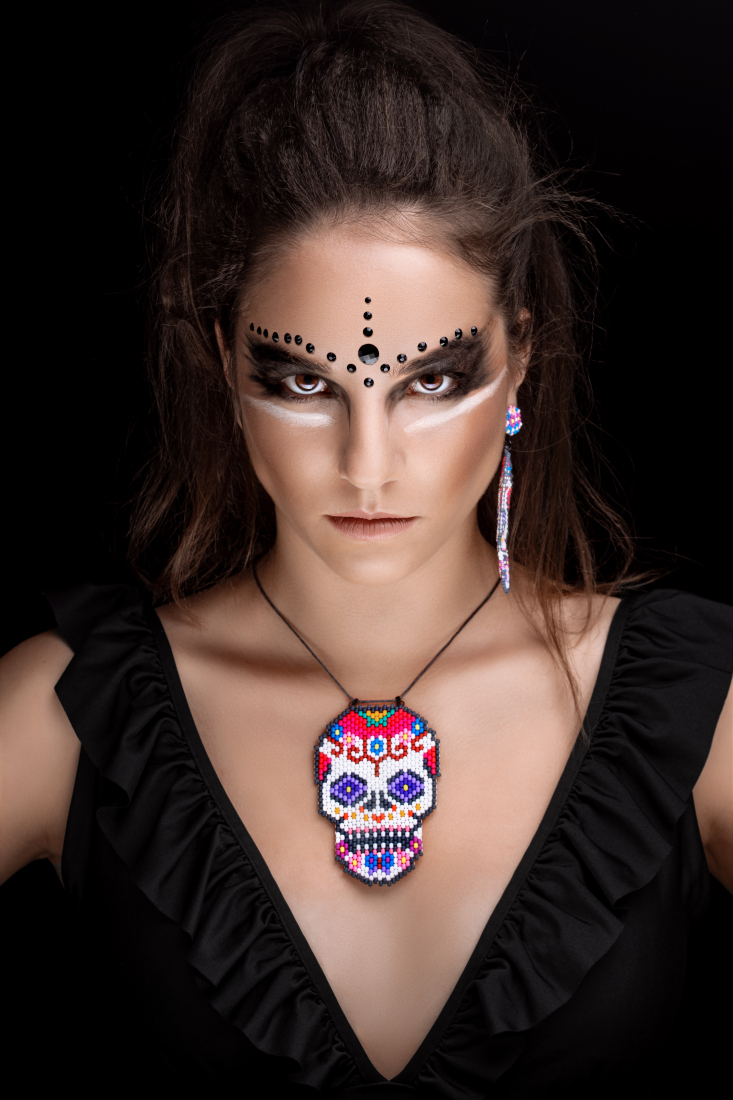
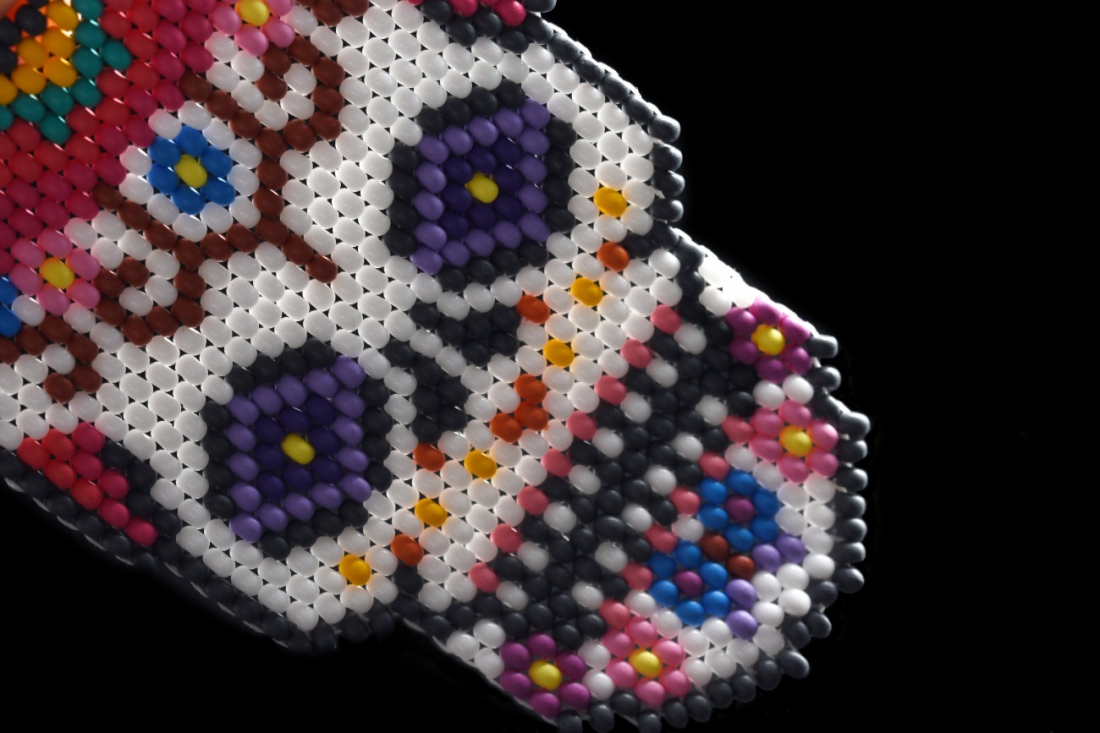
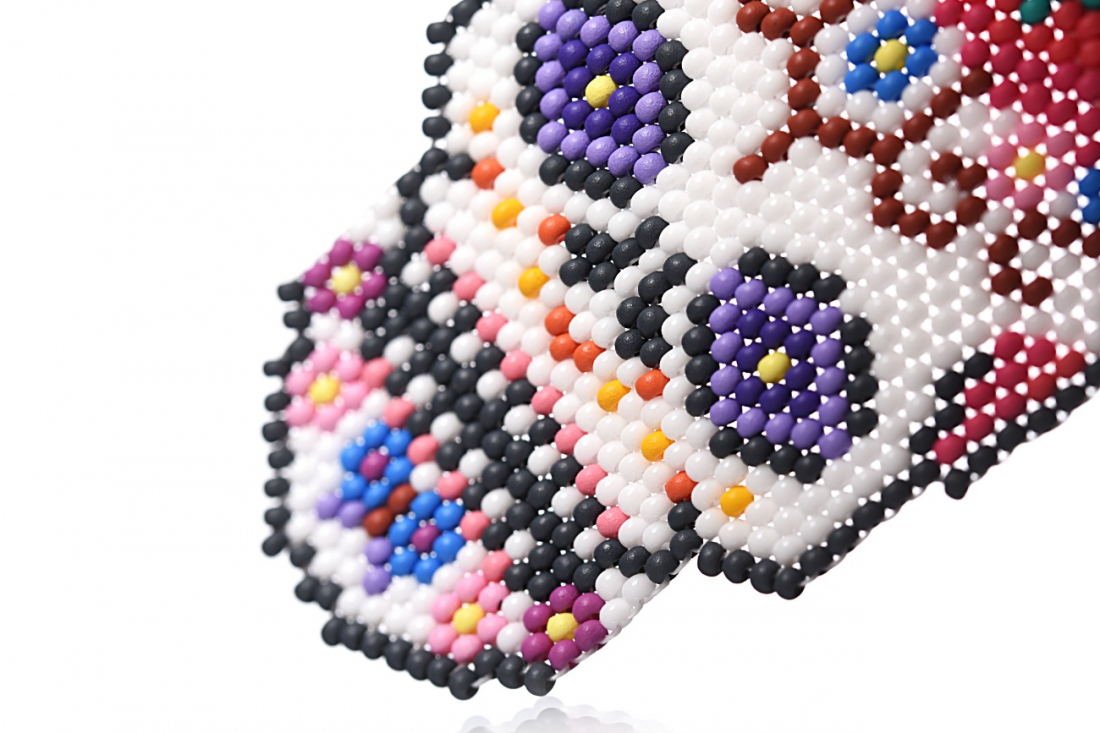
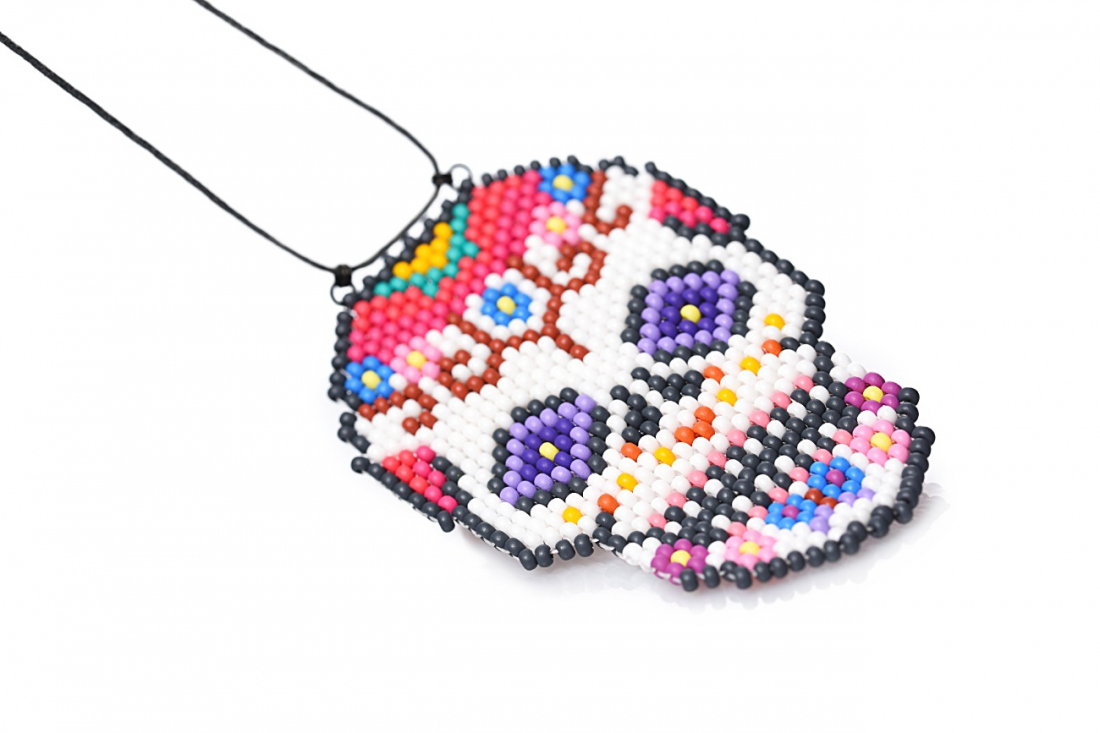
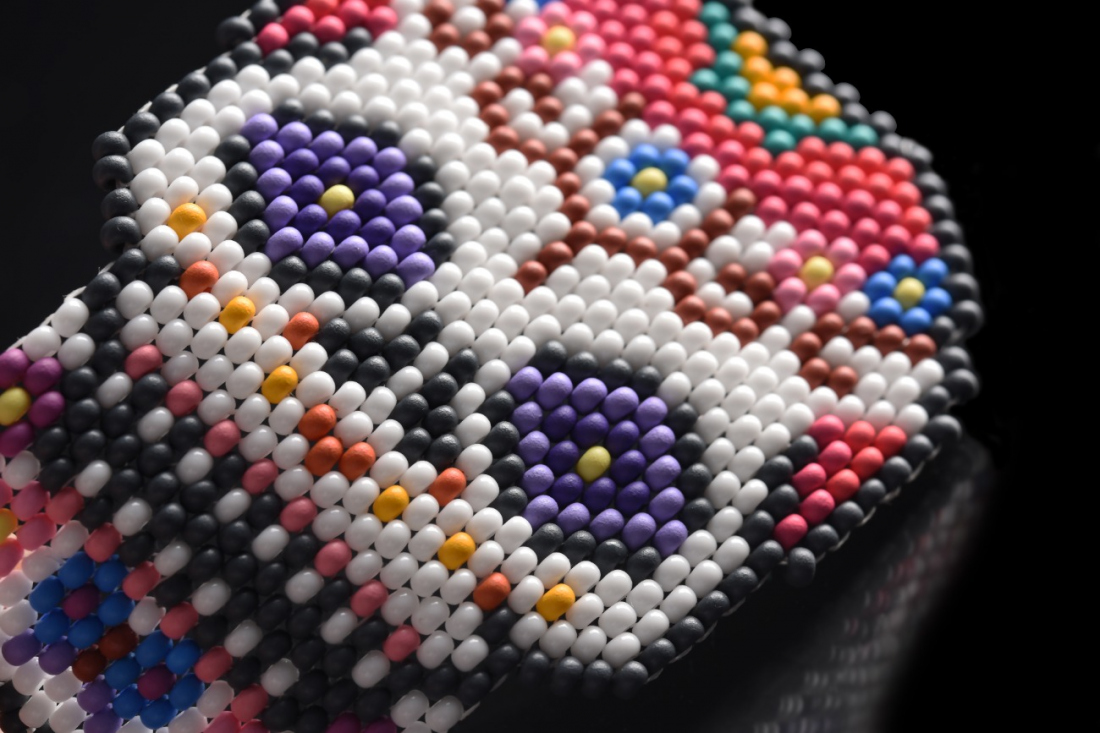
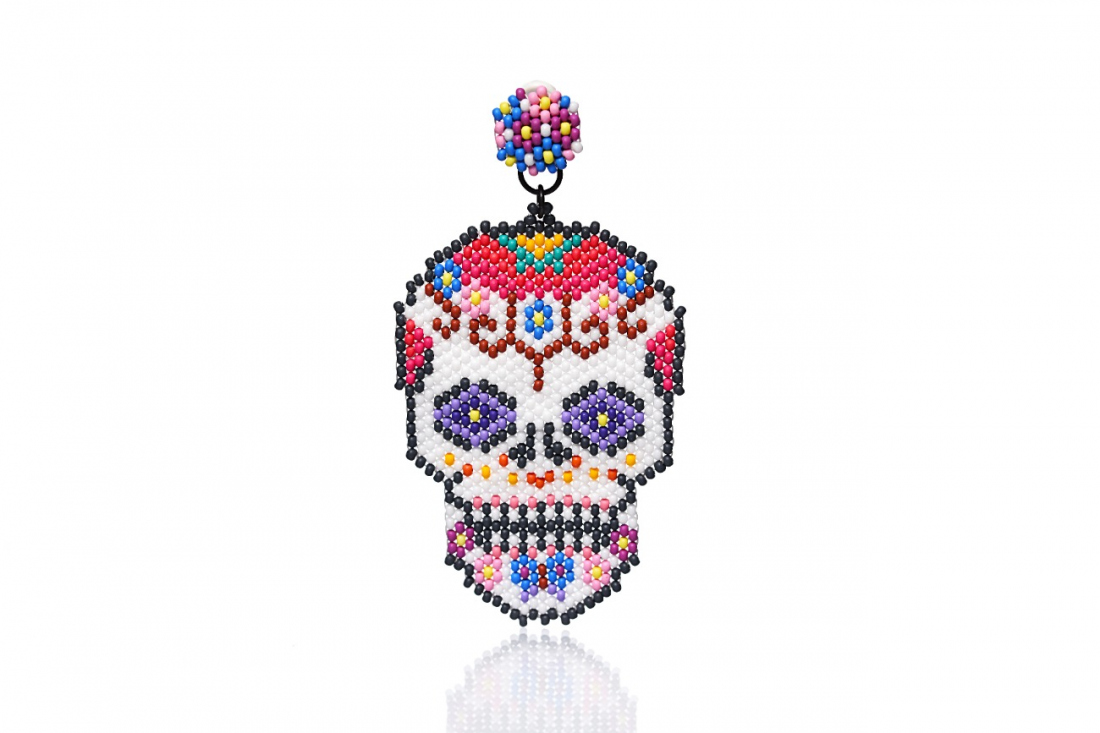
Colorful costumes, skull motifs, merry music and dance: that is how All Souls' Day is celebrated in exotic Mexico. We present a tutorial for a distinctive and impressive piece of jewelry in the shape of a skull made from colorful PRECIOSA PermaLux seed beads.

Ambassadors

Helena Chmelíková

She is able to switch from luxurious and extravagant fashion show pieces to the preparation of hobby projects,
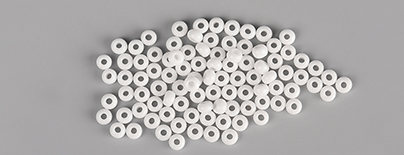
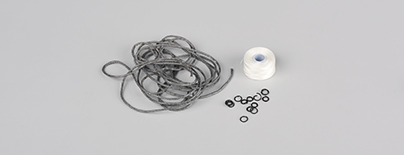
Learn More

Materials

Thin 4-5 mm rings; 0.11 mm white or ivory S-lon nylon thread; a waxed 1 mm cord

Tools

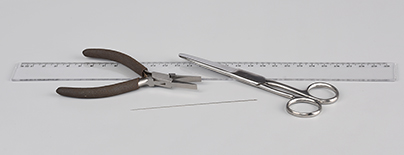
Scissors; a thin needle; a ruler; flat-nosed pliers

The brick stitch

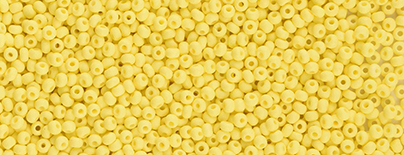
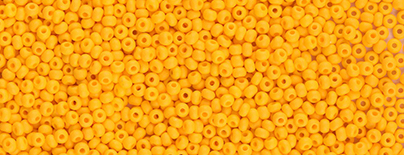
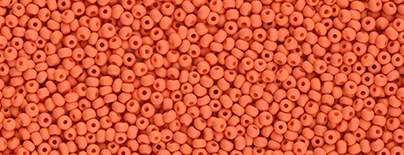
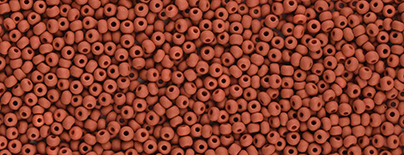
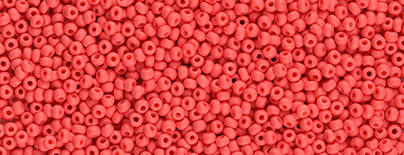
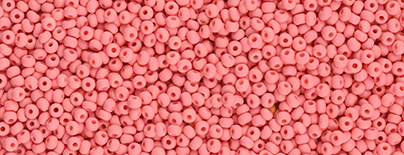
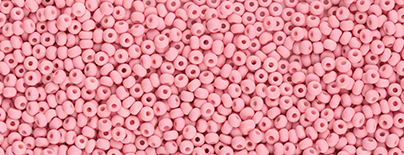
When sewing, select R of approximately the same height (the same dimension of the hole length). Two numbers are given for the used numbers of R. The lower amount is for the finished pattern, while the higher is the approximate amount prior to selection.

Sew a column using the brick stitch (Steps 1 and 2) as the basis. Use the thread between the individual R for further sewing.


A – String 1x R. Pass the needle under the thread between the R. Pass the needle back through the R.
 

B – Sewing the edges of the columns - the beginning. The column is shorter than the previous one. String 2x R. Pass the needle under the thread in the 2nd gap between the R. Pass the needle through the 2nd R again. Return to the 1st R. Pass the needle under the thread in the 1st gap between the R. Pass the needle through the 1st R again. Pass the needle under the thread again and secure the 2nd R. Proceed in the same way if the following column is several R shorter.
 

C – Sewing the edges of the columns - the beginning. If the R protrude in relation to the previous column, string 2x R. Pass the needle under the thread in the 1st gap between the R. Pass the thread through the 2nd R again. Straighten the strung R.
 

D – Sewing the edges of the columns – the end. If the R protrude in relation to the previous column, string the last 1x R. Pass the needle under the thread next to the last R from the previous row. Pass the needle through the strung R again and straighten it.
 

E – If the next column is shorter, pass the thread through the outer R of the previous column one more time.


/ a

Procedure

Step 1

Cut off about 1.50 m of thread (an arm's span). Tie the nylon thread to the eye of the needle with one or two knots. String the central column according to the illustration above. Place the strung R in the middle of the thread.

1 / a

Step 2

Pass the thread through all the strung R one at a time from the lower grey one to the upper grey one using the brick stitch. Try to make sure that the R are located one above the other: erectly, if possible. Tie off the thread with two knots next to last grey R. Pass the thread through all the upper R and hide the knots in the holes of the R.

2 / a

Step 3

Then string the 1st column to the left of the central column and then to the right according to the illustration.

3 / a

Step 4

Continue by stringing the 2nd column to the right and then to the left of the central column.

4 / a

Step 5

Sew part of the 3rd column on the left and right-hand sides. Leave 15 – 20 cm free from the diminishing thread for future sewing.

5 / a

Step 6

Cut off about 1.50 m of thread. Continue sewing the 3rd column. Leave 15 – 20 cm free at the end of the thread. Sew part or the entire column. Tie off the free end of the thread with two knots. Don't sew them in yet.

6 / a

Step 7

Continue sewing the columns according to the illustration: completely for the 4th to 8th columns and partially for the 9th column. Once again leave 15 – 20 cm of the end free. Pass any thread from Step 6 that hasn't been sewn in through several R and cut it off.

7

Step 8

Cut off about 1 m of thread. Complete the 9th column. Tie off the free ends of the thread with two knots. Don't sew them in. Sew on the remaining columns: columns 10 to 15. Pass the knotted free ends of the thread through several R. Also sew in the free end at the 15th column. Pass it through several R. Tie a double knot (a double pass through a loop of thread created around the thread between the R). Pass the thread through several R.

8 / a

Step 9

Sew the second half of the skull (Steps 6 - 8).

9 / a

Step 10

String the thin rings into the holes in the top grey R, at the edge before the start of the descent of the skull's arch. Add more rings to those rings. String a cord into the rings.

10 / a

Step 11

Tie slip knots. Cutoff about 1.10 m of the cord. Cross the cord over at a length of about 30 to 40 cm. Fold it back about 10 cm from the end of the cord. Fold it again at a distance of about 1.5 - 2 cm from the fold. Start winding around all three strands of cord. Twist it 3x. Thread the ends of the cord through the loop. Pull on the knot behind the part of the cord where you tied the knot. Tighten the knot. Shorten any extending cord to about 1 cm. Tie a knot on the other side in the same way.

11 / a

/ a

Downloads