Bouquet

Difficulty: 4
Technique: sewing, the peyote stitch, winding, gluing

Seed bead bouquet in PRECIOSA PermaLux colors

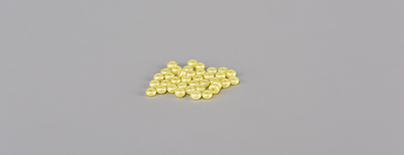
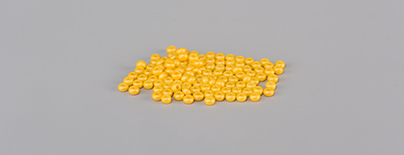
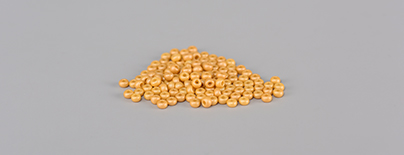
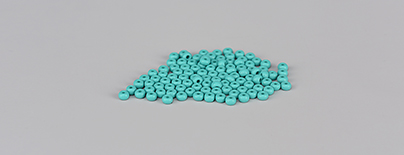
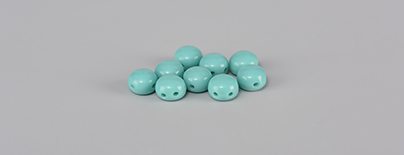
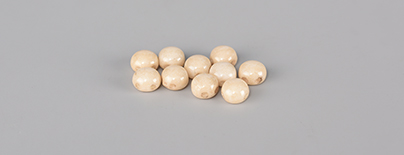
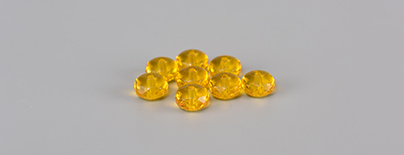
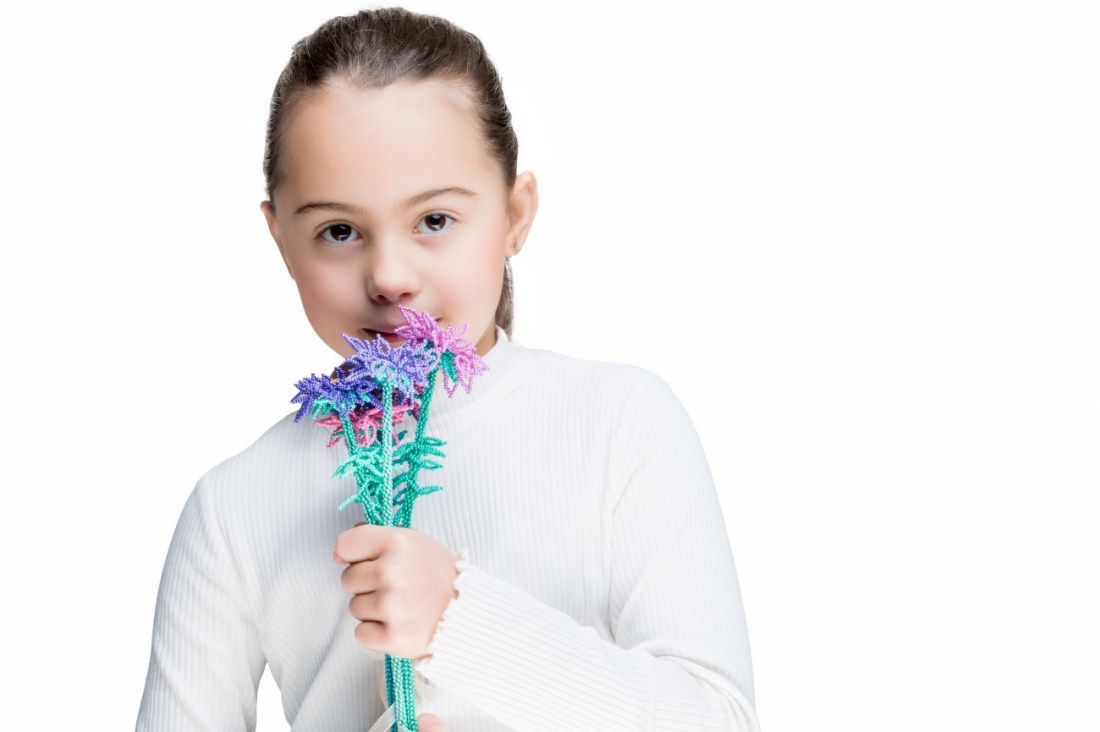
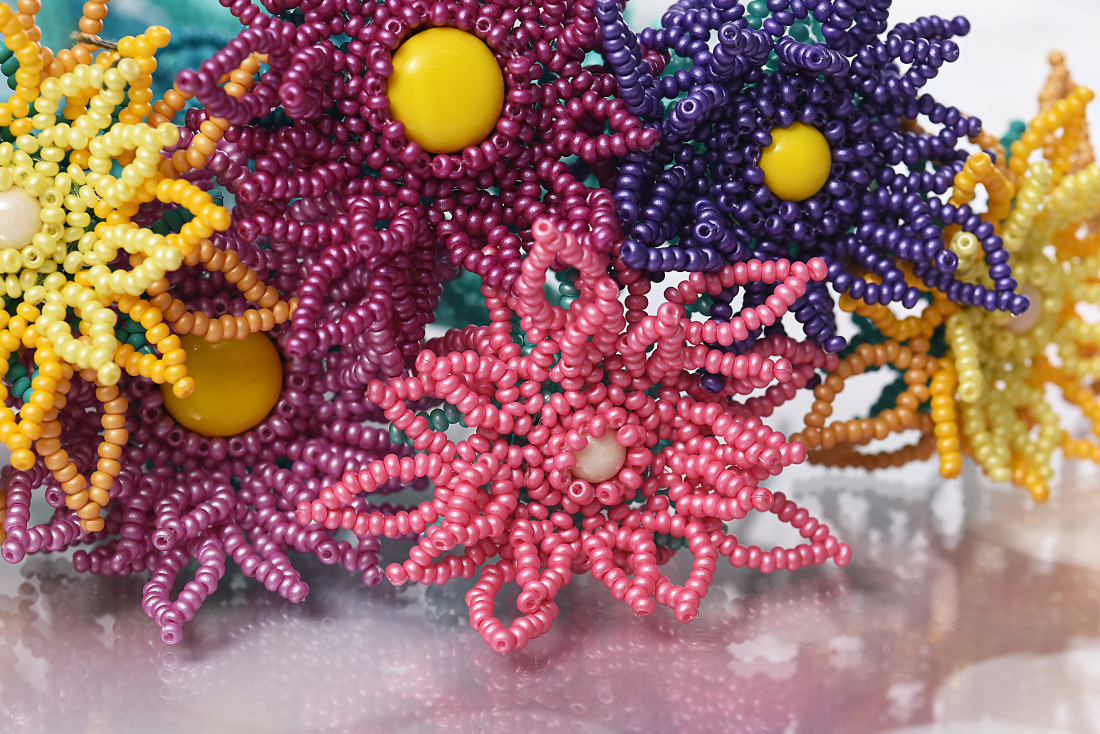
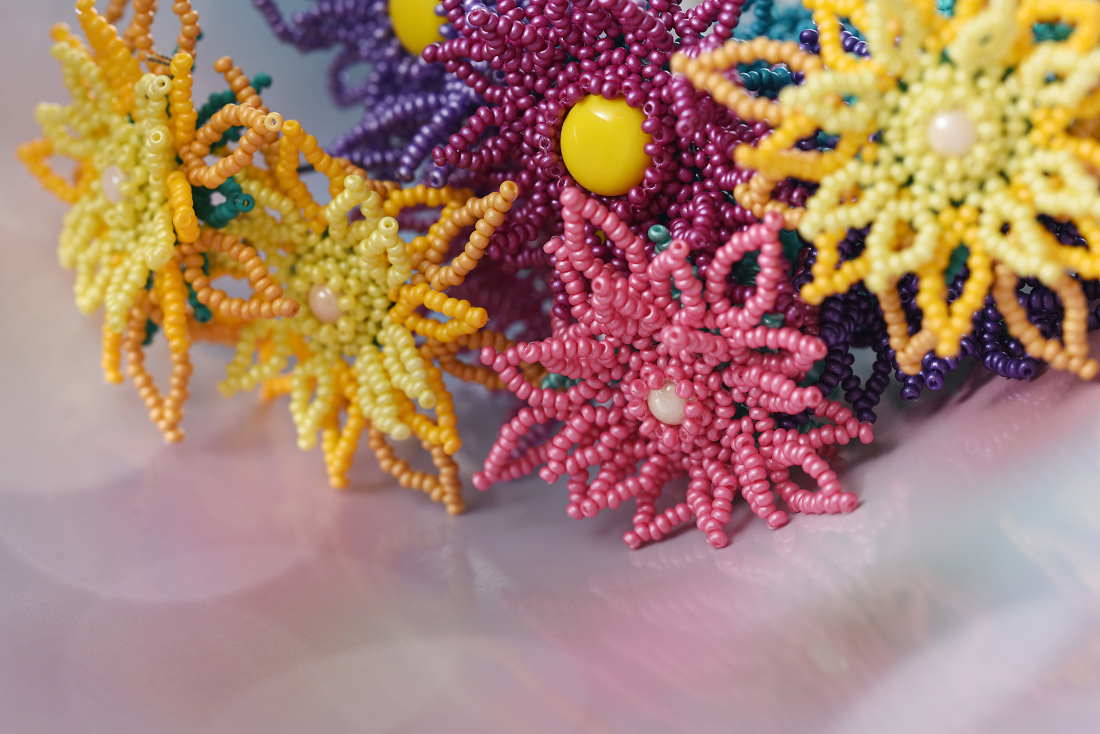
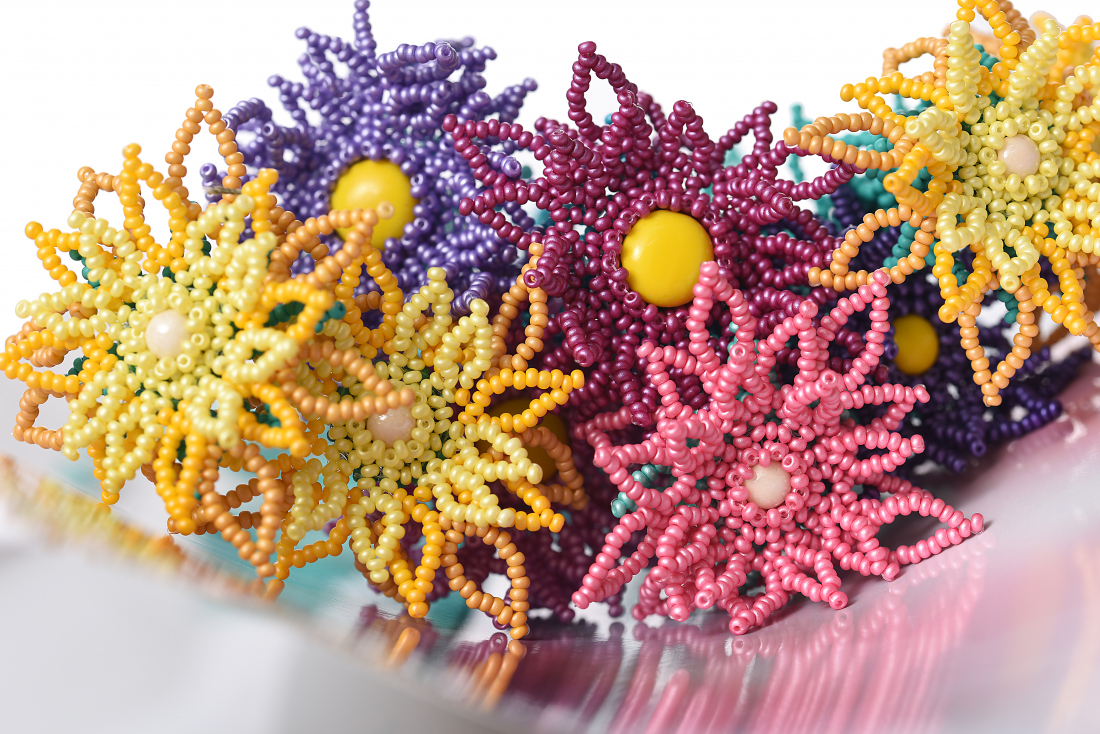
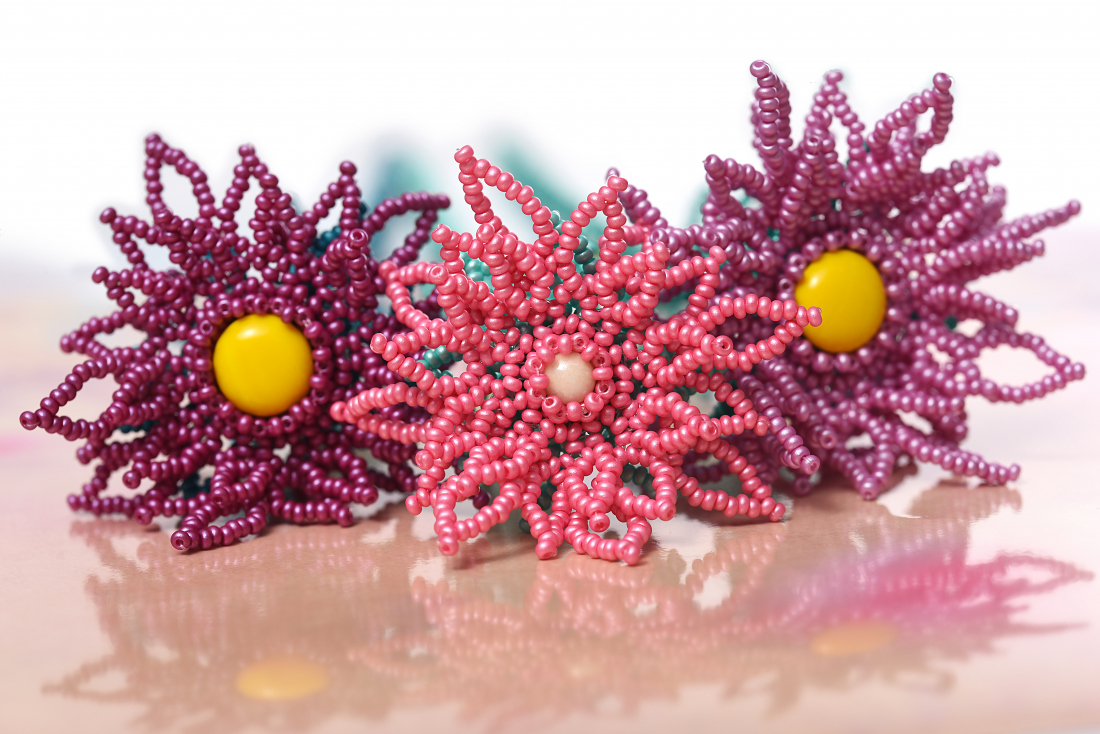
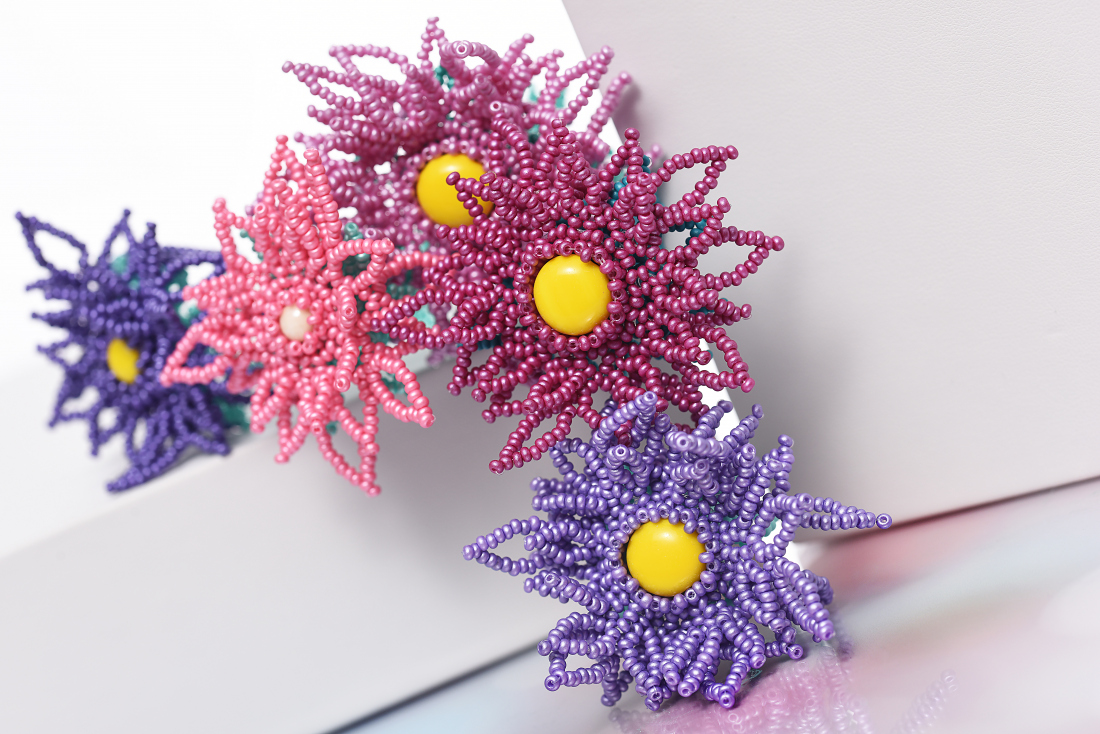
Allow your creativity to blossom and create a bouquet of flowers that will never wilt. The PRECIOSA PermaLux seed bead color pallet enables you to choose from a wide range of colors and to create a bouquet of multihued flowers with stems.

Ambassadors

Helena Chmelíková

She is able to switch from luxurious and extravagant fashion show pieces to the preparation of hobby projects,
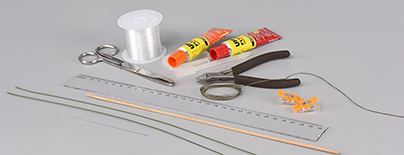
Learn More

Procedure

Step 1

Start with the preparation of the stem. Shorten the wire to 30 cm. Glue 1x FPB to one end. Clean off any excess glue. Leave it to dry.

1 / a

Step 2

Meanwhile, start sewing the flower. Sew the part consisting of R1 from one long piece of line (about an arm's span). String 16x R1. Tie off the stringing. This will form a circle.

2

Step 3

Insert the C into the circle. String one hole. Count off 6x R1 from the knot. Thread the line through the next 2x R1. Thread the line through the second hold of the C. Count off 2x R1 from the knot on the other side. Thread the line through the 3rd R1 in the direction from the knot. Thread the second end of the line through a hole in the C and cut it off.

3 / a

Step 4

String 2x R1. Leave out 1x R1 in the circle. Thread the line through the others. Continue in the same way until you have added 8x 2 R1.

4 / a

Step 5

Start sewing the petals. String 10x R1 above the 2 R1 from the previous step. Thread the line through the penultimate 9th R1. String 6x R1. Thread the line through the 2nd R1 from the side (from below, it will turn to the side). String 1x R1. Thread the line through the 2nd R1 from the pair of R1 from Step 3. Move directly to the next pair of R1 from Step 3. Create another petal between this pair and the following pair of R1 from Step 3. String 1x R1. Create eight petals. Upon completion, sew the line into the beads, preferably at the top of a petal.

5 / a

Step 6

Secure the hemming of the central C. The ring of R1 consists of 16x R1. String 3x R1. Thread the line through the 1st and 3rd again. Secure the line after every 2nd R1. Thread the needle onto one end of the line. Thread it under and return at the other side. Then string 2x R1. Secure the 2nd bead once again. Add 2x R1 another 5 times (a total of 6x). Complete the hemming of the C by stringing 1x R1, tying off the line and threading the line through the R1.

6 / a

Step 7

Cut off a new line. Thread the line through 1x R1 from the base of a petal from Step 4. String 12x R2. Thread the line again through the penultimate 11th R2. String 8x R2. Thread the line again through the 2nd R2. String 1x R2. Thread the line through 1x R1 from the base of the adjacent petal. Create all the petals made of R2 in the same way. Tie off the line and thread the ends through several R2.

7 / a

Step 8

Cut off a new piece of line. Thread the line through 2x R2 from the intersection of the R2 next to the petal from Step 6. String 14x R3. Thread the line through the penultimate 13th R3. String 10x R3. Thread the line through the 2nd R3. String 1x R3. Thread the line through 2x R2 above the intersection of the adjacent petal from Step 6. Do the same for the R2 where the lines cross. Create all eight R3 petals in the same way. Tie off the ends of the line and thread them through several R3.

8 / a

Step 9

Cut off a new piece of line (1 m). Sew the calyx. Use the peyote stitch. Start by stringing 4x R4. Keep the stringing of the wire in mind. Tie off the line.


In the 2nd row, string 1x R4 between each R4 from the previous row (a total of 4x).

In the 3rd row, string the R4 in twos (a total of 8x).

In the 4th and 5th rows, string 1 R4 into each gap (a total of 8x in the row).

In the 6th row, alternately add 2 and 1 R4 into the gaps (a total of 12x).

In the 7th and 8th rows, string 1 R4 into each gap (a total of 12x in the row).

9 / a

Step 10

Tie off the end of the line near the central opening, pull it into several R4 and cut it off. Thread the wire through the central opening in the calyx. Move the calyx up to the FPB.

10 / a

Step 11

Sew the calyx to the flower. Sew R4 around the edge of the calyx from the 8th and 7th rows. Make use of the protruding R4 next to the 8th row. Thread the line from the R4 in one direction. Create a loop around the line next to the petal and thread it one more time through an R4 next to the calyx. Wind the line around the line between the R1 at the neck of the petal from Step 5 next to the flower. Attach both lines from one petal at the neck, but only one line on one side at the next. Continue in this manner around the entire edge of the calyx. Sew the line into the petals.

11 / a

Step 12

Cut off a new piece of line (50 cm). Sew the petals to the calyx. The size is the same for the petals from Step 5. Thread the line through the R4 from the 7th row next to the calyx. Create a petal. Thread the line through the R4 from the 6th row. Create a petal. Continue in the same way alternating rows and sewing petals around the calyx until there are eight. Tie off the line. Thread the line through several R4 in the petals and cut it off.

12 / a

Step 13

Start creating the stem. Prepare about 3 m of thread. String the thread into a thin needle. Cut the thread off diagonally. Moisten the end of the thread. Cut off any fluff at the end and thread it through the needle. Place the needle in the middle of the thread. Fold the thread in half. String 5x R4 onto it. Tie it off. Leave about 15 – 20 cm free on the shorter end of the thread. Thread the circle of R4 onto the wire. Prepare the glue. Apply a drop of glue to the centre of the calyx around the wire. 

13 / a

Press on the circle of R4. Leave it to dry.

Step 14

Pour all the remaining R4 into a pile. Have the glue and the pegs at hand. Repeatedly poke the needle into the pile of R4. The R4 should more or less slide onto the needle. Occasionally mix up the pile. Wind the short end of the thread into the flower. String about 30 cm of R4. First practice winding the wire with the strung R4. Move the R4 up to the calyx. Slightly loosen the part closest to the wire (about 10 cm). Shift the remainder of the stringing (about 20 cm) along the thread to the needle. 

14 / a

Coat about 3 cm of the wire with glue. Wind on the R4. Secure them with a peg. Continue winding the other R4. After completing 30 cm of stringing, string a further 30 cm. Continue in the same way until you reach the end of the wire. Let the glue dry properly.

/ a

Step 15

String the start of the thread (each thread separately) onto the needle, thread it through some of the wound R4 and cut it off. Sew the second end of the thread (at the end of the wire) in between the R4. First thread it through several beads in the opposite direction of the winding of the R4 spiral. Secure it with knots, thread it in and cut it off.

15 / a

/ a

Step 16

All that remains is to decorate the stems with a leaf braiding. Cut off a new piece of line (120 cm). String the start of the line onto the stem under the flower with one wind of the spiral of R4. Tie it off and pull the shorter end into the R4 on the stem and cut it off. There are ten leaves. The size corresponds to the petals according to Step 7, but they don't have a "neck". So, string 11x R4. Thread the line one more time through the 10th R4. String 8x R4. Thread the line through the 1st R4. The size of the gaps between the leaves increases in the direction away from the flower. The size of the gaps is entirely up to you. According to the pattern from the flower: 6x, 6x, 2x, 8x, 10x, 6x, 12x, 18x, 28x and 28x. Wind the braiding around the stem. 

16 / a

Wind the free end around the wire in the gap between the R4 spiral at a length of about 1 cm of stem. Thread the line through several R4 and tie a knot. Pull it into several R4 and cut it off.

/ a

Downloads