Atlas Christmas

Difficulty: 3
Technique: Right Angle Weave, Stringing

Angel

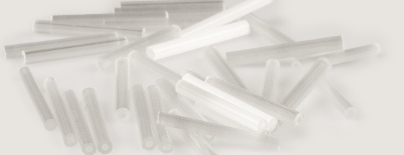
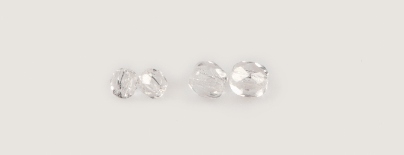
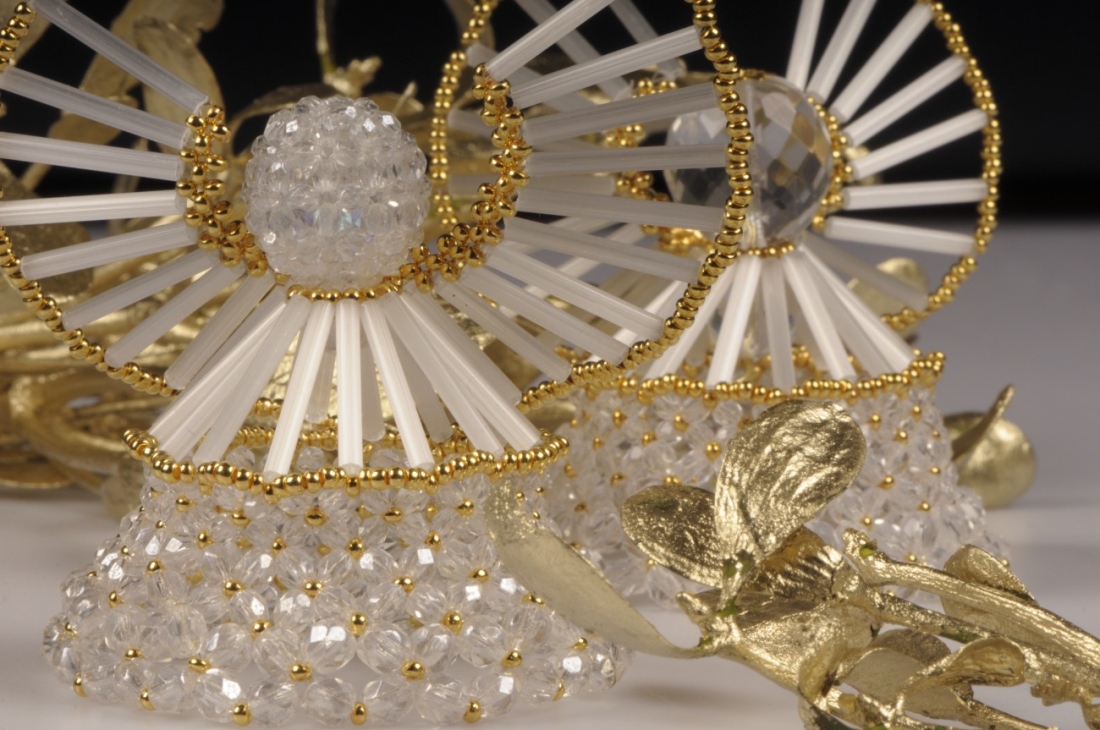
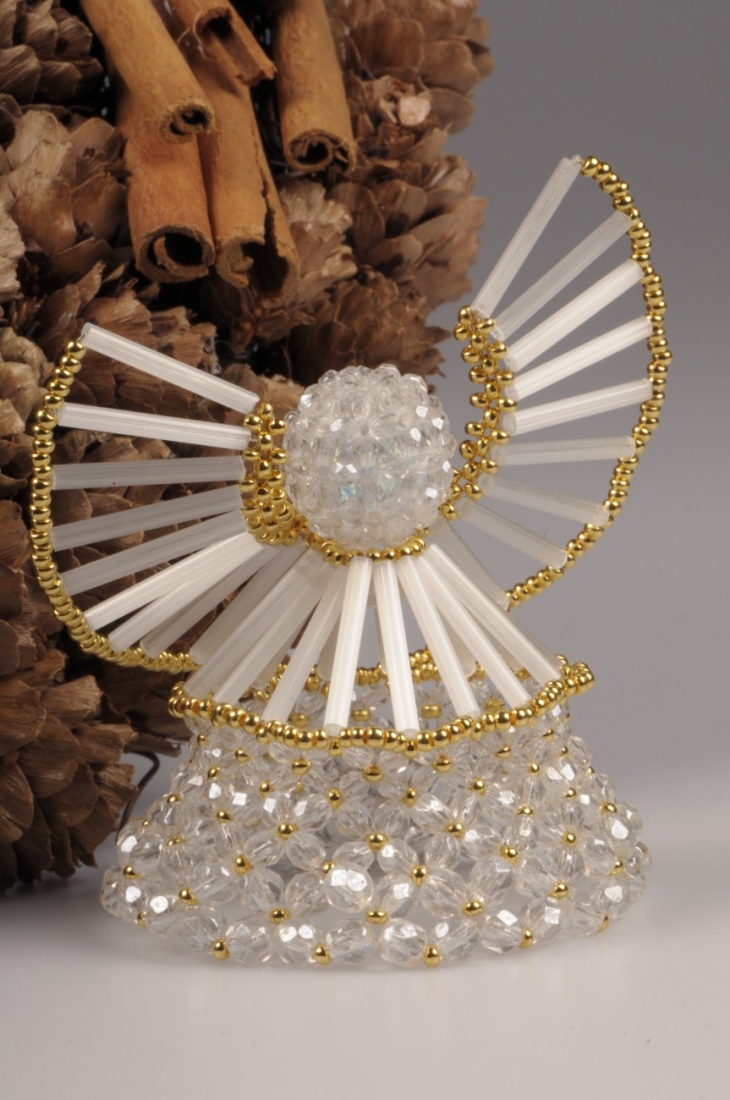
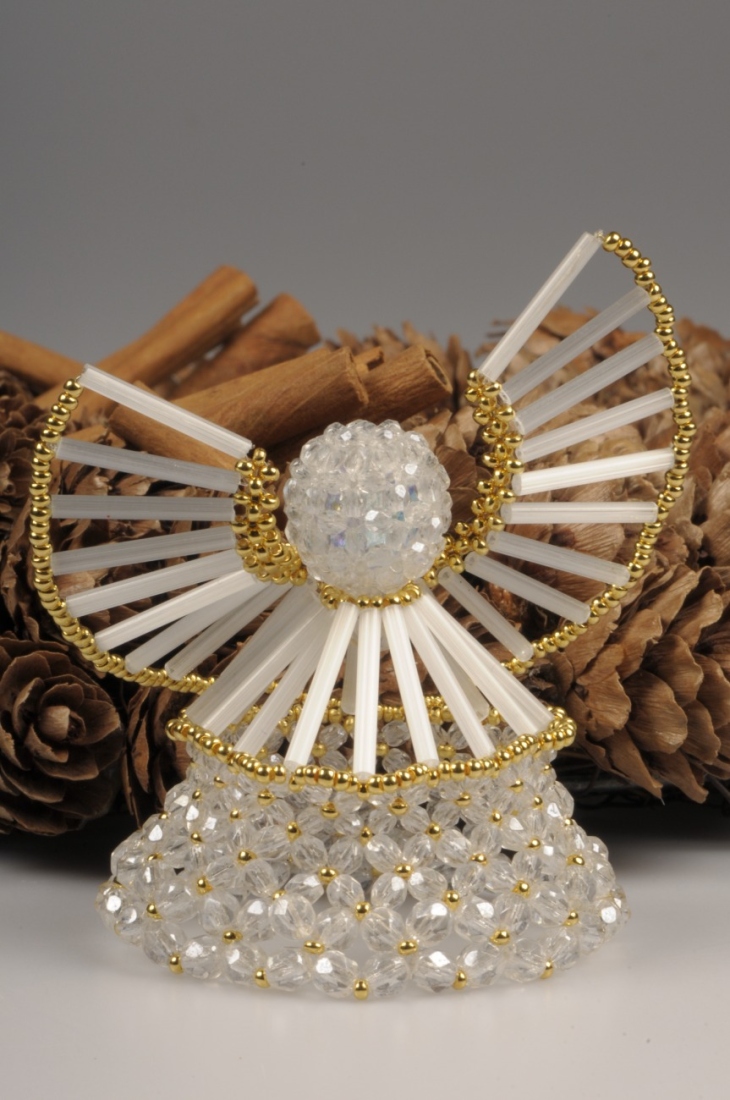
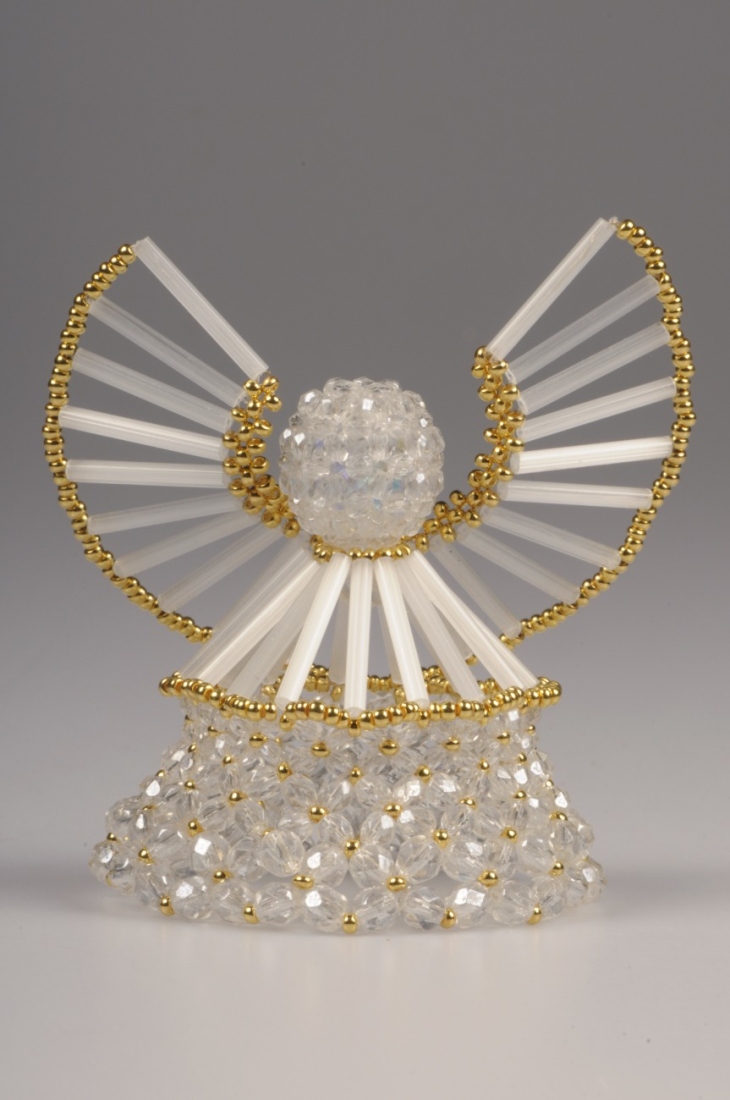
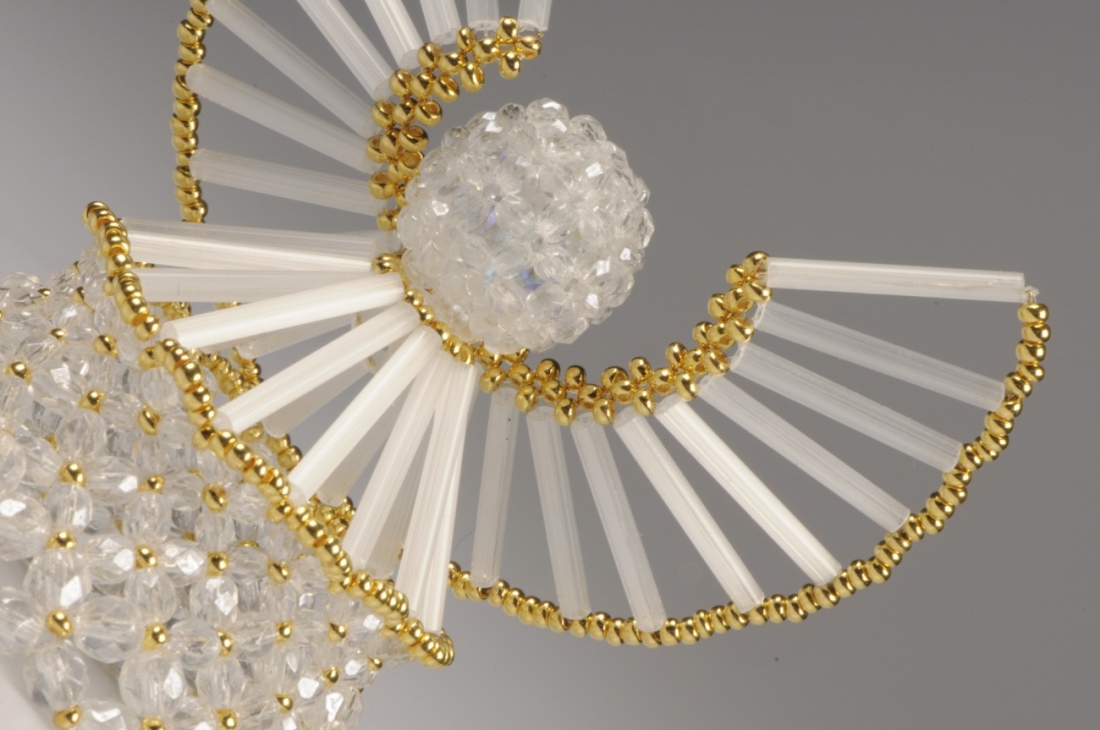
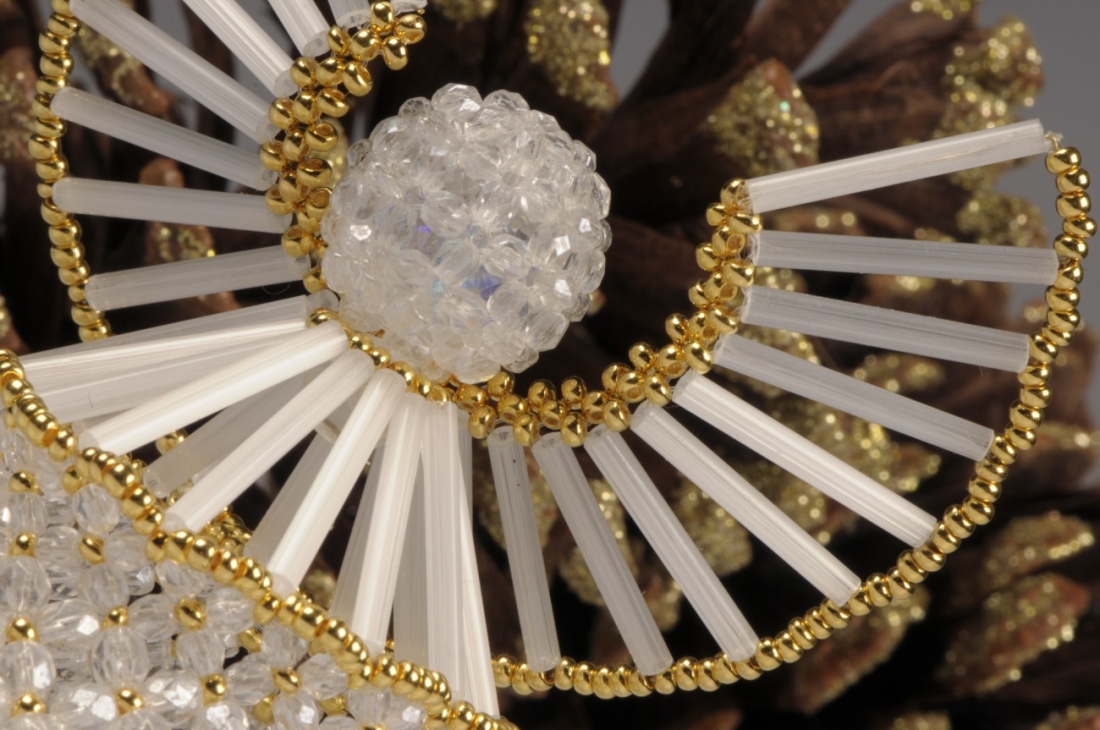
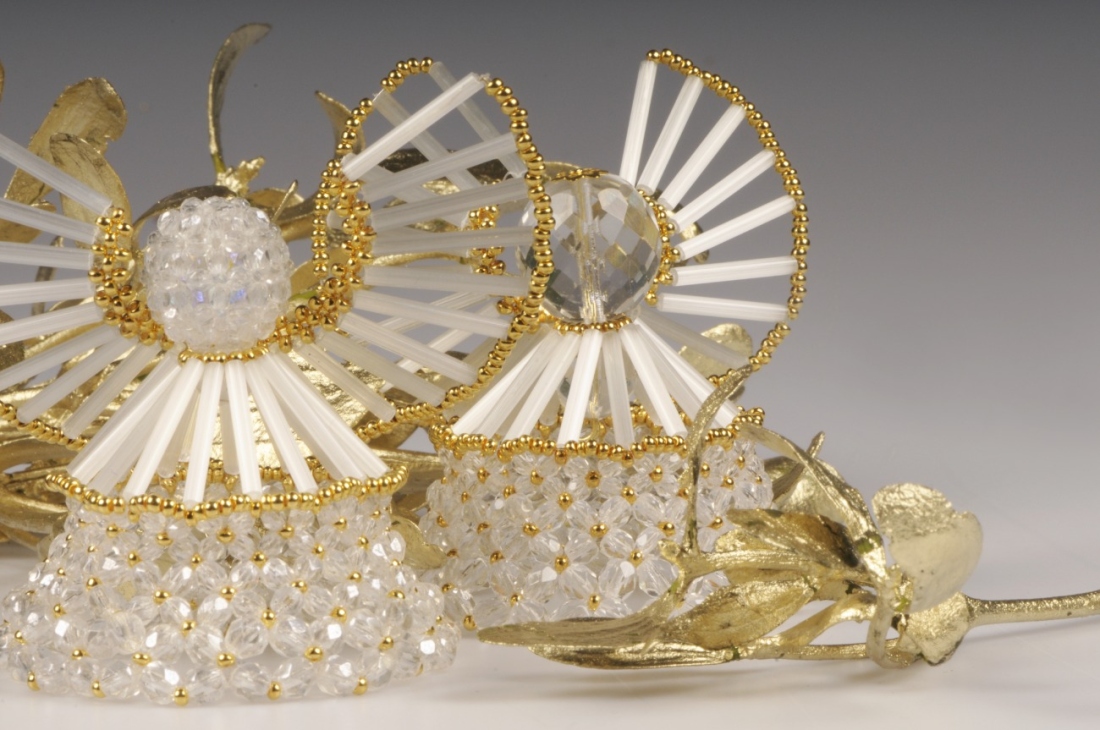
Preciosa Ornela is celebrating Christmas with unique Czech seed beads in satin colors. The light reflected from white atlases  supplemented with rocailles in a gold surface finish emphasises the holiday atmosphere of the Christmas themes. The airy and fragile beauty of white atlas bugles is suitable for use during the creation of ingenious patterns and structures. Try using them during the creation of Christmas gifts and decorations. Using this relatively simple tutorial, you will be able to complete a delicate seed bead angel as a luxurious handmade Christmas gift.
We wish you much inspiration and enjoyment when working with beads and seed beads from the PRECIOSA Traditional Czech Beads™.

Designer: Iva Mastníková

Material & Tools

Material

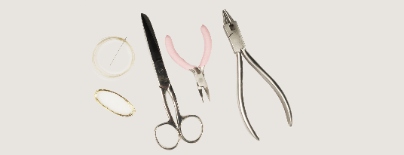
A 0.25 mm line, a 0.3 mm wire, a thin stringing needle, scissors, flat nosed pliers to flatten the end of the line, needle nose pliers
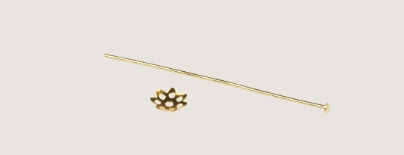
Metal parts

Metal parts

An eye pin, a decorative metal part

Procedure

Step 1

The lower robe 

Alternately string 1x FPB5, 1x R10, 1x FPB5, 1x R10, 1x FPB5, 1x R10, 1x FPB5 and 1x R10 and sew the first row of the lower robe using RAW
and connect it together in a circle. String a total of 60x FPB5 and 45x R10. In the second row, string a total of 60x FPB4 and 30x R10. In the third row, string a total of 60x FPB3  and 30x R10.

1 / a

Step 2

The wings

String 95x R10 onto a wire and secure both ends with earring stop beads or bead stopper. Create a belt from 64x R10 using the right angle stitch. In the second row, add the B to the golden belt. String 1x B and 5x R10 onto the needle and the line and also thread the wire with the strung seed beads through the beads. String 1x B onto the needle with the line and sew them in between the first two rocailles
of the golden belt. String 1x B and thread the needle and line between the 10th and 11th rocailles strung onto the wire and then thread them through the one more time in the opposite direction and sew it into the next gap between the rocailles in the golden belt. Proceed in this manner up to the end of the belt. String a total of 21x B in this manner. Then string 5x R10 and 1x B and pass the second end of the wire through them again. Sew the last B to the edge of the belt. Adjust the wings and prepare them for the next step.

2 / a

Step 3

The upper robe

 Continue from the prepared lower robe made of fire polished beads and golden rocailles. Gradually string 5x R10 between the outer R10
from the lower robe so that you string a total of 70x R10. Leave the last gap between the fire polished beads empty and thread the needle
and the line through the 11th and 12th B from the central section of the angel’s wings. This will affix the wings to the edge of the lower  robe. Further thread the needle and the line through 5x R10 once again and use RAW to sew on 1x B and 1x R10; sew a total of 13x B and
14x R10. Thread the needle and line through the top R10 once again and pull them into a ring.

3 / a

Step 4

The head

The head can be made from a pressed bead or a fire polished bead of the appropriate size which is connected at the site of the angel’s neck with a smaller bead using the eye pin and the small decorative metal part. It is also possible to sew around one largish FPB12 with small FPB3 using the right angle stitch. String 21x FPB3 and create 9 windows and complete the circle with the tenth one. Sew the second row using RAW. Add another two rows upwards and downwards, create only 5 windows, pull the outer FPB3 into a ring. Attach the head to the body by attaching the bead which has been sewn round with smaller beads at the site of the angel’s neck. Thread the line through the holes on one side and string the FPB3 on the other side. Tighten the stringing and complete it with a knot by the lower bead.

4 / a

Downloads