Astra

Difficulty: 3
Technique: Right Angle Weave, Stringing, Square Stitch

Lapel pin made from PRECIOSA Pip™ and PRECIOSA Thorn™

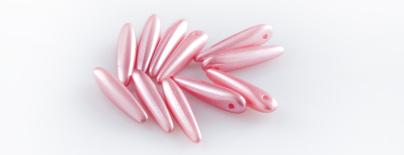
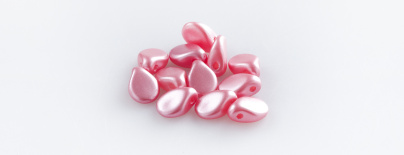
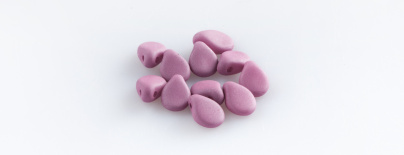
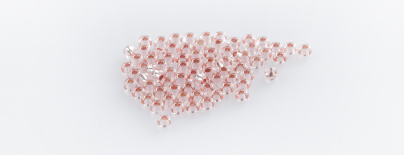
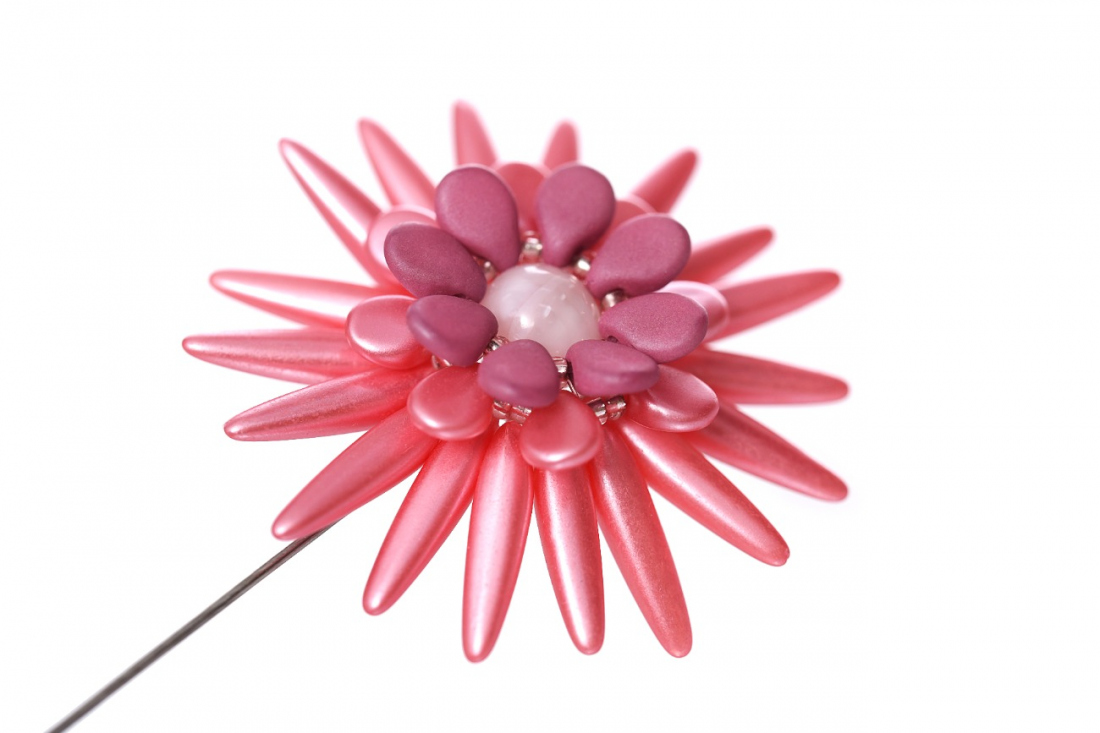
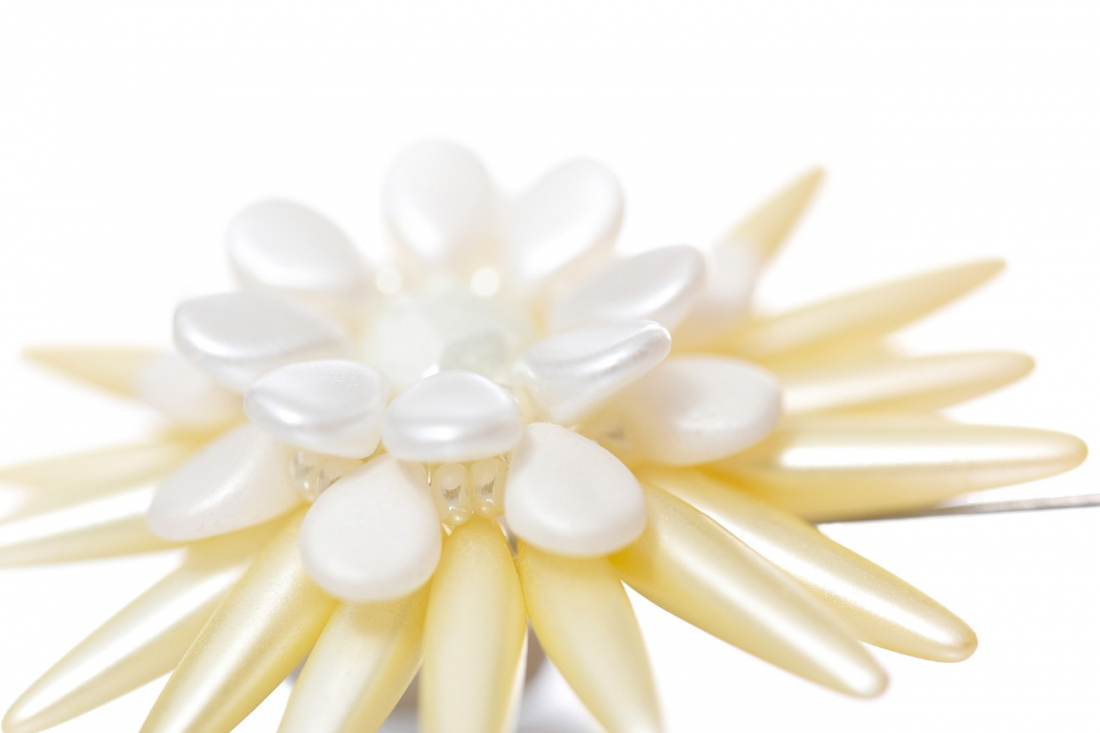
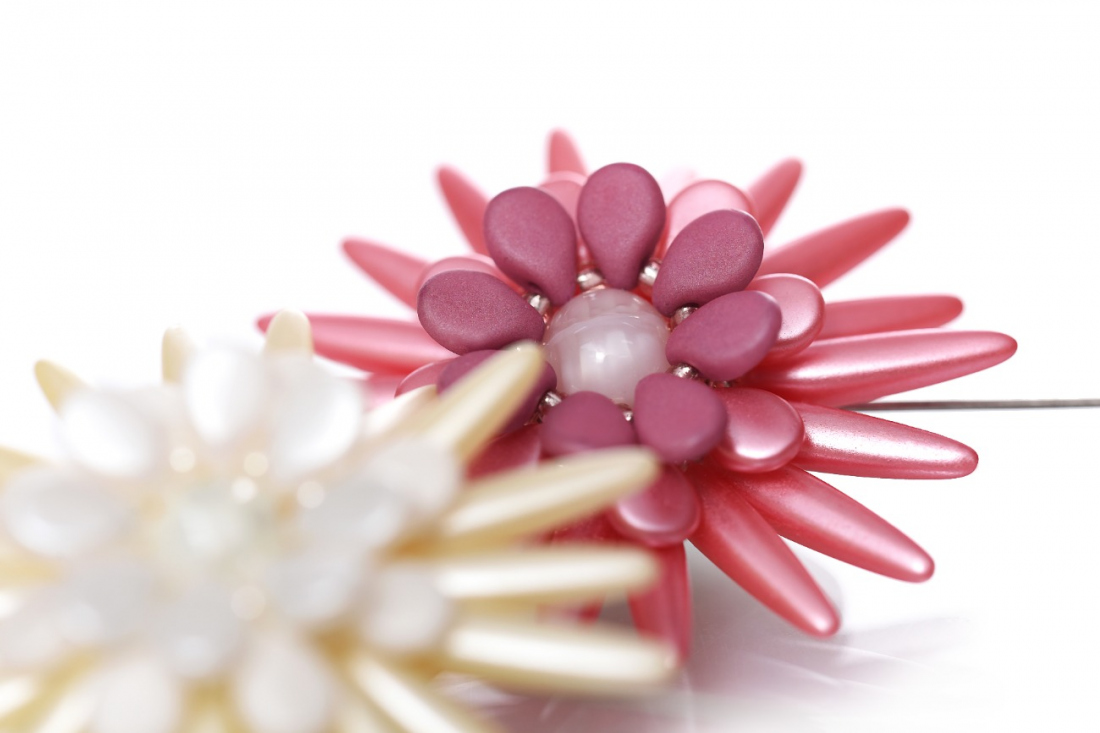
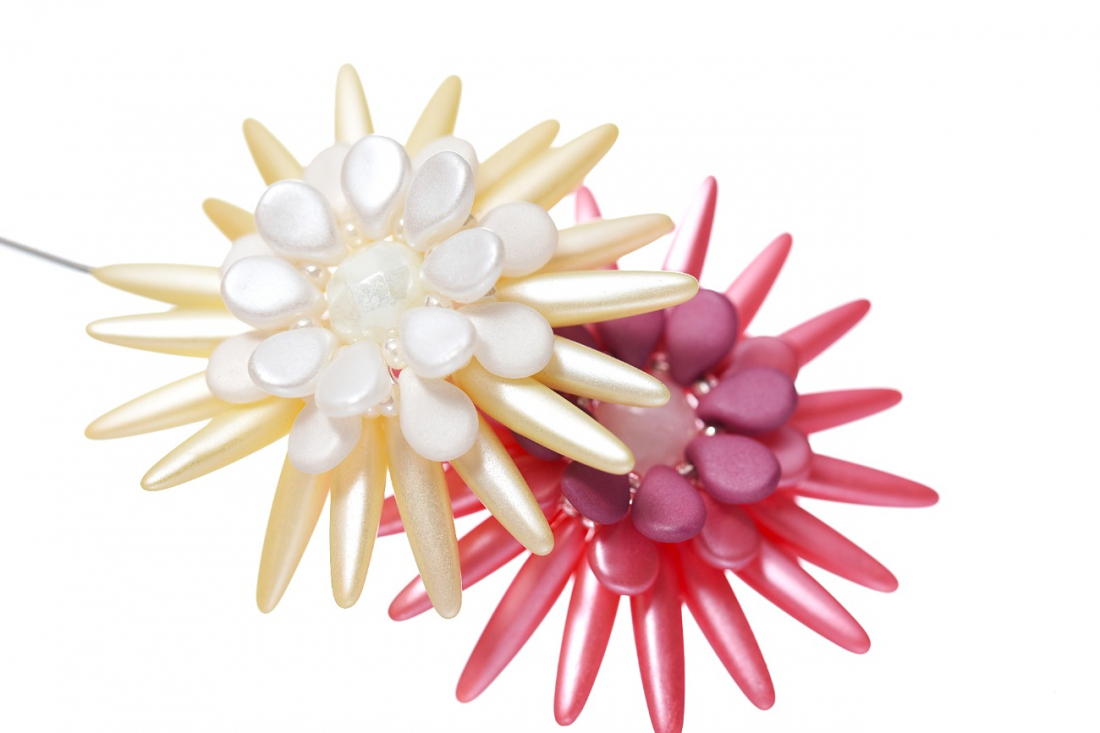
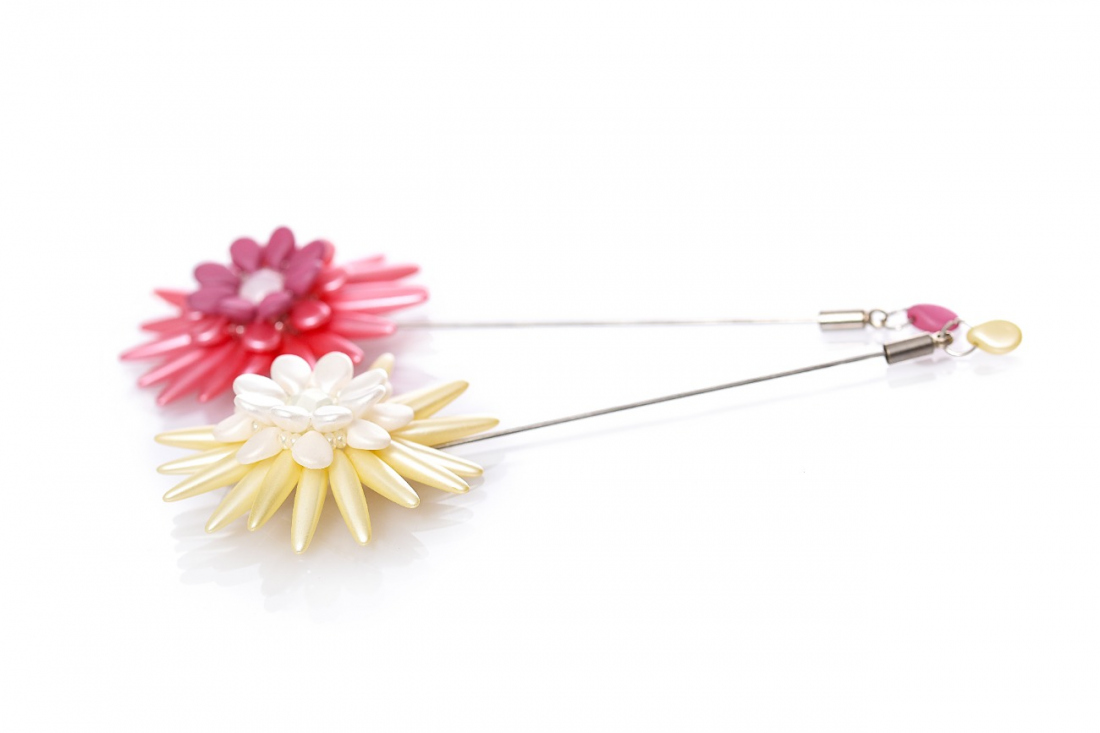
There are many uses for floral decorations and motifs. They are this season's big hit. Try making your own floral accessory according to the following tutorial from Preciosa Ornela. Beads from the PRECIOSA Traditional Czech Beads™ brand in delicate pastel colors with a pearly finish are absolutely perfect for creating effective floral cotillions, broaches or lapel pins. We wish you many hours of inspirational beadwork with Czech beads and seed beads.

Ambassadors

Helena Chmelíková

She is able to switch from luxurious and extravagant fashion show pieces to the preparation of hobby projects,
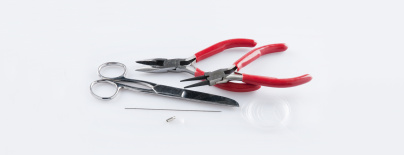
Learn More

Materials & Tools

Tools

A lapel pin (for example Fimo, length: 9 cm, diameter: 0.8 mm); a platinum ending with an eye; a rubber stop for an earring hook; a 0.20 mm nylon line; a thin needle; scissors; flat nose pliers (flattening the beginning of the line, closing the eyes on the lapel pin); needle nose pliers

Procedure

Step 1

Link an eye on the blunt end of the pin. The wire is very hard, so close it with the flat nose pliers.

1 / a

Step 2

String the initial stringing of Th and R10 (a blue line). Start stringing from the knot. Then add the missing Th and R10 (the yellow line). Use the "right angle" stitch when sewing. Do not forget to string the pin in the last rocaille arch. Tie off the line.

2 / a

Step 3

String all the R10 onto the inner circumference of the circle. Twist the line around the pin twice in the middle of the stringing.

3 / a

Step 4

Add 1x Th between each Th. After stringing 5x Th, twist the line around the lapel pin twice. Sew the line in after adding 9x Th.

4 / a

Step 5

Sew the circle with the pink-red P and R10. String 2x R10 between each P. String 1x R10 above each P. Tie off the line.

5 / a

Step 6

Sew the created circle to the star created from the Th. Notionally separate the circle and the star into the same parts. Affix the circle to the star behind each third Th by threading the line between the Th. Once again thread the line along the circumference of the circle. Omit the rocailles above the P. Direct the line into the gap between the Th after each fourth seed bead and bead (counting the R10 and P).

6 / a

Step 7

String 1x PB8. Use the opposite spur made of the R10 above the P.

7 / a

Step 8

Add 1x burgundy P between the R10 on the spurs. Do this a total of 8x. Sew in the line.

8 / a

Step 9

Create the fastening at the sharp point of the lapel pin. Thin the rubber stop and trim it. Carefully press it onto the metal fastening, possibly using the point of the flat nosed pliers.

9 / a

Downloads