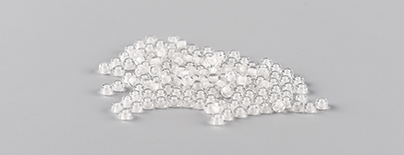
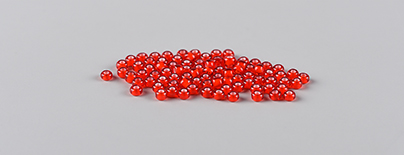
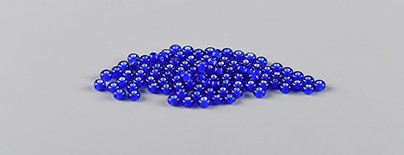
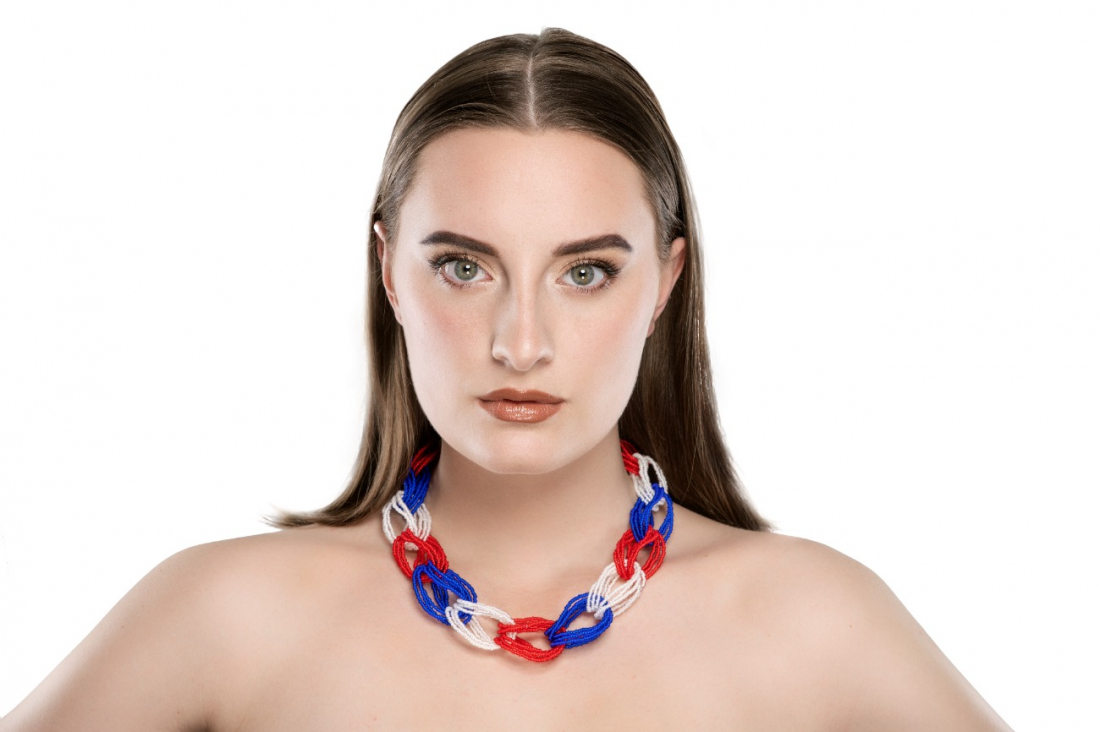
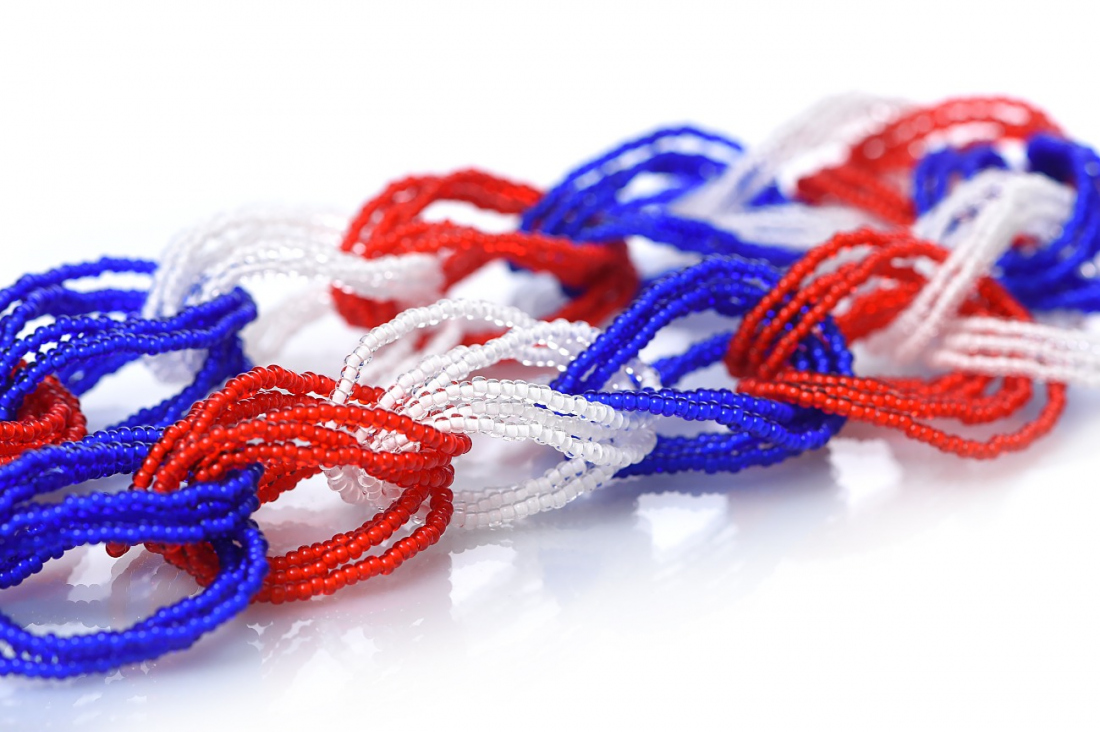
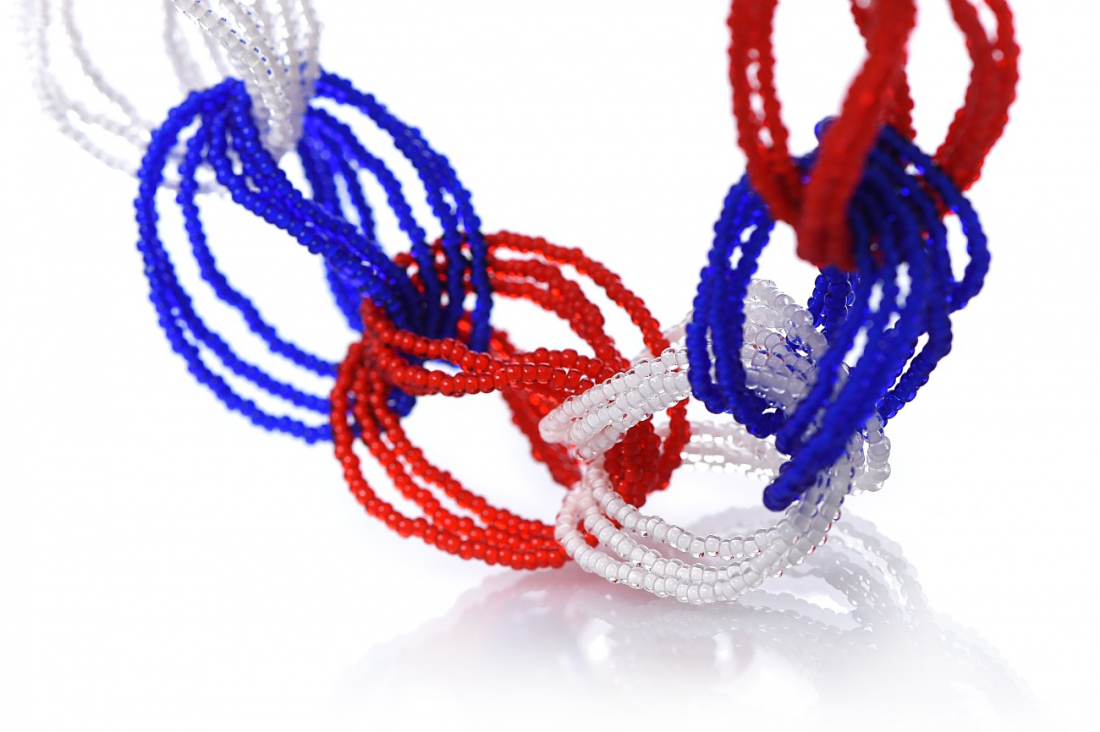
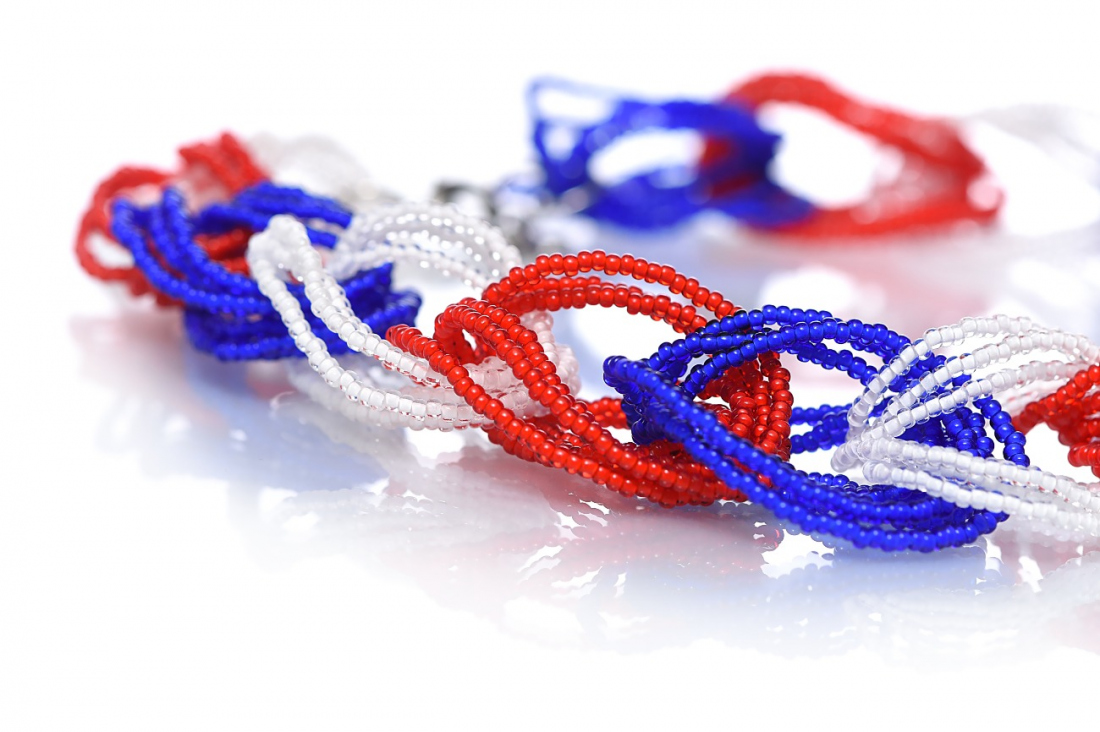
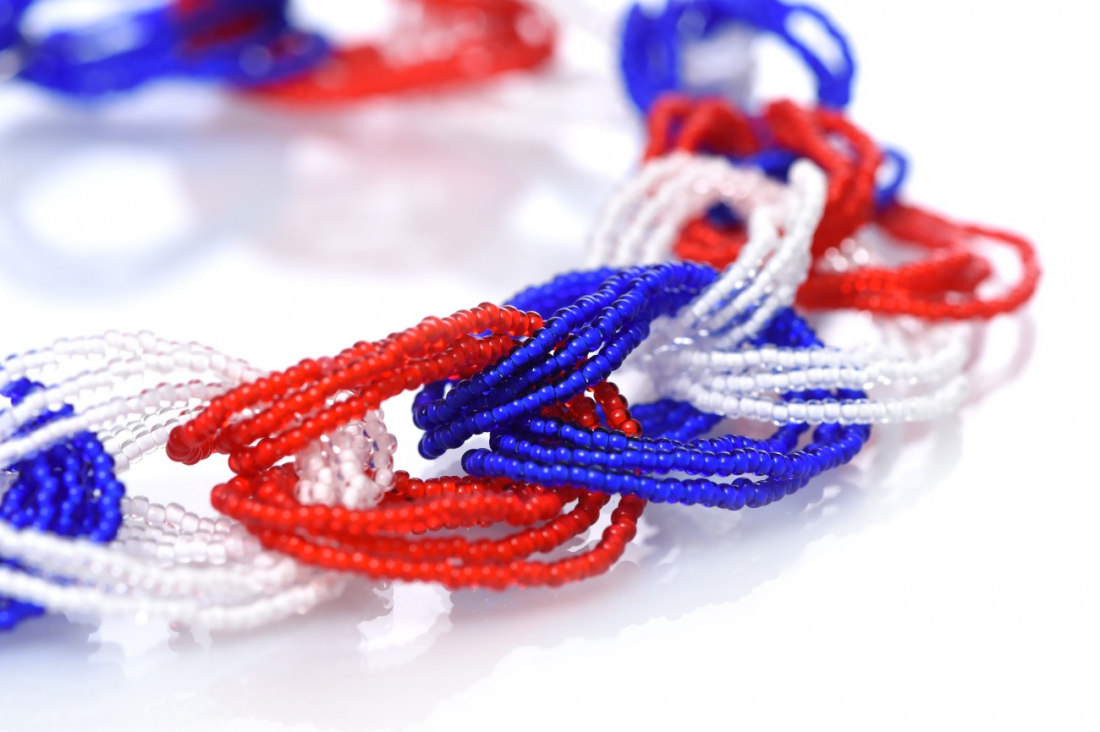
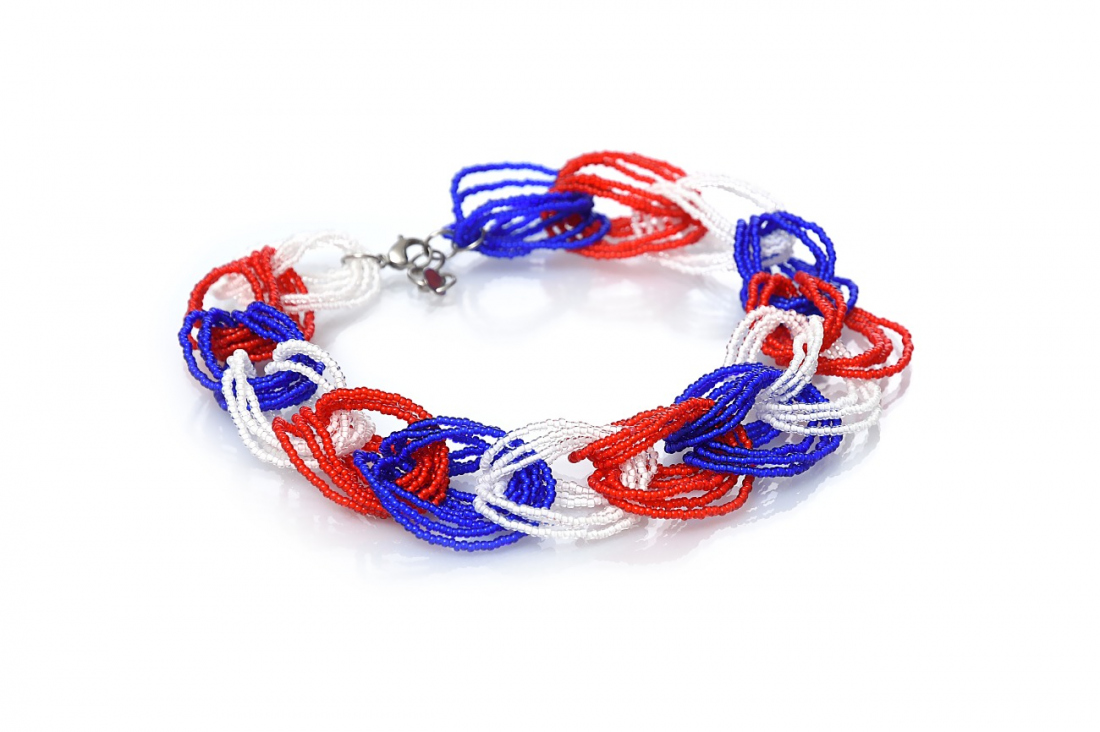
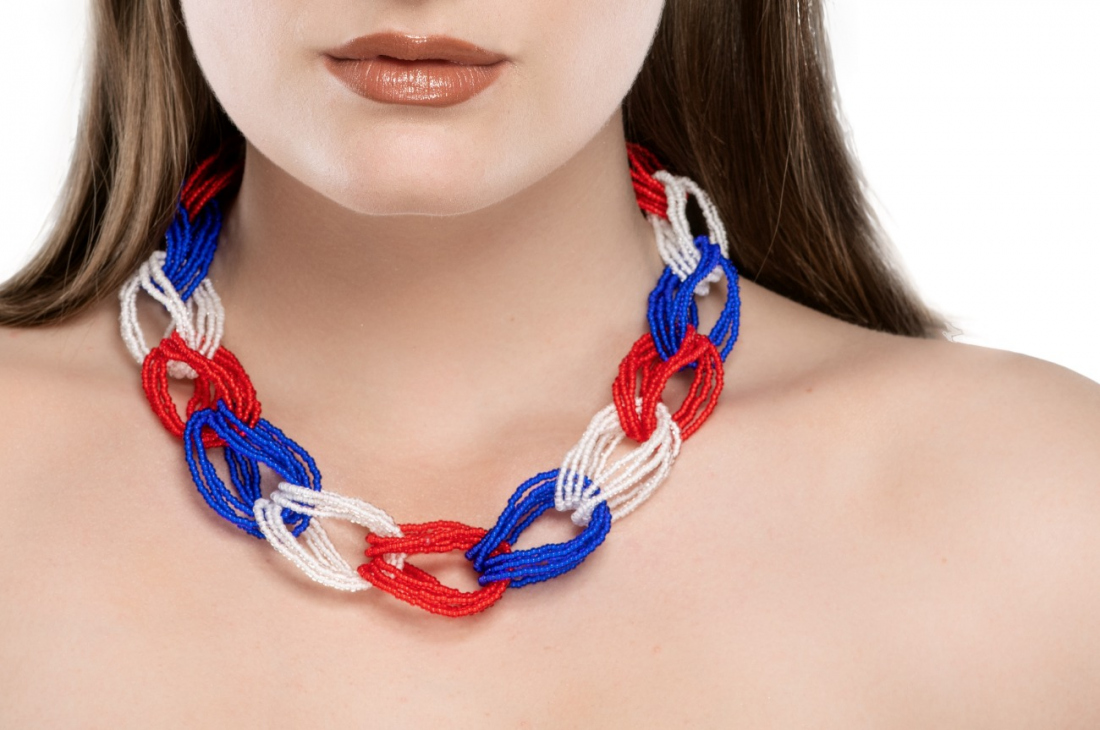
We present a simple tutorial for the original and effective Tricolor necklace. We have used the transparent seed beads with a white lining from the PRECIOSA White Lining collection. The white lining highlights the color of the transparent glass of the seed beads so that your finished designs sparkle with a variety of colors. Our necklace variant is in the red-white-blue color combination, but you can use the colors of your choice. We offer PRECIOSA White Lining seed beads in 26 colors.

Designer with playful and clean-lined designs of jewelry made using Czech beads and seed beads from the PRECIOSA Traditional Czech Beads™ range.
Learn MoreA carabiner and 7x 1 cm rings

A 0.20 mm line; a sewing needle; scissors; pliers

The number of prepared stringings depends on how long you want the necklace to be. One stringing is about 60 cm long. You can use a variety of colors. We have used 5 stringings from each rocaille color.
Share this project with your friends
This website uses cookies
PRECIOSA ORNELA, a.s. hereby informs you that its website uses cookies You can find more information about our cookies and how your data is processed in the privacy statement. We request your consent to use cookies specified below.