Excellent accessory

Difficulty: 4
Technique: linking, the right-hand angle stitch, sewing, leather cutting

Band with a central application

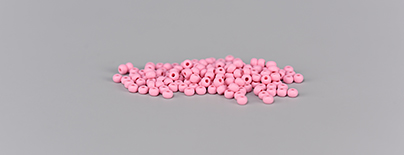
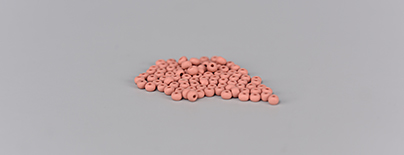
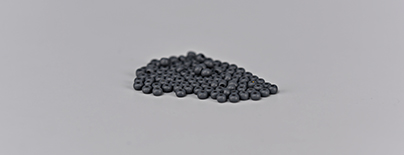
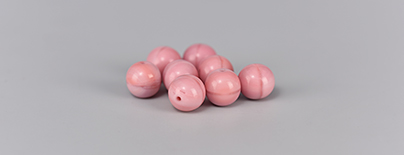
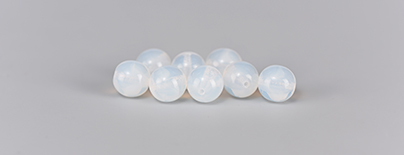
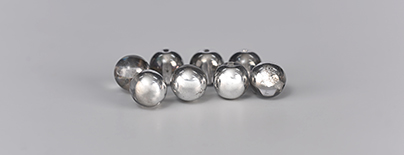
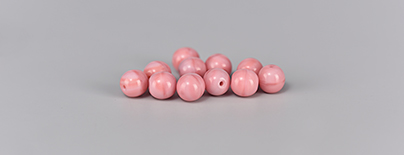
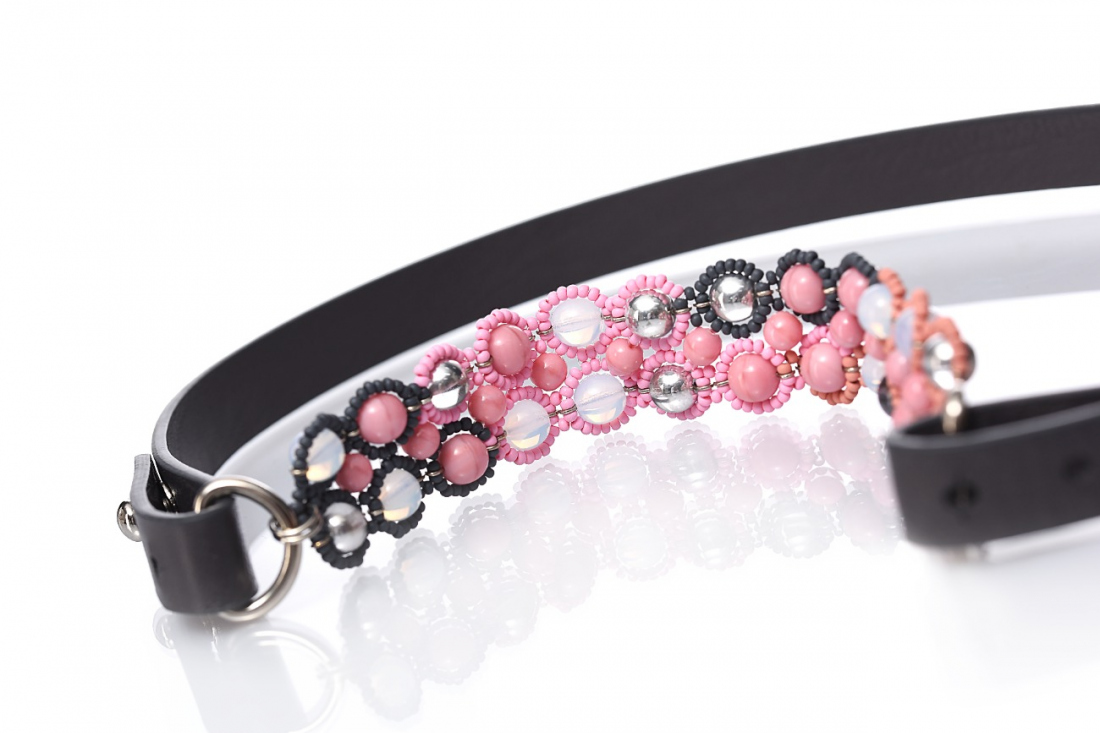
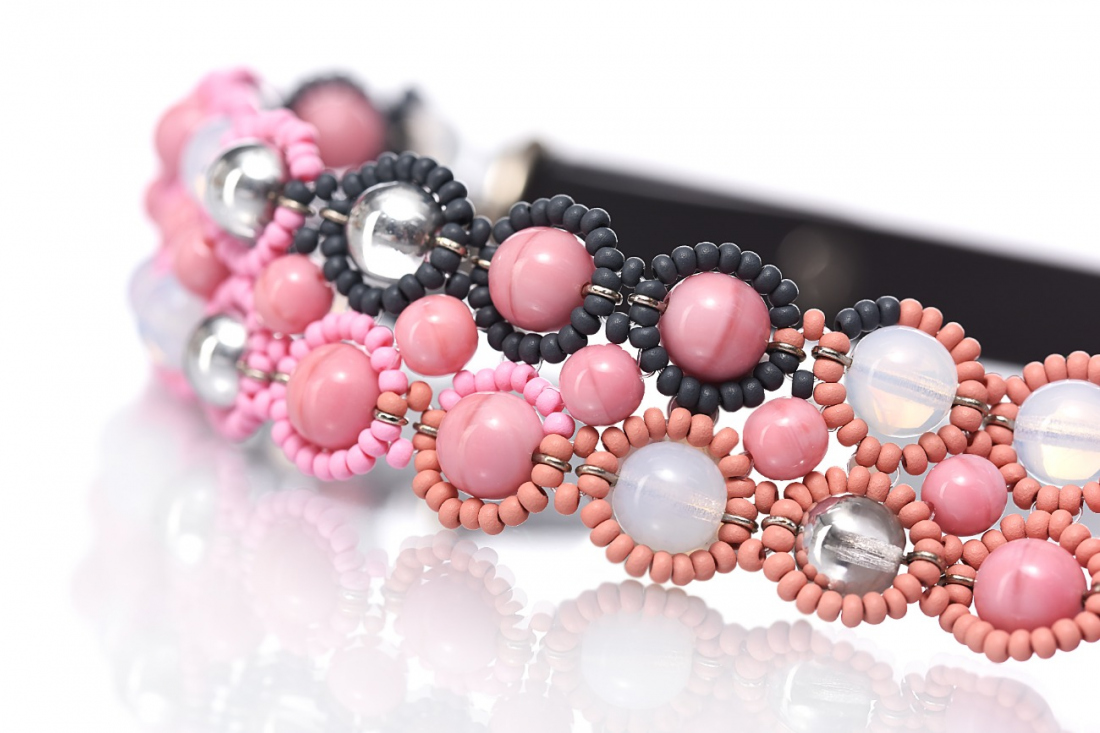
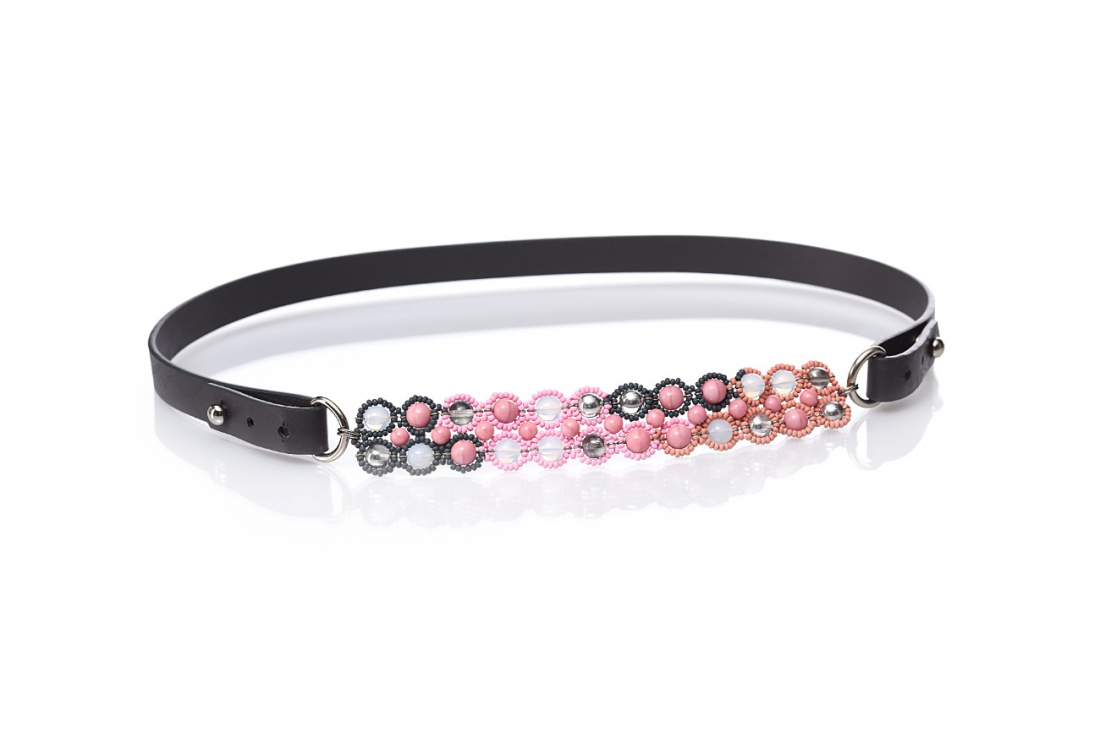
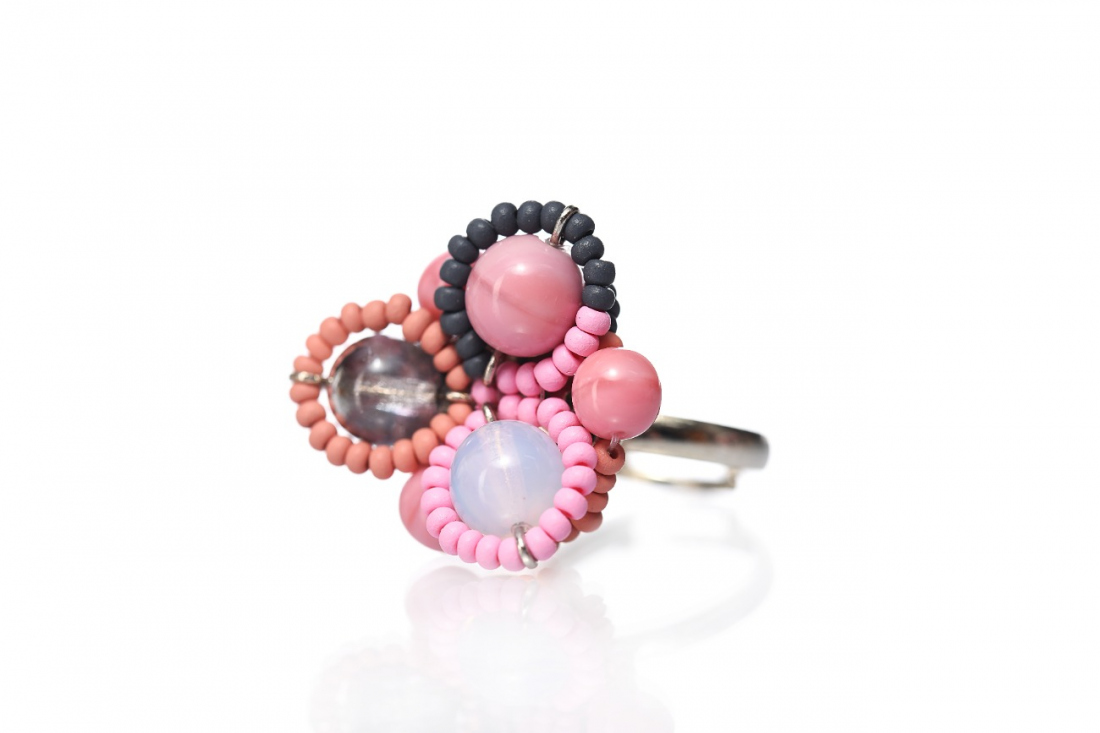
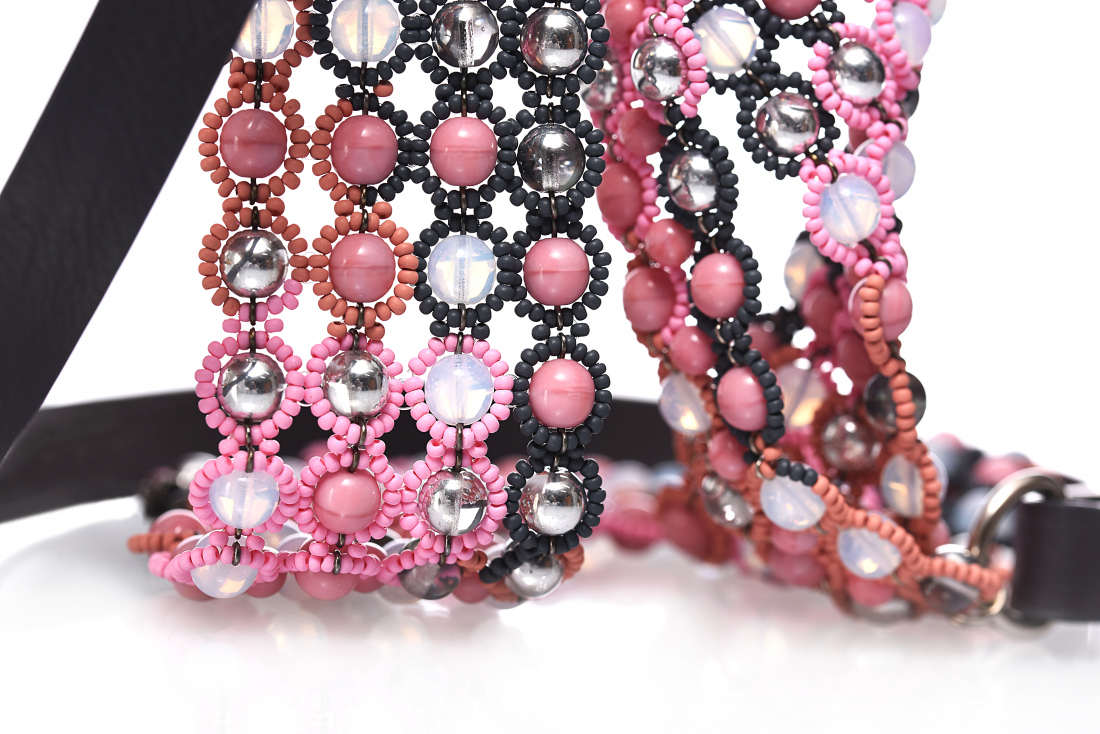
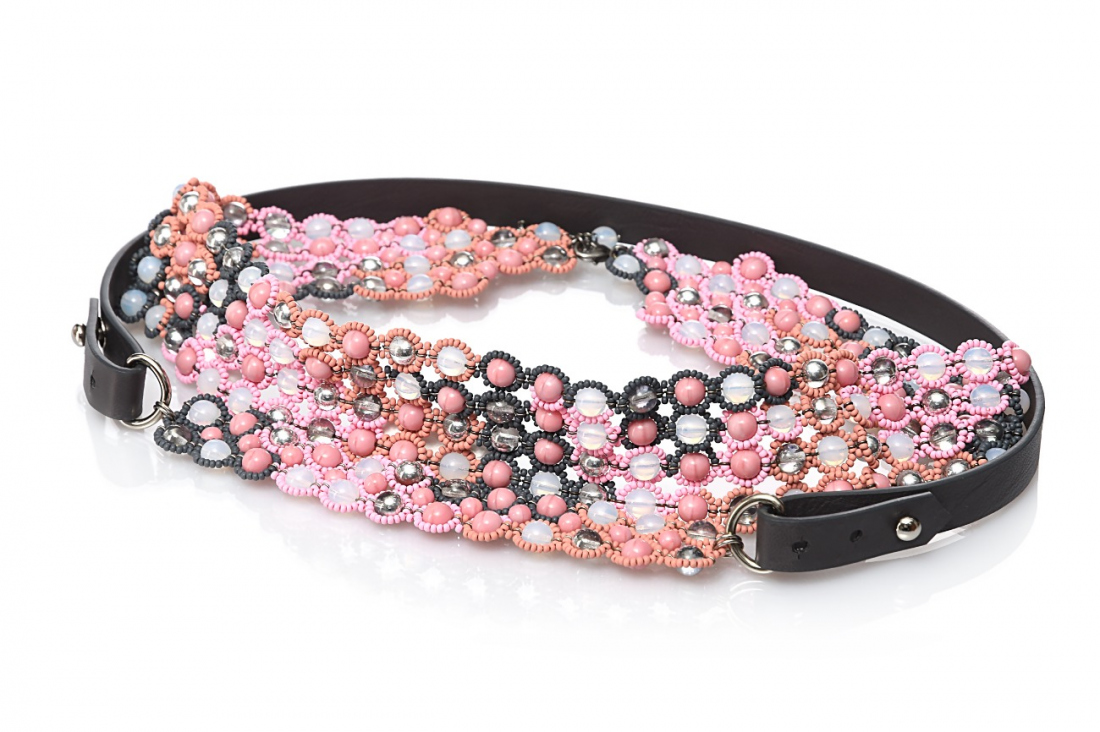
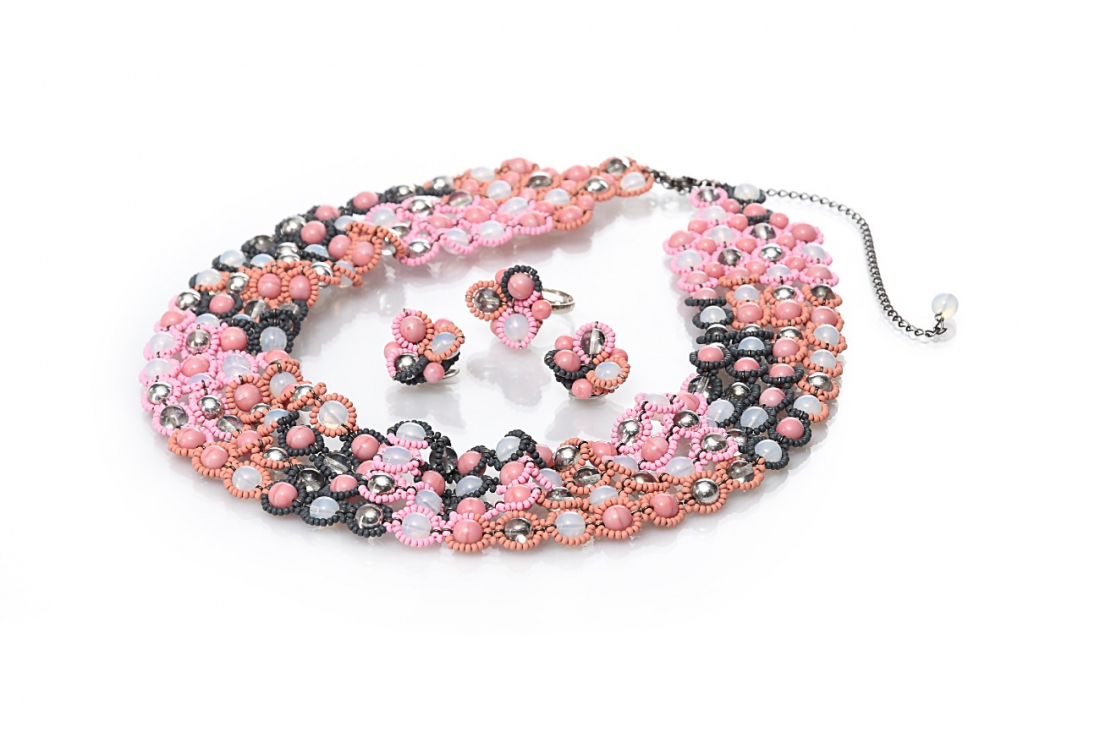
Yes, you can also produce a band from PRECIOSA beads and seed beads using our tutorials! We have taken inspiration from the playful color tones of the PRECIOSA PermaLux series and added PRECIOSA pressed beads in the same mood. You can also use the same techniques with slight changes to create other original accessories.

Ambassadors

Helena Chmelíková

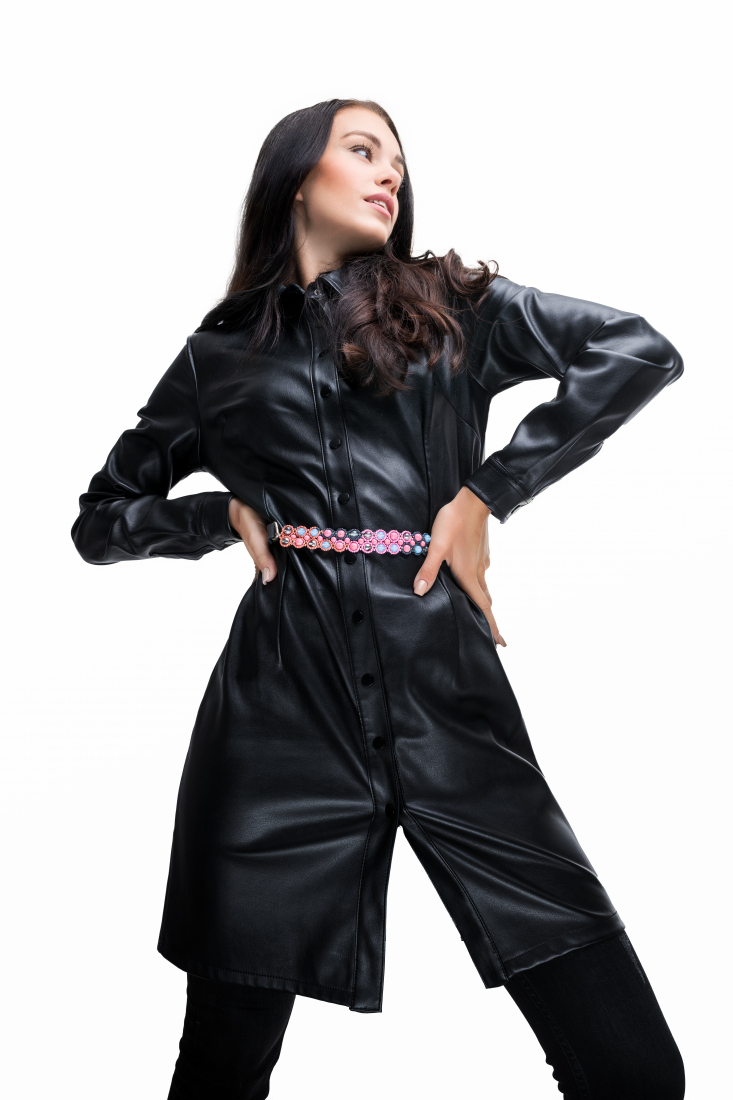
She is able to switch from luxurious and extravagant fashion show pieces to the preparation of hobby projects,
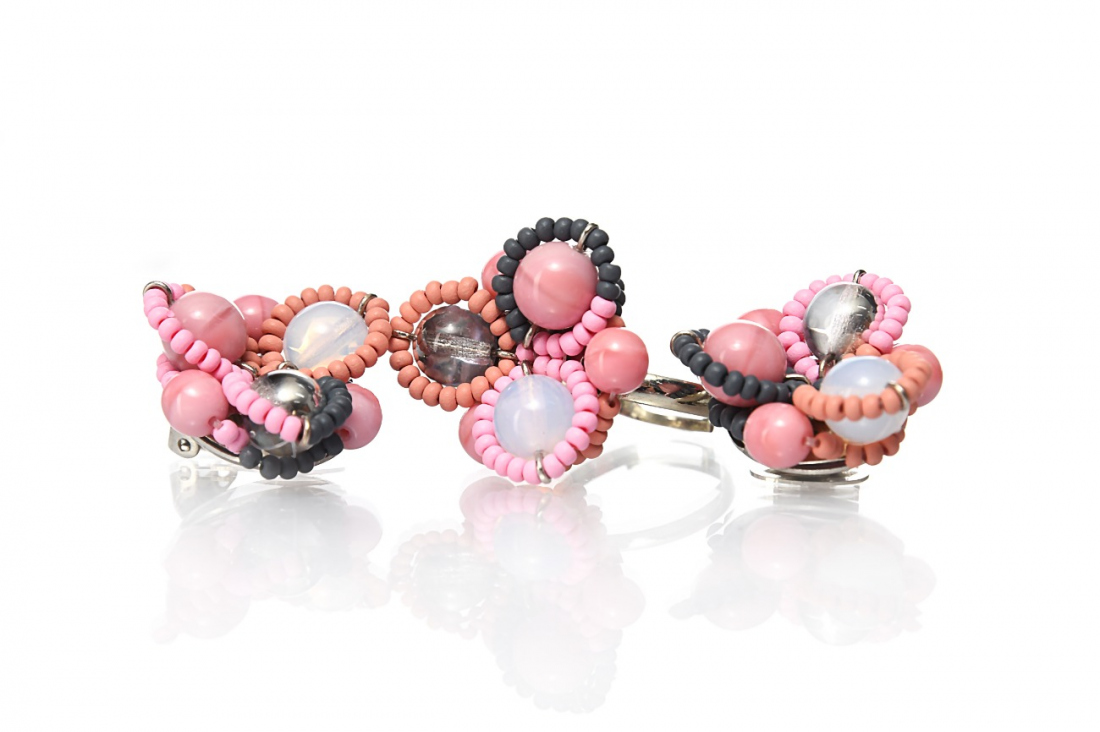
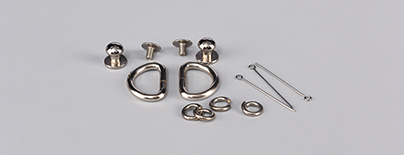
Learn More

Material and Tools

Materials

Platinum: eye pins (24x); 8 mm rings (4x)

nickel: a haberdashery semi-ring - internal threading area of 15 mm (2x); saddler's screw-on rivets – the head with a diameter of 7 mm and a neck diameter and height of 4 mm or similar (2x)

Tools

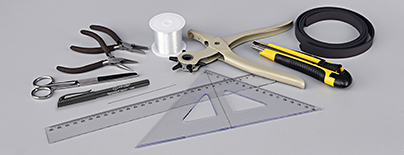
A 0.20 mm nylon line; a thin needle; scissors; needle-nose pliers; flat nose pliers; bag handles – a semi-product without sewing 1.5 x 120 cm; a cutting knife; a ruler – triangle; hole pliers for leather (with a hole with a diameter of 4 mm or according to the chosen rivet); a permanent marker with fine tip

Procedure

Step 1

The central application

The placement of the colors of the PB and R is up to you. The sewn section is 17.2 cm long, while the entire length with the semi-circles is 20 cm.

Put 24x PB onto eye pins; 8 of each color. Link a PB onto an eye pin. Grasp the end of the pin between the points of the needle nose pliers. Twist the wire around the point. Gently fold the wire back along the edge of the hole. Both eyes must be twisted in the same plane.

1 / a

Step 2

You will need about 1.70 m of line. Create the 1st row of the 12x PB. Thread it through an eye created in a PB. String 10x R. Leave about 15 cm of the end of the line sticking out. Thread it through them and secure them with 1x R and a created eye. Thread the line through the 2nd created eye on a PB. Thread the line through 3x R. Continue in the same stringing 11x. Finish by stringing 10x R and the 2nd eye by the PB.

2 / a

Step 3

Continue sewing the 1st row. Add the second half of the R. String 9x R. Thread the line through both of the nearest R next to the eye of the PB eye pin. Thread the R-circle one more time.

3 / a

Step 4

Continue adding the second half of the R. String 1x R. Thread the line through both the nearest R by the eye of the next PB. String 8x R. Thread the line through both the nearest R next to the eye of the same PB. Continue in the same stringing 10 more times. At the end, string 9x R. Tie off the line.

4 / a

Step 5

This time thread the line through almost the entire R-circle, apart from the last 4x R.

5 / a

Step 6

Start creating the 2nd row with 12x PB. String 6x R and the eye of an eye pin in a new PB. Gently loosen the stringing.

6 / a

Step 7

Continue the 2nd row. String 3x R and the eye of another PB. 6x R. Find the middle 2x R in the curve next to the R-circle by the 2nd PB from the 1st row. String them in the direction from the longer part of the 1st row to the shorter section. Thread the line through the 5th and 6th R from the strung 6x R once again. String 4x R and the second created eye of the PB. Repeat the same stringing 10 more times.

7 / a

Step 8

Add the second half of the R in the 2nd row. String 9x R. Thread the line through both of the nearest R next to the created eye of the PB. Thread the line through the R-circle one more time.

8 / a

Step 9

String 1x R. Thread the line through both R by the eye pin of the next PB. String 8x R. Thread the line through both R next to the eye pin of the same PB. Repeat this stringing 10 more times. String 9x R at the end.

9 / a

Step 10

String 4x R. Connect the R-circle by the 1st PB. Thread the line through it one more time. Thread it through the central 2x R in the curve. Thread the line through the central 2x R next to the curve of the 1st PB from the 1st row in the direction from the longer section. String 4x R to the eye. Tie off the line. Thread both ends into the outer R of the 1st row.

10 / a

Step 11

Reinforce the sewn band by sewing PB6 into the internal gaps. You will need about 0.60 cm of line. Sew the PB to the 3rd R from the eye next to the PB. Thread the line through the 3rd R in the direction from the shorter end of the band. String PB6. Thread the line through the 3rd R in the diagonally opposite PB. Return to the PB6. Thread the line through the original 3rd R again from the shorter end of the band. Thread the next 2x R to the eye of the PB and 3x R between the eyes of the adjacent PB. Thread another 7x R in a curve and the 3rd R from the eye. Continue in this way 10 more times. Finish by stringing PB6 and the 3rd R. Sew both ends of the line preferably into the R-circle next to the 2nd PB from the beginning of the band. You can also thread the line through the PB6 again.

11 / a

Step 12

Create small R-circles at the end of the band. Thread the line through the 3rd R from the PB eye in the direction from the outside of the band. String 1x R. Thread the line through the 3rd R next to the adjacent PB in the direction from the longer part of the band. String 4x R. Thread the line through the gap between the adjacent PB and their R-circle. Secure the line behind the R-circle between the 2nd and 3rd R from the eye of the PB. Once again thread the line through 4x R. Secure the line between the 2nd and 3rd R and at the original PB. Only thread the line back through 2x R. Thread the second end of the line through the remaining 2x R. Tie off the end of the line. Pull it into the R and cut it off.

12 / a

Step 13

The connection

Connect the small R-circles and the semi-circles with 2x rings.

13 / a

Step 14

The leather strap

Create a sketch with the marker and make the holes using the hole punch. Cut the leather with a cutting knife. The adjusting holes are spaced 1.5 cm from the beginning of the strap and from one another. The hole for the saddler's rivet is located 5.5 cm from the last adjustment hole. The adjustment holes have a diameter according to the diameter of the neck of the used rivets (4 mm). 2 mm lines are cut in four directions so that the rivet's head (7 mm) can be pushed through. The opening for the rivet can have the same dimensions or smaller dimensions than the screw diameter. The holes are located equidistant from the edges of the strap, i.e. in the middle. If you have a different rivet, you can adapt the holes to it. Don't forget to cut off the point of the strap. The edges are cut 7 mm from the point. The length of the strap from rivet to rivet = the circumference of the waist – the length of the sewn section with the semi-circles is 20 cm + 2 x 3 cm the length during the fastening of the band from the semi-circle to the rivet with the central adjustment hole). Thread the semi-circles through the ends of the belt and the head of the rivet through the chosen adjustment hole. The sketches are made on the opposite side.

14 / a

/ a

Downloads