Karolina Necklace

Difficulty: 2
Techniques: Basic weaving

Necklace made from Czech Seed Beads

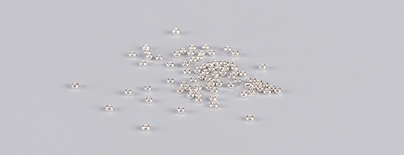
Use simple weaving techniques to make star-shaped components with PRECIOSA Karo™ beads and cut Rocailles.                                    Connect them into a row to create the jewelry items of your choice.

Ambassadors

Kerrie Slade

Kerrie Slade have used Czech PRECIOSA Traditional Czech seed beads in her creation.
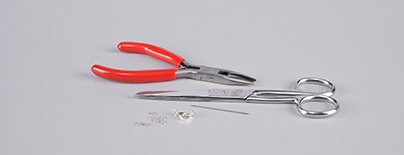
Learn More

Procedure

Each component measures 2 cm diameter, 
the finished necklace measures 88 cm.

Step 1

Thread your needle with 80 cm of thread and pick up 1x K and 2x R11 6 times. 
Leaving a 30 cm tail, pass your needle through the same hole of the first K again and the first R11 only. Figure 1.

1

Step 2

Thread another smaller needle onto 
the tail thread and pass through the empty hole of the first K added in the previous step. Add 1x R13 between each free hole 
of the remaining K and finish by exiting the first K of this step. Figure 2a. 
As you work, the R13 and the connecting hole of the K will fold towards the centre 
of the component so that your work resembles Figure 2b. Without adding any beads, pass through the R13 and adjoining K a second time to strengthen the connection and then tie off and trim the tail thread only.

2 / a

Step 3

Using the working thread, add 1x R11 between the 2x R11 in each pair added in step 1, passing through the connecting hole of the K. Finish by exiting the first K only. Figure 3.


3

Step 4

Pick up 5x R11 and pass your needle through the next K (passing through 
the same hole as the previous R11). 
Repeat until you have added 5x R11 between each K. Pull your thread firmly as you work and use your fingernail to encourage the new R11 to form a point and to sit behind the existing group of 3x R11. Finish by exiting the first K only. Figure 4.

4

Step 5

Turn your work over, and working in the opposite direction, pick up 2x R11 and pass your needle through the next K (passing through the same hole as the previous R11). Repeat until you have added 2x R11 between each K. The new R11 should sit in front of the existing group of 3x R11. Finish by passing your needle through the first K and the first R11 only. Figure 5.

5

Step 6

Following the same thread path, add 1x R11 between the 2x R11 in each pair added in the previous step. Tie off and trim 
the remaining thread.

6

Step 7

To make a finished piece of jewelry

Following steps 1 – 6, make as many components as you wish in varying colors. To connect them, using the pliers, 
open a jump ring and pass it through one of the R11 at the tip of a component and through the corresponding R11 on another component before closing the jump ring.

7

Step 8

To make a necklace or bracelet, 
add the clasp of your choice or tie with ribbon.

8 / a

Downloads

Gallery

/ a