Sunlight reflected from a surface

Difficulty: 2
Technique: right-angle weave stitch, stringing

Bracelet made of PRECIOSA Fire Polished Beads

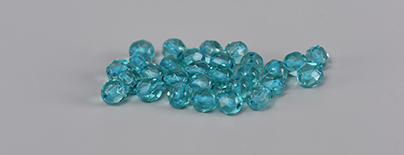
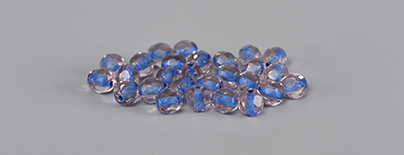
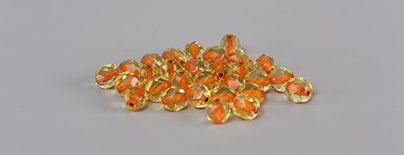
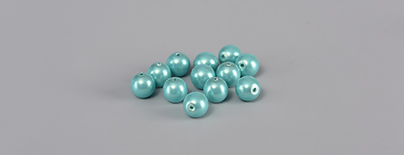
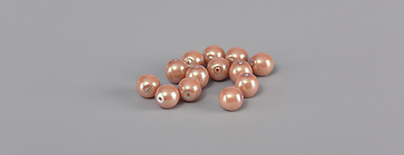
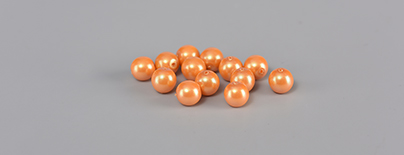
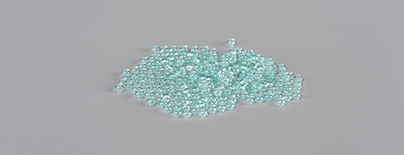
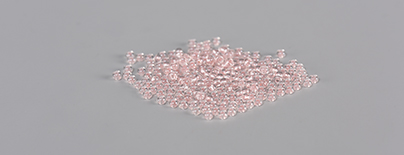
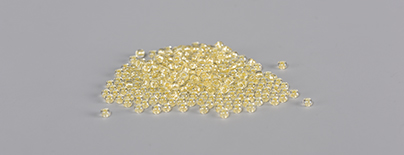
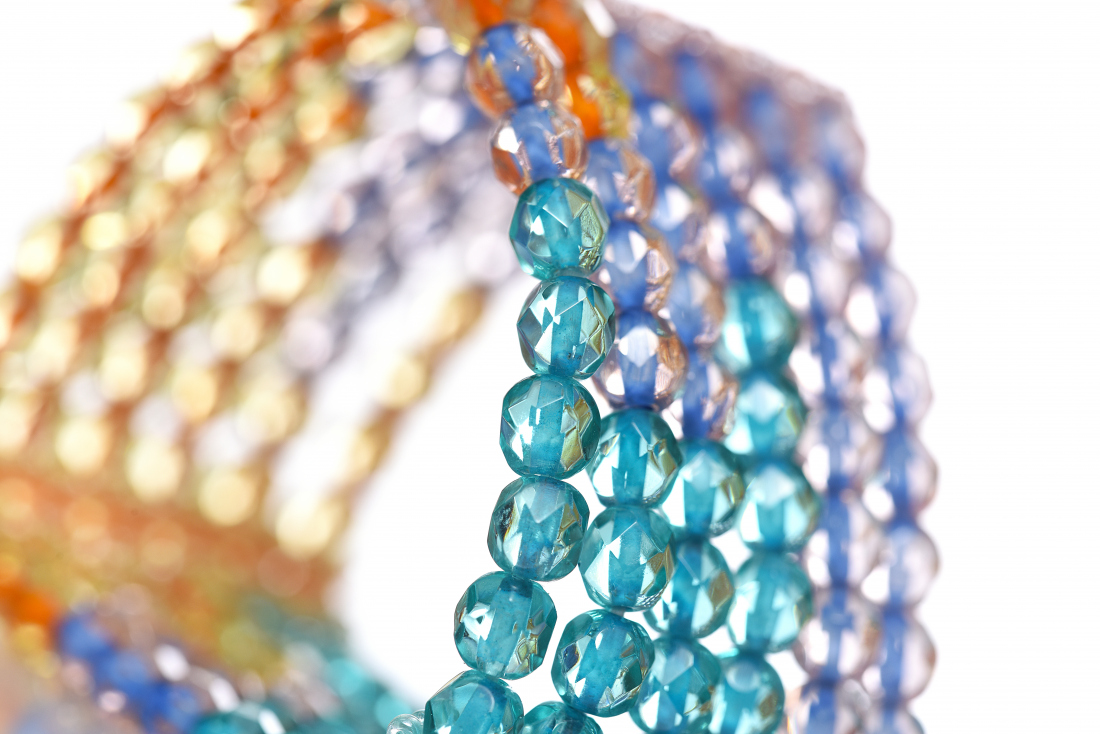
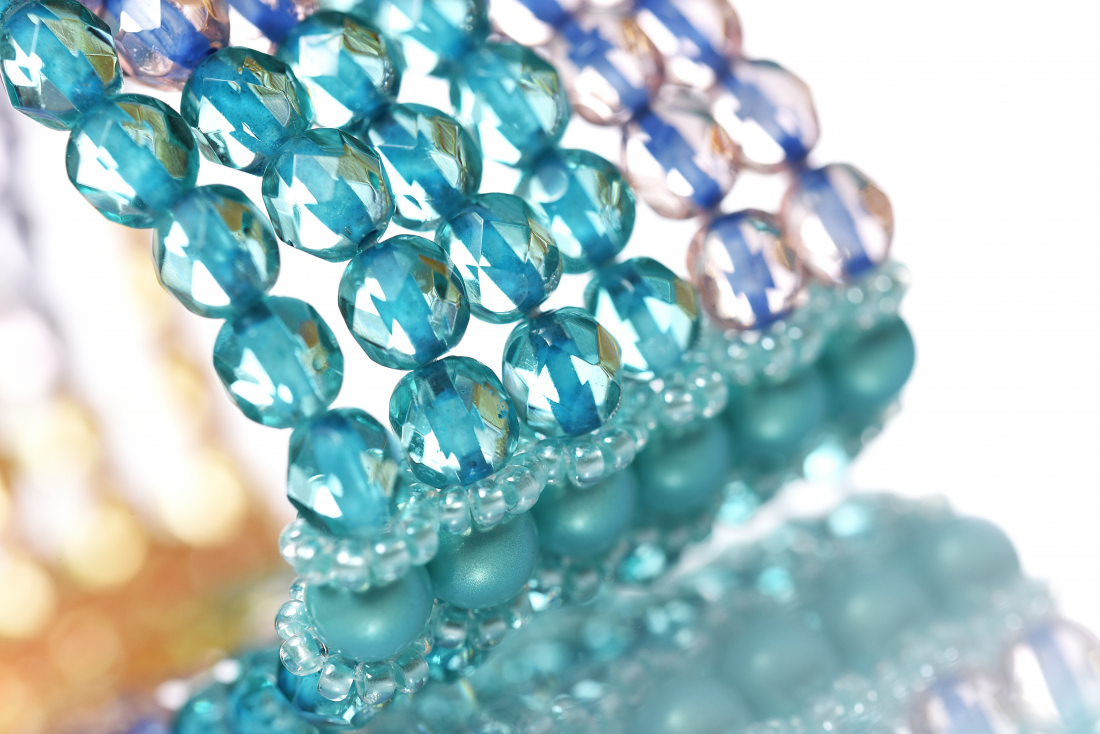
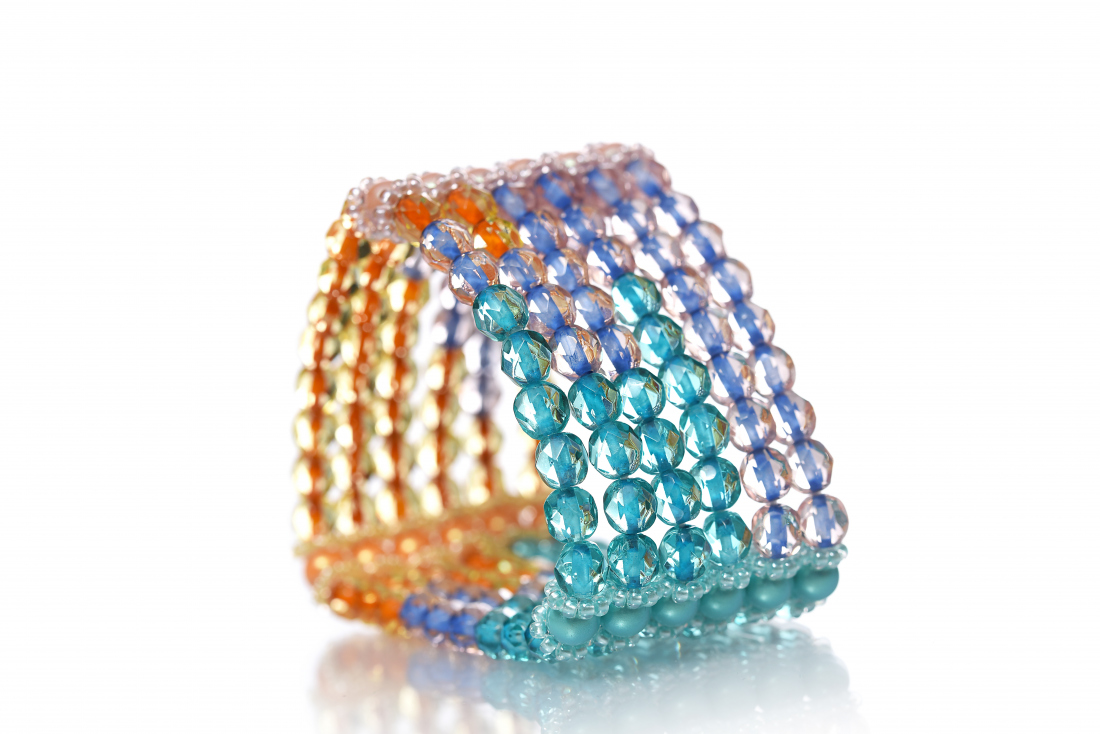
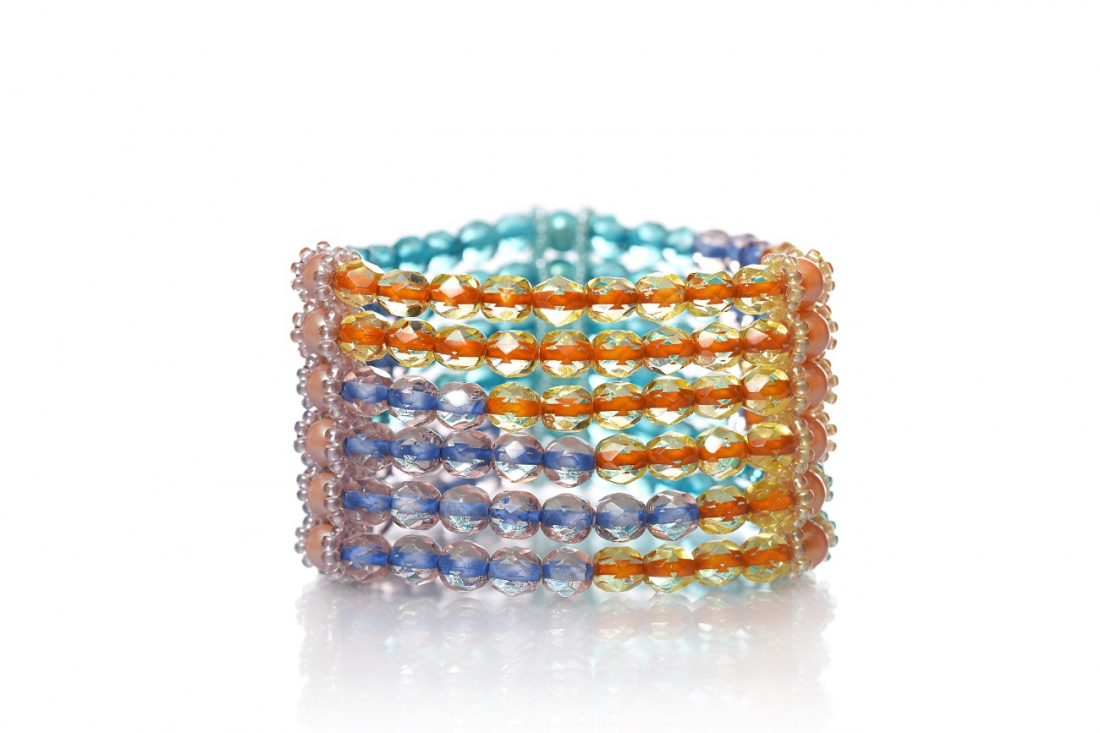
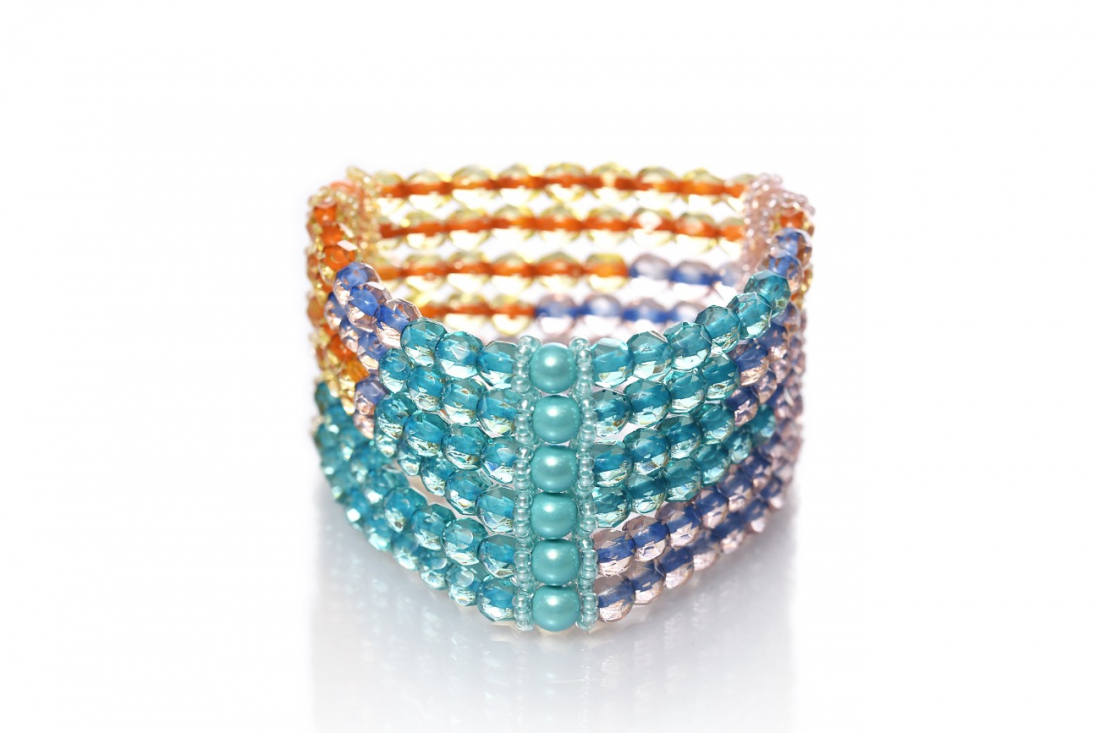
This bracelet in the trending colors of Spring/Summer 2023 plays with the colors of the sun and the sea's surface. Choose from the wide range of colors and shapes for PRECIOSA fire polished beads and create an accessory for spring and summer days.

Ambassadors

Helena Chmelíková

She is able to switch from luxurious and extravagant fashion show pieces to the preparation of hobby projects,
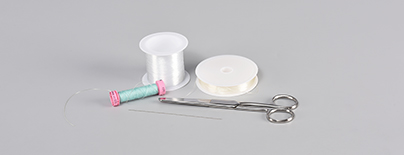
Learn More

Procedure

Step 1

First, sew the guide. Place an R stop bead at the end of the line. Thread the line through it twice. String 39x R onto the line. Create six circles one after the other. Go back, thread the line through the R and add the remaining R. Count off 10x R and thread the line through the 10th in the opposite direction. String 4x R. Count off 5x R and thread the line through the 5th. Continue in the same way 3 more times. Tie off the end of the line. Thread the ends through several R and cut them off.

1 / a

Step 2

Sew six guides. 2x using Rg, 2x using Rr and 2x using Ry.

2

Step 3

Prepare a needle with a large threading loop. Cut off about 15 cm of sewing thread. Thread it through the eye of the needle. Tie off the ends of the threads. Shift the knot to the side. Thread about 80 cm of flexible line through the thread loop. Fold it in half. You can string the FPB and IP.

3 / a

Step 4

You can mix the shades of the FPB and IP as you wish. There are 3x 9 FPB in the row. There is 1x IP between each guide.


The layout according to the pattern:

Row 1Rg guide, IPt, Rg guide, 9x FPBt, Ry guide, IPo, Ry guide, 4x FPBo, 5x FPBr, Rr guide, IPr, Rr guide, 9x FPBr

Row 2Rg guide, IPt, Rg guide, 9x FPBt, Ry guide, IPo, Ry guide, 2x FPBo, 7x FPBr, Rr guide, IPr, Rr guide, 9x FPBr

Row 3Rg guide, IPt, Rg guide, 5x FPBt, 1x FPBr, 3x FPBo, Ry guide, IPo, Ry guide, 4x FPBo, 5x FPBr, Rr guide, IPr, Rr guide, 3x FPBr, 6x FPBt

Row 4Rg guide, IPt, Rg guide, 4x FPBt, 1x FPBr, 4x FPBo, Ry guide, IPo, Ry guide, 6x FPBo, 3x FPBr, Rr guide, IPr, Rr guide, 5x FPBr, 4x FPBt

Row 5Rg guide, IPt, Rg guide, 4x FPBt, 3x FPBr, 2x FPBo, Ry guide, IPo, Ry guide, 9x FPBo, Rr guide, IPr, Rr guide, 2x FPBo, 3x FPBr, 4x FPBt

Row 6Rg guide, IPt, Rg guide, 3x FPBt, 3x FPBr, 3x FPBo, Ry guide, IPo, Ry guide, 9x FPBo, Rr guide, IPr, Rr guide, 1x FPBo, 2x FPBr, 6x FPBt

4 / a

Step 5

Tying. The knot must be just right. It must be hidden in a hole, but it must not slide out. Try tying two and two strands of the flexible line together with two knots. Hide the knots in a hole by carefully, but thoroughly pulling them into the nearest FPB. If they slip out, tie three knots. Cut off any excess flexible line behind the FPB.

5 / a

Downloads