Stellar

Difficulty: 4
TECHNIQUE: right angle weave stitch, sewing, gluing

Evening and formal costume jewelry

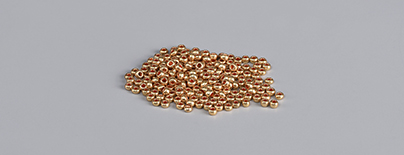
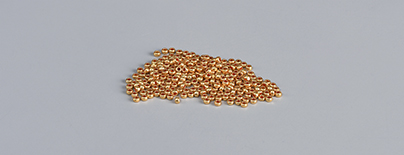
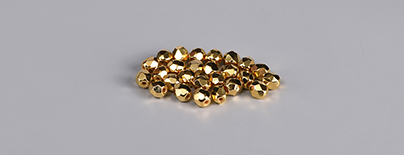
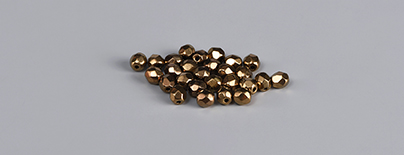
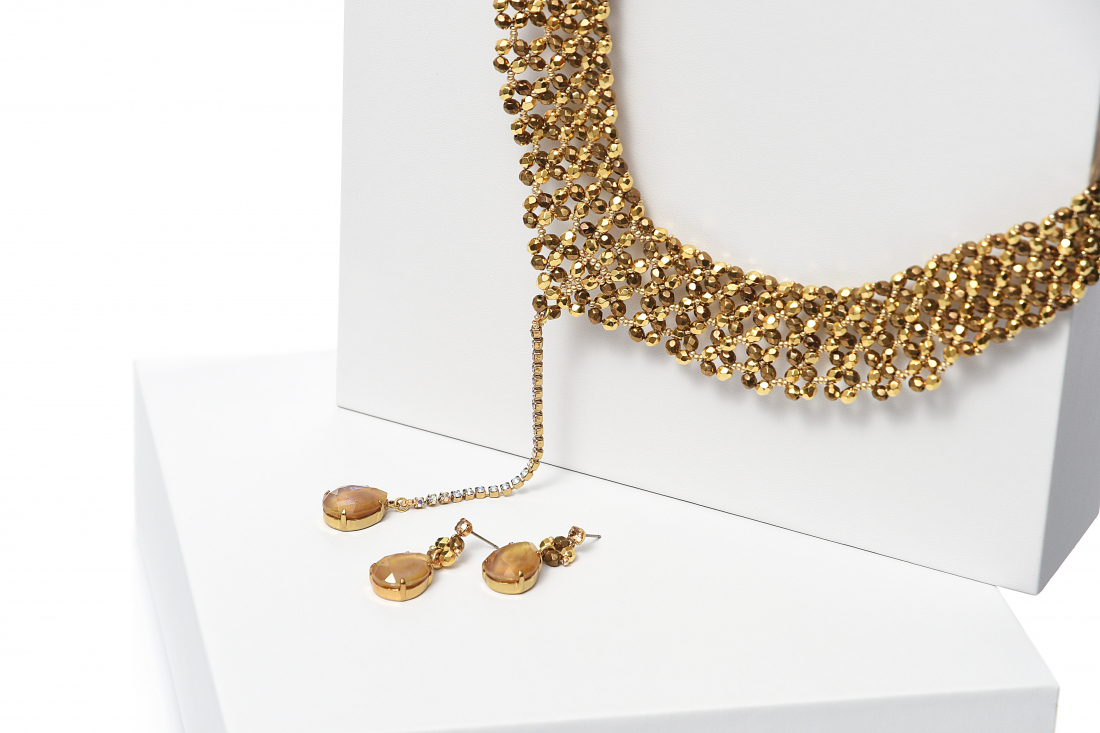
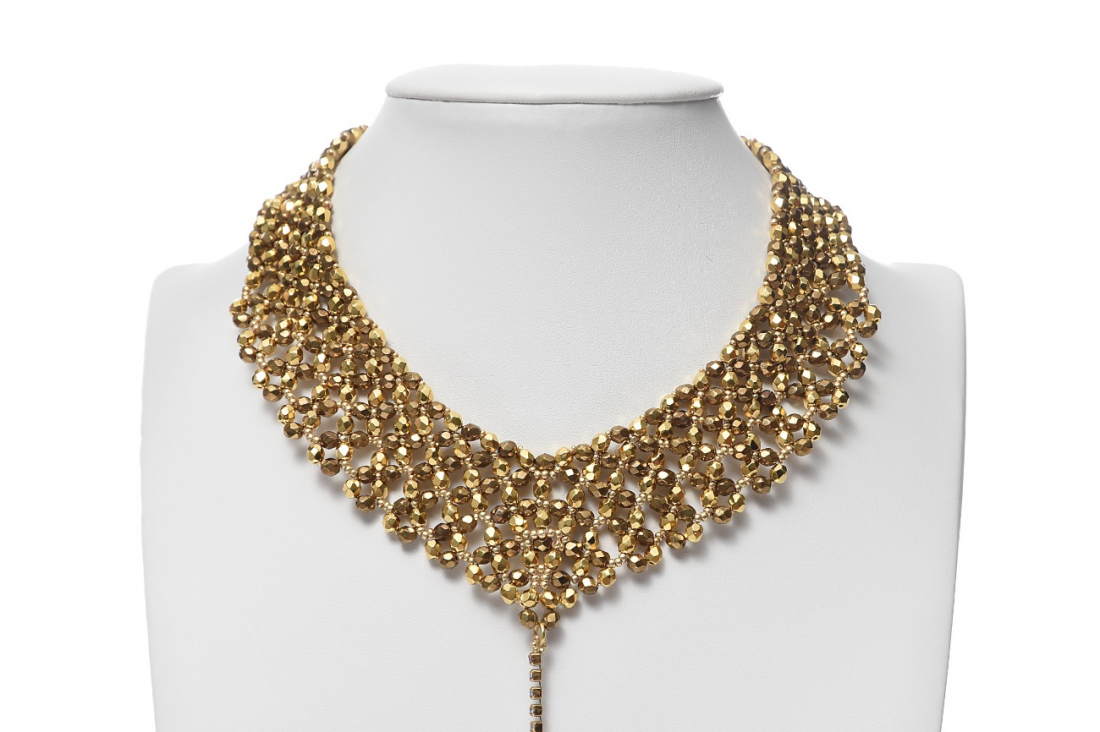
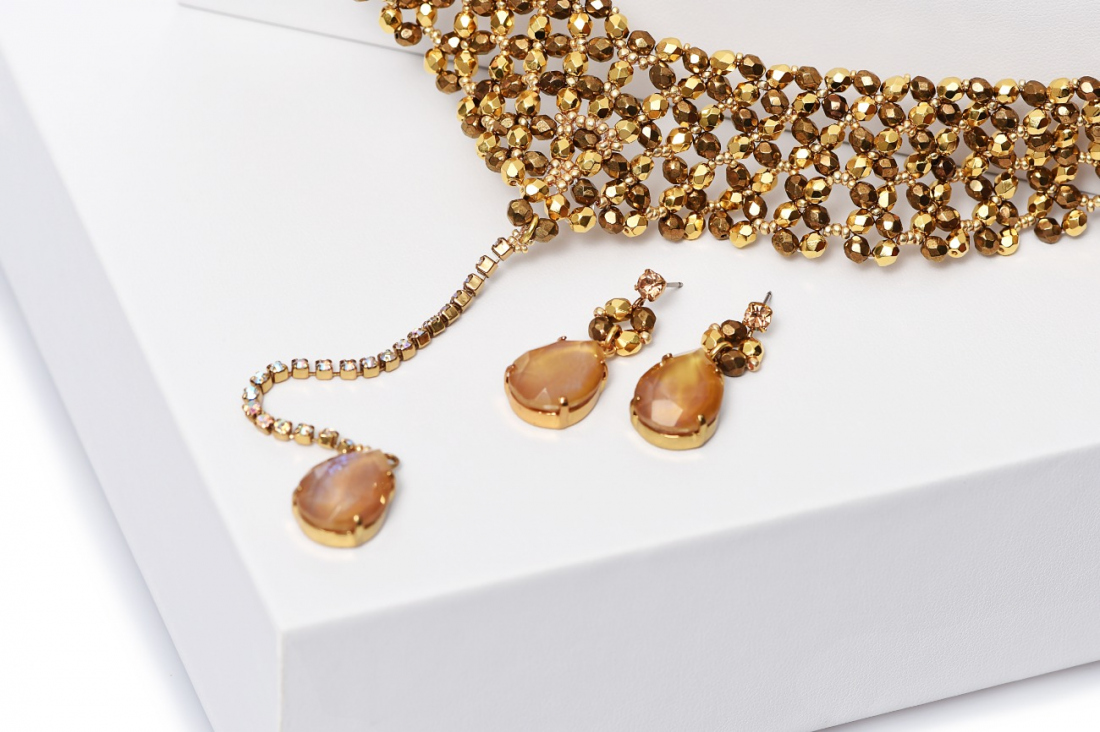
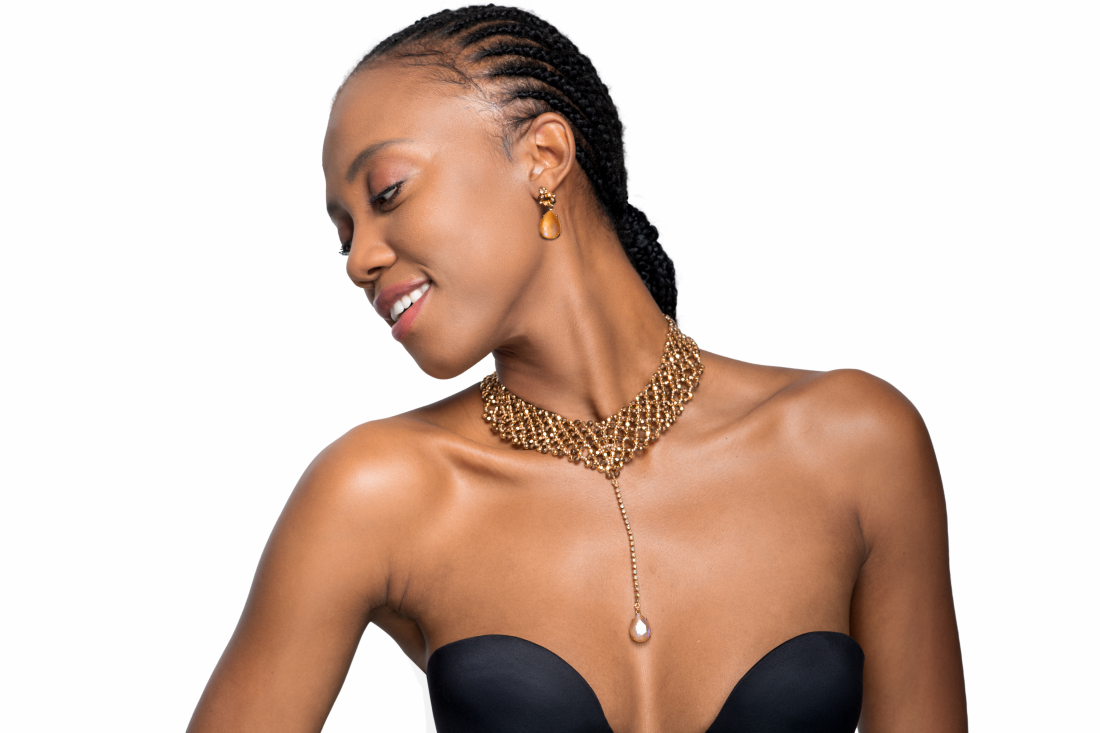
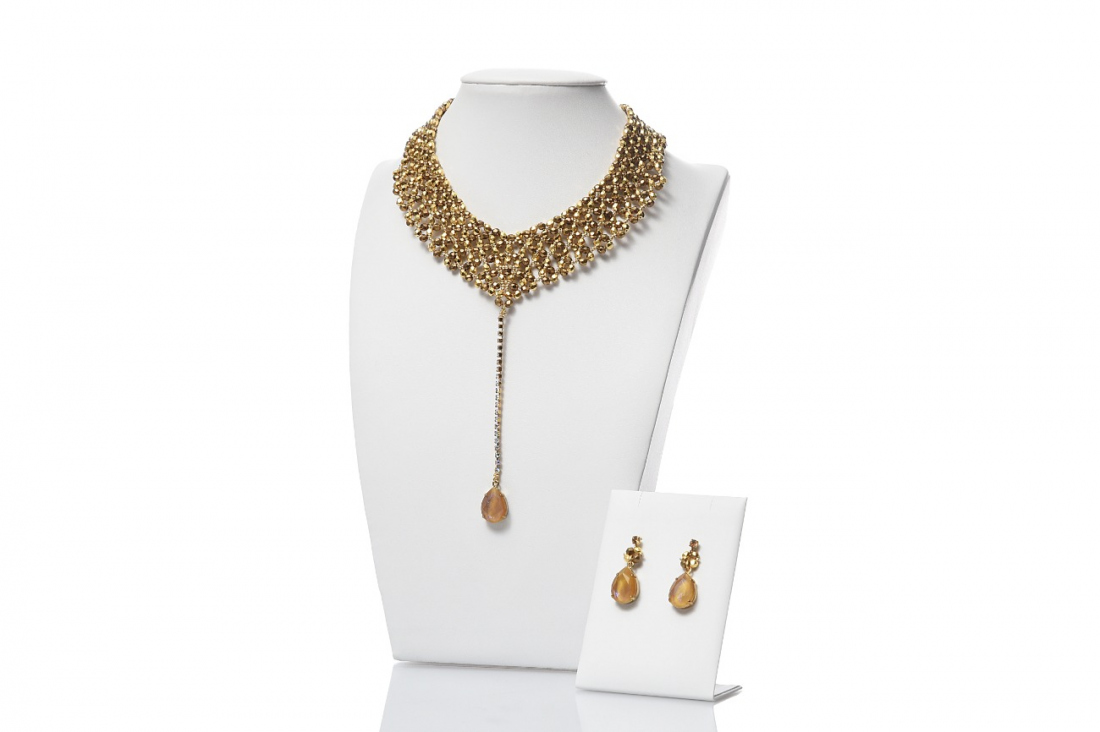
Do you want to be the centre of attention at the ball? You are sure to be with this necklace! Here, we offer a tutorial for an exclusive piece of jewelry made using beads and seed beads from the PRECIOSA Luxury Coating collection. Use beads and seed beads coated with real gold and your evening costume jewelry will become an unmissable sparkling accessory to any social occasion.

Learn More
Ambassadors

Helena Chmelíková

She is able to switch from luxurious and extravagant fashion show pieces to the preparation of hobby projects,
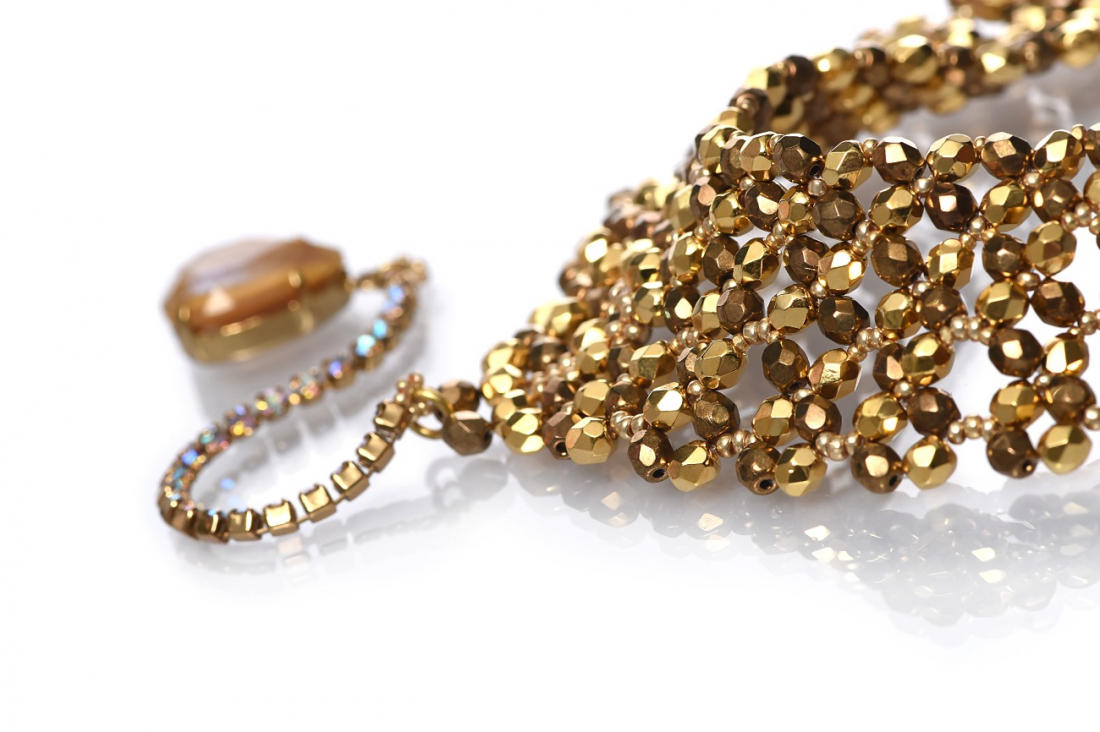
Learn More

Material and Tools

Materials

A carabiner; an adjusting chain; filigree pendants; 5 mm and 4 mm rings; a chaton chain (preferably a larger size); a pendant with a chain

Tools

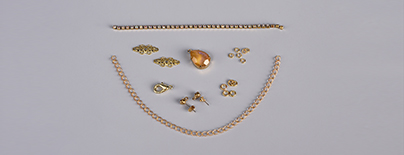
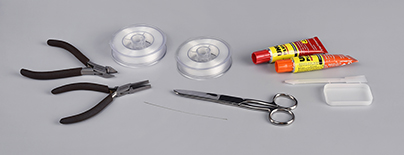
A 0.20 mm and 0.10 mm nylon line (loops in the chaton chain); a thin needle; scissors; glue for non-absorptive materials; flat-nosed pliers; snipping pliers

Procedure

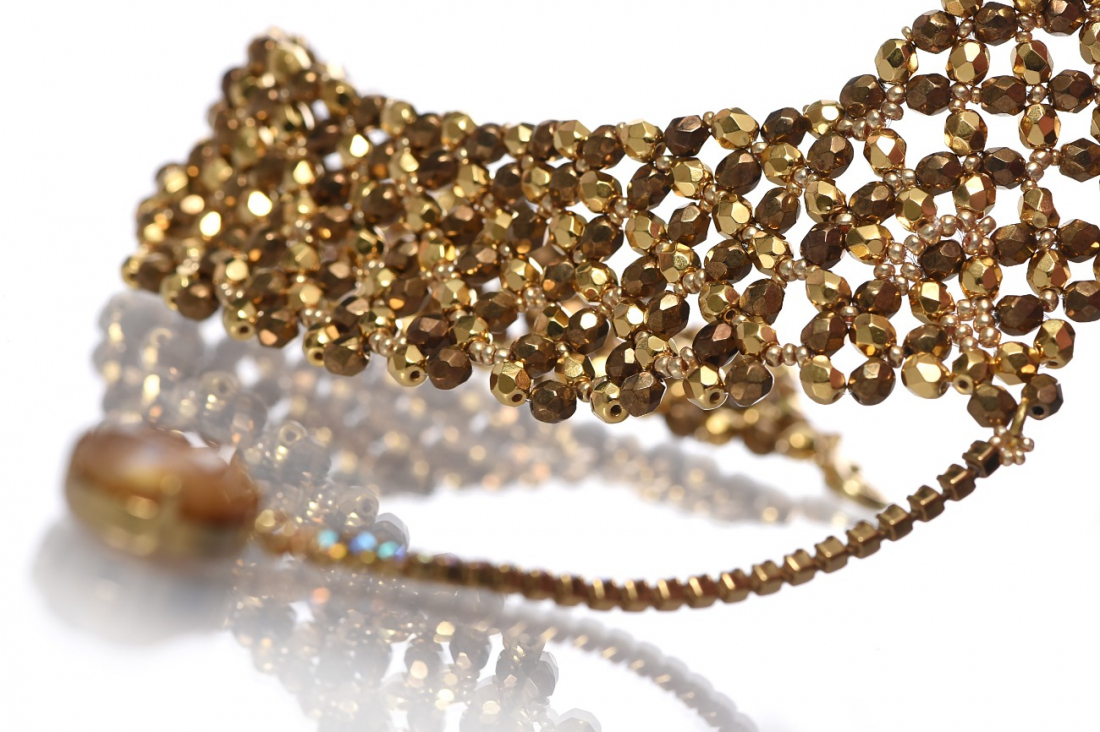
The G beads face in one direction and the B beads face in the opposite direction. The arch consists of three rows and nine columns consisting of "squares" made of G, B and R. Use R10 (the red line in the illustration) and R13 (the blue line in the illustration).

Step 1

The arch

String the base for the 1st row according to the illustration (the red line). Thread the line through it or add the remaining G, B and R according to the illustration (the blue line).

1 / a

Step 2

String the base for the 2nd row (the red line) according to the illustration. Thread the line through it or add the remaining G, B and R according to the illustration (the blue line).

2 / a

Step 3

String the base of the base for the 3rd row (the red line). Thread the line through it or add the remaining G, B and R according to the illustration (the blue line). This row will be wider - squares made of G and B are added to the outside.

3 / a

Step 4

Sew the second arch.

4

Step 5

The middle

Turn the arches towards one another so that they are a mirror image of one another.

Start sewing them together from the point of the necklace. Place a "square" in the middle of the line. Sew the left-hand (the blue line) and right-hand parts separately (sew the line as a mirror image).

5 / a

Step 6

Sew the upper section of the middle. Start from the top B. Once again, sew the left-hand and right-hand parts separately.

6 / a

Step 7

The straight section

The G beads face in one direction and the B beads face in the other direction. The section consists of three rows and ten columns consisting of "squares" made of G, B and R10.

String the base of the 1st column (the narrower side). Thread or add the remaining G, B and R10.

7 / a

Step 8

String the base of the 2nd column. String or add the remaining G, B and R10.

8 / a

Step 9

String the base of the 3rd column. Thread or add the remaining G, B and R10.

9 / a

Step 10

Alternate the same sewing method as in Steps 2 and 3.

Step 11

Connect the straight section in the 10th column to the arch. Make sure that all the G and B are turned in the same way. Thread the line through the outer R10 on the narrower side next to the arch.

11 / a

Step 12

Gluing

Apply the glue to the filigree pendants. Attach them to the outer two "squares" in the central row. Allow them to dry.

12 / a

Step 13

The chaton pendant

Snip off about 8 cm of chaton chain. The work will be easier for you, if you manage to extract the remainder of the connector from under the outer cup.

13 / a

Step 14

Create a loop on the ends of the chain. Adjust the amount of the threading and the force on the line to the size of the cups. It is advisable to thread the line using a needle.

14 / a

Step 15

Completion

Connect the chain to the point of the necklace using a ring. Connect the other end to the pendant with the stone.

15 / a

Step 16

Connect a carabiner to the filigree loop on the right-hand side of the necklace. Attach 16 cm of adjusting chain to the left-hand side.

16 / a

Step 17

The earrings

Create a "square" out of G and B and with R10 on the side. Thread the line through it 2x. During the stringing, thread the line through the eye on the butterfly clip and the ring on a pendant with a stone.

17 / a

Downloads