Small pumpkin

Difficulty: 2
Techniques: Stringing

Pendant made from PRECIOSA Twin™ Seed Beads

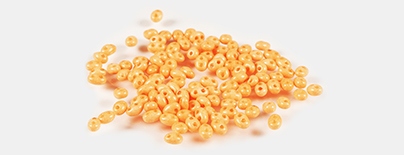
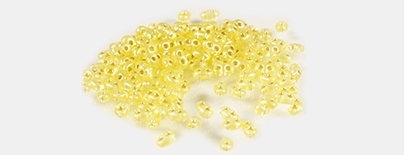
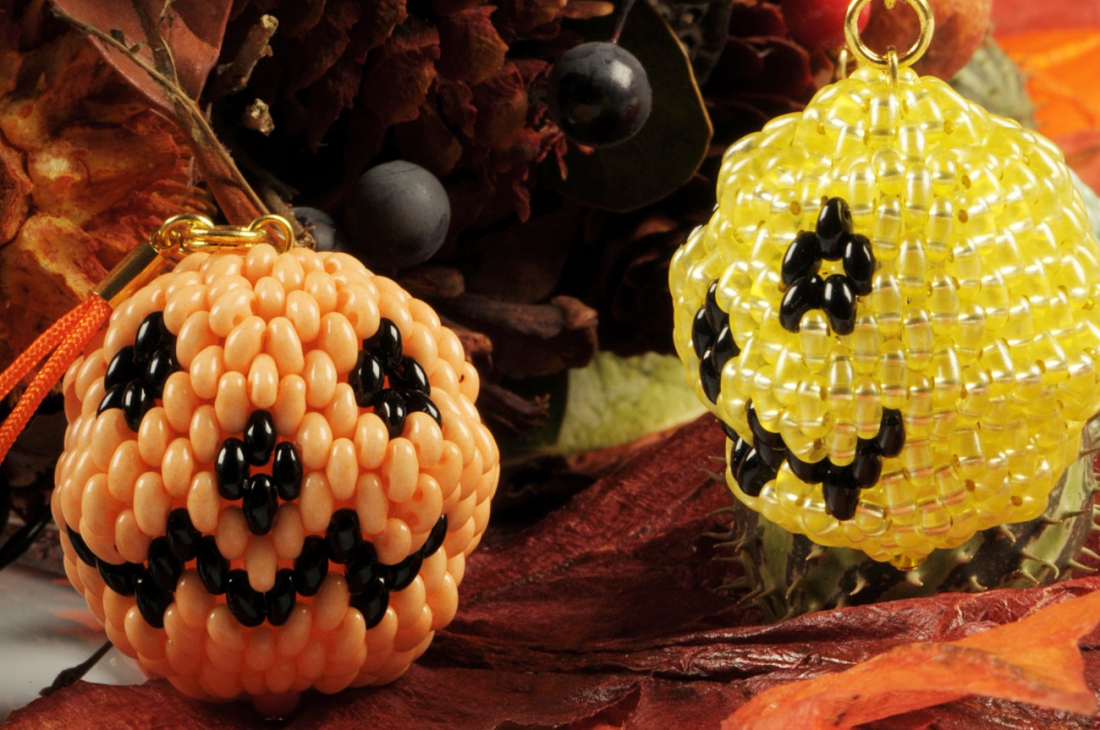
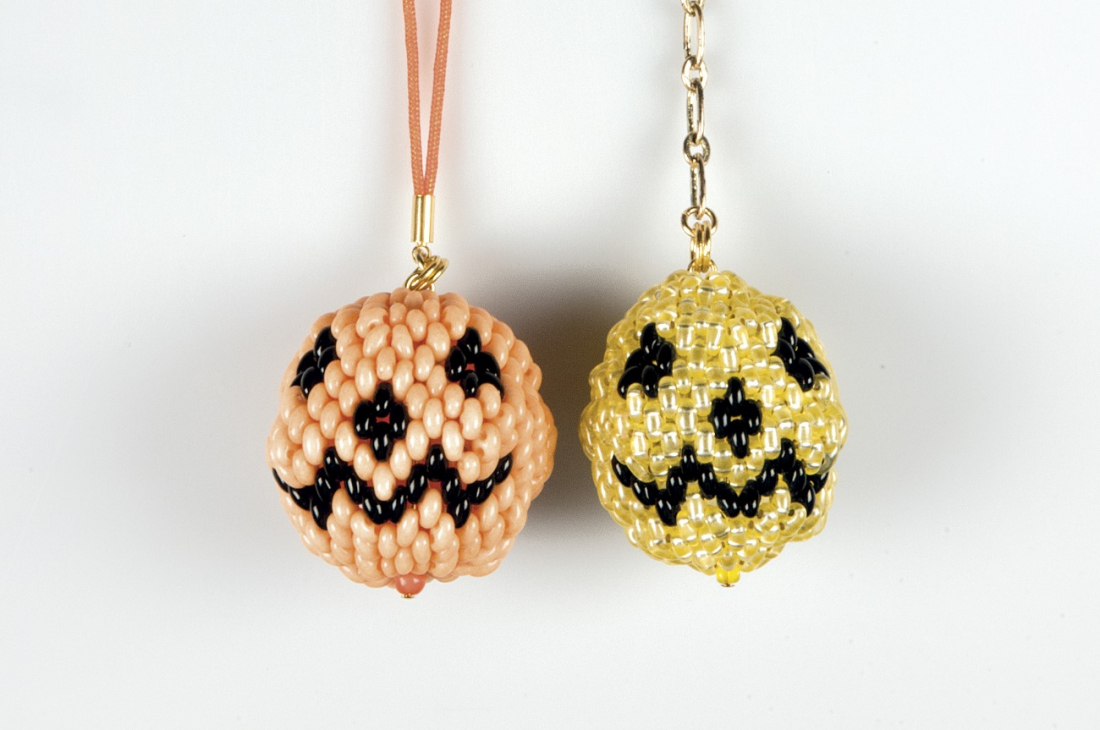
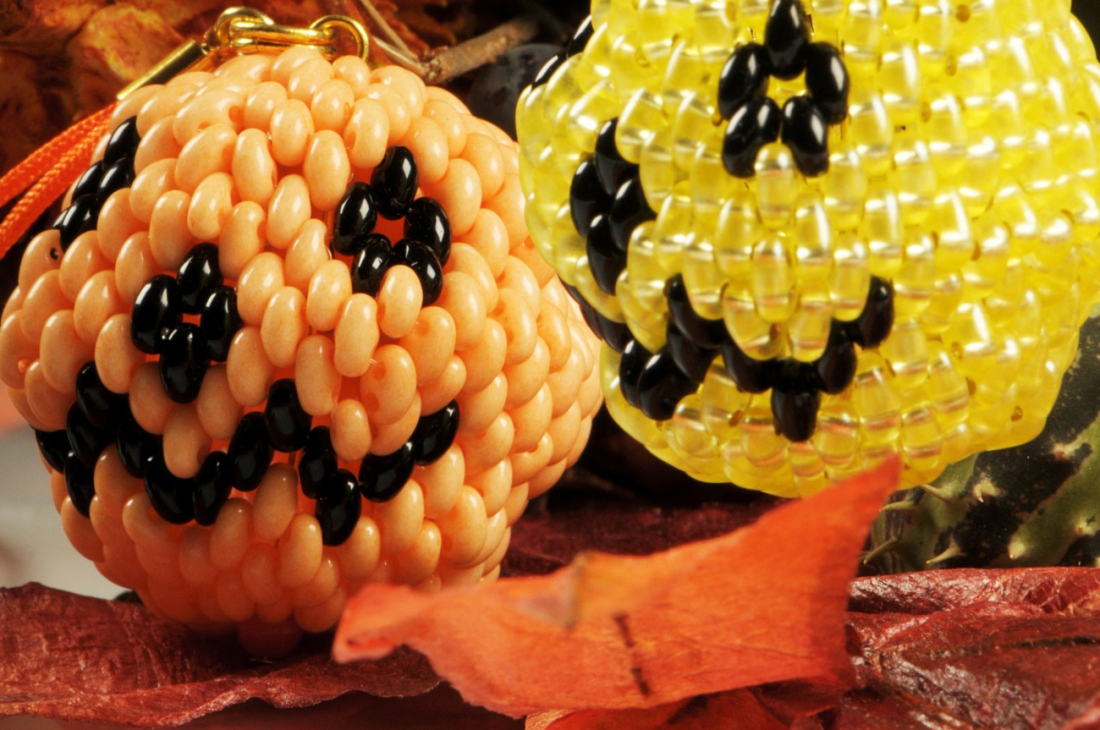
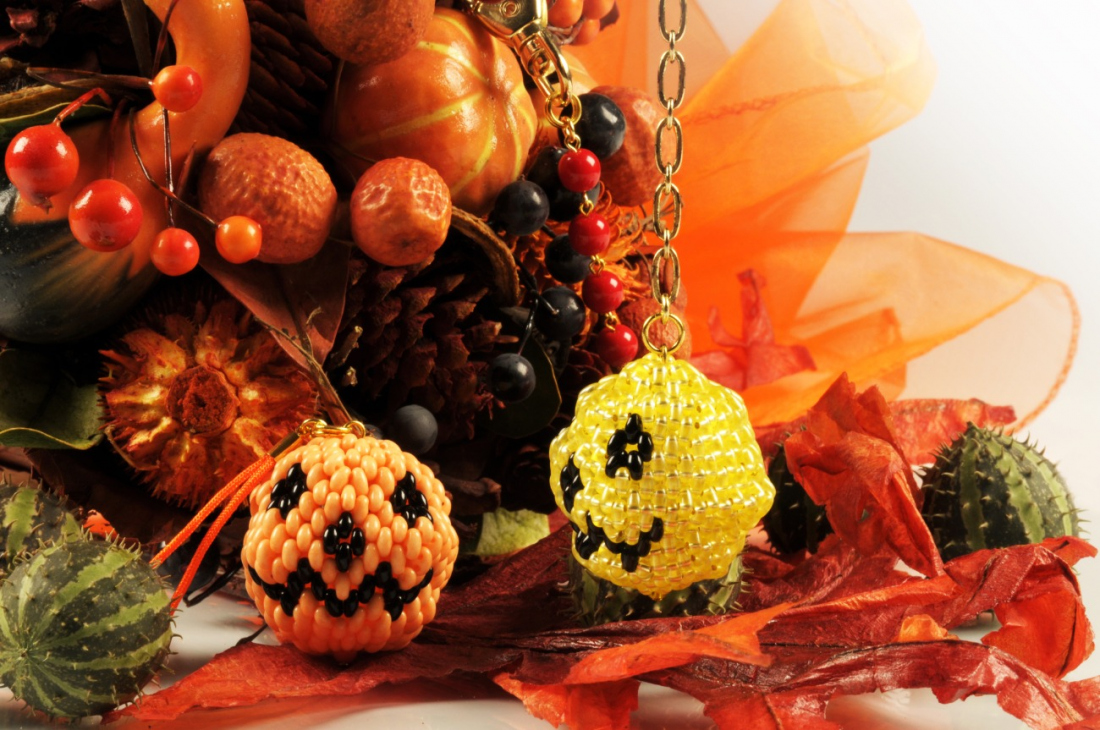
Halloween is traditionally celebrated in Anglo-Saxon countries at the end of October, on the eve of All Saints’ Day. Hollowed out Jack O’Lantern pumpkins are an integral part of this holiday. You can make your own pumpkin as a Halloween key ring or a bag pendant using PRECIOSA Twin™ Seed Beads, even if you do not celebrate this holiday. After all, colorful pumpkins are an important symbol of autumn. Make several of them and give them to your friends. Their own Jack O’Lantern is sure to please them. We wish you much pleasure from working with beads and seed beads from the PRECIOSA Traditional Czech Beads™ brand.

Ambassadors

Helena Chmelíková

She is able to switch from luxurious and extravagant fashion show pieces to the preparation of hobby projects,
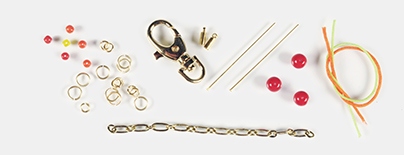
Learn More

Material and Tools

Materials

A 50 mm pin (gold); 20 mm eye pins (gold); 8 mm rings (gold); a large chain (gold); a key ring carabiner (gold); a finishing piece with a loop (for securing the string, adhered or crimped) strings (a shade similar to the pumpkin shade)

Tools

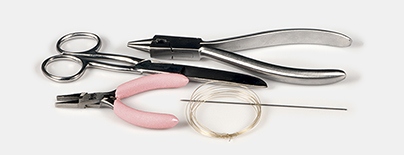
Scissors; 0.20 mm nylon line; flat nose pliers (to flatten the end of the line and close the rings); a thin sewing needle; needle nose pliers

Procedure

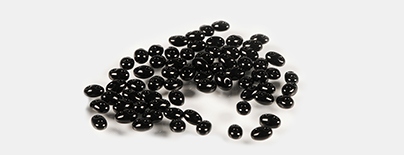
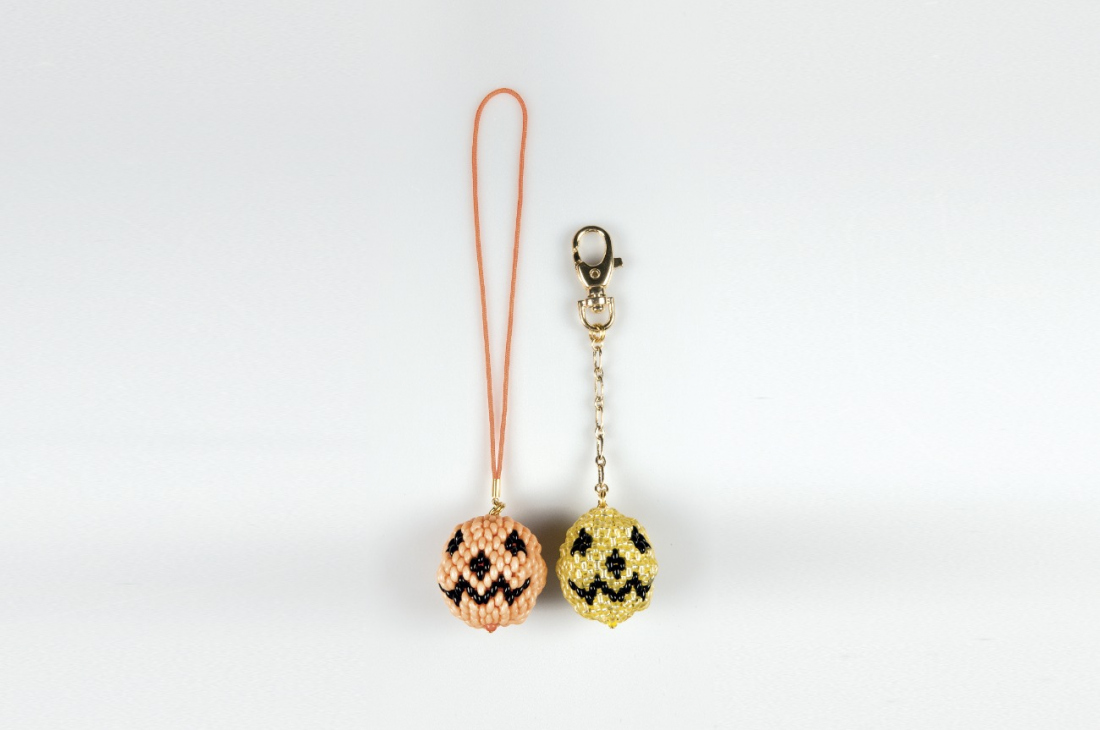
Sew the sections row by row using Twin beads (T). The Twins in each following row interlock between the Twins from the previous rows.
Add new Twins in some rows (the 3rd row, 5th row and 7th row). The three rows in the centre of the pumpkin have the same number of beads. Sew the lower half with the mouth and several Twins as the nose and the top half with the eyes and one Twin for the nose separately. Then place both sections together and sew them up.

Step 1

The lower section:
Row 1 – string and tie 8x T. Insert the line into the second hole of the Twin which is nearest to the knot. String a new row.
Row 2 – add 1x T to each gap between the T from the previous row – a total of 8x T. Connect the strung row. Thread the line through one of the T from the first row once again and then through the following T from the second row. Then insert the line into the second hole of the same T once again.
Row 3 – string 2x T into every gap – a total of 16x. Connect the stringing and insert the line
into the second hole.
Row 4 – string 1x T into each gap after each T – a total of 16x. Connect the stringing and thread the line into the second hole.
Row 5 – string a total of 20x T. This means that you should string 1x T in three consecutive gaps and 2x T in every fourth gap. Use black T in one of the places where the 2x T are added.
There will be 1x black T in the second gaps to the left and the right of the addition.
Row 6 – string 1x T into each gap – a total of 20x. Connect the stringing and insert the line into the second hole. Also add black T (6x) above the black T from the previous row on both sides. String the T in the basic shade in the central gap between them.
Row 7 – string a total of 24x T. String 1x T in four consecutive gaps. Add 2x T to every fifth gap. String the tops, the points of the mouth, 4x black T.
Row 8 – string 1x T into each gap – a total of 24x. String 1x black T above the centre of the mouth.
Row 9 – string 1x T into every gap – a total of 24x. Also string black T on both sides of the black T from the previous row.

1

Step 2

The upper section:
Row 1 – like the lower section

Row 2 – like the lower section

Row 3 – like the lower section

Row 4 – like the lower section

Row 5 – the amount and method of adding the beads is the same as for the lower section: string 2x black T in the front section, each one separately. Place 1x T in the central gap from those three one at a time.

Row 6 – the amount and method of adding 
the beads is the same as for the lower section.
Sew 1x black T on both sides of the black Twins from the previous row.

Row 7 – the amount and method of adding 
the beads is the same as for the lower section. 

Add 2x black T to the gaps between the black T from the previous row.

Row 8 – the amount and method of adding 
the beads is the same as for the lower section. Sew on 1x black T in the centre between 
the eyes.
 

2

Step 3

Both halves are now finished. Place them together and sew them up. Thread the lines through the holes. Sew in the ends of the lines.
String the small shape (ball) onto a long eye pin. Thread the pin through both openings, the lower and upper one, in the pumpkin. Connect a large loop onto the pin at the upper opening. Connect 2x 8 mm rings to it. Hang the pumpkin on the chain and the key ring carabiner or it can be hung on a string. Connect the string to the finishing piece with the loop and adhere or crimp it to the metal part. It is possible to attach a ball chain and to fix it to the carabiner.

3

Downloads