Polar Star

Difficulty: 4

Polar Star Decoration

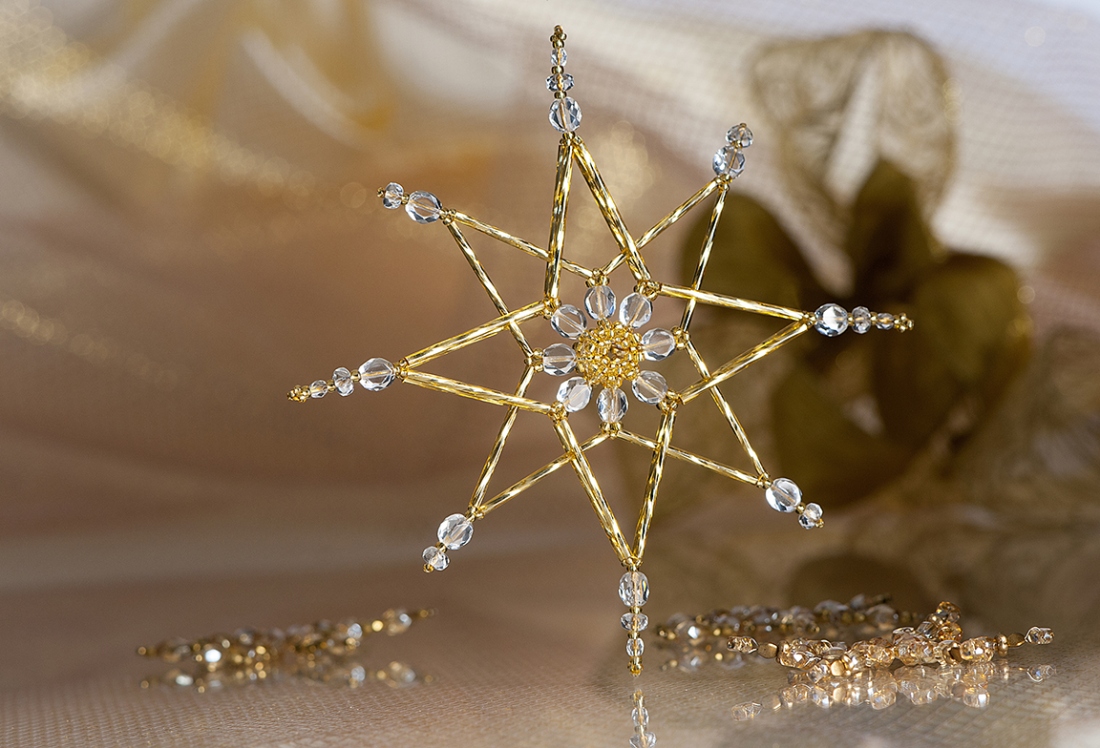
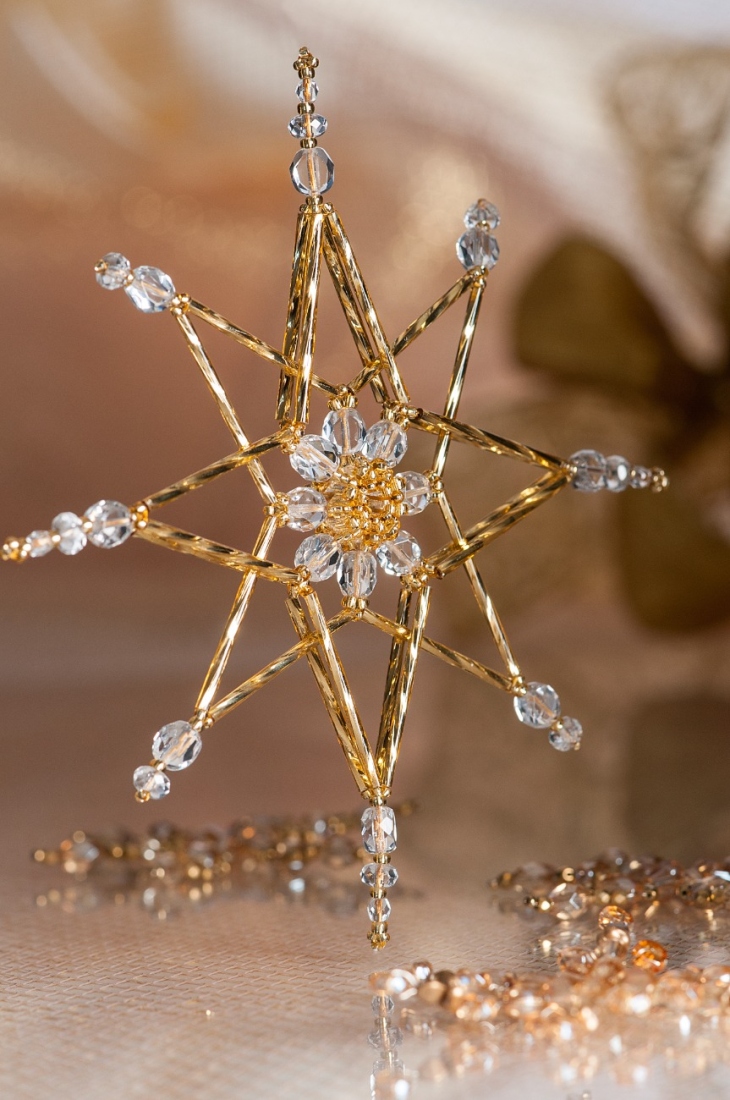
We present a tutorial on how to make sparkling stars which inherently go with Christmas.

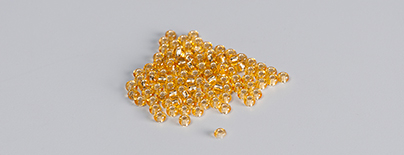
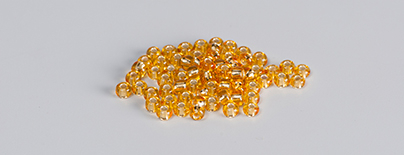
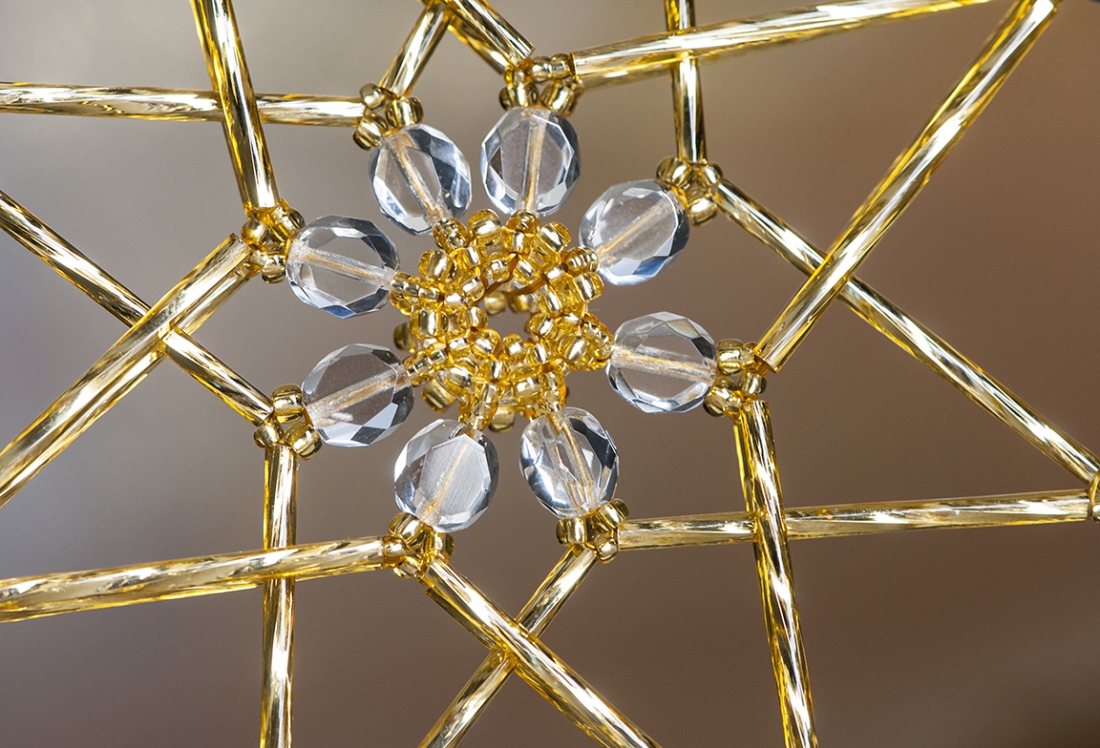
Luxurious stars made of PRECIOSA Traditional Czech Beads™ beads and seed beads can serve as a Christmas tree decoration or as an interior Christmas decoration. They will also appeal to those who appreciate a handmade gift. We wish you a pleasant Christmas time!

Julie Ashford

Julie has been creating jewellery and decorative items with beads for over 35 years.
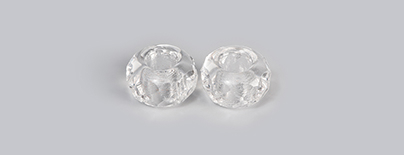
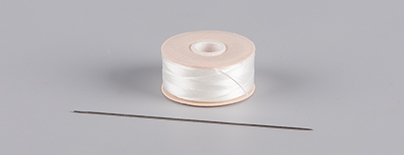
Learn More

Procedure

The decoration is made in three stages.
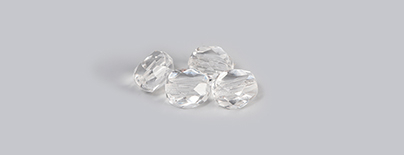
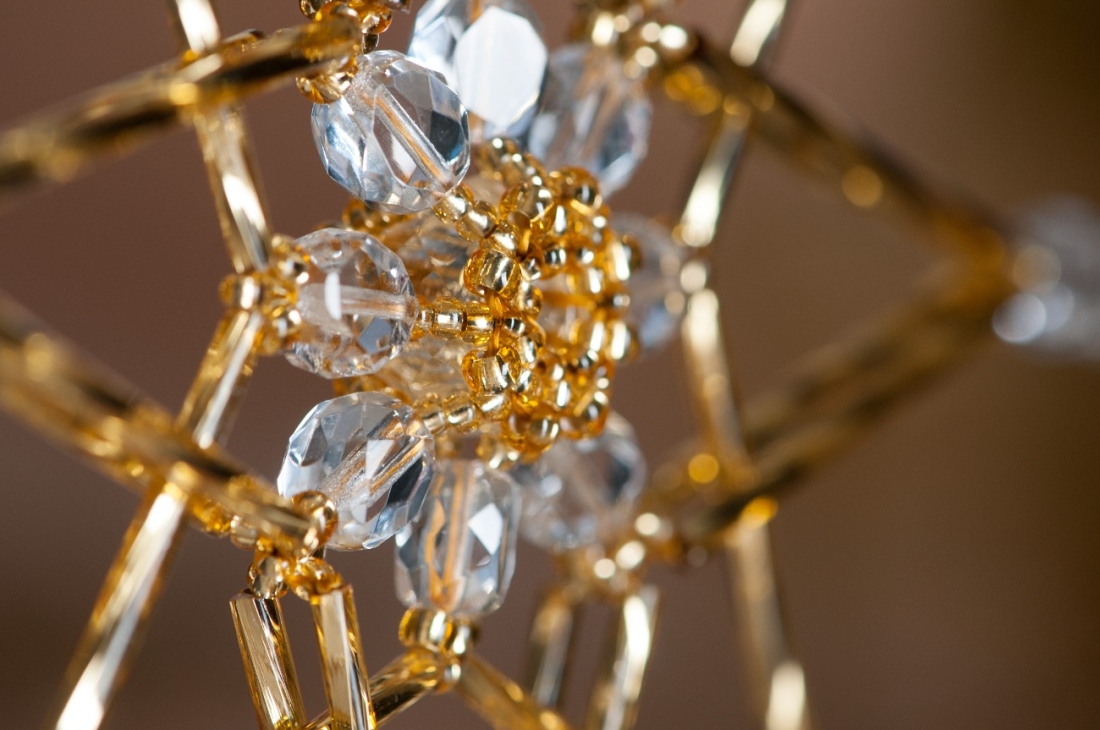
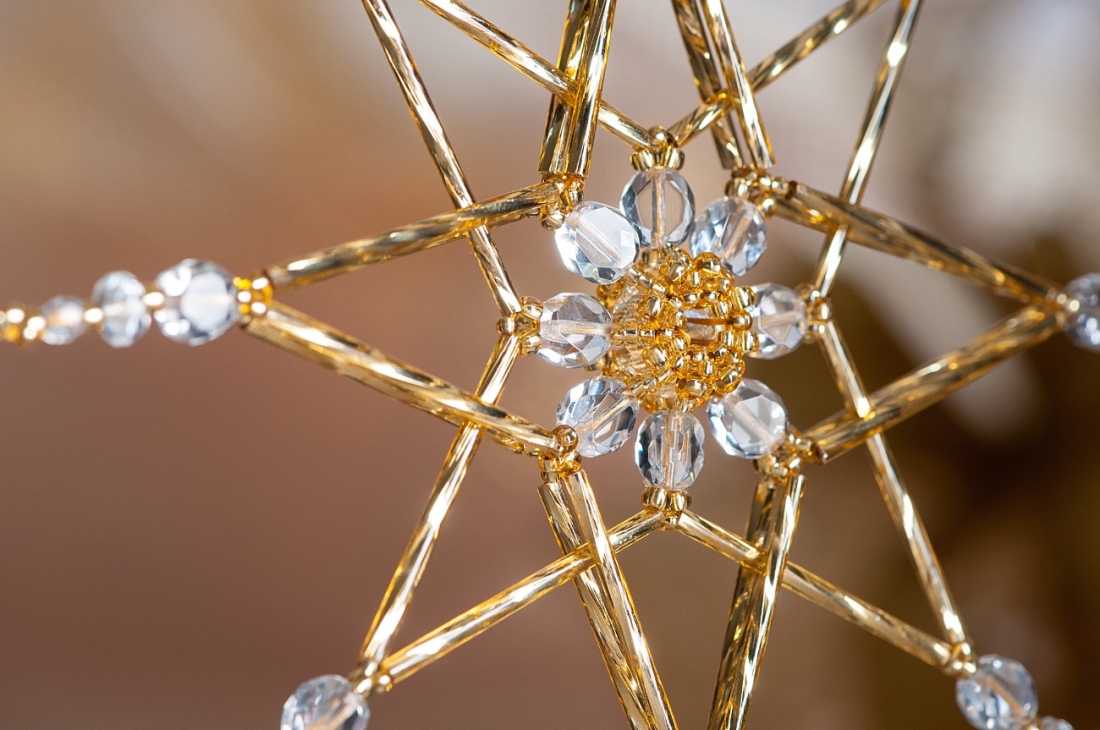
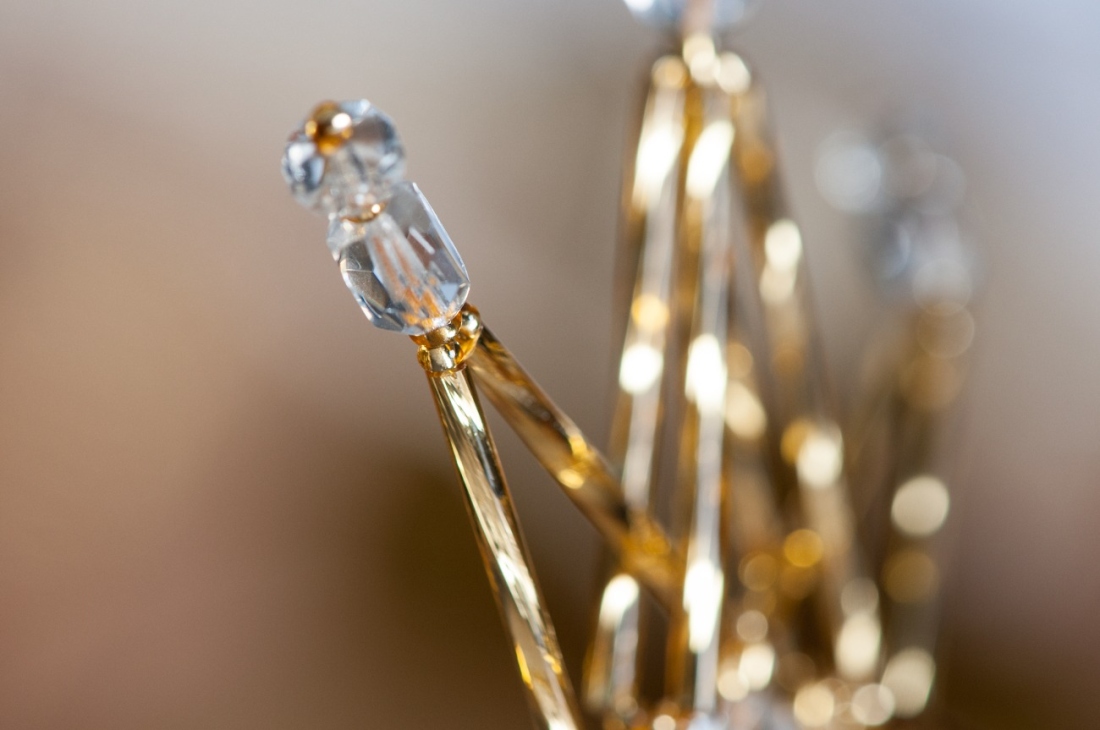
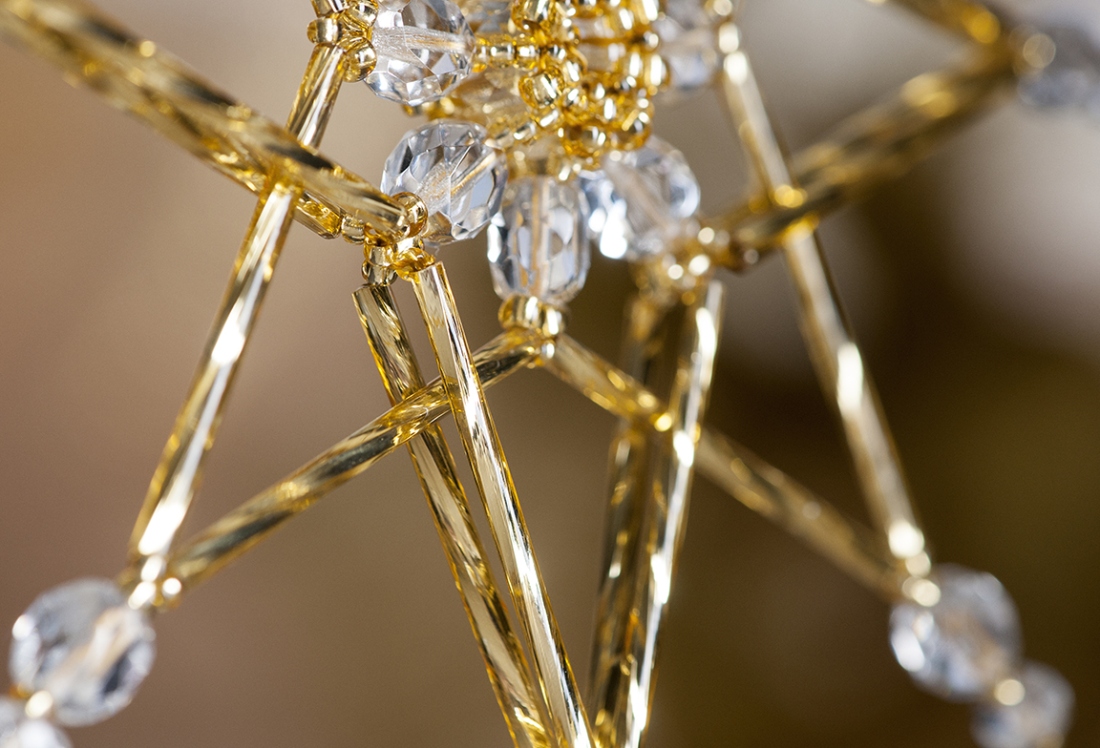
Eight bands of seed beads are added to the central FPB4 to support 8FPB1 spikes.
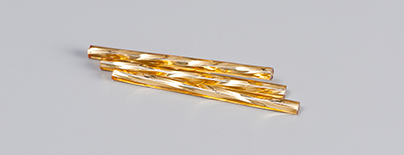
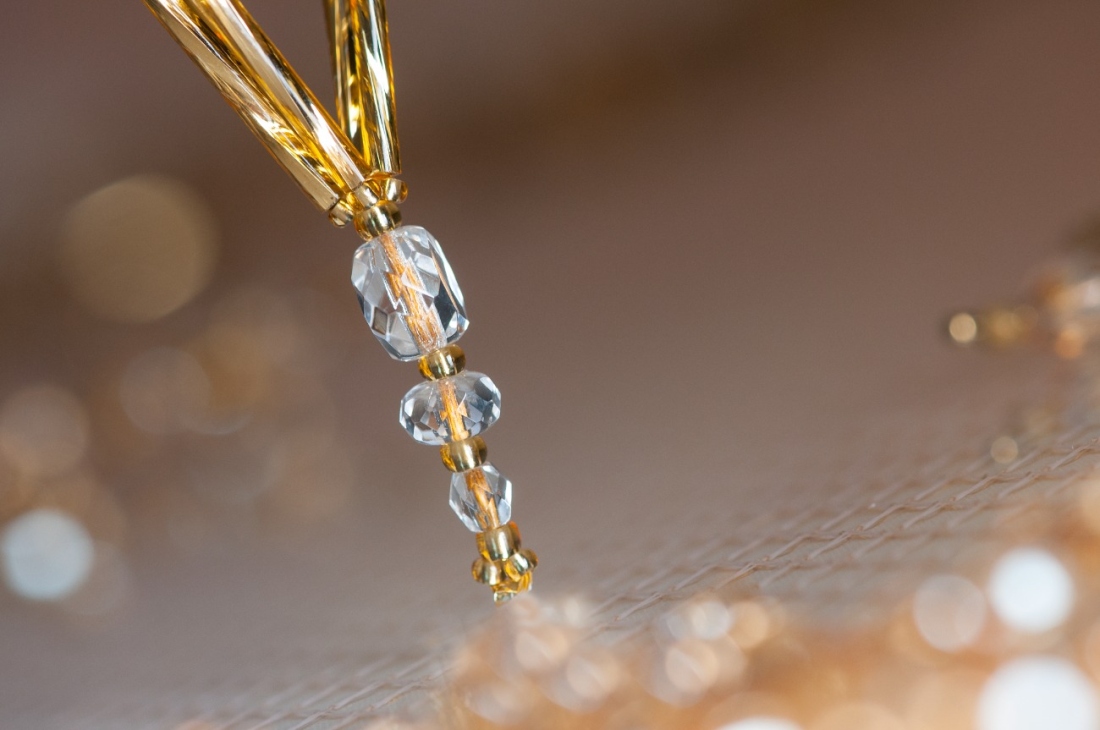
The shorter set of four bugle bead points of the star are added.
The longer set of four bugle bead points is added.

The design is worked with a double thickness of thread throughout. You will need to join on new thread lengths when necessary. Do not tie any knots until the project is complete. Add new threads lengths on keeper beads and leave all other ends loose until instructed to finish.

Step 1

The central bead

Prepare the needle with 1.5 m of double thread and tie a keeper bead 15 cm from the ends (fig 1a).

Roll the paper into a tube and slip it into the large hole in FPB4. The paper tube will stop the smaller R10 and R8 seed beads falling into FPB4 hole (fig 1b).

1 / a

Step 2

Pass the needle between the outside of the paper tube and the inside of FPB4 (fig 2a).

Thread on 4R10, 1FPB1, 1R8, 1R10 and 1R8. Pass back down FPB1 (fig 2b).

Thread on 4R10 and pass through FPB4 as before. Make sure the thread is tight (fig 2c).

Repeat Step 2 seven times to make eight FPB1 spikes (fig 2d).

2 / a

Step 3

Pass the needle through the first 1R10 of the first stitch and thread on 1R8. Pass down the first R10 on the adjacent strap. (fig 3a).
Thread on 1R10 and pass up the first R10 on the previous strap. 

Repeat in the next gap (fig 3b).  

Reposition the needle and repeat in all six remaining gaps on this side of FPB4 (fig 3c).

Repeat on the other side of FPB4 (fig 3d).

3 / a

Step 4

The Shorter Set of Four Bugle Points

Reposition the needle to emerge from R10 at the top of FPB1 (fig 4).

4

Step 5

Thread on 1B, 1R10, 1R8, 1FPB1, 1R8, 1FPB2 and 1R10.

Pass the needle back down the 1FPB2, 1R8, 1FPB1 and 1R8. Thread on 1R10 and 1B.
Pass the needle through R10 at the top of the second FPB1 spike around (fig 5).

Repeat Step 5 three times to make four points in total.
Pass the needle through all the beads of this row again to make the work strong.

5

Step 6

Pass the needle through the beads around FPB4 centre to emerge from R10 at the top of the next FPB1 spike (fig 6).

6

Step 7

The Longer Set of Four Bugle Points

To make the star rigid the longer set of points is made from two layers of B seed beads – one in front and one behind the first set of four shorter points.
Start with the front layer – thread on 1R10, 1B, 1R10, 1R8, 1FPB1, 1R8, 1FPB2, 1R8, 1FPB3, 1R8 and 3R10. Pass back through the last 1R8 and the following six beads.
Thread on 1R10, 1B and 1R10. Make sure the new B seed bead point is on the front of the decoration and pass through the top R10 on the second FPB1 spike around the centre (fig 7). Repeat Step 7 three times.
Four matching pairs of 1R10, 1B and 1R10 seed beads are now added to the back of these points.

7

Step 8

Turn the star over so you see the back of the decoration. Make sure the needle is on this side of the work. You will be working in the opposite direction around the design.
Thread on 1R10, 1B and 1R10. Pass up the 1R8, 1FPB1, 1R8, 1FPB2, 1R8, 1FPB3, 1R8 and 3R10 of the previous long point around. Pass back down the 1R8, 1FPB3, 1R8, 1FPB2, 1R8, 1FPB1 and 1R8 and thread on 1R10, 1B and 1R10.
Pass the needle through R10 at the top of the second FPB1 spike around the centre (fig. 8). Repeat Step 8 three times.

8

Step 9

Making the Star Stronger

Referring to figure below pass the needle through R10 and B seed beads of the longer points from Step 8 and the connecting R10 seed beads at the top of FPB1 spikes. If the needle will pass again repeat through R10 and B seed beads of the front of this layer (made in Step 7). Remove all keeper beads and finish off all thread ends. Remove the paper tube from the centre of FPB4. Hang your star on a transparent thread.

9 / a

Downloads