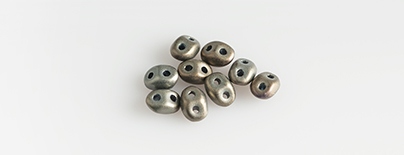
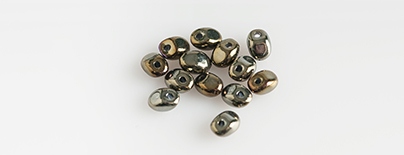
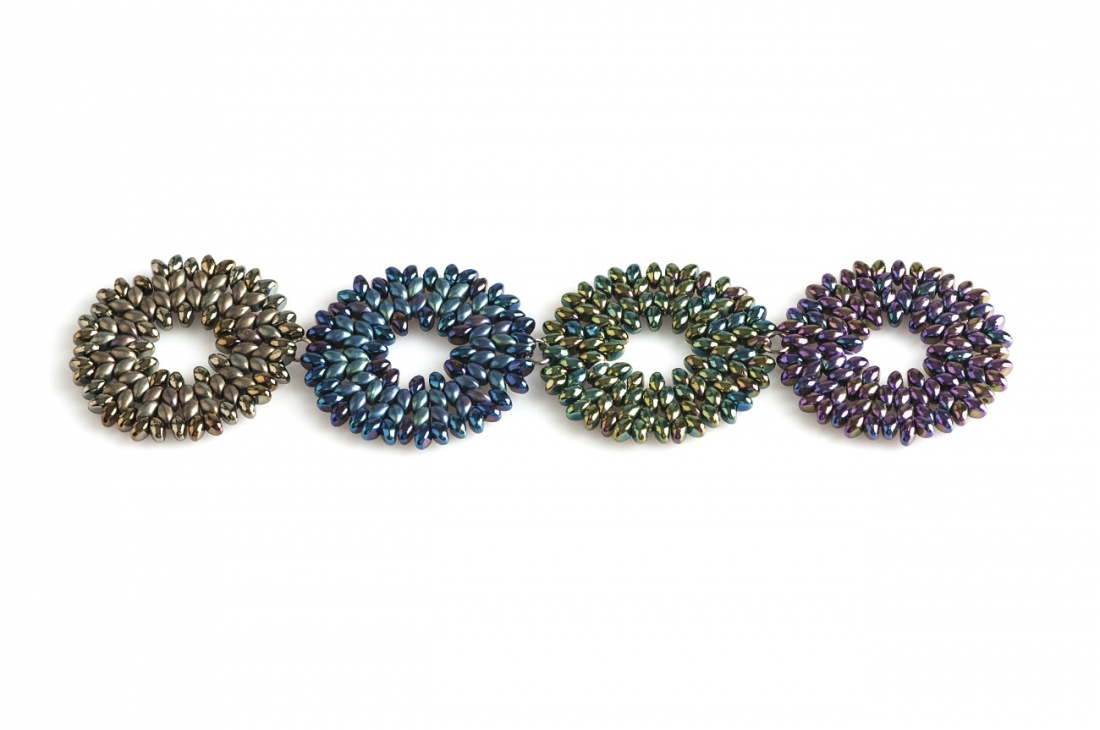
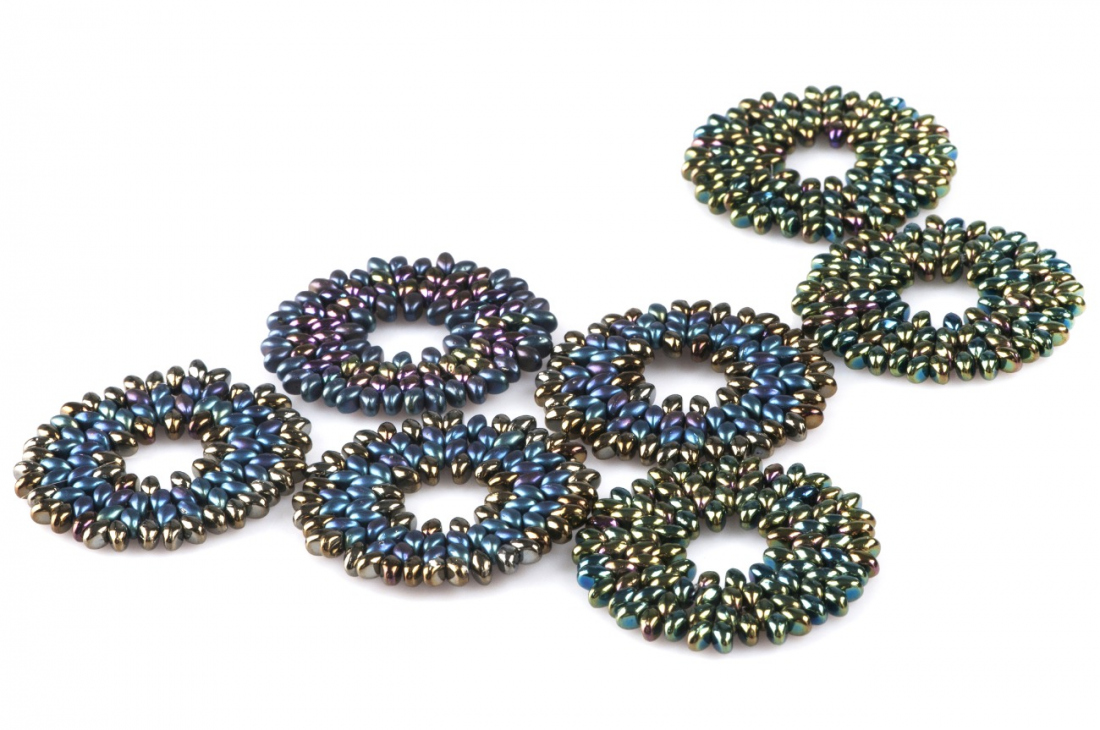
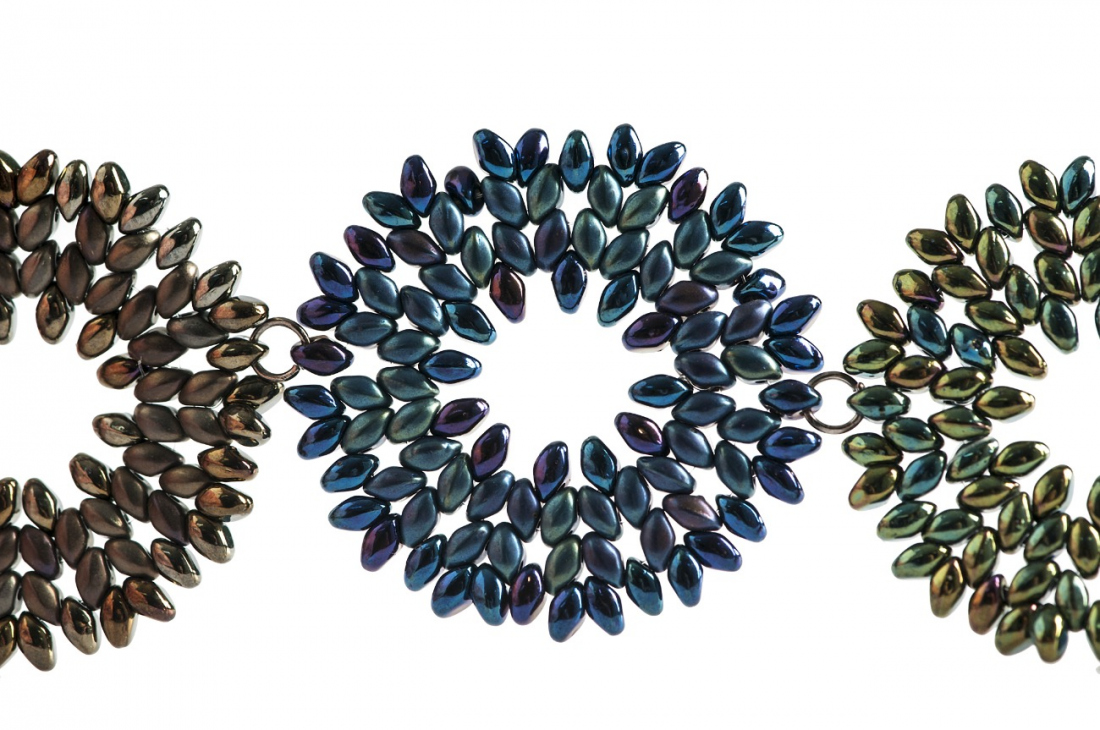
Preciosa Ornela presents the PRECIOSA Twin™ pressed bead and the supplementary PRECIOSA Solo™ pressed bead with a surface finish in the four iris colors which are among the most popular traditional surface finishes on the beads and seed beads from the PRECIOSA Traditional Czech Beads™ brand.
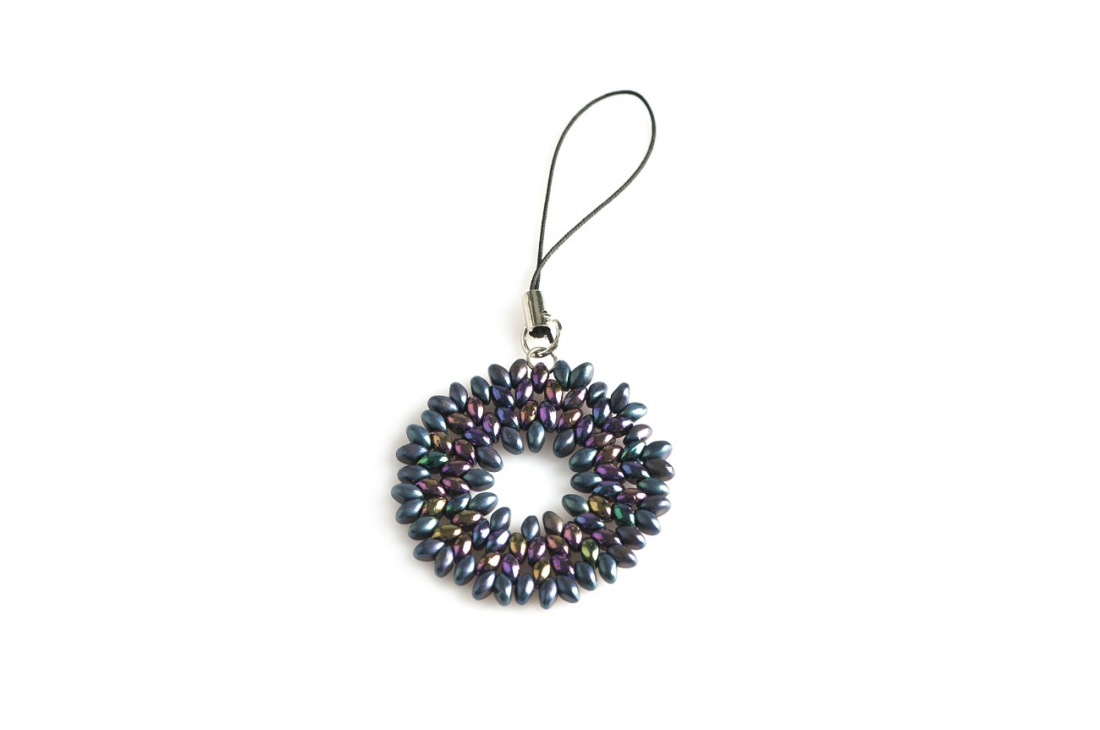
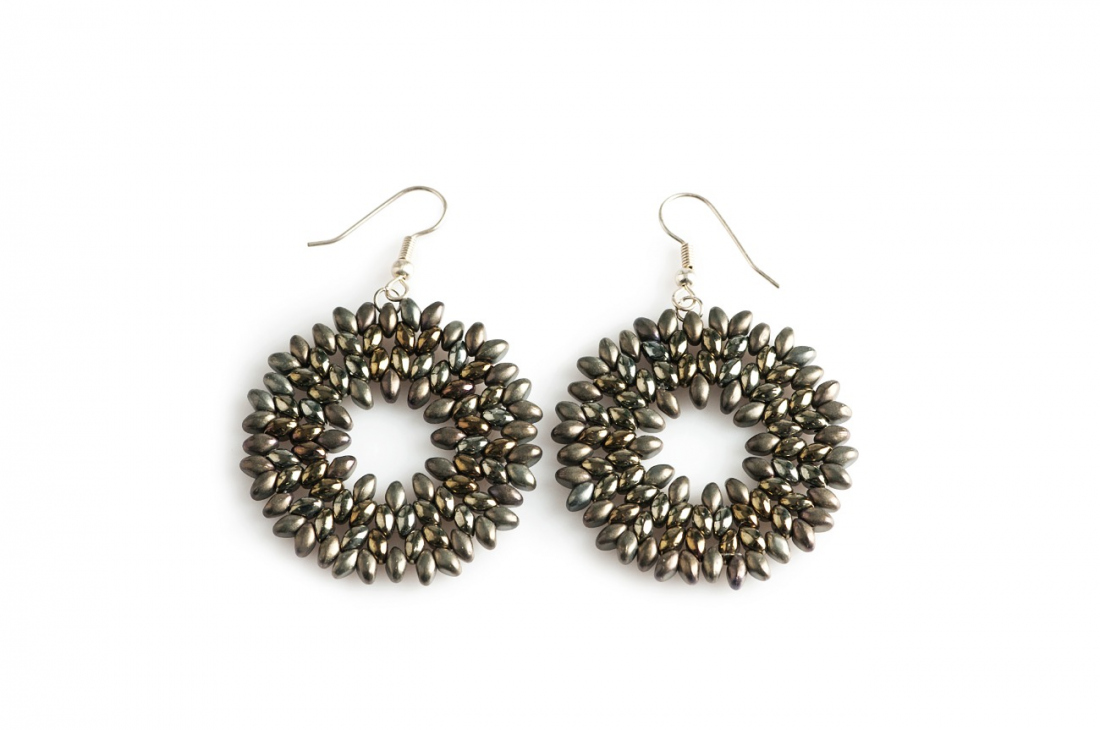
The PRECIOSA Twin™ pressed bead and the supplementary PRECIOSA Solo™ pressed bead have an identical shape and size (2.5 x 5 mm) as the seed bead version of the PRECIOSA Twin™. We present their use and mutual combination in those cases where it is necessary to end a decoration using an identical bead without the second hole. This tutorial for simple, multilaterally utilisable wheels will enable you to make excellent use of the combination of beads finished with four iris color variants and their matt variants. We wish you much inspiration with beads and seed beads from the PRECIOSA Traditional Czech Beads™ brand.
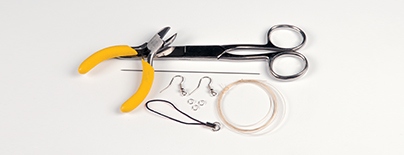
A thin stringing needle, a fine line, scissors, a 4 mm fine ring, a mobile phone cord, earring hooks, flat nose pliers
Use the principle of the circular version of the so-called herringbone stitch
Share this project with your friends
This website uses cookies
PRECIOSA ORNELA, a.s. hereby informs you that its website uses cookies You can find more information about our cookies and how your data is processed in the privacy statement. We request your consent to use cookies specified below.