Distinctive Necklace

Difficulty: 2
TECHNIQUE: crocheting

Crocheted spiral necklace using PRECIOSA Engraved Pip

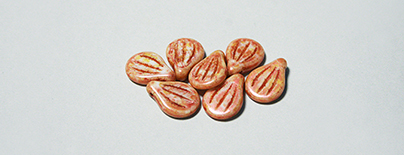
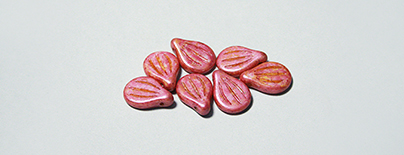
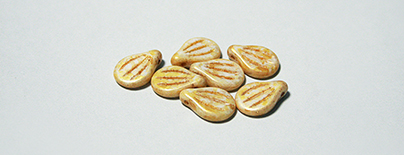
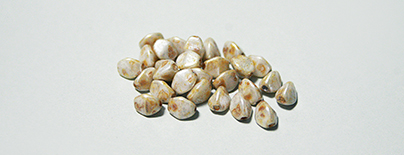
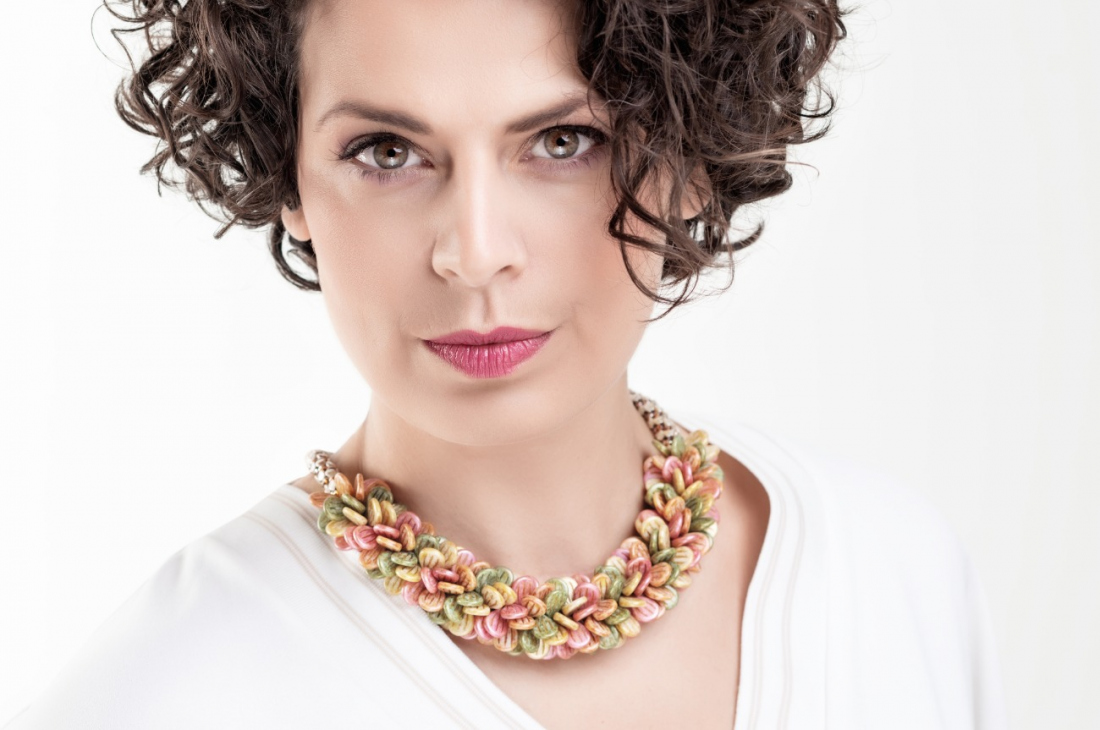
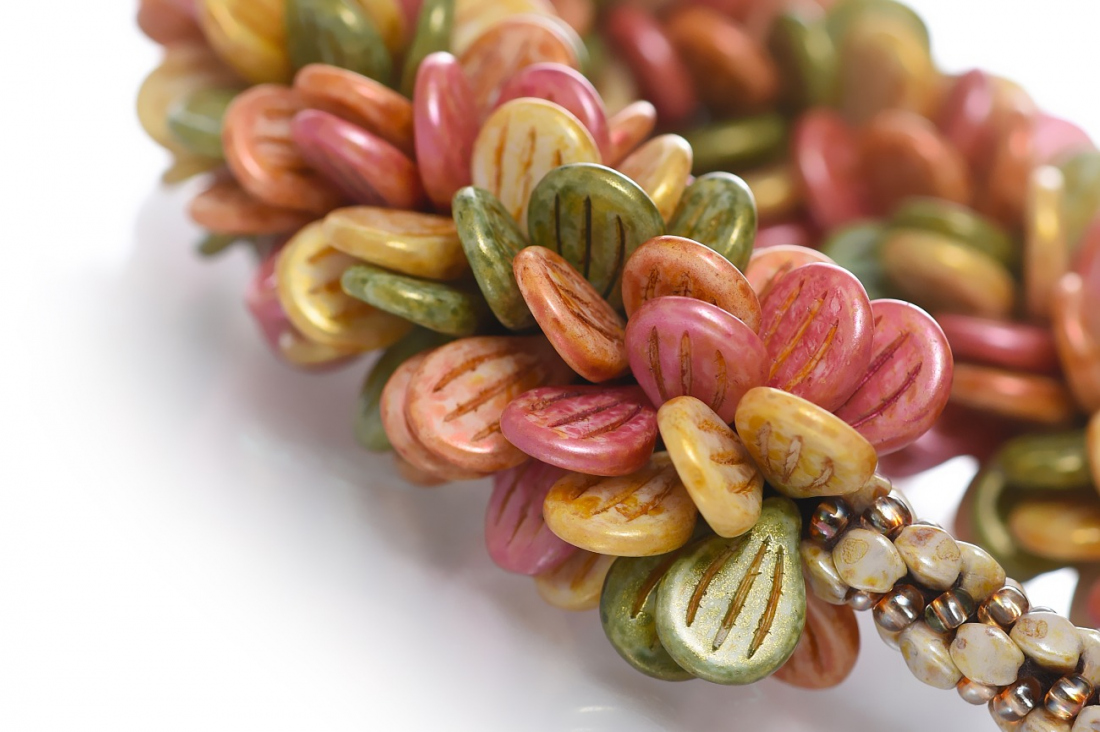
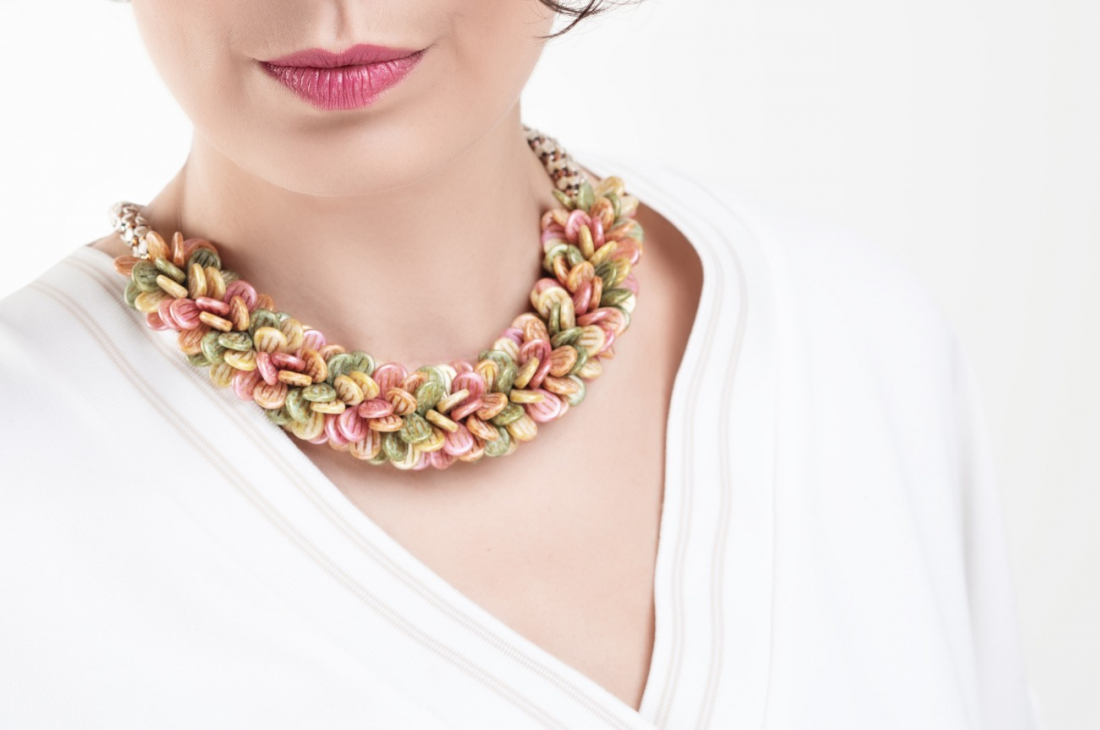
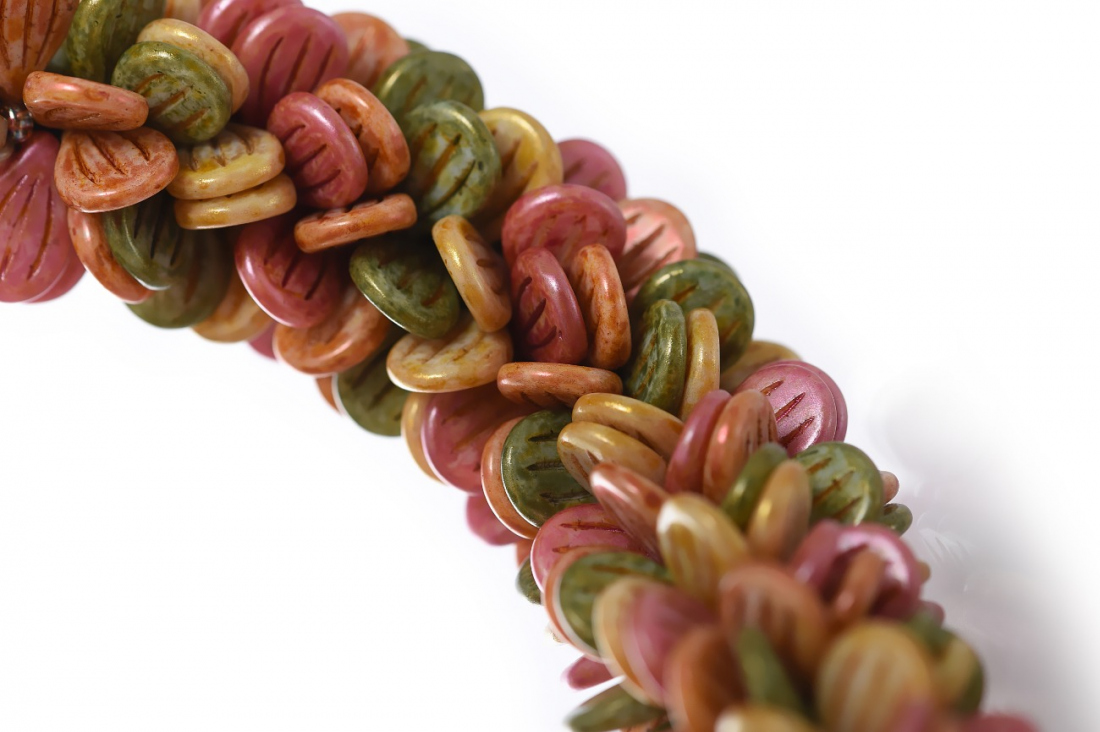
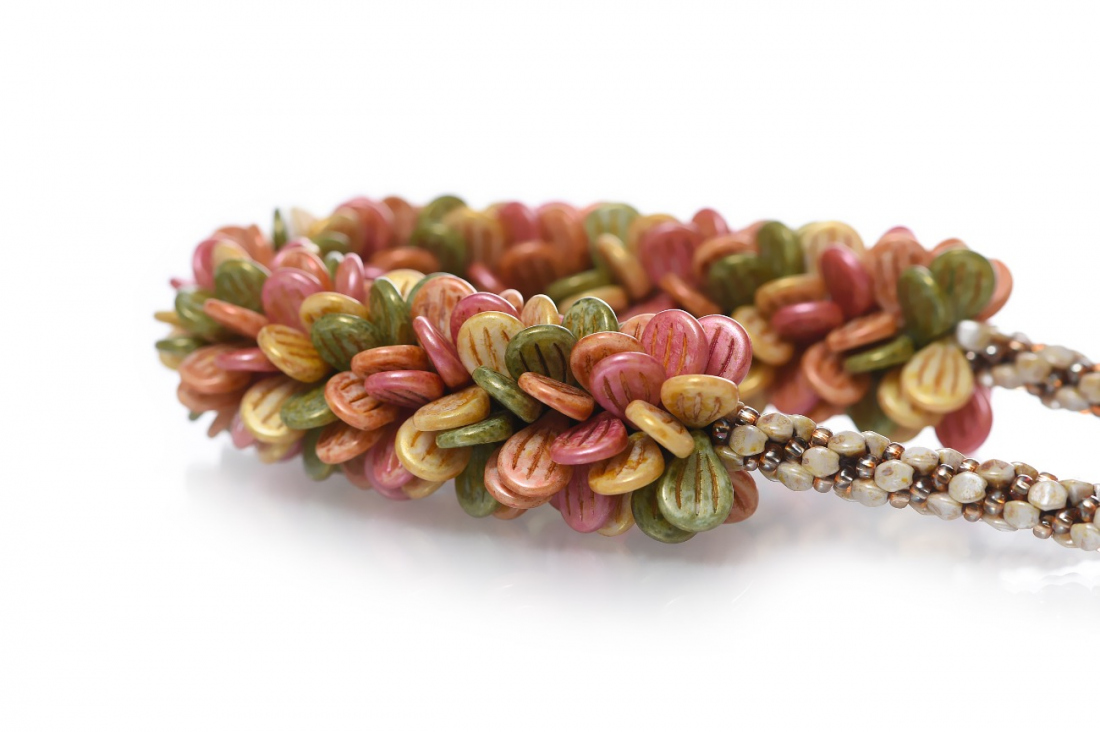
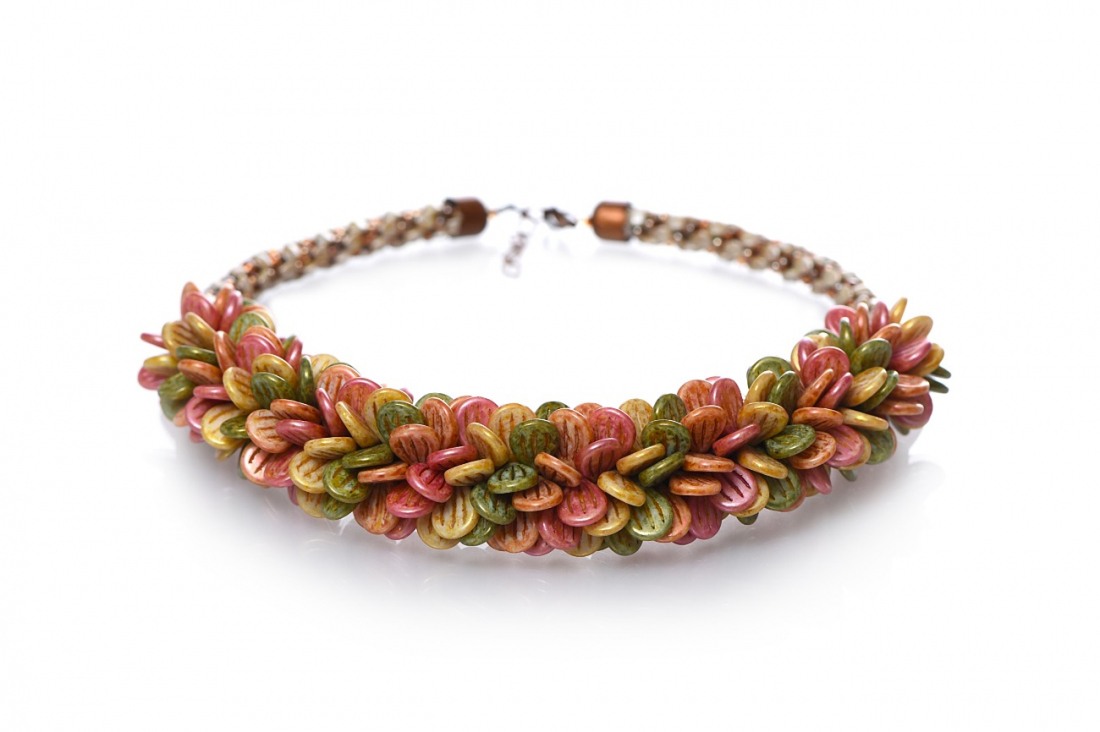
Preciosa Ornela offers the widest range of sizes and color variants in its seed bead range under the PRECIOSA Traditional Czech Beads™ brand. This time, PRECIOSA Engraved Pip beads are in the limelight. Create a distinctive bracelet using classic crocheting and a slip stitch.

Ambassadors

Alexandra Lysenko - Snow Mirna

Her name has resounded throughout the world of bead and seed bead costume jewellery for a number of years.
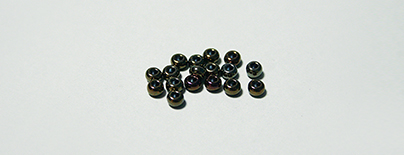
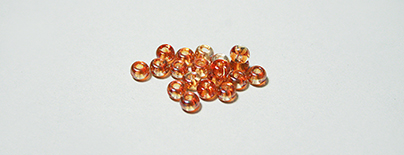
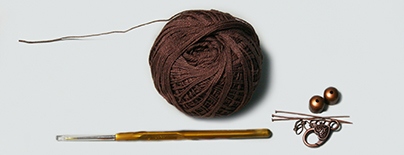
Learn More

Procedure

Step 1

First string the beads and seed beads onto the crocheting line in the following order:
8x R8 (the seed beads are at the beginning and end of the necklace), then string 1x R6, 1x P, 1x R6 and 1x P (repeat 45x), then string all the EP, 1x EP1, 1x EP2, 1x EP3 and 1x EP4 (repeat this group 63x) and then once again string 1x R6, 1x P, 1x R6 and 1x P (repeat 45x) a 8x R8 at the end.

1

Step 2

Create the basic loop. Keep it quite big, as you will use it later to connect the seed beads into a ring. Count off 4 seed beads and crochet a chain with the seed beads. Shift one seed bead as close as possible to the hook and then catch the yarn behind it and crochet the first loop with a seed bead. Repeat the process three more times and in doing so you will create 4 chain loops with 4 seed beads (fig.no. 2).

2

Step 3

Then, pass the hook through the first basic loop and pull the yarn through both loops at once (fig. no. 3a). Poke the hook into the loop to the left of the first seed bead, twist the bead down and to the right, move it as near as possible to the next seed bead, catch the yarn with the hook and crochet a slip stitch (pull the yarn through both loops at once). Add seed beads to the second row (fig. nos. 3b - 3c) and then crochet slip stitches with the seed beads in a downwards spiral. You will know that you have proceeded correctly, if all the seed beads in all the rows have their holes turned in the direction of the crocheting (upwards). Proceed in the same way with the P (fig. nos. 3d - 3e).

3 / a

Step 4

Now crochet with the EP and then with the P again (fig. nos. 4a - 4b) until you have used up all the beads and seed beads. Crochet the last row without any beads and cut off the yarn, but leave about 15 cm at the end. Insert an eye pin into the tube and sew the pin to the end of the tube with the remainder of the yarn. Hide any remaining yarn inside the tube (fig. no. 4c). String the cap and create a loop in the eye pin (fig. no. 4d). Connect any type of jewellery fastening and you are done (fig. no. 4e).

4 / a

Downloads