Christmas gift

Difficulty: 3
Technique: brick stitch

Bracelet with Christmas motifs made from seed beads

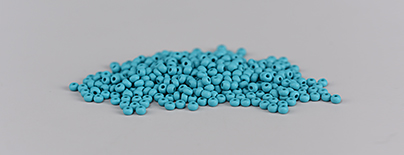
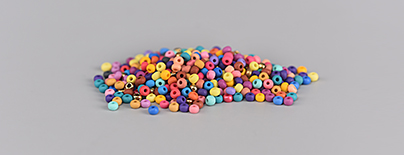
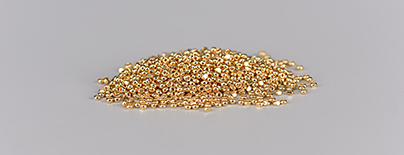
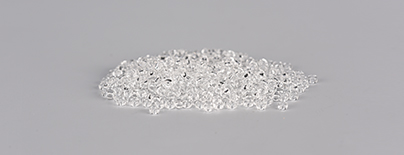
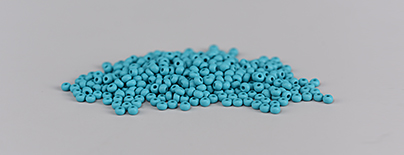
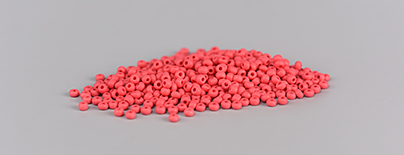
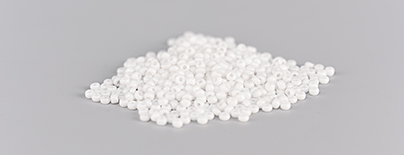
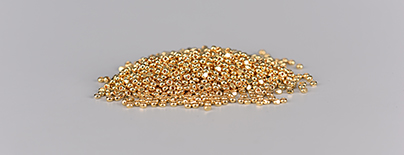
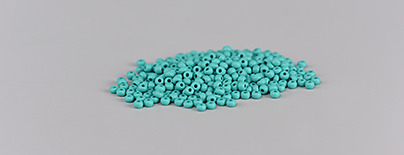
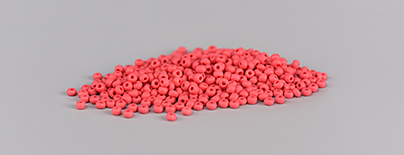
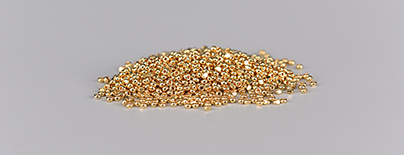
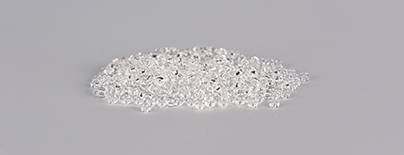
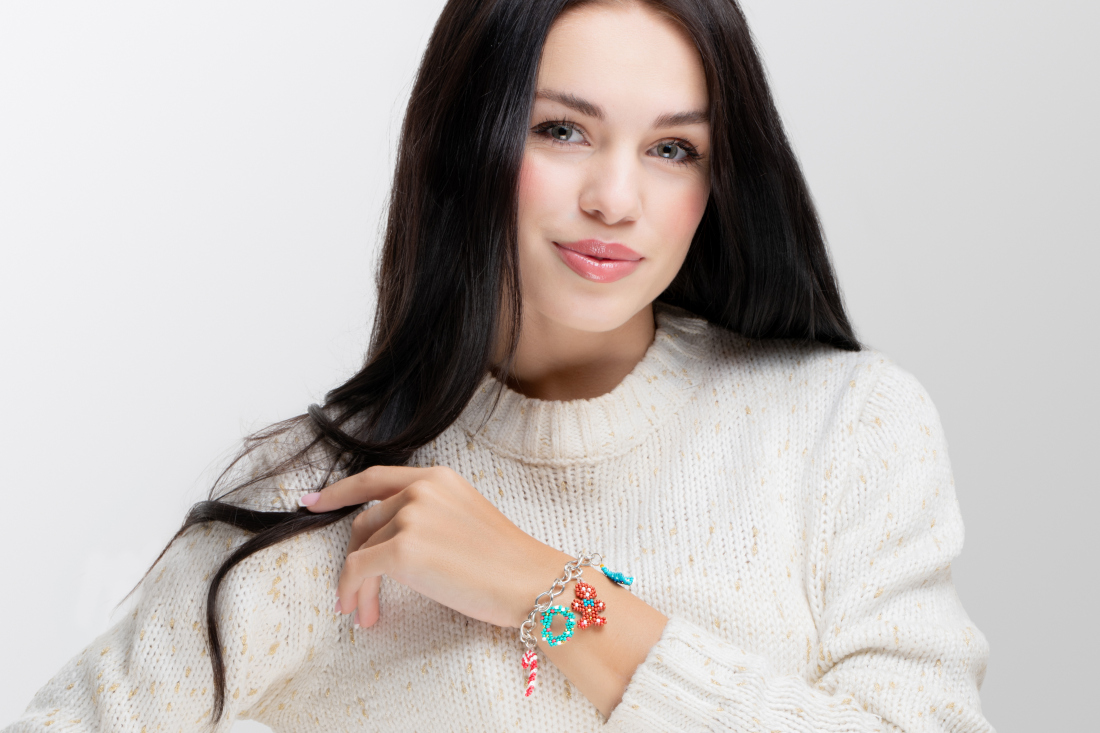
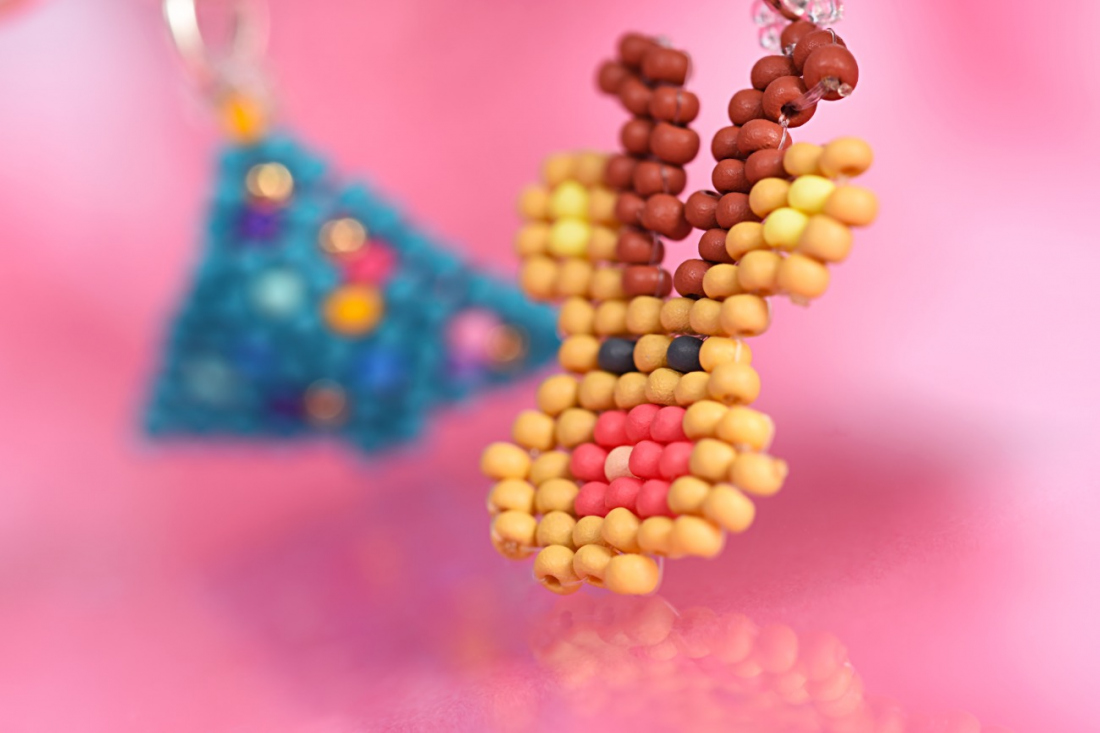
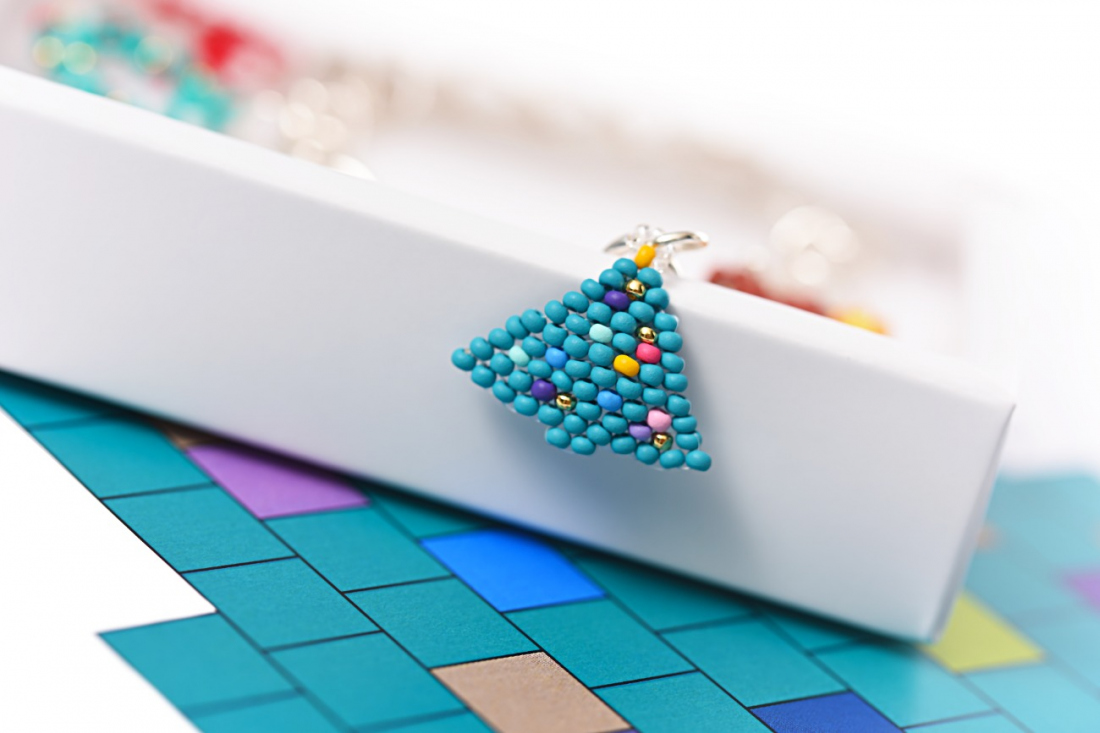
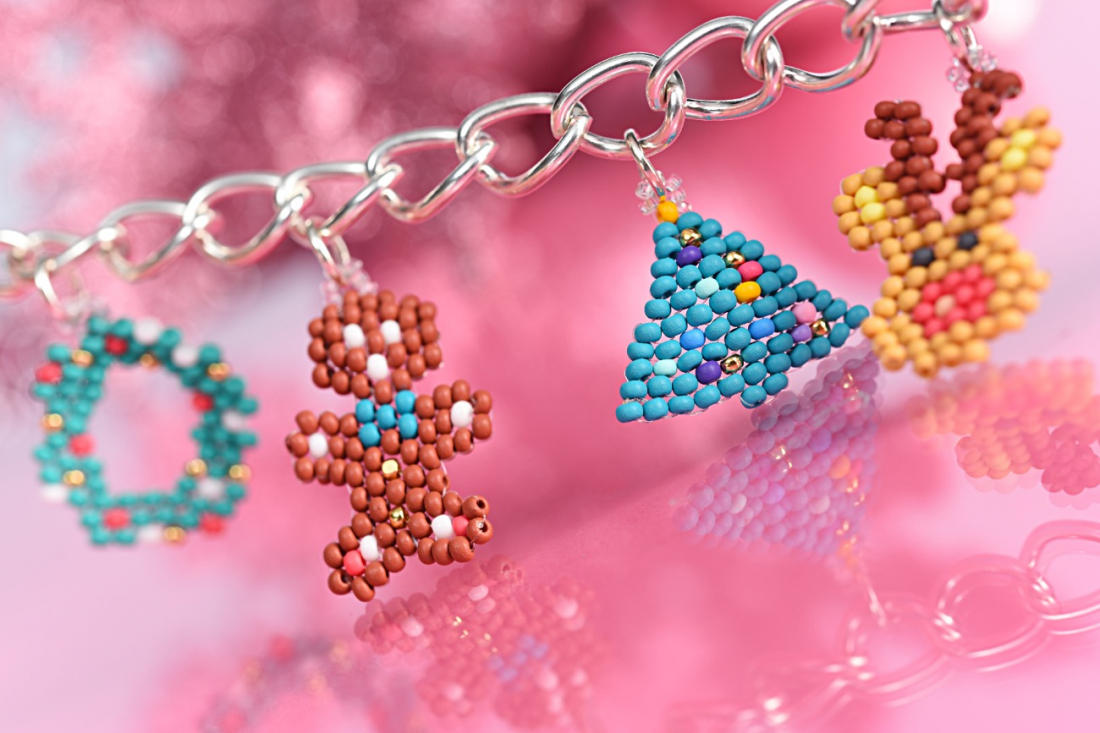
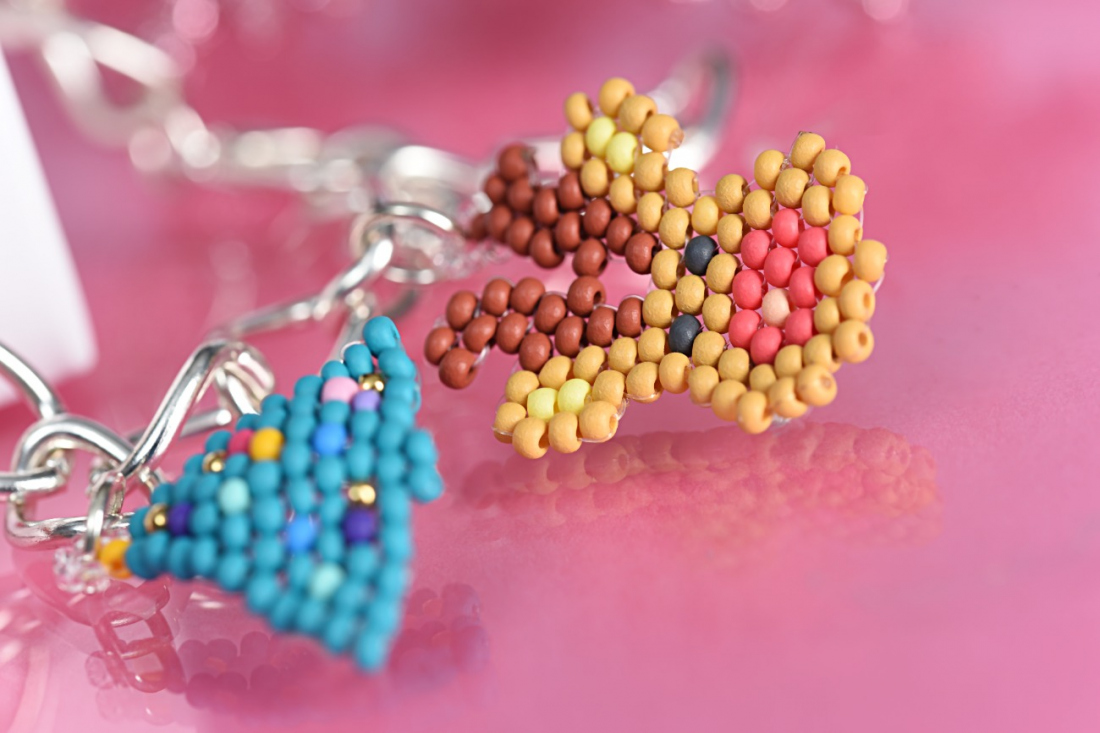
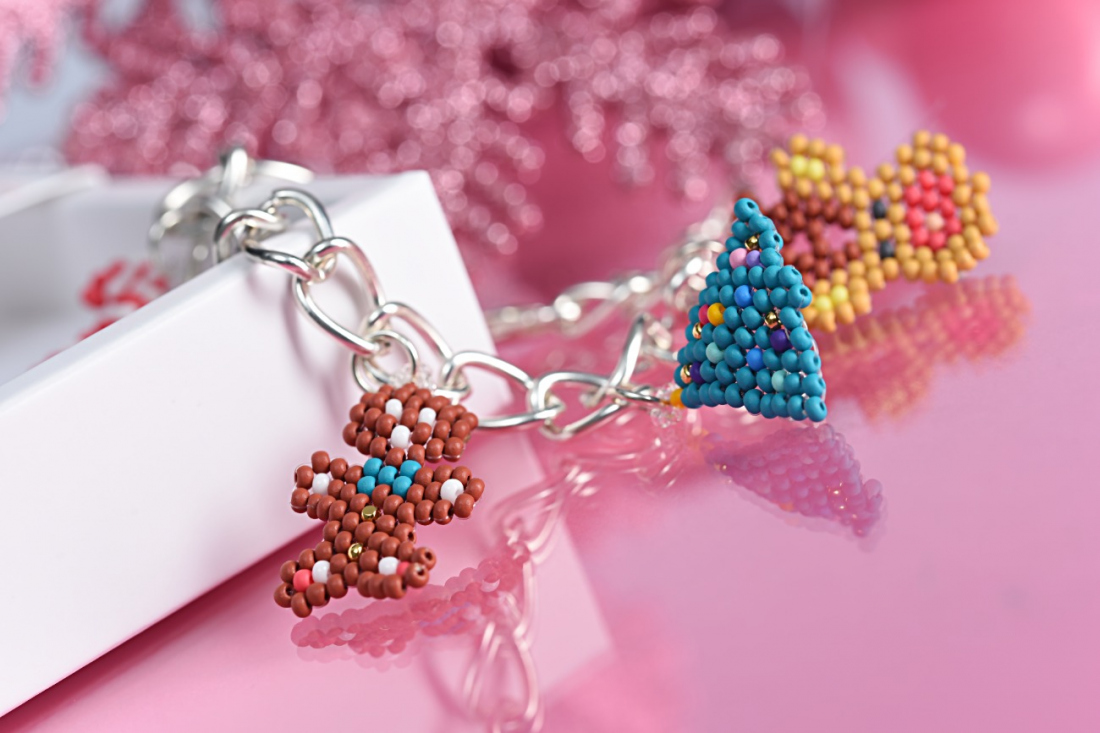
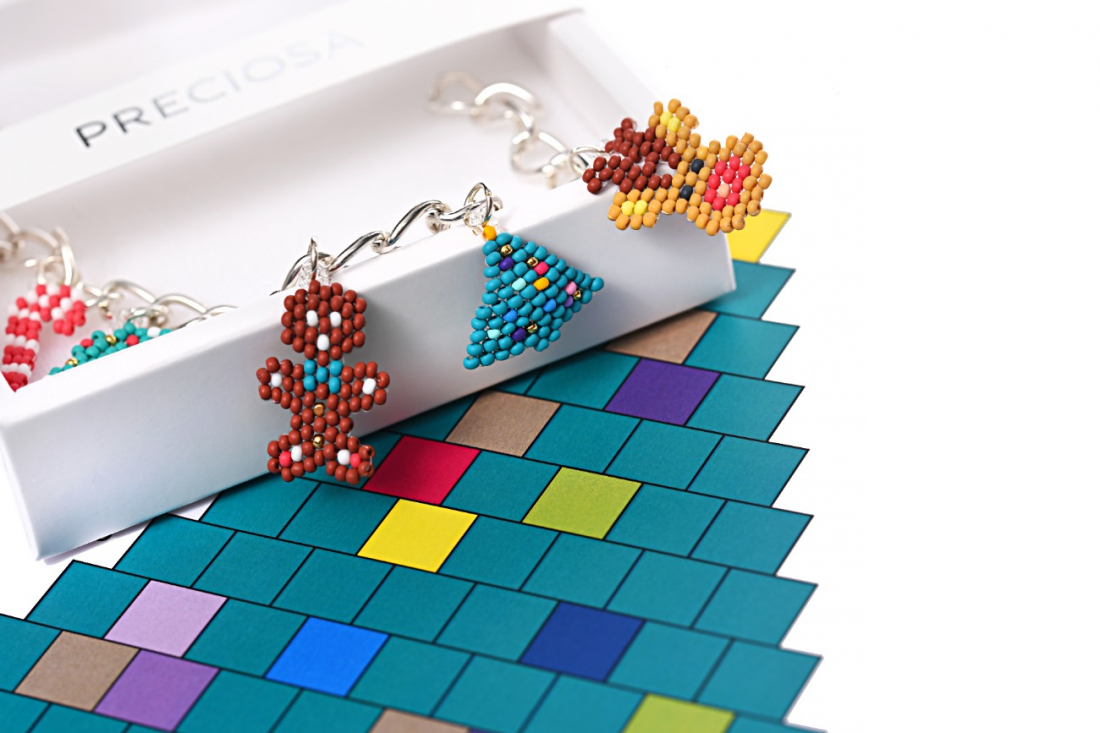
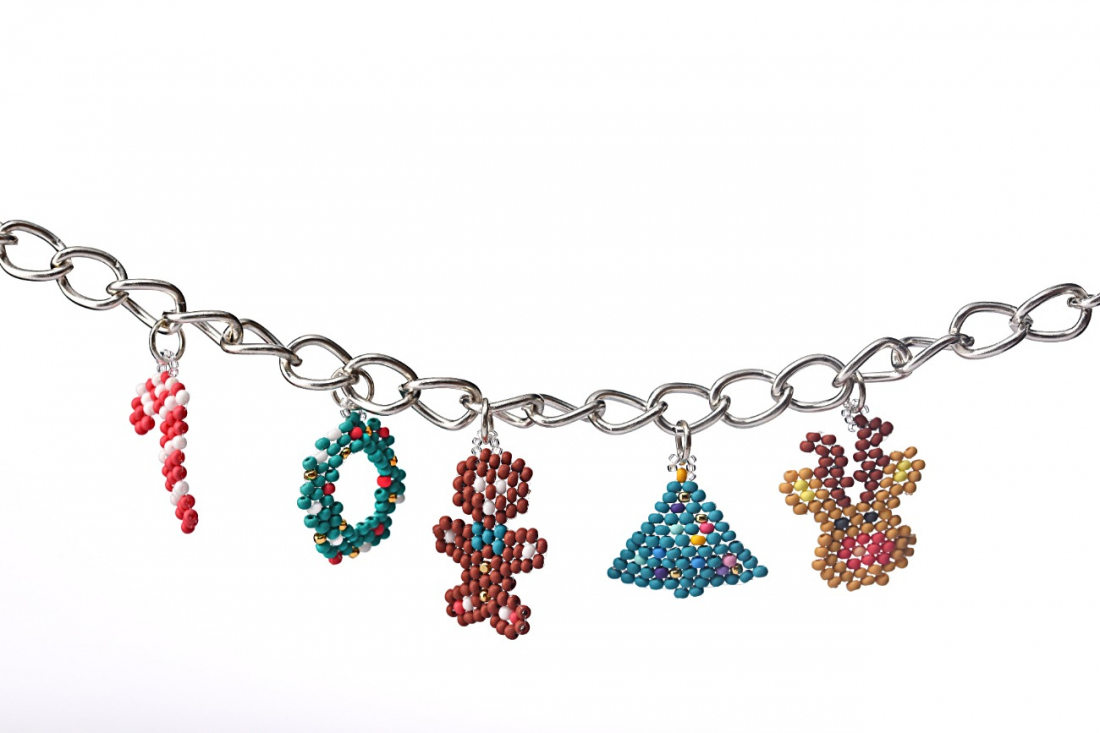
For many of you, Christmas would not be complete without a handmade present. We present a tutorial for a bracelet with Christmas motifs. This is a colourful and happy bracelet thanks to the seed beads from the PRECIOSA PermaLux collection supplemented with gold and silver, the traditional colors of Christmas. Make it for yourself or give somebody the Christmas bracelet just to make them happy or as a gift under the tree. We wish you a merry and colorful Christmastime.

Ambassadors

Alexandra Lysenko - Snow Mirna

Her name has resounded throughout the world of bead and seed bead costume jewellery for a number of years.

Learn More

Procedure

Step 1

Sew according to the pattern (fig, no. 1a). Sew the first row of each Christmas tree according to the pattern (fig. no. 1b). Always start with the widest row in the pattern. Start with row no. 2 in the Christmas tree (fig. no. 1a).

1 / a

Step 2

Cut off ca 1.5 m of line. Then string 2x rocailles, pull them to the end of the line and tie a double knot (fig. no. 2a).
Sew a line (fig. no. 1a) of eleven green rocailles (fig. nos. 2b - 2e).

2 / a

Step 3

String 1x rocaille in the second row, pass the needle under the line between the last two rocailles (fig. no. 3a). Then pass the needle up through the newly added rocaille one more time (fig. nos. 3b - 3c). Add the rocailles to the end of the row in the same way (fig. nos. 3d - 3g); follow the pattern (fig. no. 1a).

3 / a

Step 4

Sew the triangle according to the pattern (fig. no. 1a) in the same way (fig. nos. 4a - 4h).

4 / a

Step 5

Sew a rocaille onto the last rocaille (fig. no. 5a) and 6x crystal rocailles on to that to create a hanging loop (fig. nos. 5b - 5c).

5 / a

Step 6

Work your way down to the bottom row and sew on the tree trunk (fig. nos. 6a - 6d). Hide the line with several stitches between the rocailles and cut off the rest.

6 / a

Procedure

Step 7

Sew according to the pattern (fig. no. 7a). Sew the first row in the same way as for the Christmas tree (fig. nos. 7b - 7d).

7 / a

Step 8

Thread the line through the rocailles and emerge in a white rocaille (fig. no. 8a). String 2x rocailles, thread the needle under the line between the last two rocailles (fig. no. 8b). Then pass the needle up through the last added rocailles (fig. no. 8c). Add the next rocailles in the same way as in the previous steps (fig. no. 8d).

8 / a

Step 9

Work your way to the start of the row (to the red rocaille), sew on 2x rocailles as in the previous steps and then add a white rocaille (fig. nos. 9a - 9b). Sew through the red rocaille to the white one (fig. no. 9c - 9d).

9 / a

Step 10

Work your way to the start of the row (fig. no. 10a). Sew on three rocailles in a row and sew a fourth rocaille into the same place where you sewed the third rocaille (fig. nos. 10b - 10d). Sew the next row one rocaille at a time according to the previous steps (fig. no. 10e).

10 / a

Step 11

Work you way to the red rocaille at the top (fig. no. 11a) and sew 6x rocailles to it so that a loop is formed. Hide the line with several stitches between the rocailles and cut off the rest (fig. nos. 11b - 11c).

11 / a

Procedure

Step 12

Sew according to the pattern (fig. no. 12a). Start sewing from the arrow. Sew the first two rows using the procedure for the Christmas tree (fig. nos. 12b - 12c).

12 / a

Step 13

Start the third row with two rocailles (fig. nos. 13a - 13b), then sew one rocaille at a time and sew two rocailles into the same place at the end of the row (fig. nos. 13c - 13e).

13 / a

Step 14

Start the fourth row with two rocailles once again (fig. nos. 14a - 14b). Sew on the next 5 rocailles one at a time, then pass the line down through the nearest rocaille in the lower row and then up through the remaining rocailles in the bottom row (fig. nos. 14c - 14d). Continue sewing on one rocaille at a time to the end of the row (fig. nos. 14e - 14g).

14 / a

Step 15

Start the next row with one rocaille, then add 3 rocailles (fig. no. 15a). Pass the line down through the two lower rows (fig. no. 15b) and then sew up into a brown rocaille (fig. no. 15c). Sew on 2 rocailles (fig. nos. 15d - 15e), then one more and once again pass the line through the bottom row, but leave out 1 rocaille and create a gap (fig. nos. 15f - 15g). Sew on 1 rocaille and then sew the last two rocailles into the same place (fig. no. 15h).

15 / a

Step 16

Sew on 2 rocailles one after the other (fig. no. 16a). Work your way through the bottom row to the brown protruding rocailles (fig. no. 16b). Sew on 1 rocaille and then sew 2 into the same place (fig nos. 16c - 16d). Then sew on 2 more rocailles into the next row (fig. no. 16e).

16 / a

Step 17

Work your way to the other side of the figure (fig. no. 17a) and sew the symmetrical pattern according to the pattern (fig. no. 17b). Emerge in the upper rocaille on the figure's head (fig. no. 17c), to which you should then sew 6x rocailles to create a loop. Hide the line with several stitches between the rocailles and cut off the rest (fig. no. 17d).

17 / a

Procedure

Step 18

Sew according to the pattern (fig. no. 18a). Start sewing from the arrow. Sew the first row and continue on the right-hand side of the wreath (use the procedure from the previous steps), (fig. nos. 18b - 18c). Sew through to the lower section and sew another two rows (fig. nos. 18d - 18e). Sew the left-hand side of the wreath (fig. no. 18f).

18 / a

Step 19

Sew on the first three rocailles of the eleventh row (fig. no. 19a) and then sew three more to the last rocaille according to the pattern in fig. no. 1b (fig. nos. 19b - 19e). Pass the line down through the first rocaille on the right-hand side of the wreath (fig. no. 19f) and then pass the line through the bottom row so that you return to the rocaille that you emerged from (fig. no. 19g). Sew rocailles on to the end of the row (fig. no. 19h).

19 / a

Step 20

Emerge in the gold rocaille and sew the twelfth row (fig. nos. 20a - 20b). Turn through the bottom row so that you emerge in a white rocaille and sew on the thirteenth row (fig. nos. 20c - 20d). Sew on 6x rocailles to the rocaille that was last sewn on to make a loop. Hide the line with several stitches between the rocailles and cut off the rest (fig. no. 20e - 20f).

20 / a

Procedure

Step 21

Sew according to the pattern (fig. no. 21a). Sew the figure from the arrow until you have sewn eight rows of the head. Start sewing the ear and set of antlers (fig. no. 21b - 21c).

21 / a

Step 22

Sew through the start of the row (fig. no. 22a) and sew on the 10th row (fig. nos. 22b - 22c).

22 / a

Step 23

Sew on the 11th and 12th rows (fig. nos. 23a - 23b), emerge in a brown rocaille (fig. nos. 23c-23d), sew on the 2 rocailles in the 13th row (fig. no. 23e). Add the rocailles to the 14th row (fig. nos. 23f) and the 15th row (fig. no. 23g). Sew a rocaille on to the top (fig. no. 23h) and then sew 6x rocailles onto it to form a loop. Work your way through the rocailles to the 8th row and sew the second ear and set of antlers (fig. no. 24a).

23 / a

Step 24

Assemble the bracelet using the connecting rings (fig. nos. 24b - 24d).

24 / a

Downloads