A checked bracelet

Difficulty: 3
Technique: basic beadweaving

A bracelet made from PRECIOSA beads and seed beads

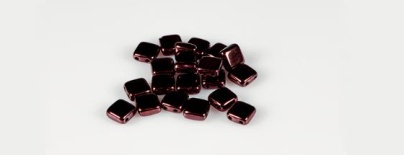
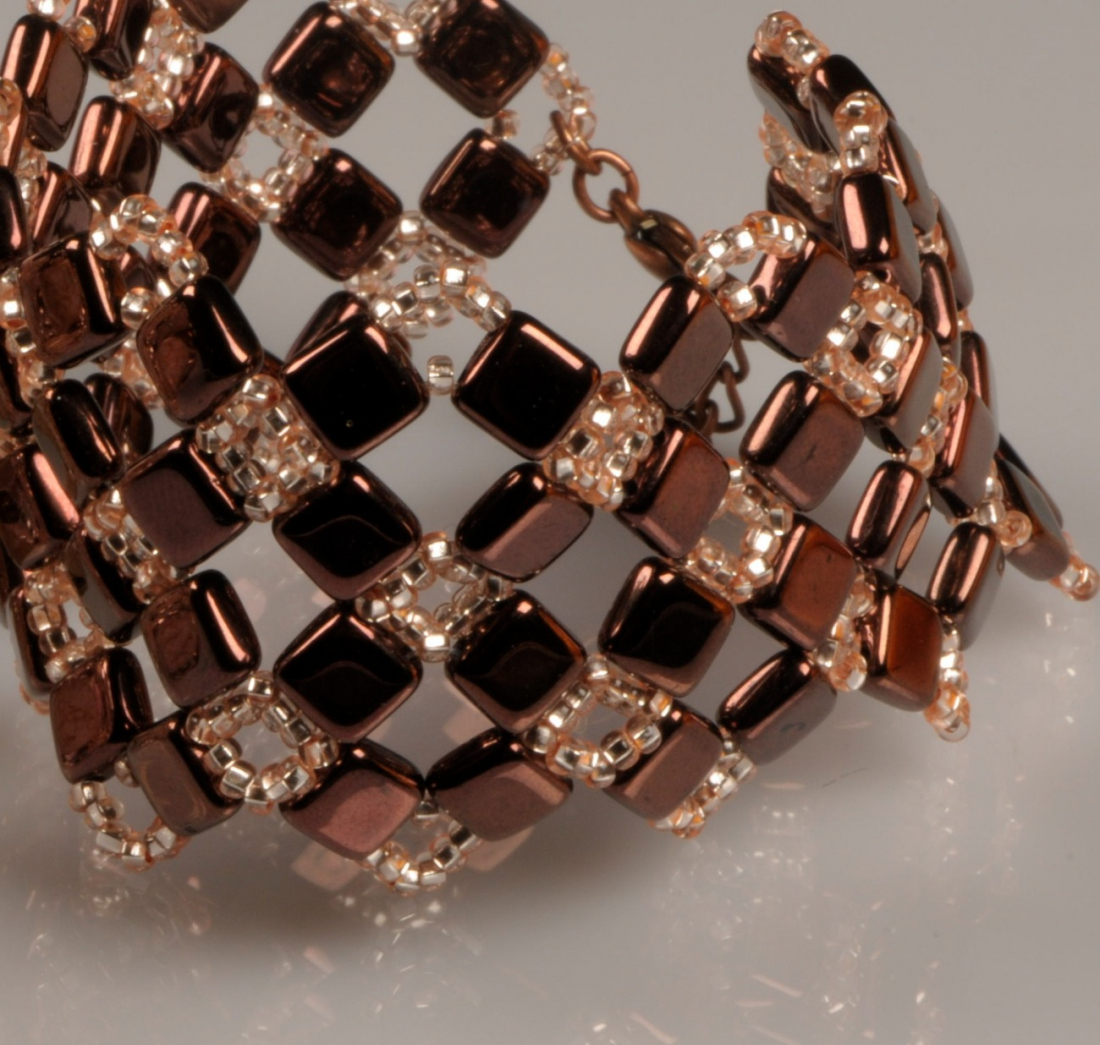
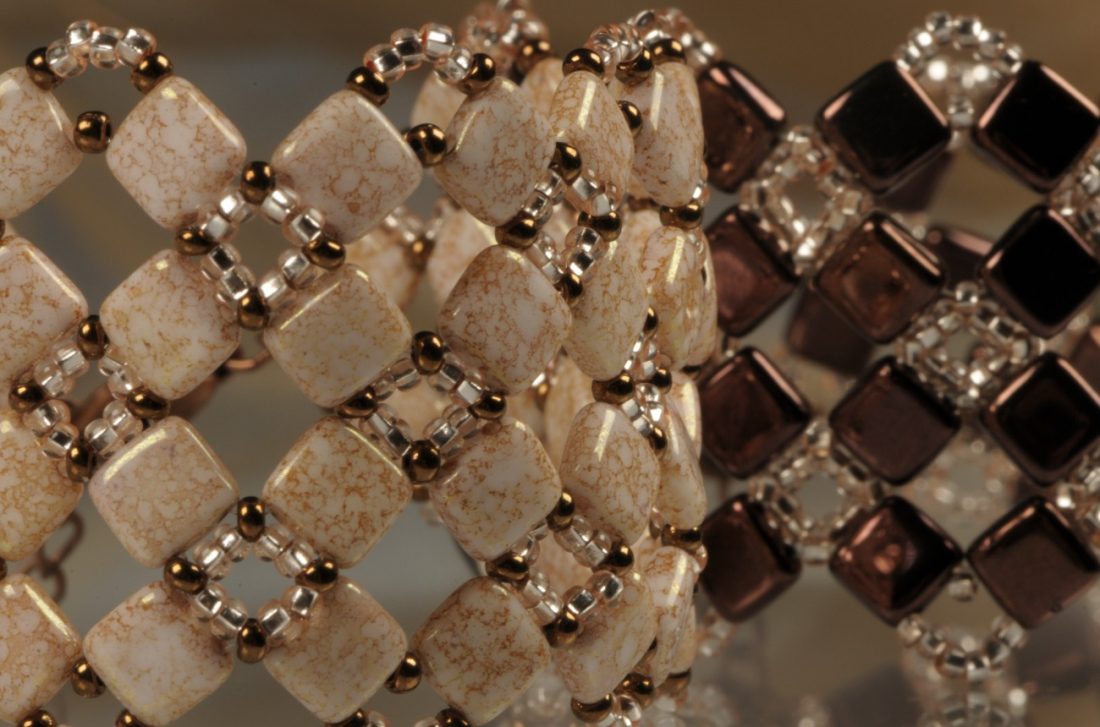
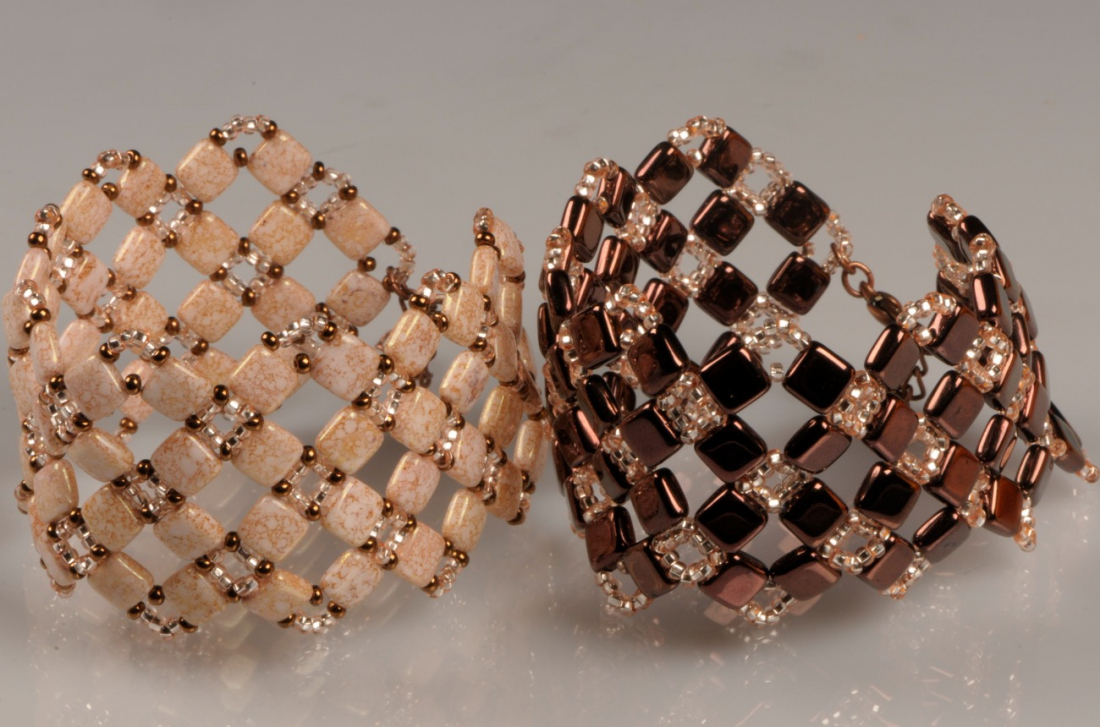
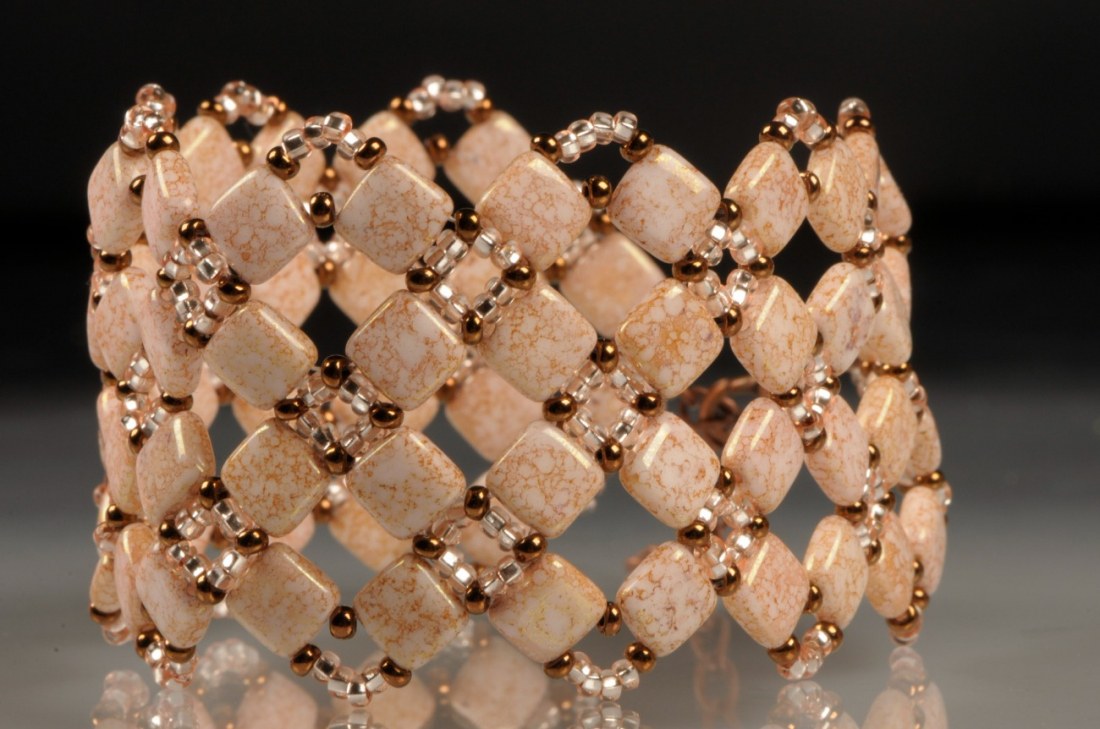
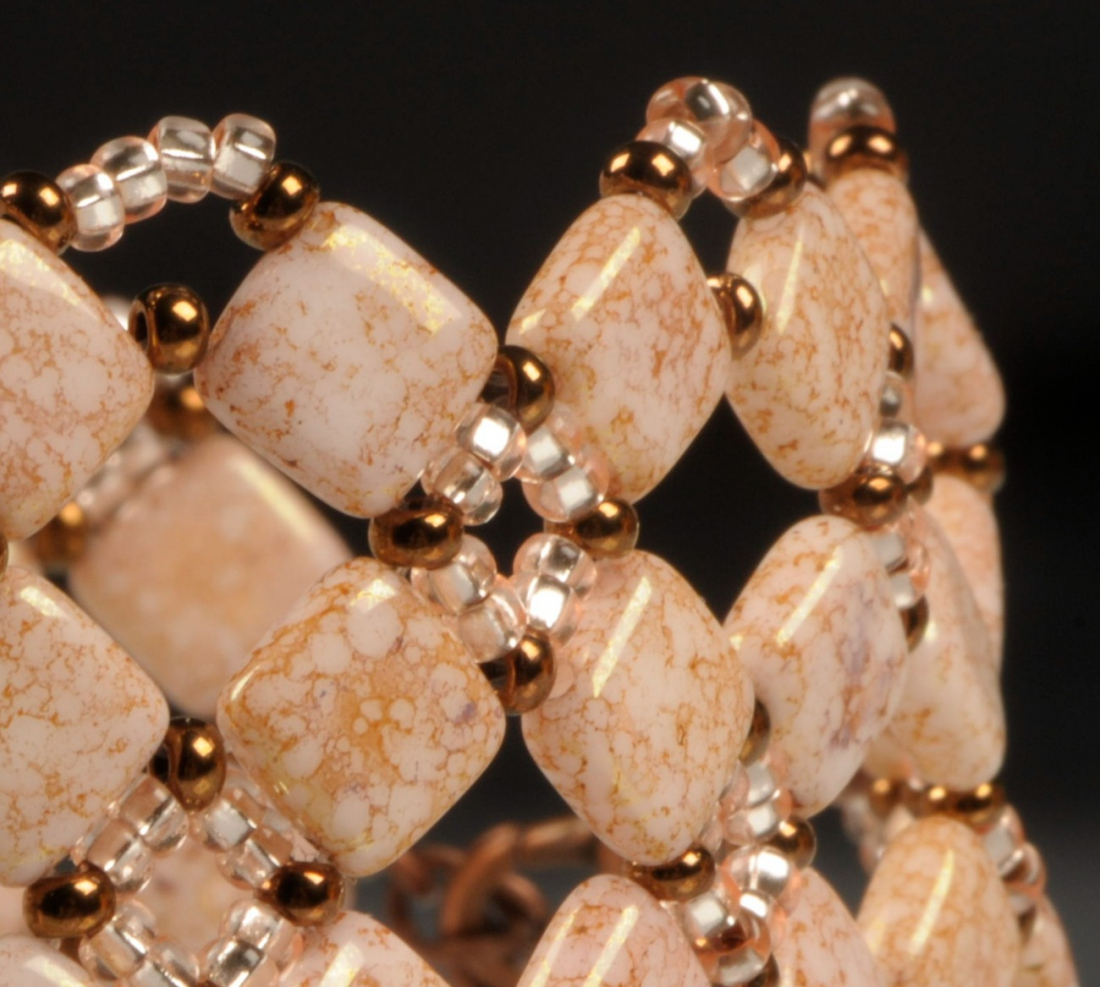
Delicate, geometrically arranged lace created by stringing and sewing delicate rocailles and two-hole square beads constitutes the basis for the creation of this elegant bracelet. Using the illustration, you will soon discover that the basic procedure of alternating seed beads and beads which permeates the entire width of the pattern can be used to create more items than just a bracelet. The basic pattern created by means of the connection of individual square beads can be used to create various straps, applications and costume jewellery accessories according to your requirements and imagination. 
We wish you many inspirational ideas when working with Czech beads and seed beads from the PRECIOSA Traditional Czech Beads brand.

Ambassadors

Helena Chmelíková

She is able to switch from luxurious and extravagant fashion show pieces to the preparation of hobby projects,

Learn More

Materials & Tools

Other materials

a 12 mm carabiner (gold, copper); 2x small ovals (gold, copper); an adjusting chain (gold, copper); 1x pin for the bead at the end of the adjusting chain (copper, gold)
 

Tools

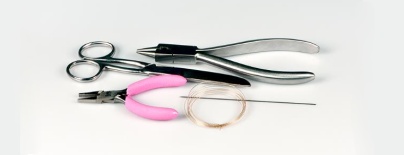
a 0.20 mm nylon line; a long thin needle; scissors; flat nose pliers (for flattening the end of line before threading it into the needle and for connecting the ovals); needle nose pliers
 

Step 1

String 1x R10, 1x PB, 1x R10, 1x PB, 7x R10, 1x PB, 1ks R10, 1x PB, 7x R10 etc. (figure no. 1). Repeat the sequence of 1x PB, 1x R10, 1x PB and 7x R10 a total of 9 times. Commence the return. String 1x R10, 1x PB, 1x R10 and 1x PB. Thread the line through the first 7 R10. String 5x R10 and thread the line through the last 7 R10. Once again add 2x PB and 1x R10 between them. Thread the line through the first R10 of the 7. Add 5x R10 and thread the line through the last of the 7x R10. Repeat this 8 times. Tie off the end of the line with two knots and pull them into the holes in the surrounding beads. (figure no. 1)

1

Step 2

Straighten the squares. Twist them outwards.
String 6x R10 onto a new line. Thread the line through the second hole in the second PB and the middle R10 of the 7 rocailles from the middle row and then through the second hole of the third PB. Add 7x R10 and thread the line through the second hole from the fourth PB. Then thread the line through the central rocaille of the 7 rocailles from the middle row and the second hole of the fifth PB. Add 7x R10. Continue in a similar way up to the end of the strap.
Then add 9x R10. Thread the line through 1x R10 between the PB and start the return. Add 2x R10 and thread the line through the first R10 from the 9. Add 1x PB, 1x R10 and 1x PB. Thread the line through the first R10 of the 7 and add 2x R10. Thread the line through 1x R10 between the PB. String 2x R10. Thread the line through the last of the 7x R10. Thread 1 x PB, 1x R10 and 1x PB. Once again thread the line through the first R10 of the 7. String 2x R10, 1x PB, 1x R10, 1x PB and 2x R10. Thread the line through the last of the 7x R10. Gradually proceed to the end of the strap. Tie off the line, but do not sew it in.
Proceed in the same way in the second side of the strap. (figure no. 2)

2

Step 3

Add the lacy arches between the squares.
Start at the bracelet’s point. String 3x R10, thread the line through the second hole in the first PB from the centre of the strap, string 4x R10 and thread the line through second hole of the next outer PB. Create an arch from 6x R10. Thread the line through the second hole from the outer PB from the side strap. Thread the line through the middle R10 of the 7 rocailles and the second hole from the next square. String 6x R10 and thread the line into the second hole of the next PB. Continue in a similar way up to the end of the peripheral squares. Thread the line through 4x R10 and through the second hole from the last PB of the central strap. String 6x R10. Thread the line through the second hole of the penultimate PB and the 4x R10. Thread the line through the second holes of the peripheral squares on the side strap. 
Repeat the same procedure as in the first edge piece. Thread the line back to the beginning, to the bracelet’s point. Tie off the line and sew it in. (figure no. 2)
Now pull the remaining ends of the lines into the holes.

3 / a

Step 4

Connect the fastening to the bracelet’s point. Connect the carabiner to the oval on one side and the adjusting chain with the connected end bead on the other side.

The second, more colourful bracelet variant:
The arrangement of the beads when adding the 7x R10: 1x bronze 15102, 2x pink 08288, 1x bronze 15102, 2x pink 08288 and 1x bronze 15102. The 1x rocaille between the squares is bronze.
The peripheral arch is made from 6x R10: 1x bronze 15102, 4x pink 08288 and 1x bronze 15102.
 

4 / a

Downloads