Budding of Spring

Difficulty: 3
TECHNIQUE: beadweaving (peyote stitch)

Sewn PRECIOSA seed bead bracelet

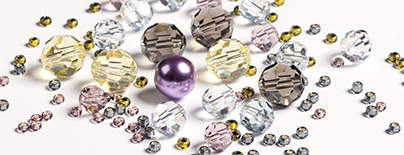
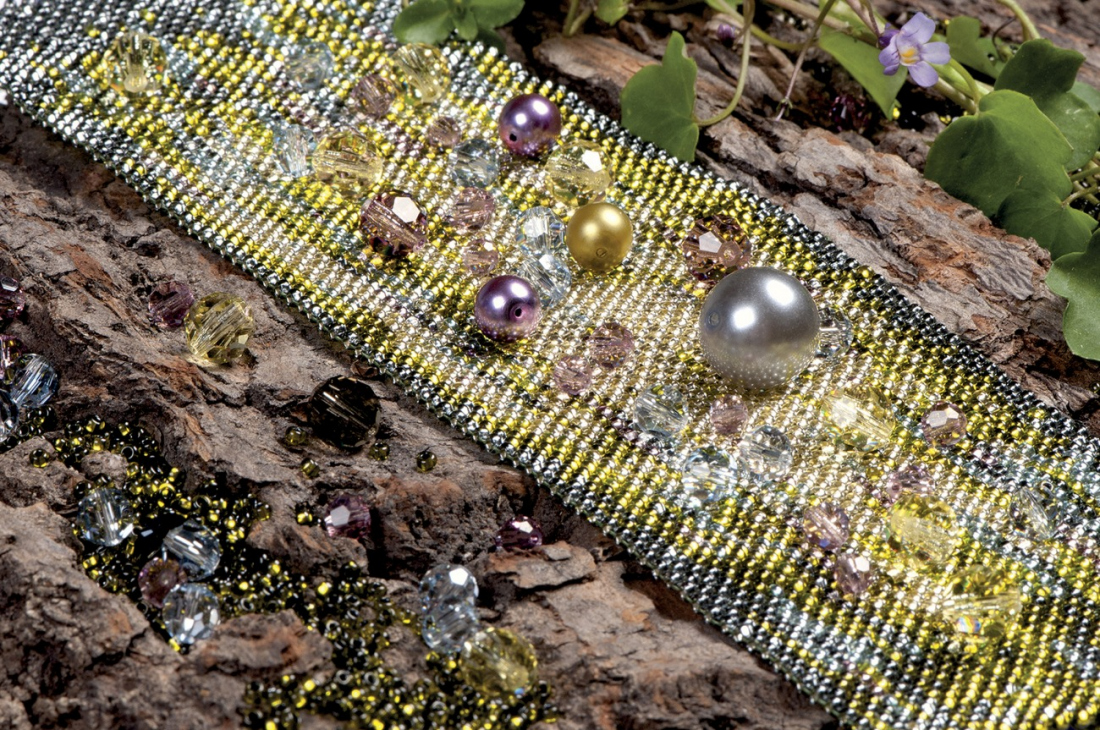
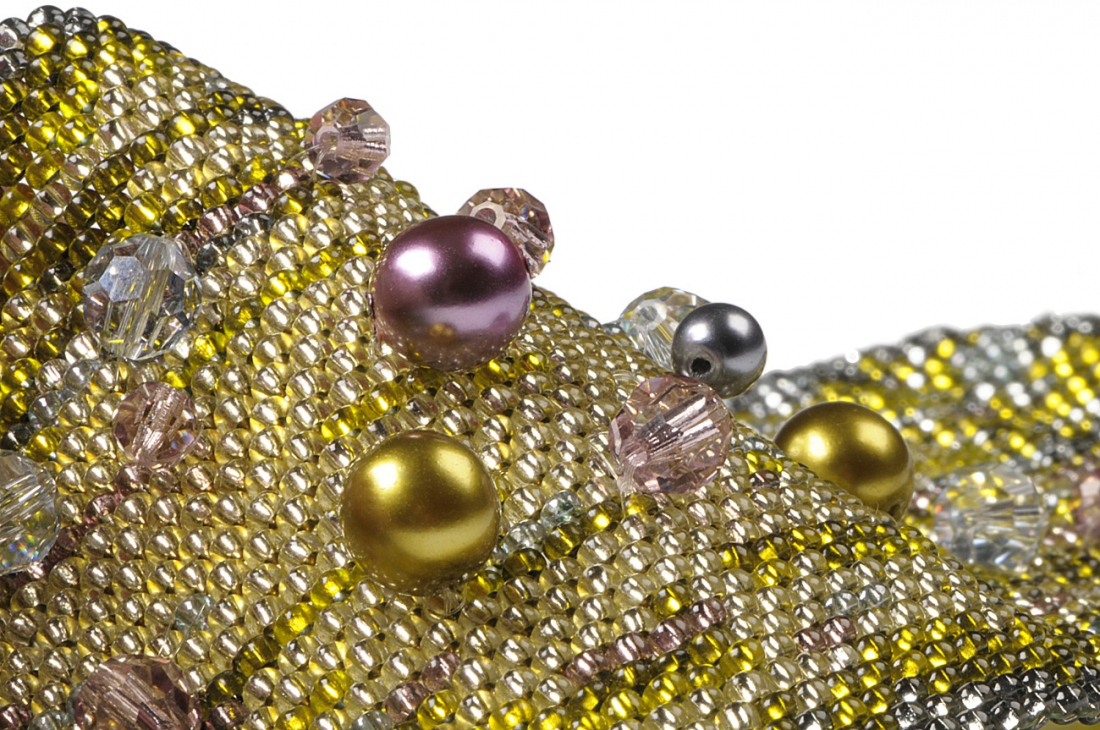
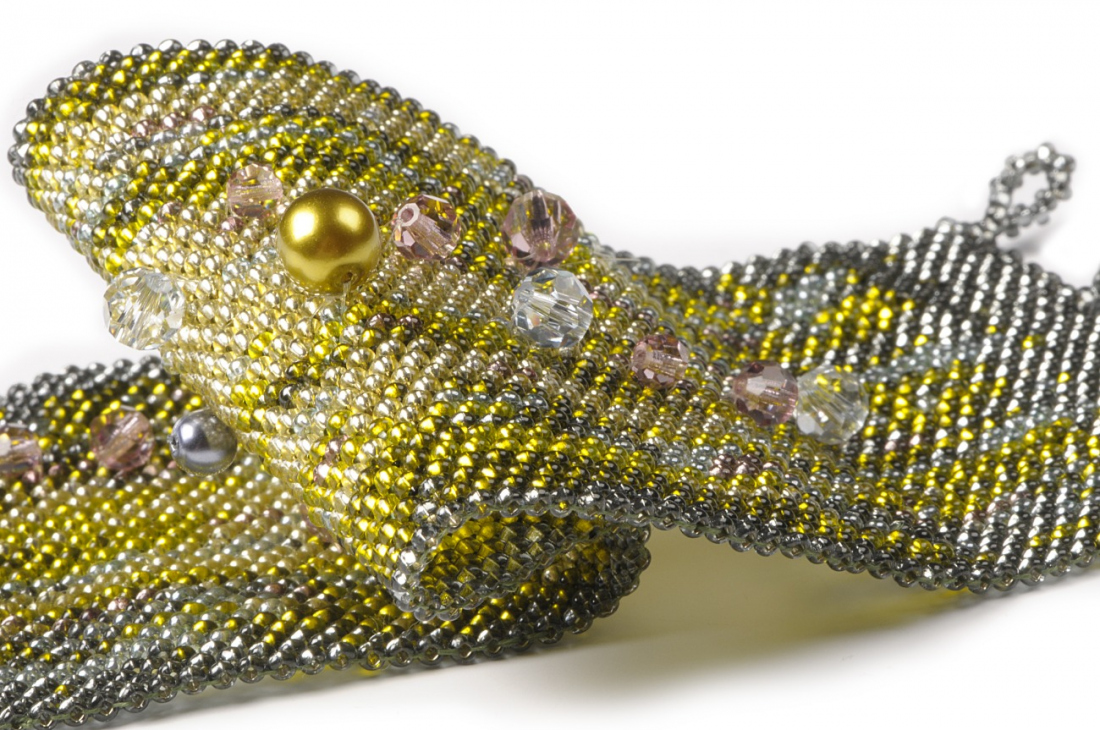
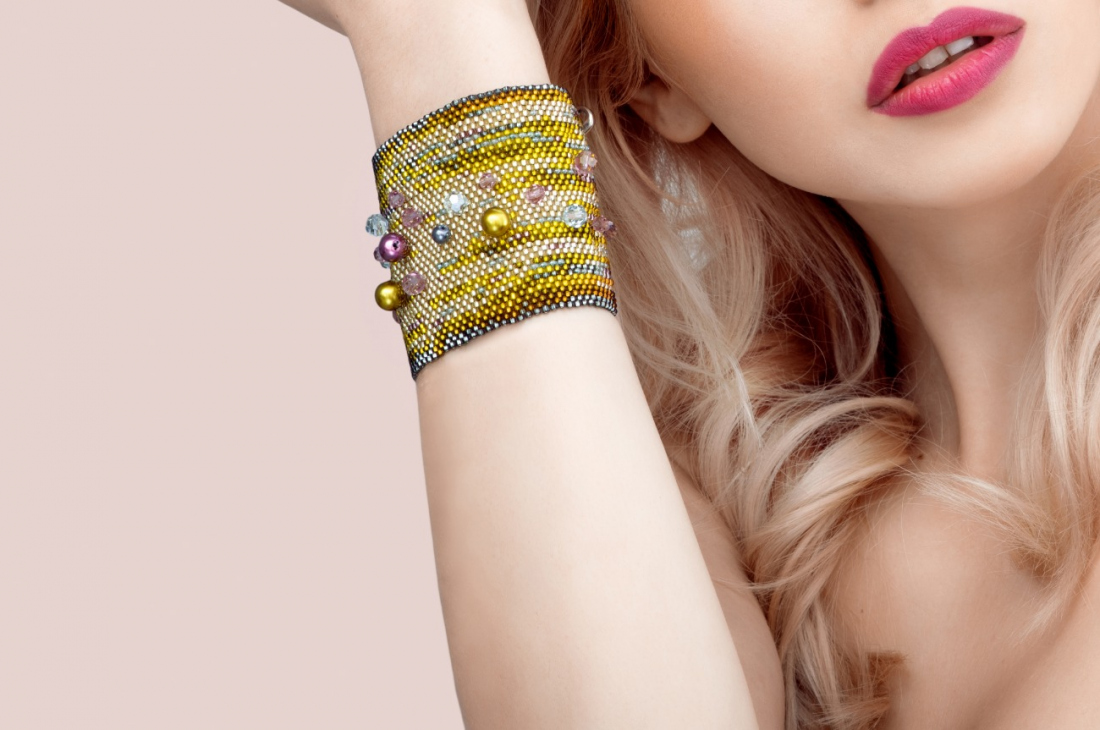
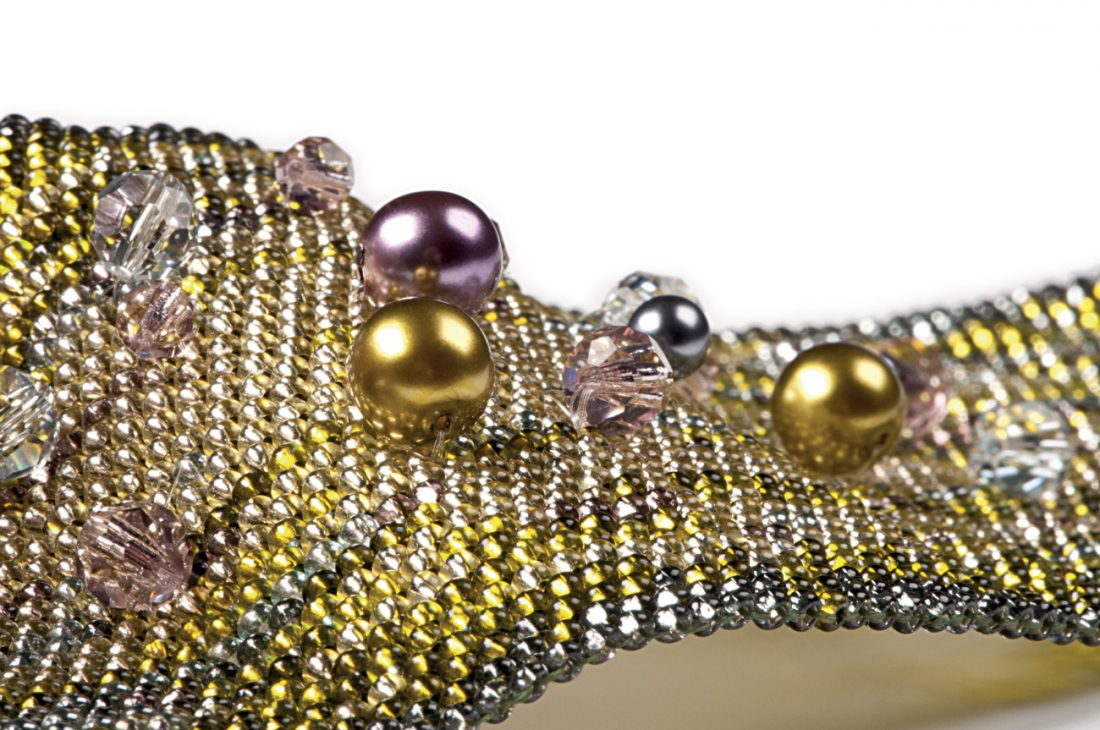
Preciosa Ornela presents an original wide bracelet sewn using seed beads and beads from the PRECIOSA Traditional Czech BeadsTM brand. The selection of the PRECIOSA seed beads and the bead colors evoke the magic of awakening nature contrasted by the refined light pastels of sprouting flowers and fresh leaves struggling through hard-skinned buds or a hardened crust of dried clay. We recommend the following colors: light grey, light pale blue, light lemon yellow, pale brown-green, green banana, olive brown, blue opal and light vitrail. The peyote stitch, which is one of the relatively simple, but highly effective seed bead sewing techniques, gives the bracelet the appearance of fabric. The correct tightening of the thread and the careful and error-free sewing of the seed beads into the gaps in the individual rows are important here.

Material and Tools

Tools

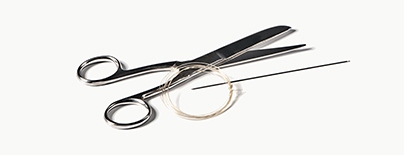
A thin stringing needle; flexible stringing material (Opelon, Elastomer, Lycra);
a ruler; scissors

Procedure

Step 1

The peyote stitch
The basic principle of the peyote stitch involves sewing through the odd-numbered beads in the row, i.e. sew through every second seed bead from the second row (figure no. 1a, 1b). First make a small sample in order to ascertain the correct number of seed beads in the first row. String a small amount (up to 10) of seed beads and sew at least four rows according to the basic procedure. Measure the sewn sample and compare it with the necessary dimensions. This will enable you to ascertain how many seed beads you need for the basic row, how many rows you will have to sew and how many seed beads you will need in total. It will be easier for beginners to try the procedure with an odd number of seed beads in the rows.

1 / a

Step 2

String one seed bead to begin the stringing (see the stop bead, figure no. 2).
Then string the necessary number of seed beads in order to achieve the required width
of the bracelet.

2

Step 3

At the beginning of the second row, string one seed bead, pass the line through
the penultimate seed bead from the first row and tighten the stringing.
Continue in this way along the entire row, gradually string the individual seed beads and always pass the line through every odd-numbered seed bead from the previous rows. You can sew the individual seed beads precisely according to the design (figure no. 3a + 3b) or you can use your own design. Sew the necessary number of rows: in this case, there are 85 rows. The standard length of the bracelet should be ca 18 cm.

3 / a

Step 4

After reaching the required length, sew the individual loops for closing the bracelet according to the drawing (figure no. 4a). Sew four 5 mm fire polished beads on the second side of the bracelet ca 1 cm from the edge (figure no. 4b).
Pass the needle and the doubled line through the sewn bracelet, string 1 rocaille, a bead and 1 rocaille. Then pass the needle and the line back through the strung bead, the rocaille and the sewn bracelet. Repeat this process of sewing through once again and overcast it on the bottom side and hide the ends between the seed beads. Tighten everything well and cut the line.

4 / a

Step 5

Place the individual imitation pearls and fire polished beads on the surface of the sewn bracelet and sew them on either according to the design or using your own imagination (figure no. 5a + 5b).

5 / a

Downloads