All the colors of the rainbow

Difficulty: 3
Technique: the ladder stitch, the right-angle weave stitch, eye pin linking

Unique necklace

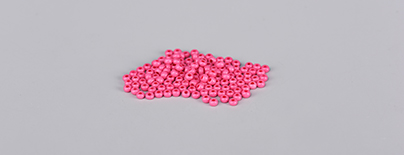
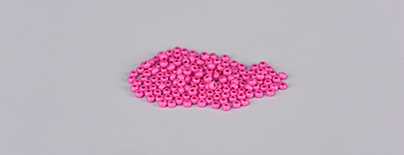
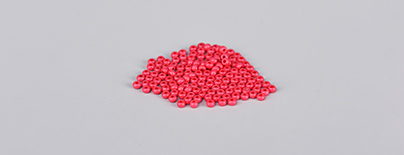
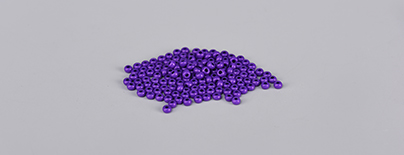
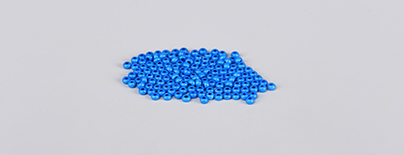
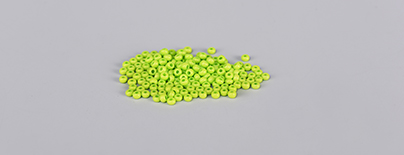
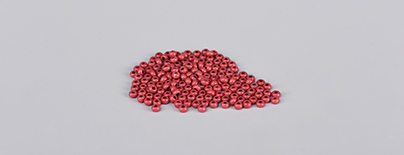
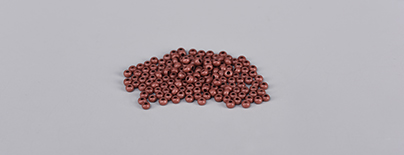
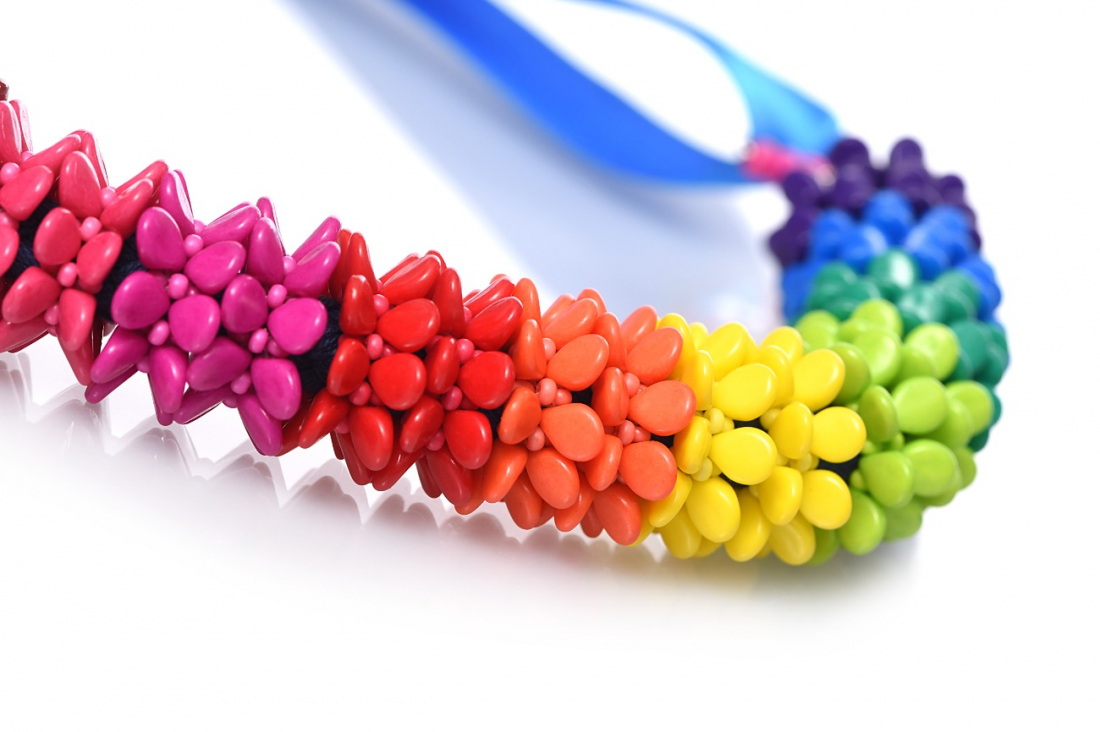
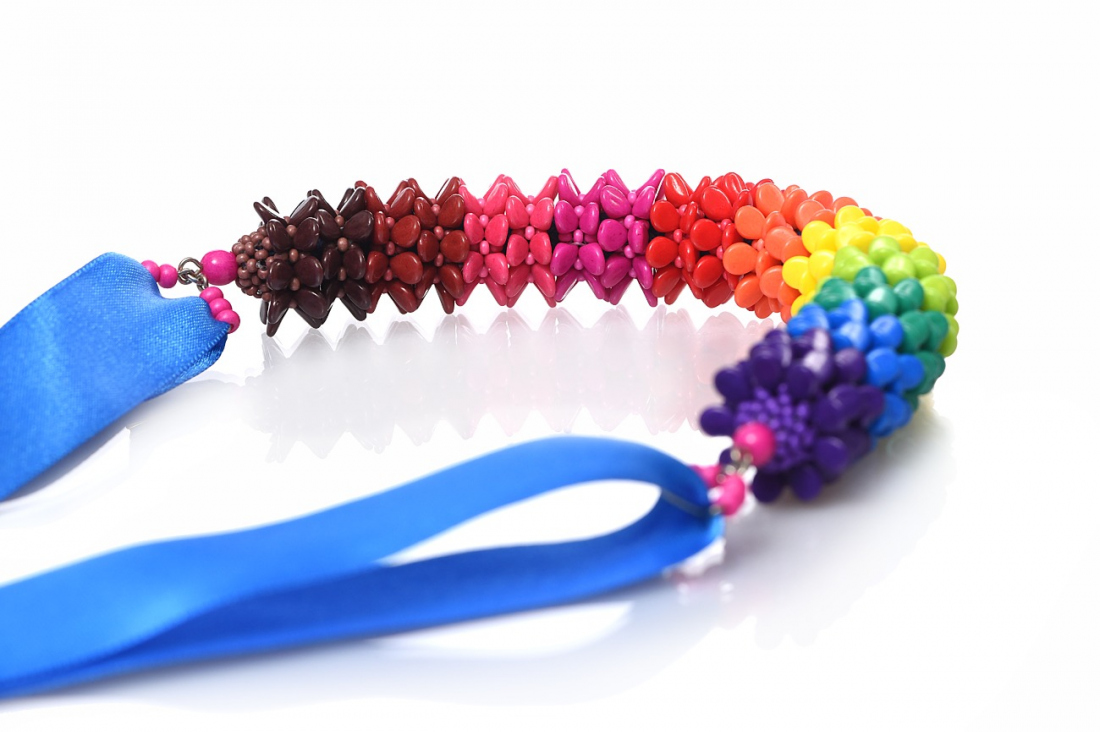
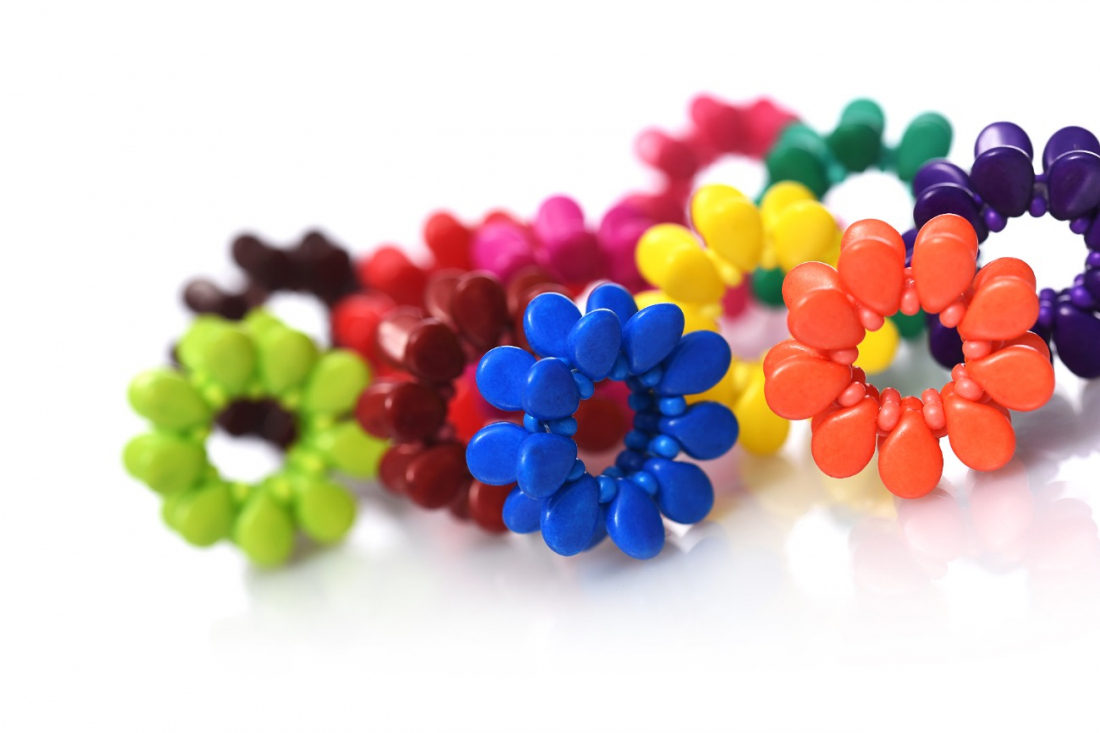
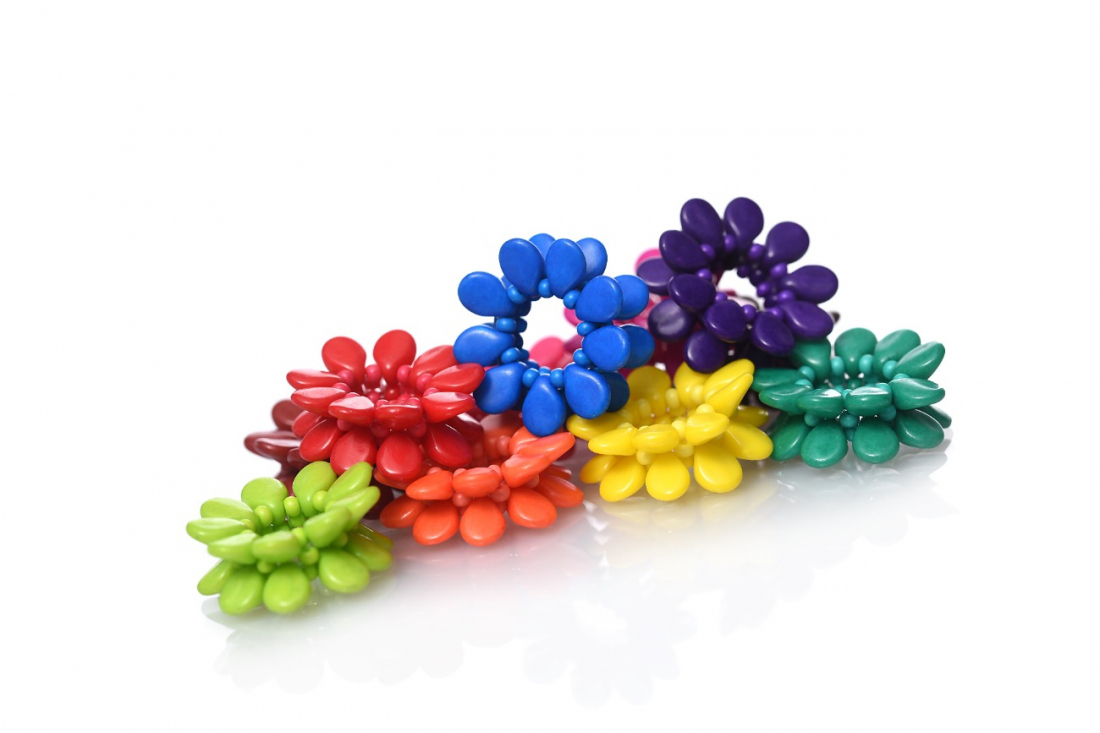
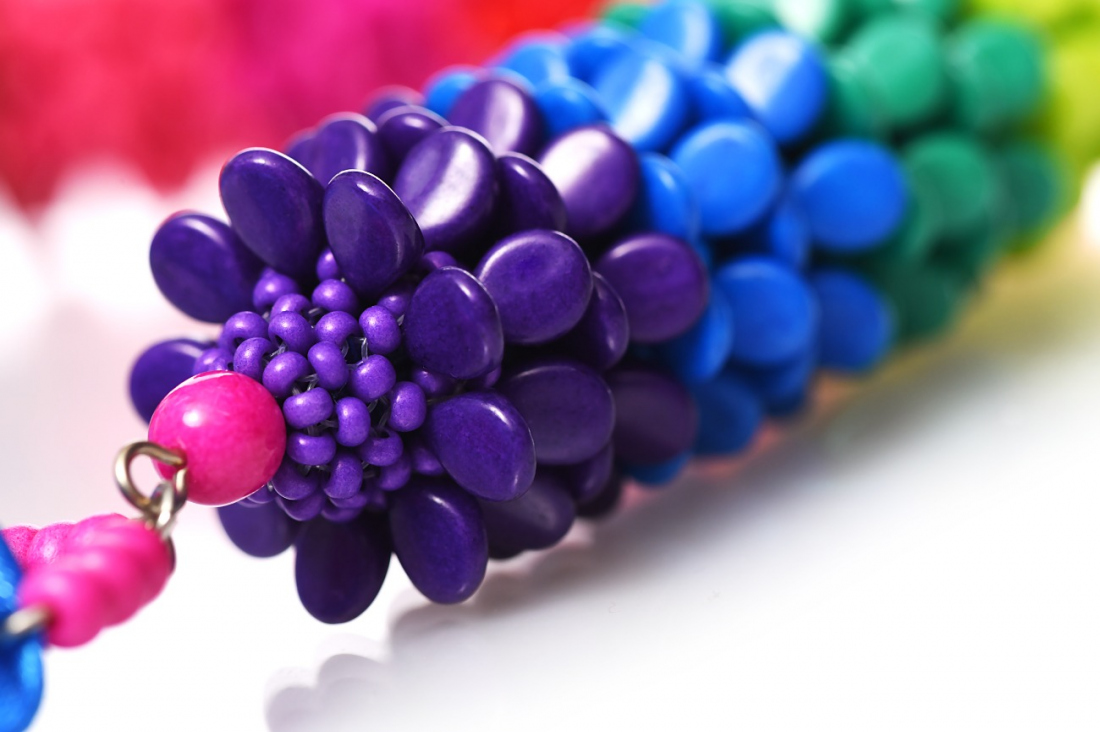
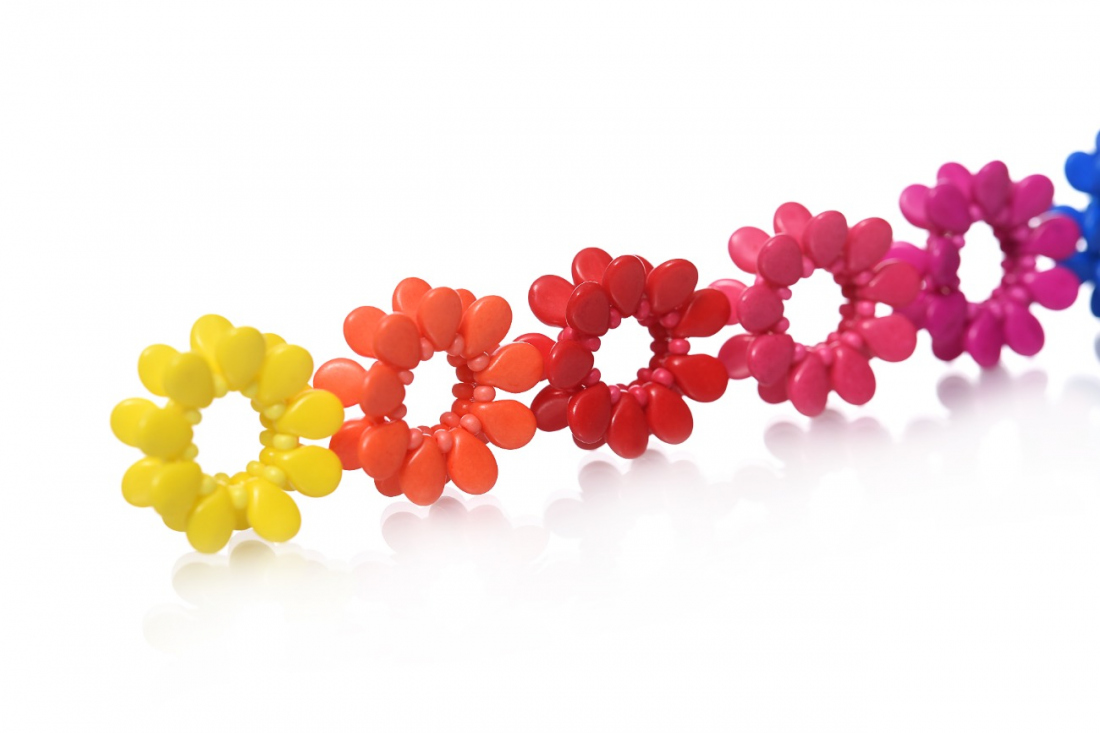
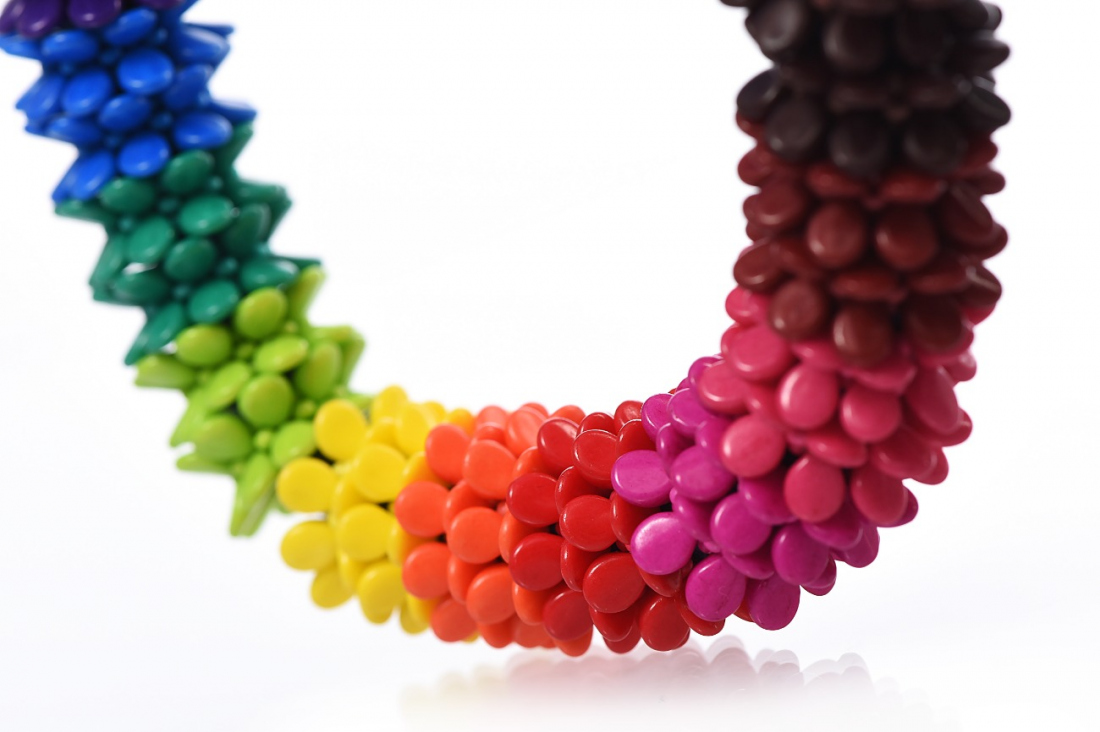
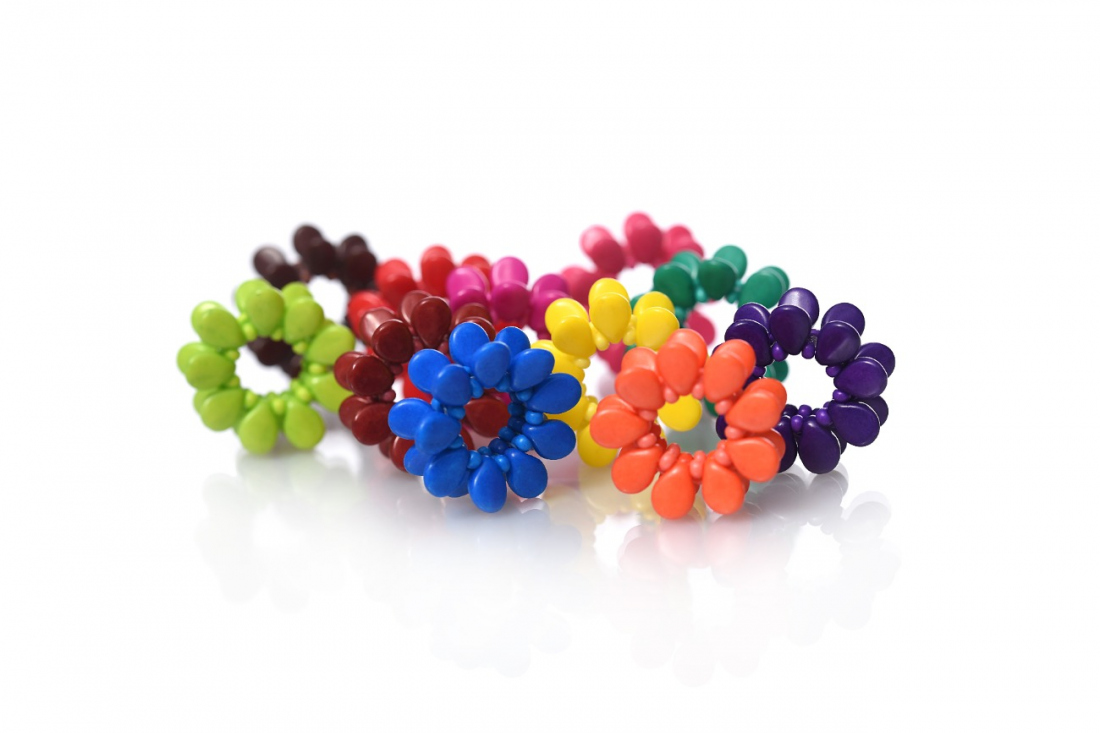
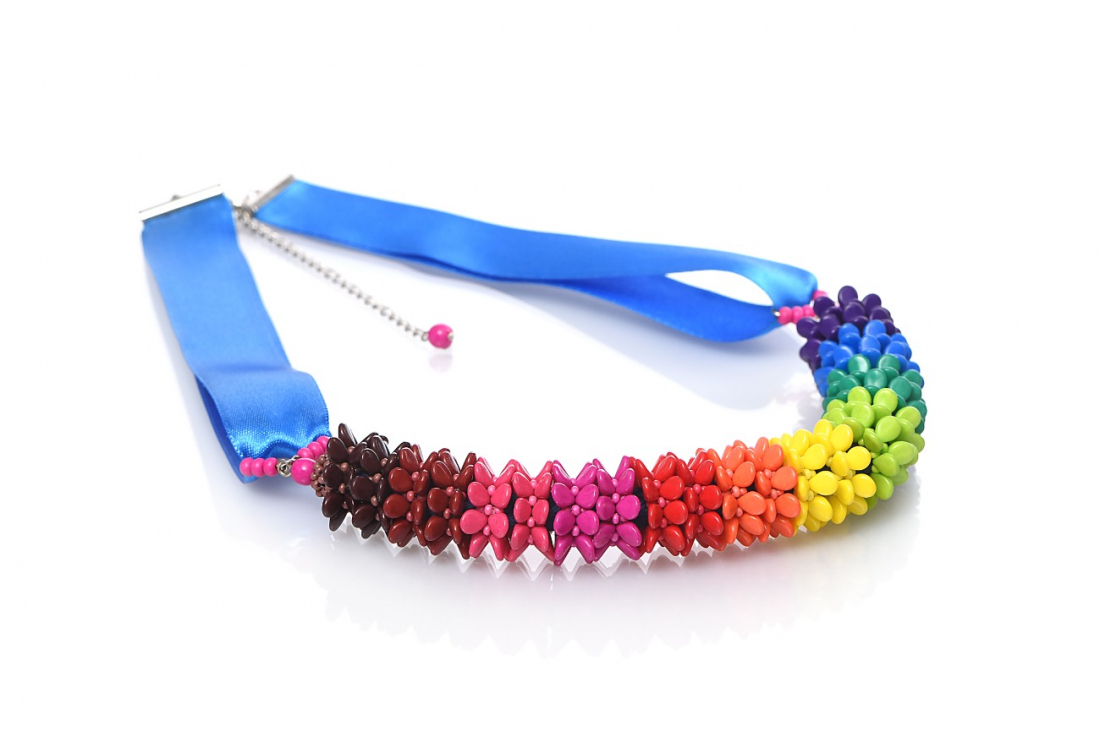
Catch the rainbow - or at least part of it! Immerse yourself in the flood of bright colors from PRECIOSA Terra Intensive seed beads and their explosive combinations! Bright and happy colors in matt variants are precisely what everybody needs. Create a necklace full of colors that is great for more than just the summer season.

Ambassadors

Helena Chmelíková

She is able to switch from luxurious and extravagant fashion show pieces to the preparation of hobby projects,

Learn More

Materials

A carabiner; a 2 cm wide hollow hanger; a 50 mm eye pin; a 16 mm eye pin; 4 mm rings; an adjusting chain;

a cord with a diameter of about 8 mm; a ribbon with a width of 2–2.3 cm; tailor's thread; a tailor's needle; a thin felt-tip pen; a candle

Tools

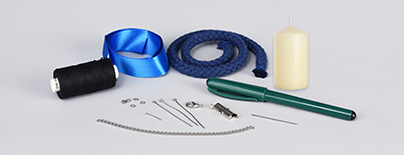
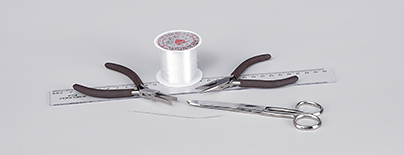
A 0.20 mm nylon line; a thin needle; scissors; a ruler; needle-nose pliers; flat-nose pliers

PRECIOSA Rocailles

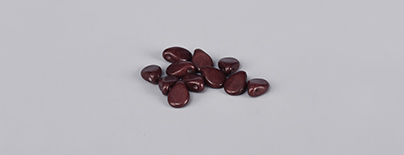
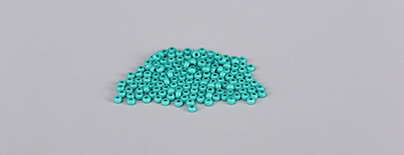
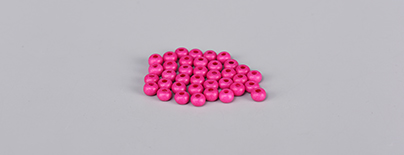
331 39 001; 10/0; 16A19 dark brown; 90x
(R)

Procedure

Step 1

The ring

Use about 70 cm of line. Use the ladder stitch with gaps. String 2x P. Thread the line through the first strung beads one more time. String 1x R. Keep repeating. There will be 9 P pairs and also 9 individual R.

1 / a

Step 2

Connect the very first P. Also thread the line through the second strung P. Add 1x R between each P. Make sure that you are threading the line through the correct P. Connect the threaded P into a circle.

2 / a

Step 3

Now, use the right-angle weave stitch to add 1x R to the gap above the 2 formerly strung R. String the line in the same direction. String 1x R. Guide the line diagonally and thread it through the P. String 1x R. Guide the line diagonally and thread it through the next P. String a total of 9x R in this way.

3 / a

Step 4

Thread the line through the strung R again. This time, pass the line through the adjacent P. The R are straightened vertically and the ring is tightened. Thread the line through the R at the end. The ends of the line will meet. Tie them off. Pull the ends into the R and P. Cut them off.

4

Step 5

Create rings in all the shades. You will need 2 in each color.

5

Step 6

The cap

Sew a rocaille cap onto the outer rings. It is attached between the R and the P. A total of 9x. The first row consists of arches consisting of 3x R. The outer R in the row are common for the two arches. The next row is sewn using the right-angle weave stitch. Arches of 3x R are sewn to each of the top R from the 1st row. The arches are then supplemented with R and sewn through with the remaining top R from the 1st row. The top R from the 2nd are connected twice in a circle. Tie off the ends of the line. Pull them into the R and cut them off.

6 / a

Step 7

Stringing the cord

Prepare about 19 cm of cord. Insert the eye of an eye pin into the cut end of the cord. Twist the tailor's thread around the cord several times. Thread the needle and sew through the eye of the eye pin several times. Unfortunately, it is not visible. You can find out, if you have been successful, by tugging on the eye pin. Tie off the ends of the thread and cut them off. String all the rings, except the last one with the cap, as a trial. Shape them in an arch. The length is correct, if about 1 cm of cord is sticking out at the ends. Remove the rings and sew up the second end of the cord. Cut off any unravelled ends.

7 / a

Step 8

String all the rings onto the cord, including the outer ones with the caps. String 1x PB onto each eye pin. Shorten the protruding wire on the eye pin to about 1 cm. Grasp the end of the wire between the round points of the needle-nose pliers. Carefully twist an eye up to the edge of the hole in the PB.

8 / a

Step 9

Completion

Create the guide for the ribbon. Straighten an eye pin. String 6x R6 onto it. Twist an eye on the other end. Straighten the completed eye to the same level as the first one. Slide 3x R6 up to each eye. Twist the wire about 1 mm behind the R6. The eyes on the pin must touch. Straighten the eyes. Thread a ring through the eyes. Connect the eye from the cord arch with the rings. Close the ring.

9 / a

Step 10

Prepare the ribbon. Cut off 2x 30 cm of ribbon. Use the felt tip to make a line about 3 mm from the end. Light the candle. Carefully bring the edge of the ribbon to the flame. It should not catch fire. A melted edge will gradually form on the ends. You can stop once the line has disappeared. Thread it through the created ribbon guide. Insert both melted edges into the gaps in a hollow hanger. Close the frame.

10 / a

Step 11

Connect a carabiner to one of the hangers using two rings. Cut off 9 cm of adjusting chain. Link 1x PB to one end of the chain. Connect the second end to the eye of the second hanger using a ring.

11 / a

Downloads