Trillium Flower Bracelet

Difficulty: 4
TECHNIQUE: Brick stitch, herringbone stitch and ladder stitch

Bracelet of PRECIOSA seed beads

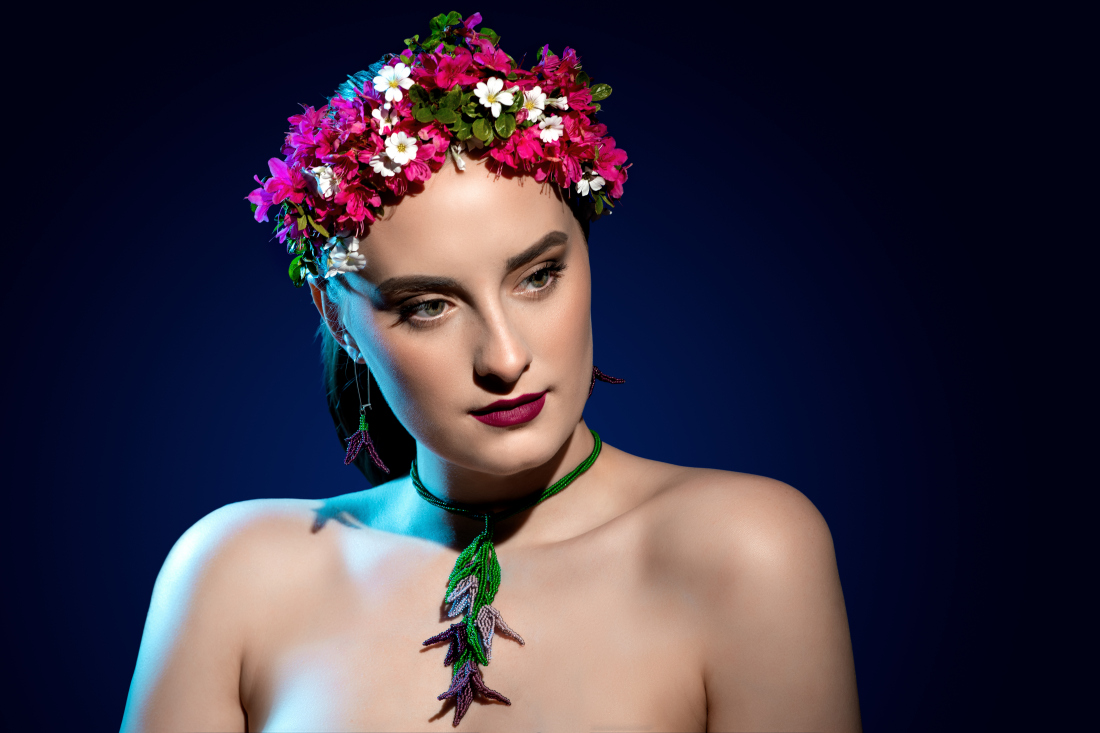
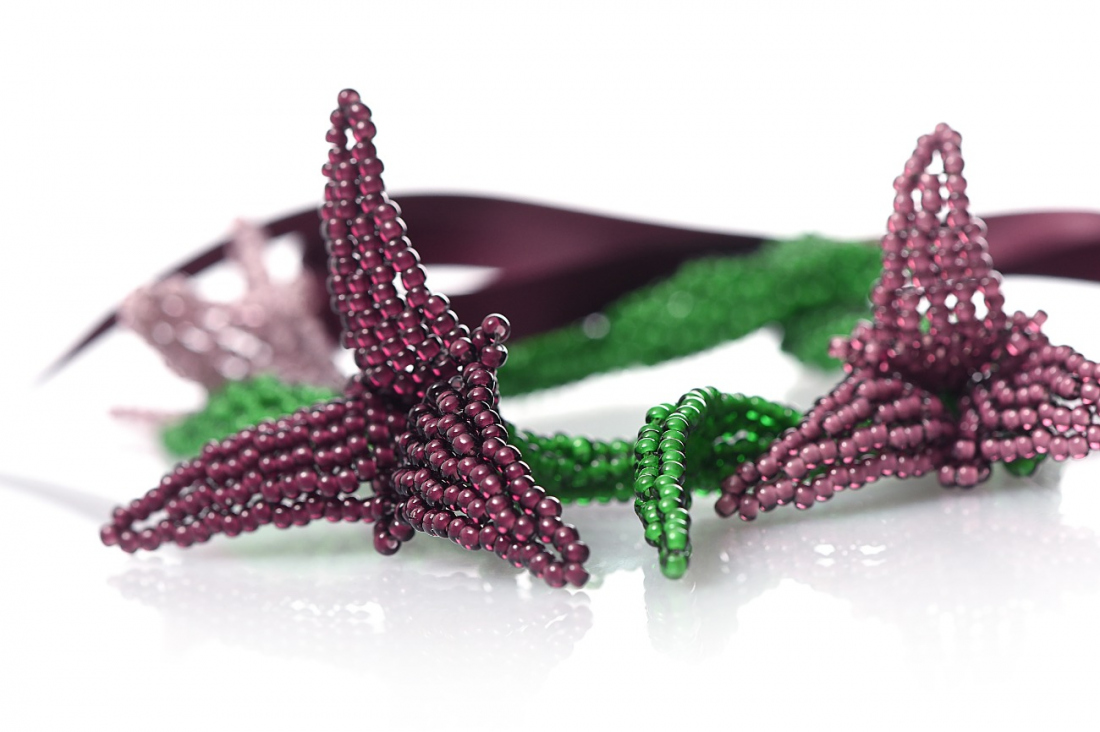
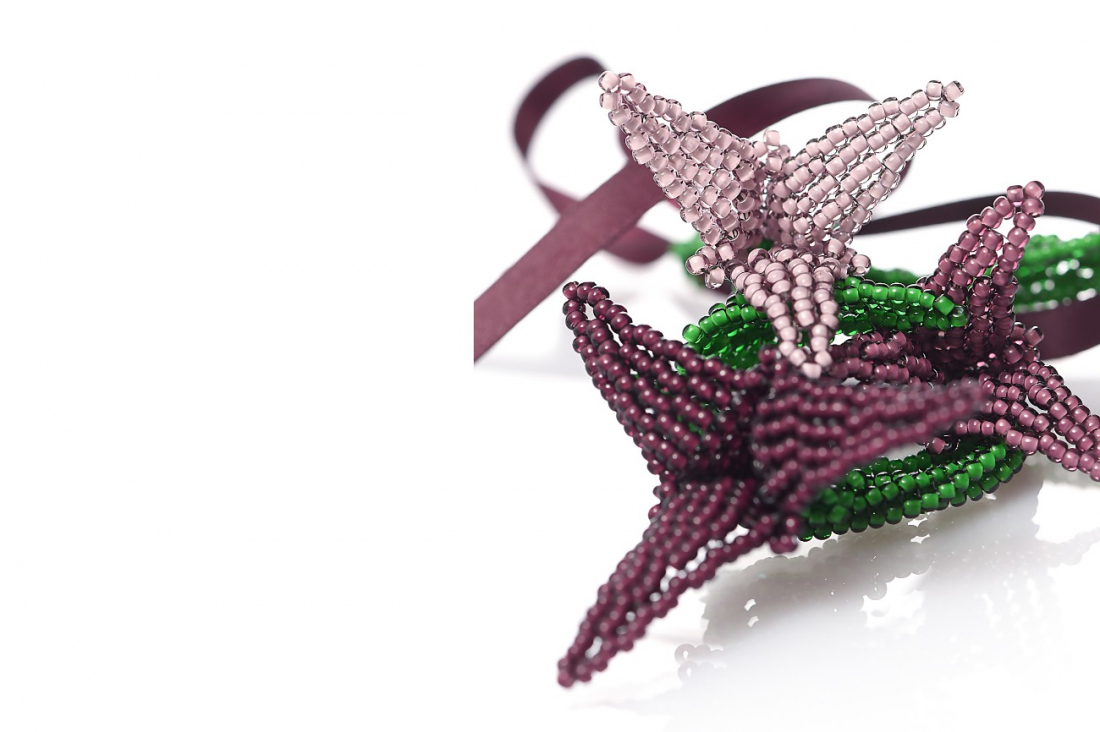
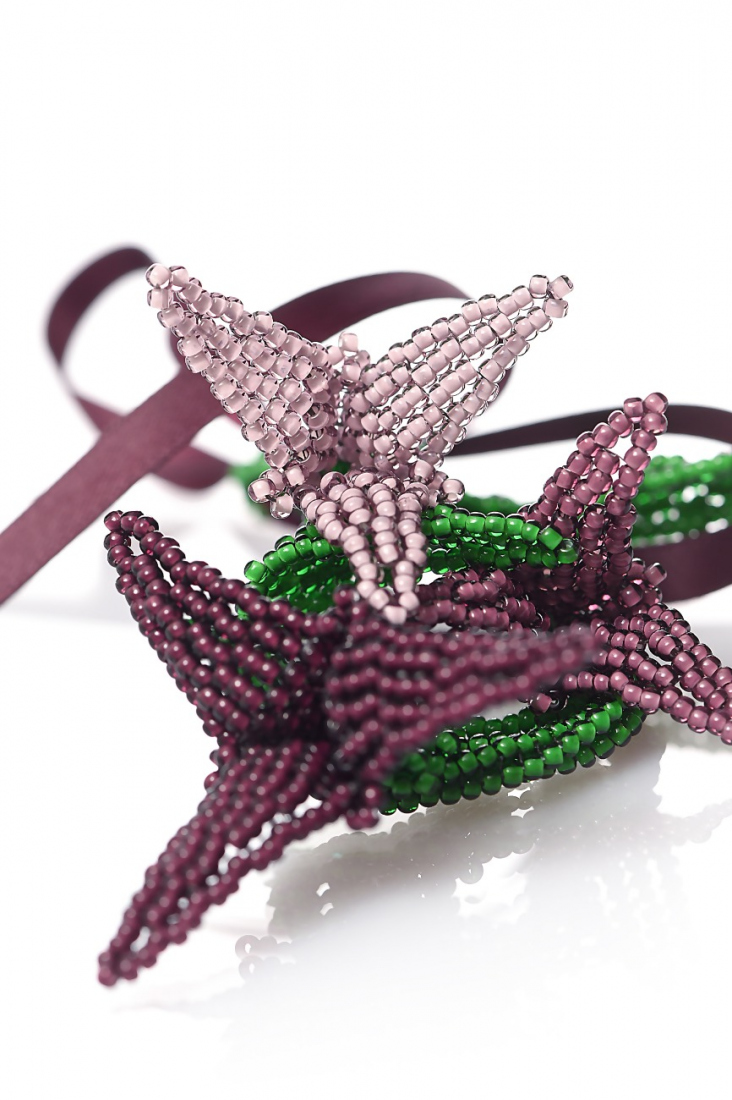
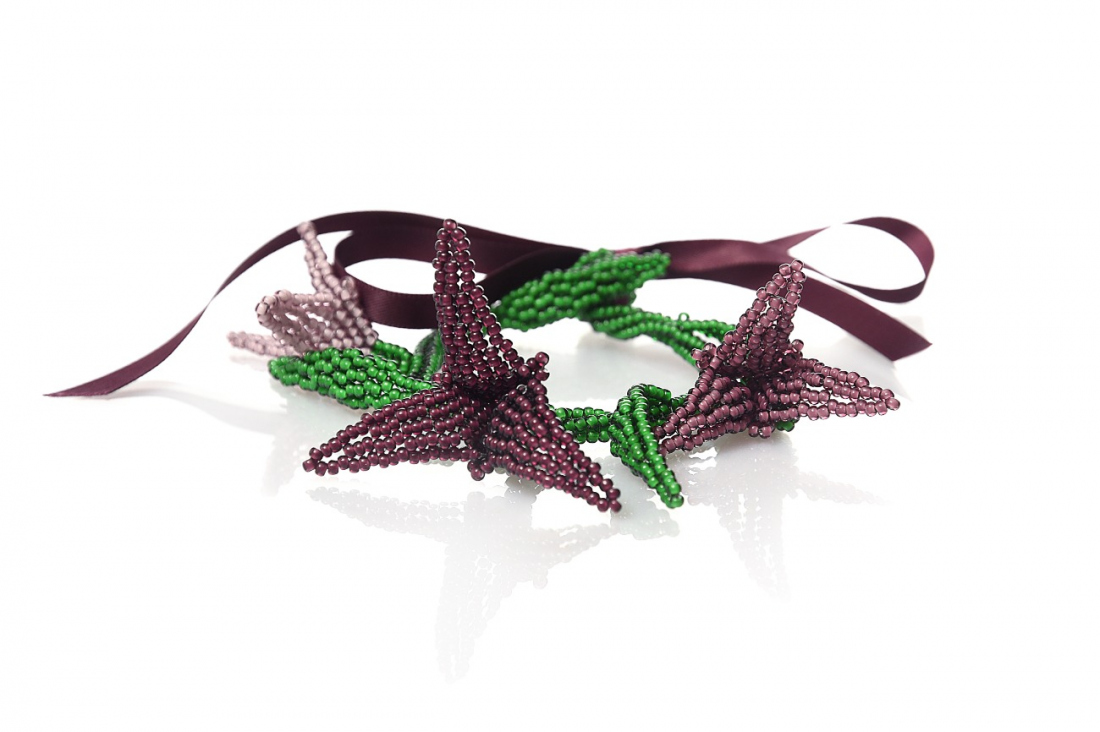
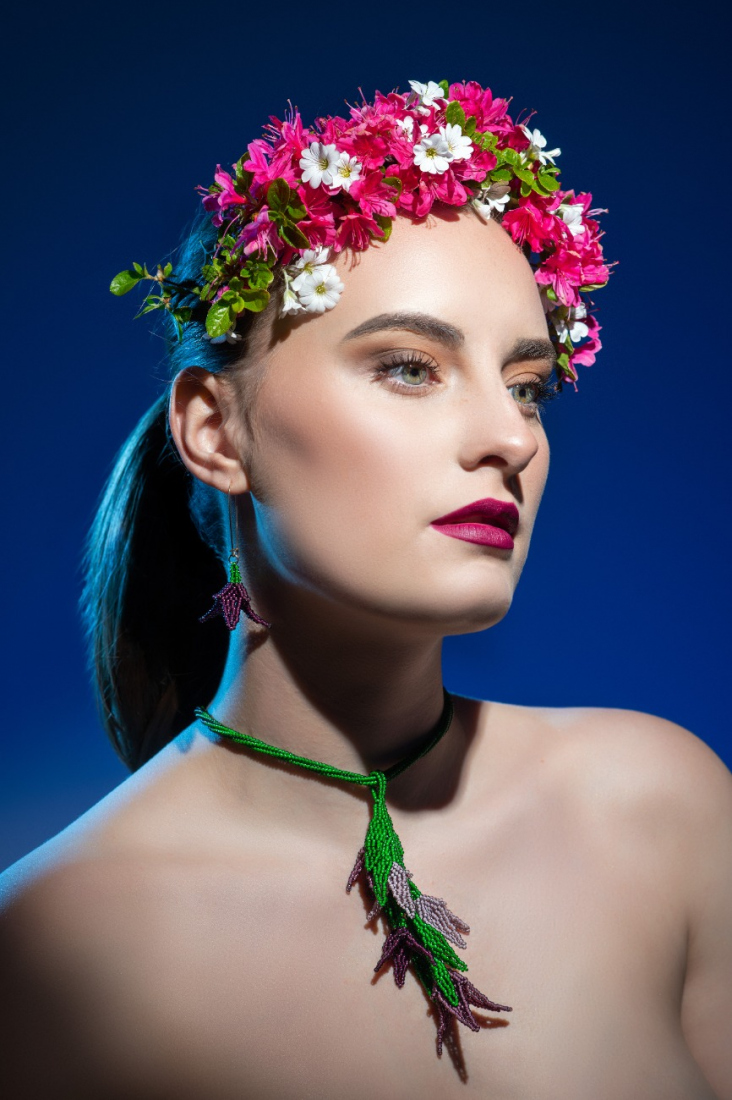
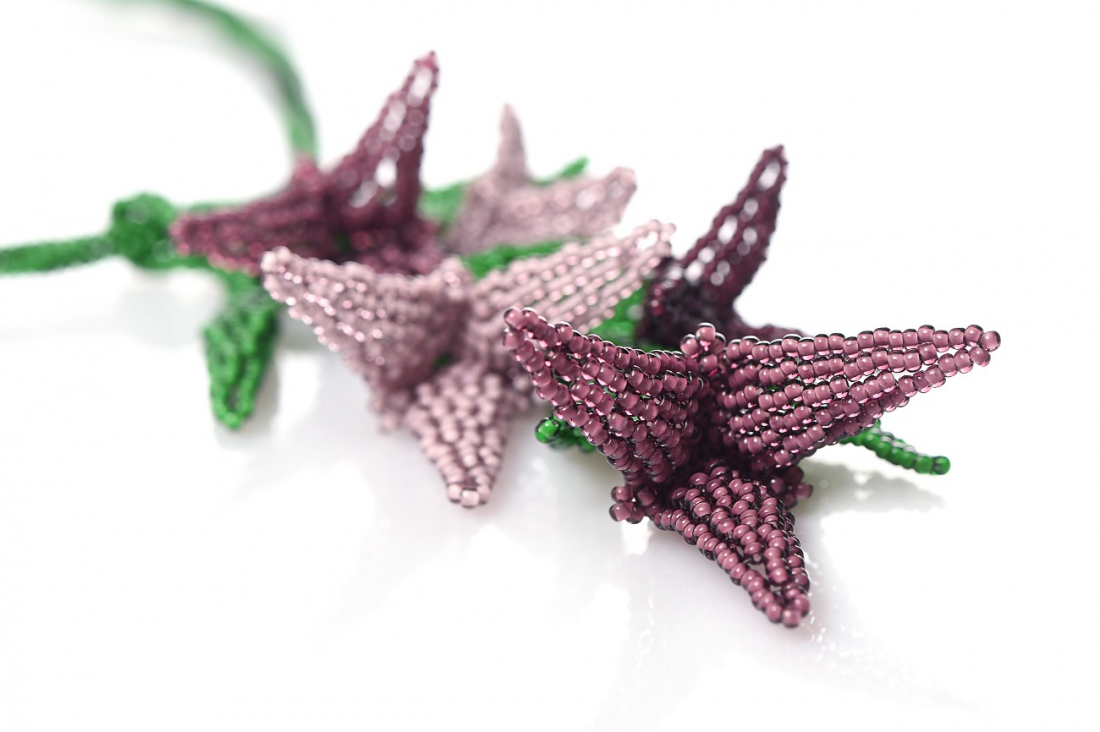
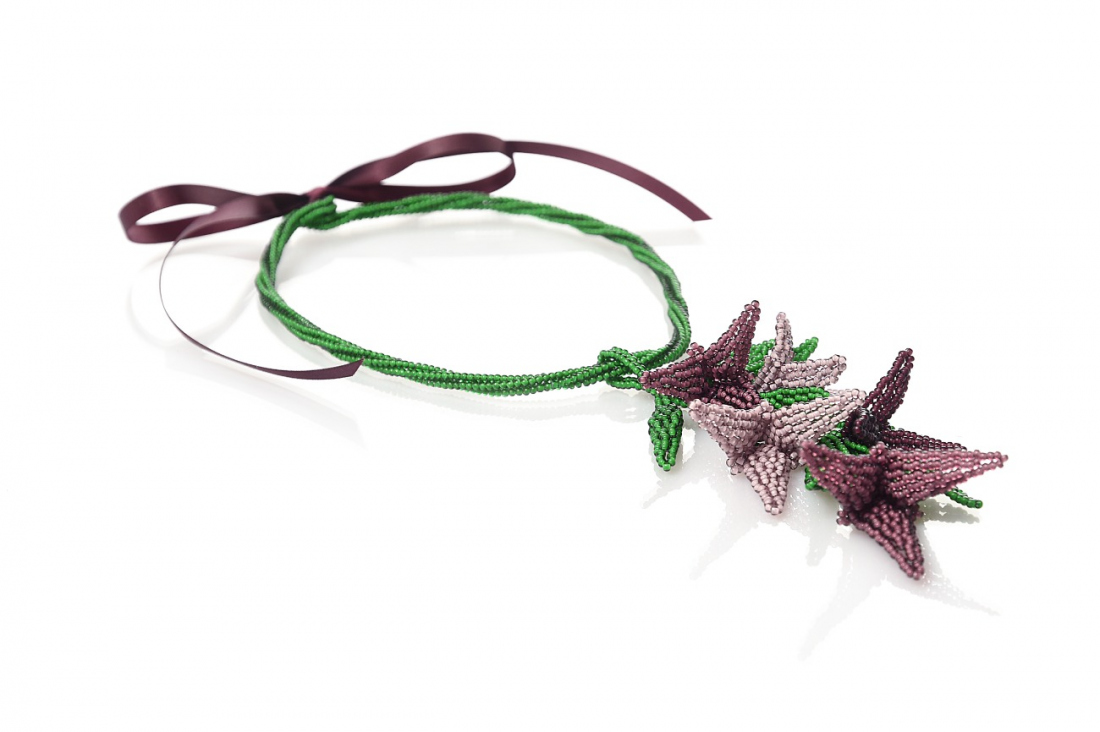
Mix three beadwork techniques with richly colored PRECIOSA White Lining rocailles to create a lush garland of flowers and leaves which curves naturally around the wrist. When you have learned the technique, branch out to create a matching necklace and earrings for the full floral experience.

Kerrie Slade

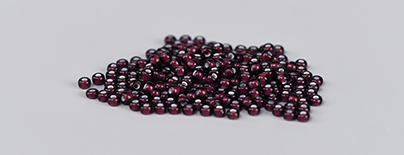
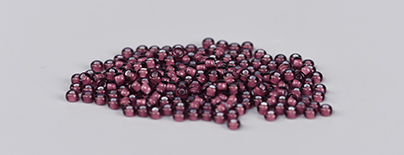
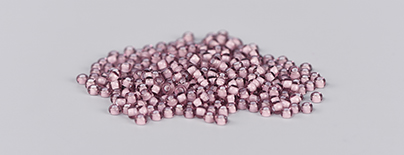
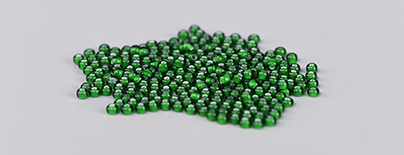
Kerrie Slade have used Czech PRECIOSA Traditional Czech seed beads in her creation.
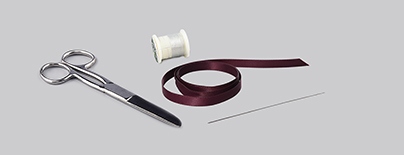
Learn More

Procedure

The finished bracelet measures approximately 18 cm but can be made to measure.

Step 1

To make the large flower:

Thread your needle with 1.2 m of thread and pick up 2x R10A. Leaving a 15 cm tail, pass your needle through the first R10A a second time and encourage the two rocailles to sit side by side. Pass through both rocailles again. Figure 1.

1

Step 2

Working in brick stitch, pick up 2x R10A and pass your needle under the thread bridge on top of the pair of R10A added in the previous step and back up the second R10A in this row. Complete the row by picking up 1x R10A, passing your needle under the same thread bridge and back up the new R10A. Figure 2.

2

Step 3

Continuing with the same method, follow the pattern in Figure 3 to work the next 4 rows. Remember that the 2x R10A at the beginning of each row are picked up at the same time and the remaining rocailles are added 1 at a time. Add 2x R10A to the first and last thread bridges in each row and 1x R10A to the other thread bridges.

3

Step 4

Switching to 3-drop brick stitch, pick up 6x R10A pass your needle under the second to last thread bridge created in the previous step and back up the last 3x R10A just added. Pass through all 6 R10A of this step again and pull your thread firmly so that the 2 stacks of rocailles sit neatly side by side. To complete the row, add 3x R10A to each remaining thread bridge created in the previous step by picking up 3x R10A, passing under the next available thread bridge and back up the 3 new R10A. You should have a total of 6 stacks of R10A in this row. Figure 4.

4

Step 5

Continuing with the same method, follow the pattern in Figure 5 to work the next 4 rows. Remember that the 6x R10A in the first 2 stacks of each row are picked up at the same time and the remaining stacks in each row are added 3x R10A at a time. Add the first 6x R10A to the second to last thread bridge of each previous row and 1 stack to the remaining thread bridges in each row. For a professional finish, as you work decrease rows, pass your needle through the first 2 stacks of each row a second time to close any gaps.

5

Step 6

Pick up 1x R10A and pass down the first stack in the final row and travel through all the rocailles on the outside edge of the petal to exit the base. Figure 6a and 6b.

6 / a

Step 7

Following steps 1 to 6, create 2 more petals but use 75 cm of thread for each one. Figure 7.

7

Step 8

Using 1 of the shorter working threads and following Figure 8a ladder stitch the first 6 rows of 2 petals together. Pick up 3x R10A and pass your needle down the joined column of rocailles to exit the base of the petal. Figure 8b and 8c.

8 / a

Step 9

Using the other shorter working thread, follow the same method to join the final petal to the first 2 petals. Add the 3x R10A tip and exit the base of a petal. Figure 9.

9

Step 10

Using the long working thread, follow the same method to join the remaining 2 sides together and then add the 3x R10A tip. Finish by exiting the base of a petal. Figure 10.

10

Step 11

Still using the long working thread, travel around the outside edges of all 3 petals including the joined spines but excluding the 3 rocaille tips. Pull your thread firmly as you work to close any gaps and to give the petals a natural shape.

Step 12

Pass your needle up the nearest column in a joined spine, pick up 1x R10A and pass down the other column in the join. Figure 12a. Repeat twice more to add 1x R10A to the top of each joined spine, the 3 new rocailles should sit on the inside of the flower. Figure 12b. Tie off and trim all tail threads and the 2 short working threads but leave the longer thread attached.

12 / a

Step 13

Exiting the base of a joined spine, pick up 2x R10D and pass your needle through the adjacent rocaille in the spine, through the first rocaille again and through the first R10D again. Figure 13a. Ladder stitch 2x R10D to the R10D added in the previous row and add 1x R10D to the tip. Figure 13b.

13 / a

Step 14

Travel to the 2x R10A on the opposite side of the flower at the base of a petal and between 2 joined spines. Ladder stitch 5 pairs of R10D to the 2x R10A and add a single R10D to the tip. Figure 14a and 14b. Leave the thread attached for later use.

14 / a

Step 15

To make the small flower:

Following steps 1 to 14 make 2 smaller flowers using R10B and R10C. Use 1 m of thread for the first petal in each flower and 70 cm for the second and third petals. Work only 3 rows in step 3, add 5 stacks in step 4 and 3 rows in step 5. Set the 3 flowers aside. Figure 15.

15

Step 16

To make the leaves:

Thread your needle with 80 cm of thread and pick up 6x R10D. Leaving a 25 cm tail, pass your needle through the first 3x R10D a second time and encourage the two stacks of rocailles to sit side by side. Pass through both stacks a second time. Figure 16.

16

Step 17

Following Figure 17, work 3 rows of 3-drop brick stitch.

17

Step 18

Switching to 2-drop brick stitch, work 3 rows as shown in Figure 18.

18

Step 19

Work 2 rows of single drop brick stitch, as shown in Figure 19.

19

Step 20

Using the tail thread, pick up 1x R10D and pass through all the rocailles around the outside edge of the leaf pulling your thread firmly as you work. Tie off and trim the tail thread only. Figure 20.

20

Step 21

Using the working thread and the method shown in Figure 14a ladder stitch 5 pairs of R10D to the final pair of R10D added in step 19. Finish by adding a single R10D to the tip. Figure 21.

21

Step 22

Repeat steps 16 to 21 to make 3 more leaves. Figure 22.

22

Step 23

To make the rope:

Thread your needle with 2.8 m of thread and leaving a 50 cm tail, ladder stitch 4x R10D into a row. Figure 23a. Join them into a ring by ladder stitching the first and last rocailles together and finish by passing your needle up the first R10D again. Figure 23b.

23 / a

Step 24

Pick up 2x R10D and pass down the second R10D added in the previous step and up the third. Pick up 2x R10D and pass down the fourth R10D added in the previous step, up the first and then step up through the first R10D added in this step. Figure 24a and 24b.

24 / a

Step 25

Following step 24, continue working in herringbone stitch until your rope is the required length (remembering to allow for the ribbon loops).

Step 26

Using the working thread and working from the final 2x R10D added to the rope, follow the method shown in Figure 14a to create a strip of ladder stitch that is 2x R10D wide and 24 rows long. Create a loop by joining the last pair of R10D in the ladder to the remaining pair at the end of the bracelet rope. Pass through the loop and the joining rocailles several times to strengthen the connection. Repeat at the other end of the rope using the tail thread. Tie off and trim all threads. Figure 26.

26

Step 27

To assemble the bracelet:

Using the picture as a guide, decide on the placement of your flowers and carefully attach them at various points along the rope by sewing through rocailles in the rope and the long ladder stitched section on the back of the flowers. Do the same with the leaves by sewing through the rope and the rocailles at the end of the stem of each leaf. Vary which side of the rope you attach the items to give a more natural look. Tie off and trim any remaining threads. Figure 27a and 27b.

27 / a

Step 28

Pass the ribbon through the loops at either end of the bracelet and tie a bow to fasten.

Downloads