Pipflinks Cufflinks

Difficulty: 2
Techniques: Peyote Stitch

Cufflinks made from PRECIOSA Pip™

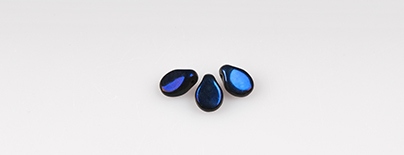
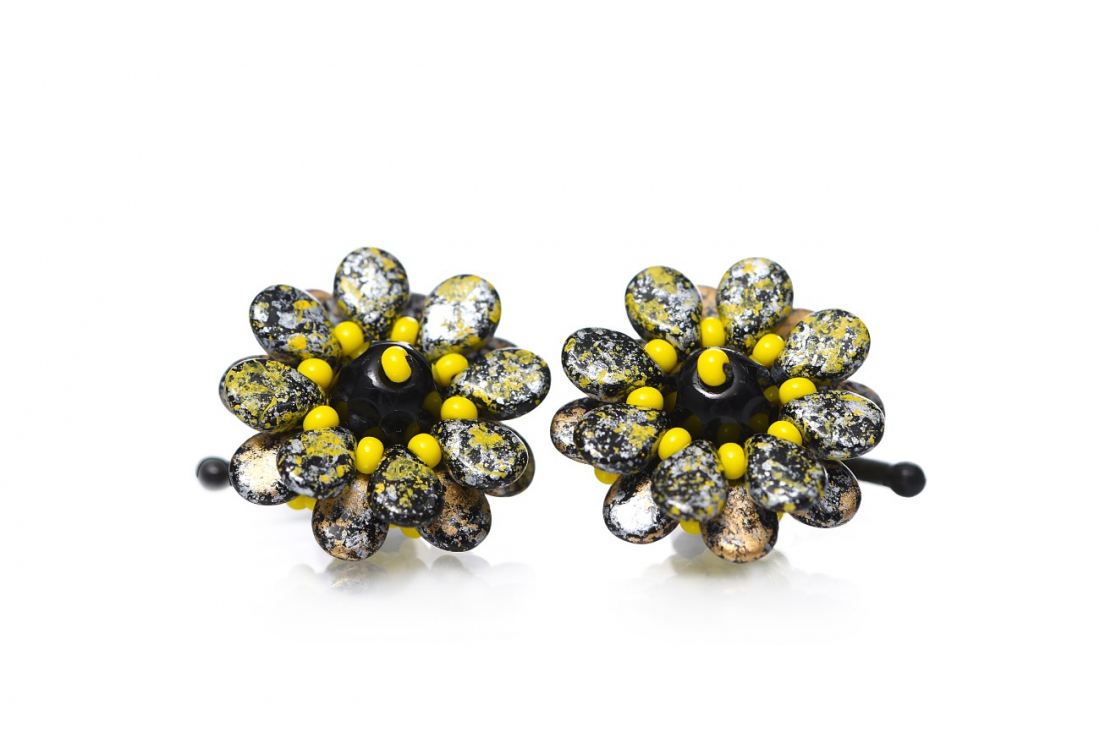
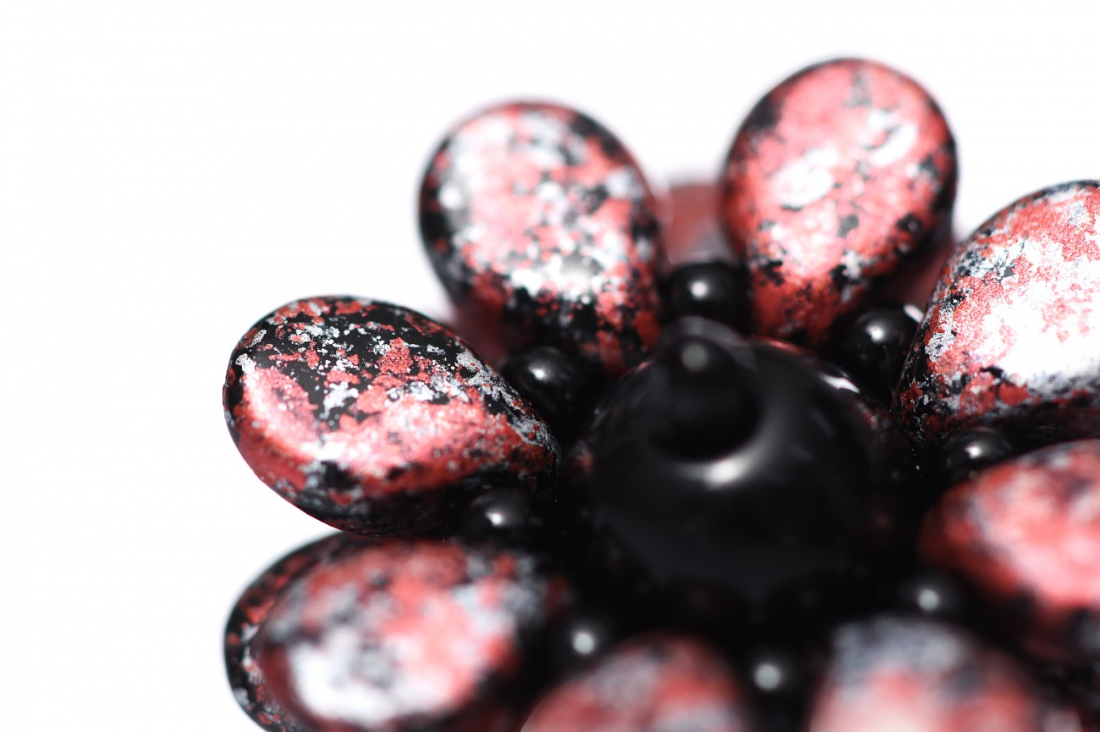
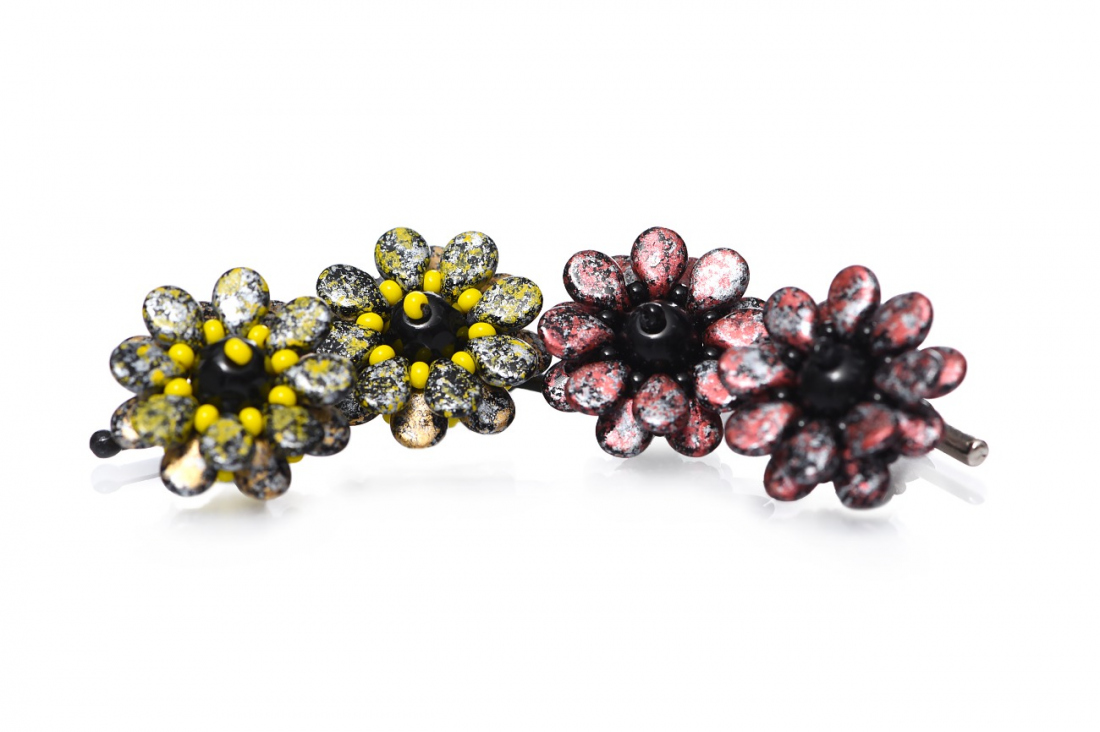
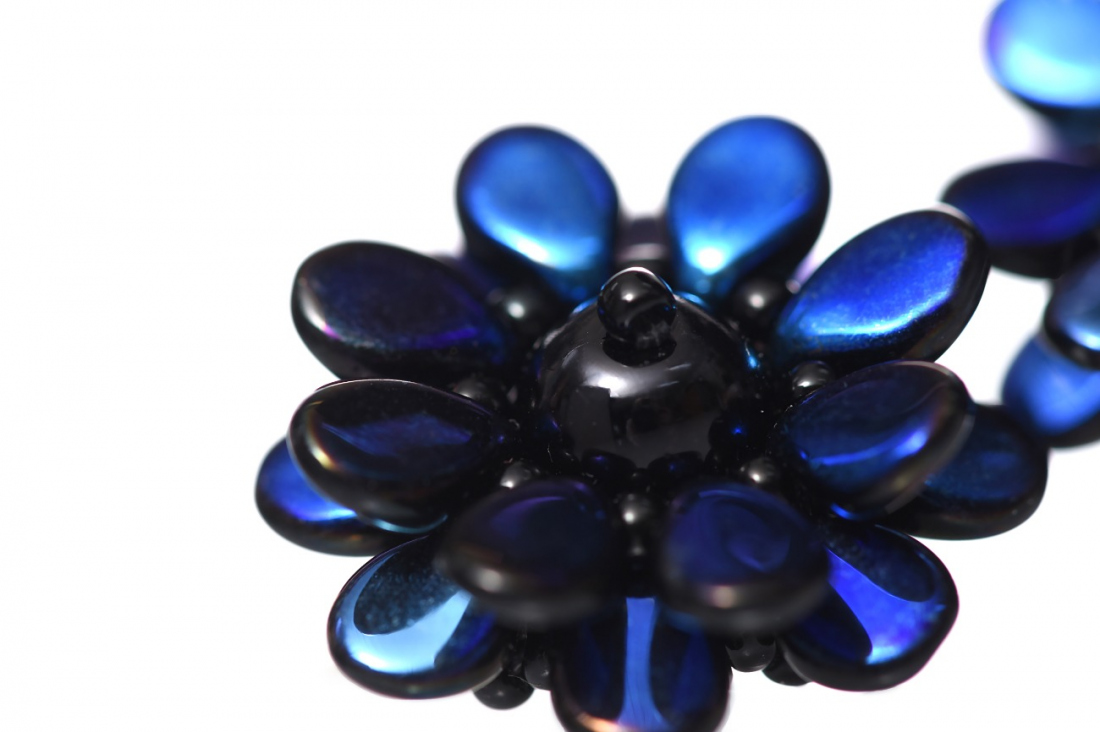
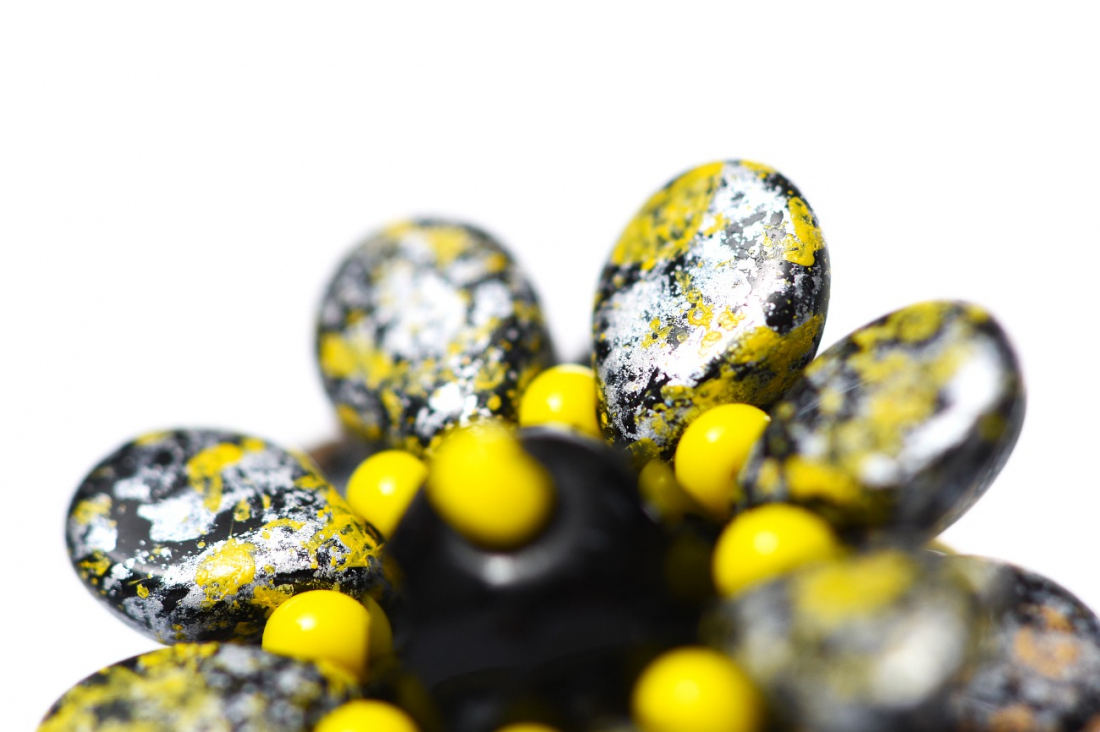
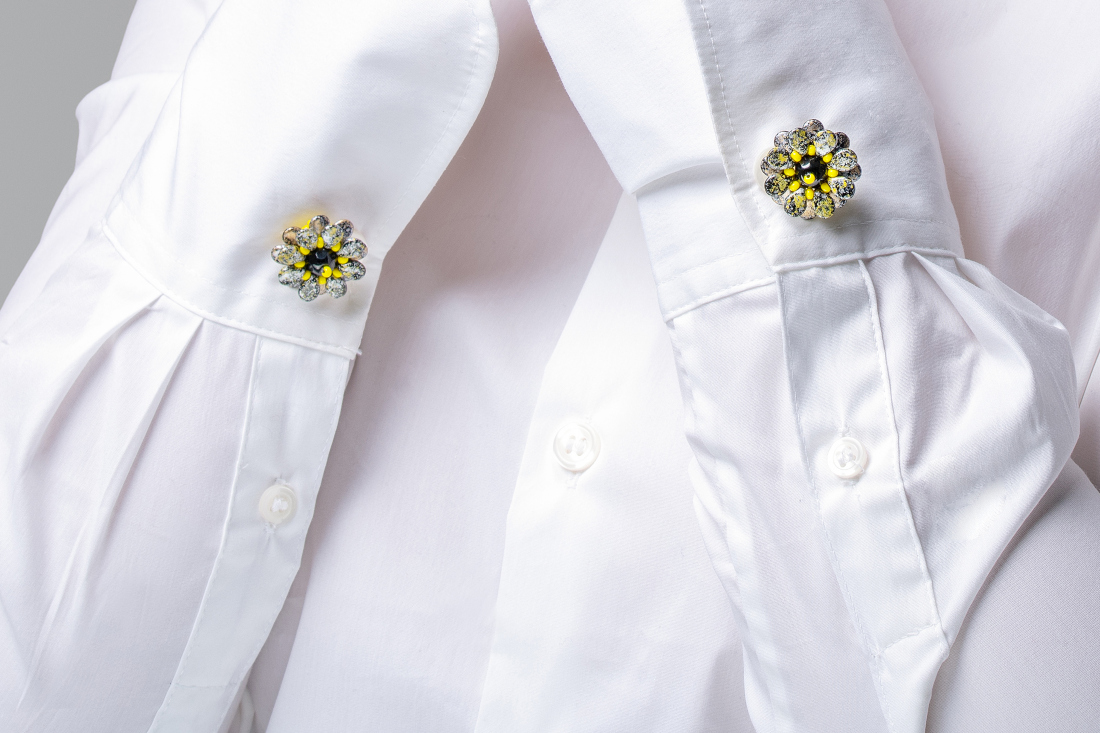
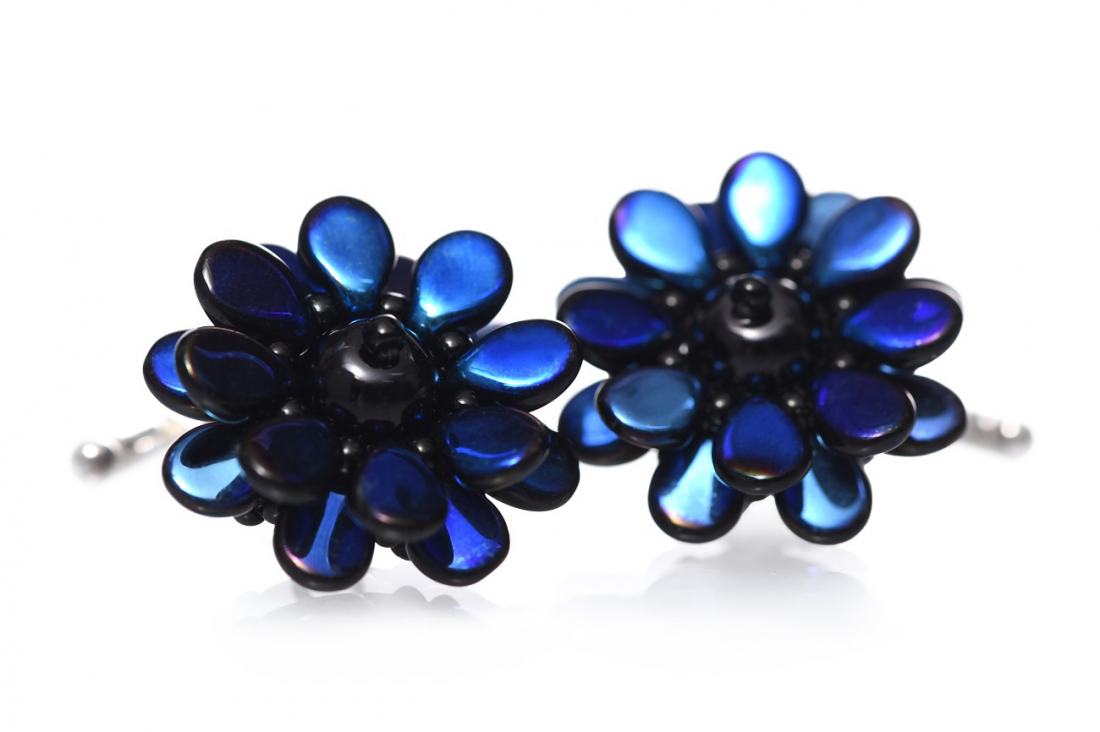
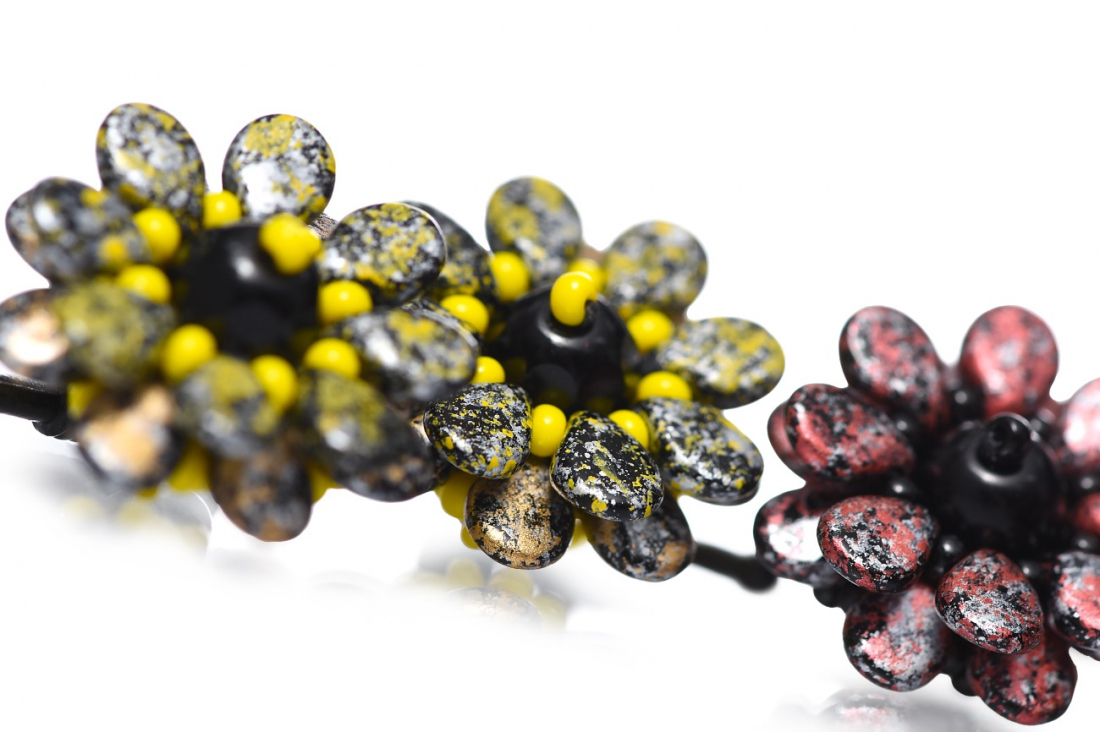
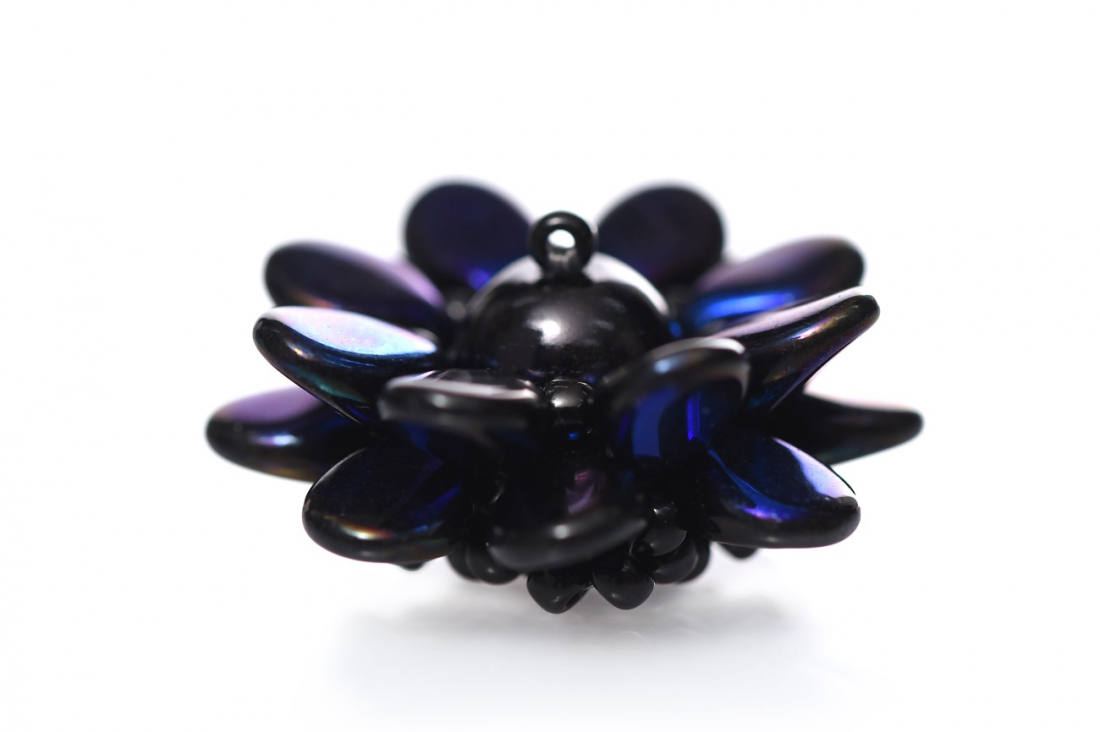
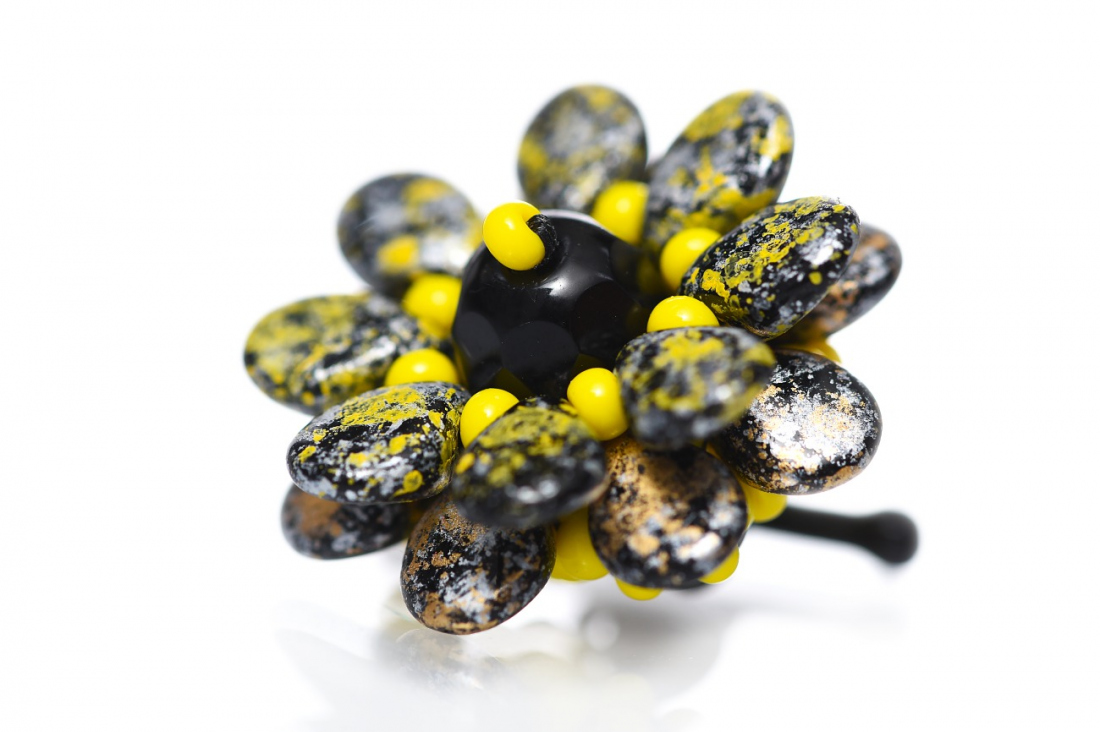
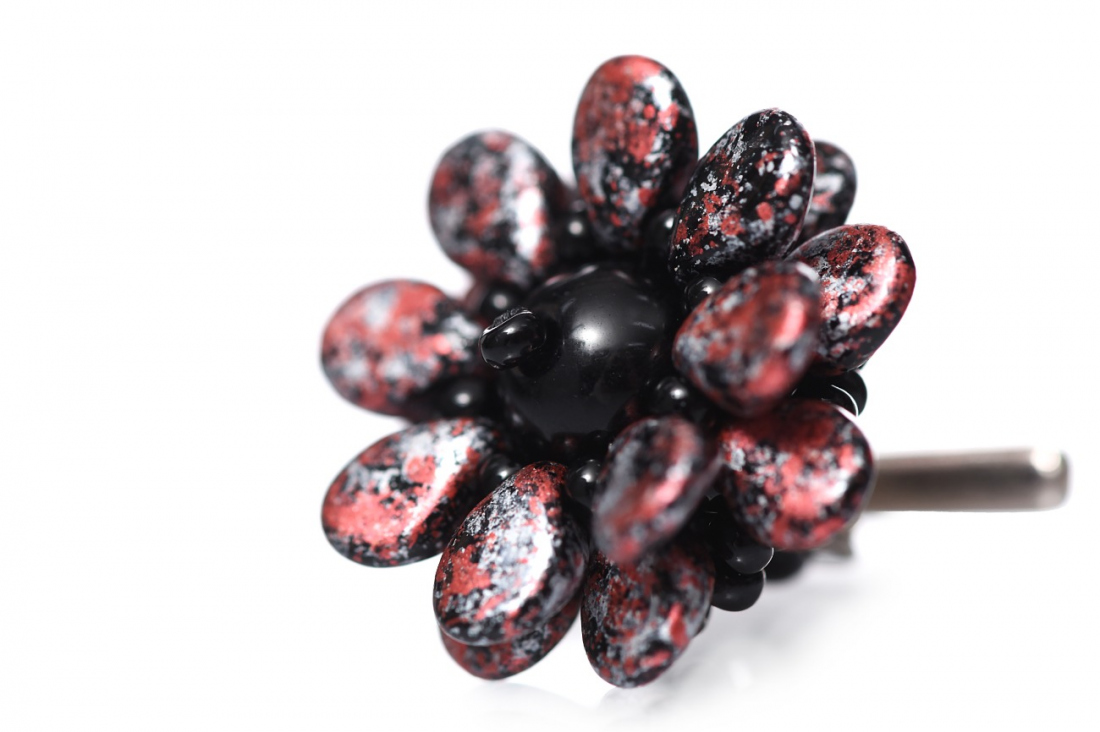
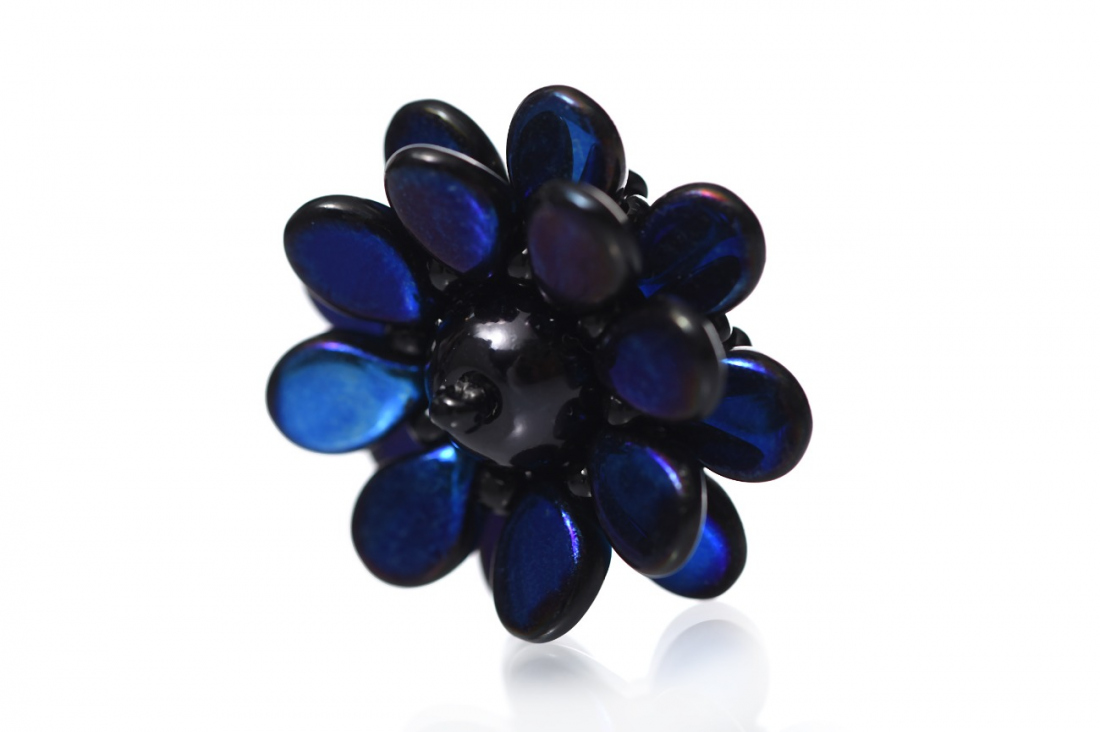
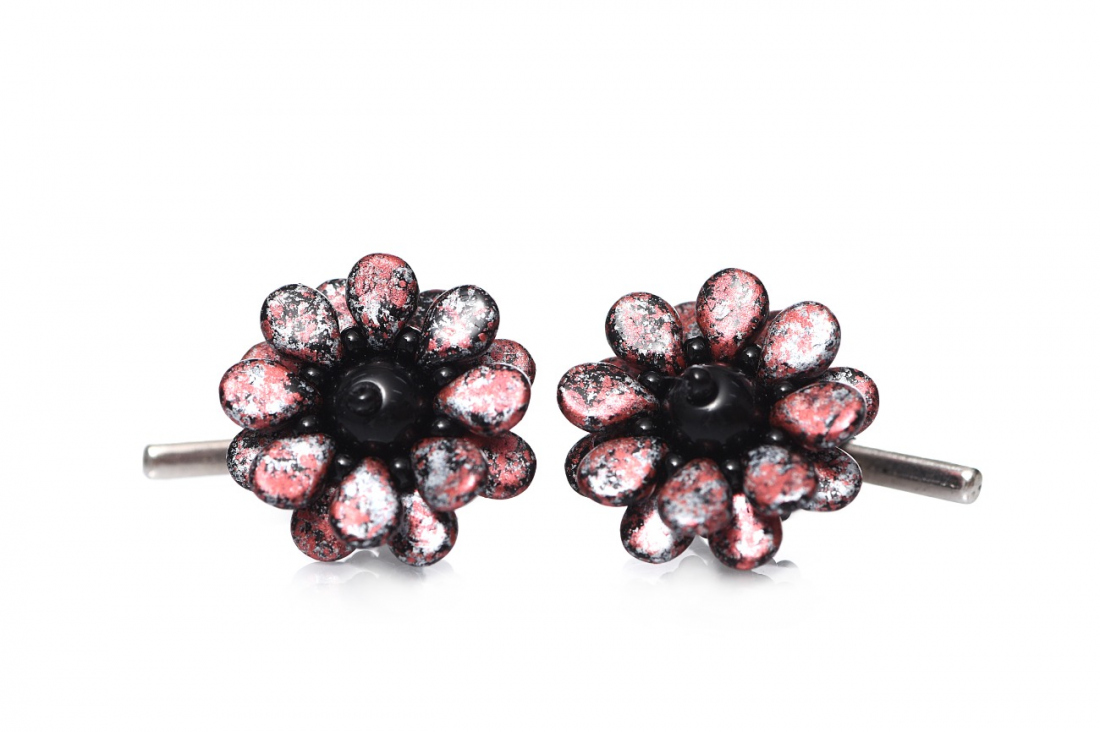
Use PRECIOSA Pip beads and peyote stitch to make little flower shaped motifs and turn them into a pair of elegant cufflinks. Each flower has a diameter of approximately 2.5 cm.

Ambassadors

Kerrie Slade

Kerrie Slade have used Czech PRECIOSA Traditional Czech seed beads in her creation.
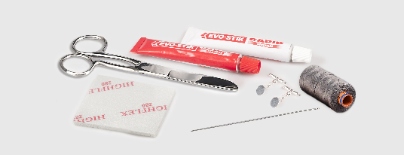
Learn More

Material and Tools

Materials

Beading thread to match your (P) chosen beads (6lb Fireline in 'smoke'), 1 pair of cufflink findings with chain, disc and bar, size 10 to 12 beading needles, scissors, sanding pad, sandpaper or file, two-part epoxy glue.

Procedure

Step 1

Flowers

Thread your needle with 1 m of thread and pick up a seed bead and a Pip bead 8 times. Leaving a 25 cm tail, pass your needle through all the beads a second time to form a circle and step up through the first 2 beads again. This row will form the front of your flower. See Figure 1.

1

Step 2

Add a Pip bead between each Pip bead added in the previous row and complete the row by stepping up through the first bead in this row. See Figure 2. Ensure that all the new beads added in this row lay on the side of your work that is facing you which will form the back of your flower.

2

Step 3

Add a seed bead between each Pip bead added in the previous row. Finish the row with your needle exiting the first Pip bead added in step 2. See Figure 3. Note the seed beads shown in Figures 1 and 2 are now hidden underneath the Pip beads in the following diagrams.

3

Step 4

Add another seed bead between each Pip bead added in step 2 and complete the row by stepping up through the first bead in this row. See Figure 4.

4

Step 5

Using the tail thread, travel through all the seed beads and Pip beads added in step 1 (without adding any beads) and pull your thread firmly. Tie off and trim the tail thread only.

Step 6

Using the working thread, pick up 3 seed beads and pass your needle through the second seed bead added in step 4. Pick up 2 seed beads and pass your needle through the next bead added in step 4. Continue working in this way adding 3 seed beads and then 2 seed beads alternately between each seed bead added in step 4. Complete the row by stepping up through the first 2 beads only of this row. Ensure that all the beads added in this row lay at the back of your flower, not between the 2 rows of Pip beads. See Figure 6.

6

Step 7

Pass your needle through all the new beads added in step 6 and the connecting beads added in step 4 a second time (without adding any beads). Pull your thread firmly as you work to close any gaps and finish with your needle exiting the first 2 beads added in step 6 (as shown in Figure 6).

Step 8

Add 3 seed beads between each middle bead of the 4 sets of 3 added in step 6 (a total of 12 new beads). Complete the row by stepping up through the first 2 beads only of this row. See Figure 8. As you add the new beads in this step, the beads added in step 6 will pull towards the centre of the flower, but the diagram shows them in their original position for clarity.

8

Step 9

Add 1 seed bead between each middle bead of the 4 sets of 3 added in the previous row (a total of 4 new beads). Complete the row by stepping up through the first bead of this row. See Figure 9.

9

Step 10

Pass your needle through the new beads added in step 9 and the middle connecting beads added in step 8 a second time (without adding any beads). Pull your thread firmly as you work to close any gaps and finish by exiting the first bead added in step 9 (as shown in Figure 9).

Step 11

Pass your needle through the central hole to exit the front of your flower and pick up an 8 mm glass pearl and a seed bead. Pass your needle back through the pearl and through the next seed bead added in row 9. See Figure 11. To make sure the pearl is attached securely, retrace the thread path through the pearl and the new seed bead anchoring it to all 4 beads added in step 9. Tie off and trim the remaining thread.

11

Step 12

To assemble the cufflink

Using the sanding pad or file, gently roughen the seed beads at the base of your flower and the flat surface of the cufflink disc. See Figure 12.

12

Step 13

Following the instructions, carefully mix the glue and apply a very small amount to the roughened cufflink disc and press it firmly against the base of your flower.
Wipe away any excess glue and leave it to set. See Figures 13a and 13b.

13 / a

Step 14

Repeat the above steps to make a second cufflink.

Tips/ideas:

If you do not wish to use glue in your work, sew a size 6 or 8 bead onto the base of your flowers, cut the disks from the cufflink findings and pass a jump ring through the new beads and the chain at the end of the cufflinks.

Turn your flowers into earrings or rings by gluing them onto earring or ring findings with a flat pad.

Shop at:

All beads supplied by Preciosa Ornela.

14 / a

Downloads