Fern

Difficulty: 2
Technique: stringing, simple sewing

Seed bead set made using PRECIOSA Terra Intensive

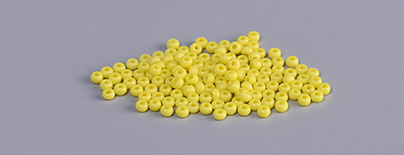
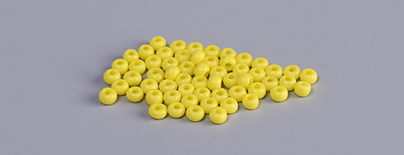
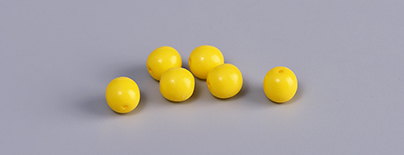
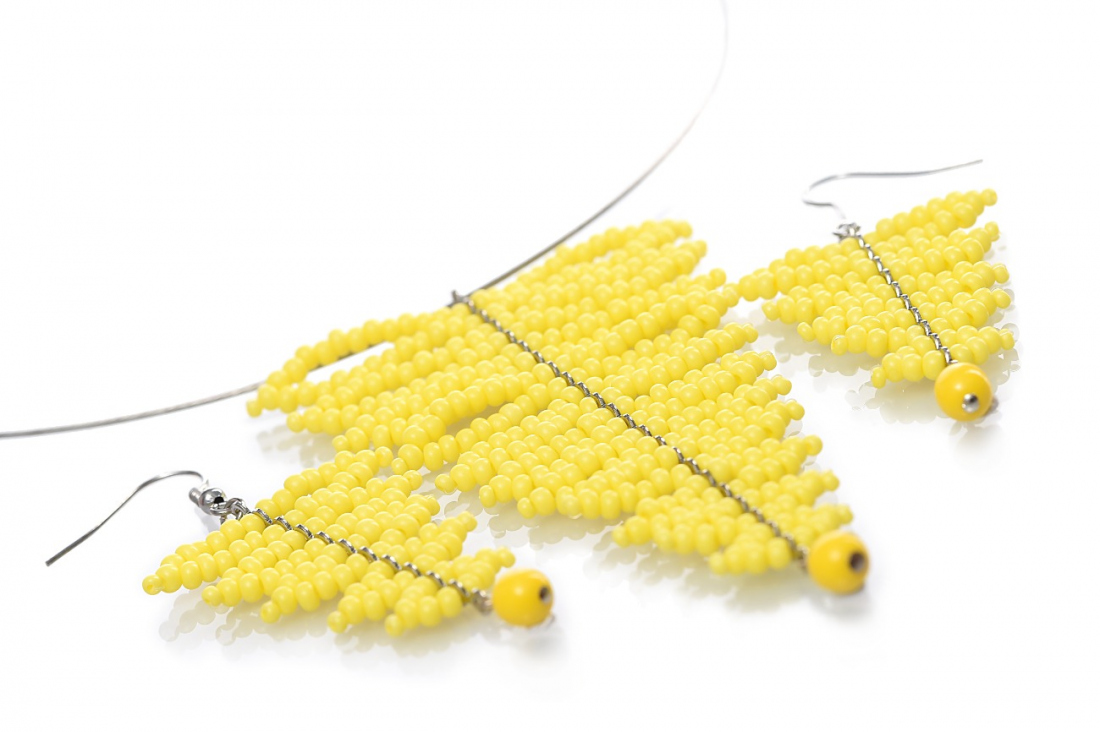
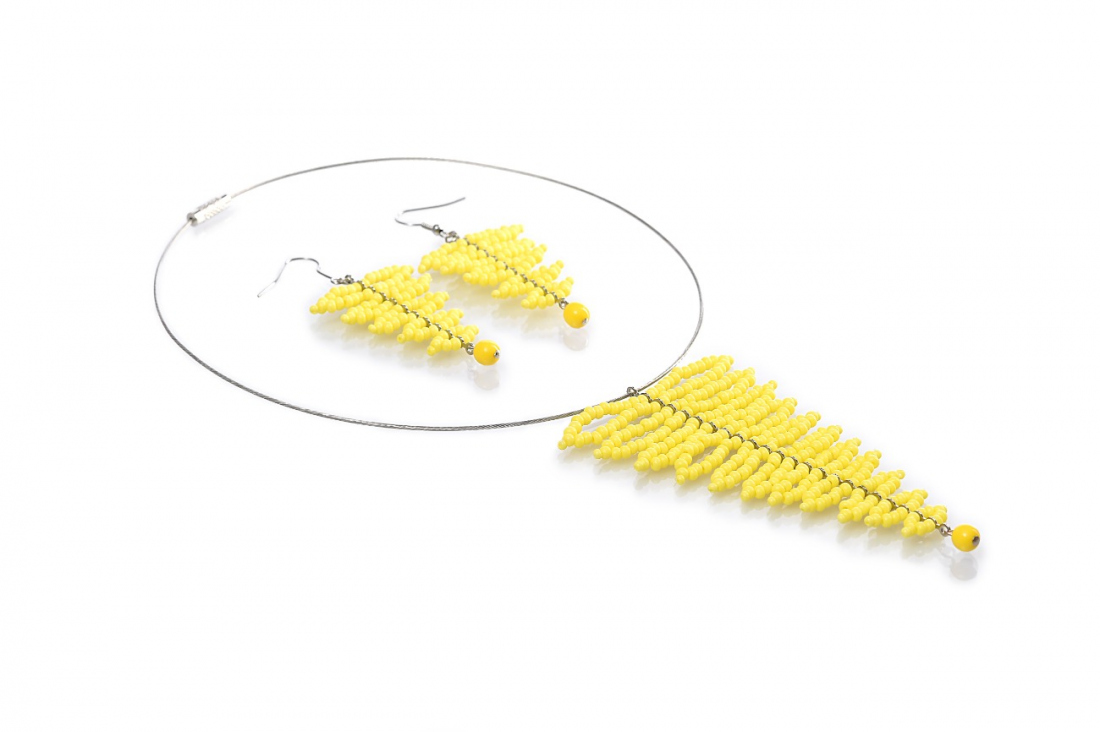
We have extended the range of distinctive PRECIOSA Terra Intensive seed beads to include the PRECIOSA Terra Intensive Matt variant. You can choose from 11 bright color shades on seed beads in matt or gloss variants. You can also combine the seed beads with 13 of our most popular types of pressed beads in the same distinctive colors. Choose your favourite color and make some brightly colored earrings or a necklace according to our DIY tutorial.

Ambassadors

Helena Chmelíková

She is able to switch from luxurious and extravagant fashion show pieces to the preparation of hobby projects,
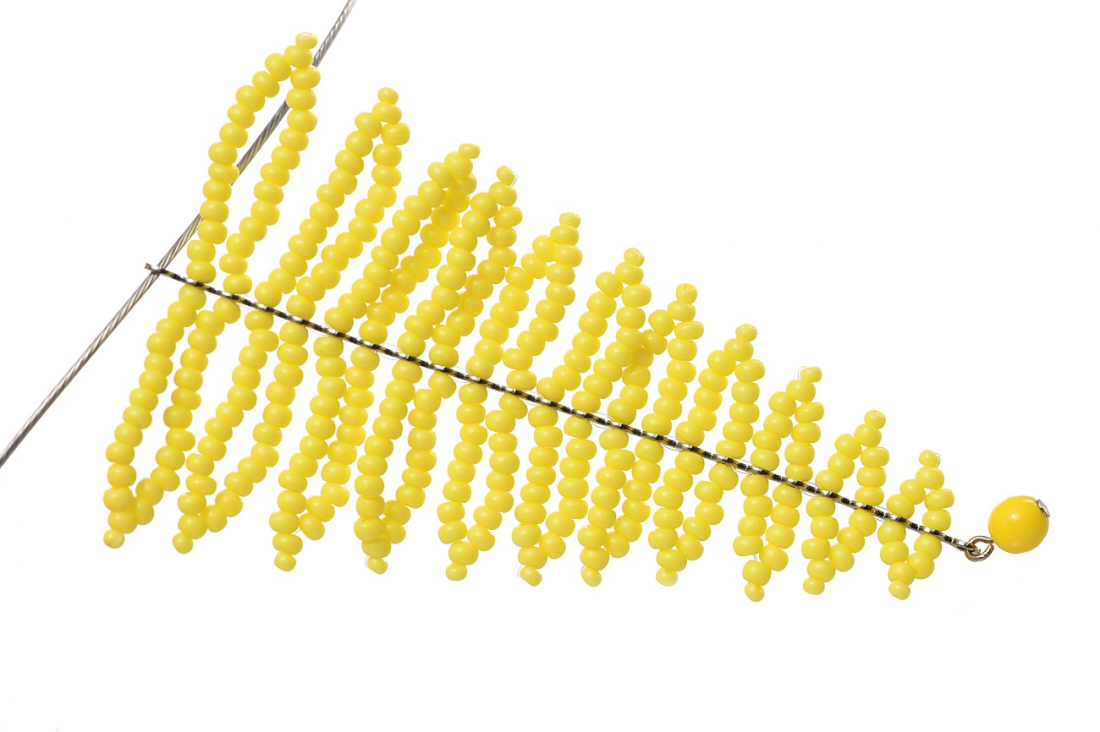
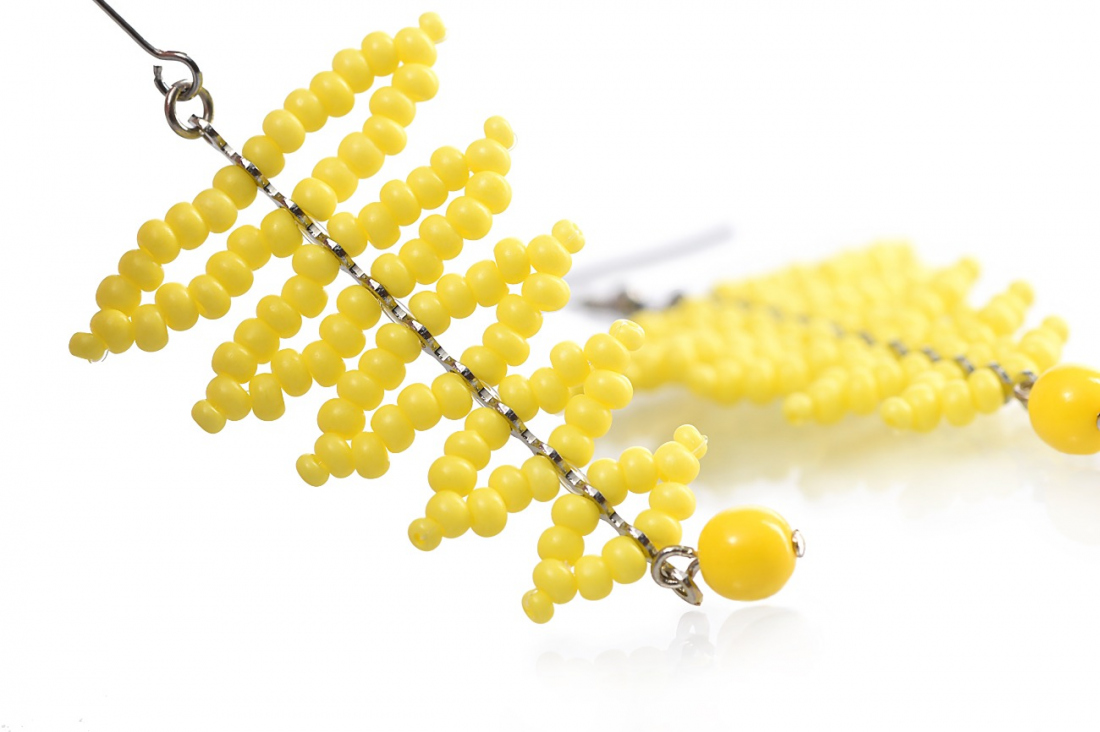
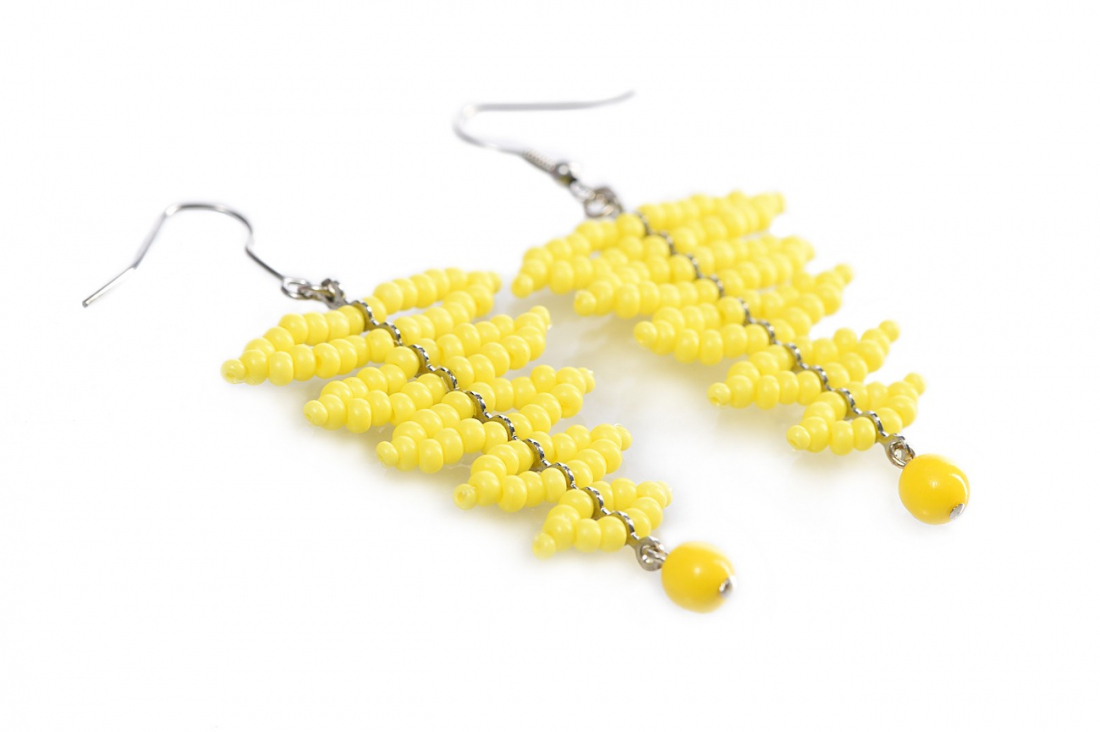
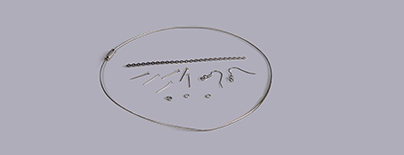
Learn More

Material and Tools

Material

The necklace – a guide (24 eyes); a hoop made from ordinary wire with a screw fastening; a 14 mm eye pin; the earrings – a guide (12 eyes); 4 mm rings; earring hooks

Tools

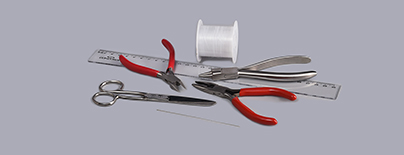
A 0.20 mm or 0.30 mm nylon line; a thin needle; flat-nosed pliers; needle-nosed pliers; snipping pliers; a ruler

Procedure

Step 1

The necklace

Prepare a guide with 24 eyes. Straighten the guide and snip the metal strip close to the eye (fig. no. 1a + 1b).

1 / a

Step 2

Cut off about 170 cm of the line (fig. no. 2a). String the second eye on the guide (fig. no. 2b). Place the guide about halfway down the line (fig. no. 2c). As such, the line will have a left-hand and right-hand side. String 3x R8 and 1x R10 onto one side (fig. no. 2d). Thread the line through the last R8 (fig. no. 2e). String 2x R8 (fig. no. 2f). Thread the line through the next eye in the guide (the third). Thread the line through the next eye in the guide (the fourth) (fig. no. 2g). Tighten (fig. no. 2h).

2 / a

Step 3

Continue stringing further projections, always with 1x R10 at the point. The number of R8 will always increase by 1x R8. Add 1x R8 less on the other side of each projection after threading the line through the R8 at the point. The R8 stringing in the projections – 4x, 5x, 6x, 7x, 8x, 9x, 10x, 11x, 12x and 13x (fig. no. 3a + 3b).

3 / a

Step 4

String the same, i.e. 11 projections, on the other side of the line (fig. no. 4).

4

Step 5

Step 5 – If the longer projections are soft, you can thread the line through them one more time. The length of the line should enable this. The lines will swap sides (from the left to the right and vice versa). At the end, tie off the line with three knots. Pull the ends into an R8 and cut them off (fig. no. 5).

5

Step 6

String a PB onto an eye pin (fig. no. 6a + 6b). You will need 8 – 10 mm of protruding wire. Grip the end of the wire with the needle-nosed pliers. Twist it around the point of the pliers. Hang it on the guide's bottom eye before fully closing the eye you have twisted on the eye pin (fig. no. 6c + 6d).

6 / a

Step 7

Remove one part of the fastening from the wire hoop. Crimp the other part onto the wire from the side using the flat-nosed pliers (fig. no. 7a + 7b). Thread the wire through the top outer eye on the guide (fig. no. 7c). You can adjust the length of the wire. Slide the fastening back onto the wire and crimp it (fig. no. 7d).

7 / a

Step 8

The earrings

Prepare two guides with 12 eyes each. Sew 10 projections (5 and 5 on each side). Proceed in the same way as with the necklace (the R8 stringing – 3x, 4x, 5x, 6x, 7x) (fig. no. 8a). Put a PB onto an eye pin (fig. no. 8b). Attach the earring hook to the other end of the guide using a ring (fig. no. 8c).

8 / a

Downloads