Little Angel

Difficulty: 3
Technique: Basic Beadweaving

An angel made using beads and seed beads from the PRECIOSA Traditional Czech Beads™ brand

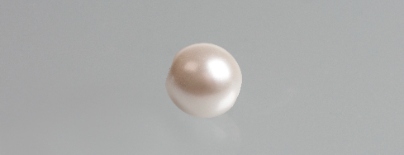
This tutorial will enable you to create angels which you can use as a decoration or a fashion accessory. The mother-of-pearl angels can  be used as more than just Christmas tree decorations. A handmade gift is sure to please your nearest and dearest. Do not be afraid to
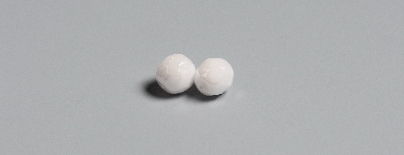
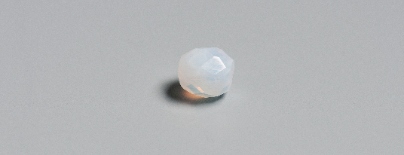
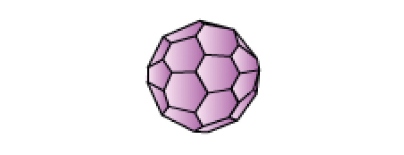
experiment and make use of the wide range of colors and surface finishes provided by the beads and seed beads from the PRECIOSA Traditional Czech Beads™ brand. The angels do not only have to be white! You can explore the entire color pallet with this Christmas decoration.
PRECIOSA ORNELA wishes you beautiful holidays and much enjoyment from beadworking with beads and seed beads

Ambassadors

Olga Haserodt

Olga Haserodt was born in the Russian town of Astrakhan, but she has lived with her family in Germany for more than ten years. She came to love handcrafts during her childhood thanks to the influence of her mother and grandmother.

Learn More

Procedure

Step 1

The body

String 3x R9 onto a 70 cm long line and thread the line through them twice in a circle.

1

Step 2

String 1x FPB3, 1x FPB5 and 1x FPB3 and thread the line through the second and third R9 from Step 1.

2

Step 3

String 1x FPB3 and 1x FPB5 and thread the line through the FPB3 from Step 2, the second and third R9 from Step 1 and the next FPB3.

3

Step 4

String 1x FPB5 and thread the line through the FPB3, the R9 and the FPB3. Finish in the same FPB5 where you started.

4

Step 5

String 1x D8 and thread the line through the FPB5 from Step 4. Repeat until the end of the row.

5

Step 6

String 1x FPB6, 1x FPB3 and 1x FPB6 and thread the line through the FPB5 where you started one more time and then thread the line  through the D8 and FPB5 from Step 5. String another 1x FPB6 and 1x FPB3 and thread the line through the FPB6 from this step and
the FPB5 from Step 5. Thread the line through the D8 and FPB4 from Step 5 and the FPB6 from this step. String 1x FPB3 and thread
the line through the FPB6 from this step and the FPB5 from Step 5 and then once again through the D8 and FPB5 from Step 5.

6

Step 7

Continue sewing. The stitch should end in the FPB3 from Step 6. String 1x D8 and thread the line through the FPB5 from Step 4. Repeat until the end of the row.

7

Step 8

The illustration shows the procedure from the side. String 4x R12, 1x D8 and 4x R12 and pass the line through the adjacent D8.
String a further 4x R12, 1x D8 and 4x R12 and thread the line through the adjacent D8. Repeat to the next D8. Repeat again to the end
of the row. Secure the line – sew it in and cut it.

8

Step 9

The wings

String 1x FPB5, 1x R12, 3x Th and 1x R12 on a 30 cm long line and close it in a circle. String 1x R12, 3x Th and 1x R12 and thread
the line through the FPB5 several times and cut it off. Sew it in and cut it off.

9

Step 10

Assembly

 String 1x R12, the body, 1x R12, the wings, 1x R12 and 1x IP8 onto the head pin. Shorten the head pin as needed using the snipping
pliers and create a loop with the needle nose pliers. The angel is finished.

10