Fish from the Caribbean

Difficulty: 3
Technique: beadweaving

Colorful fish made from PRECIOSA Twin™

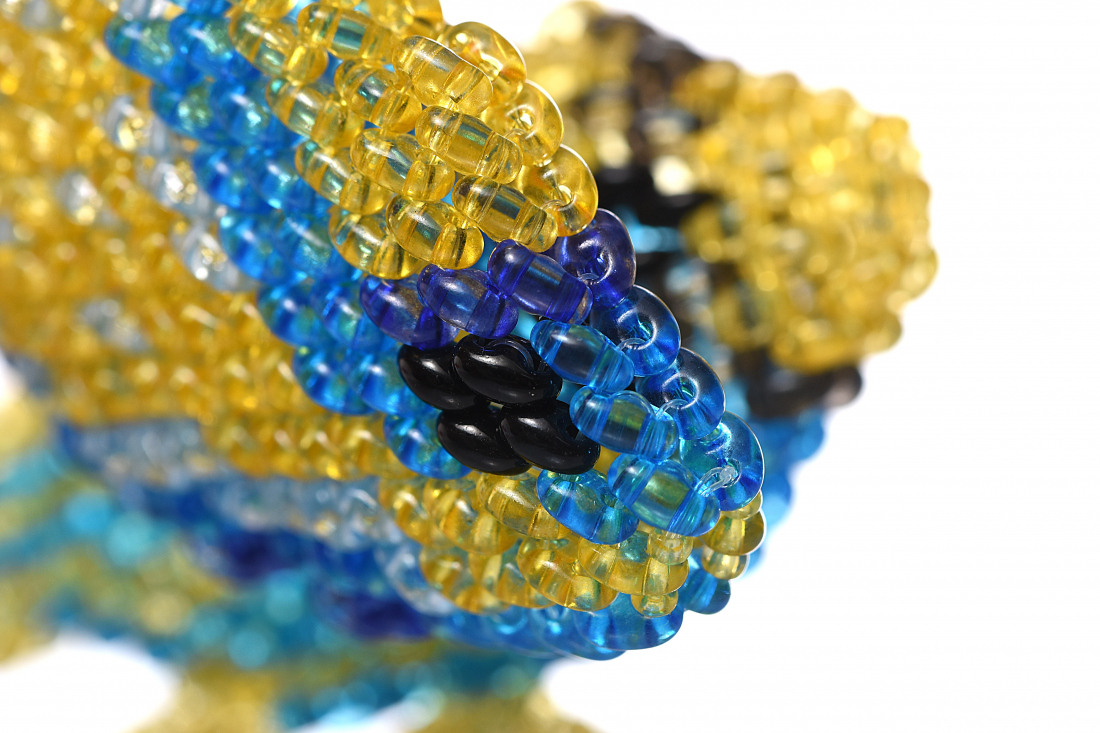
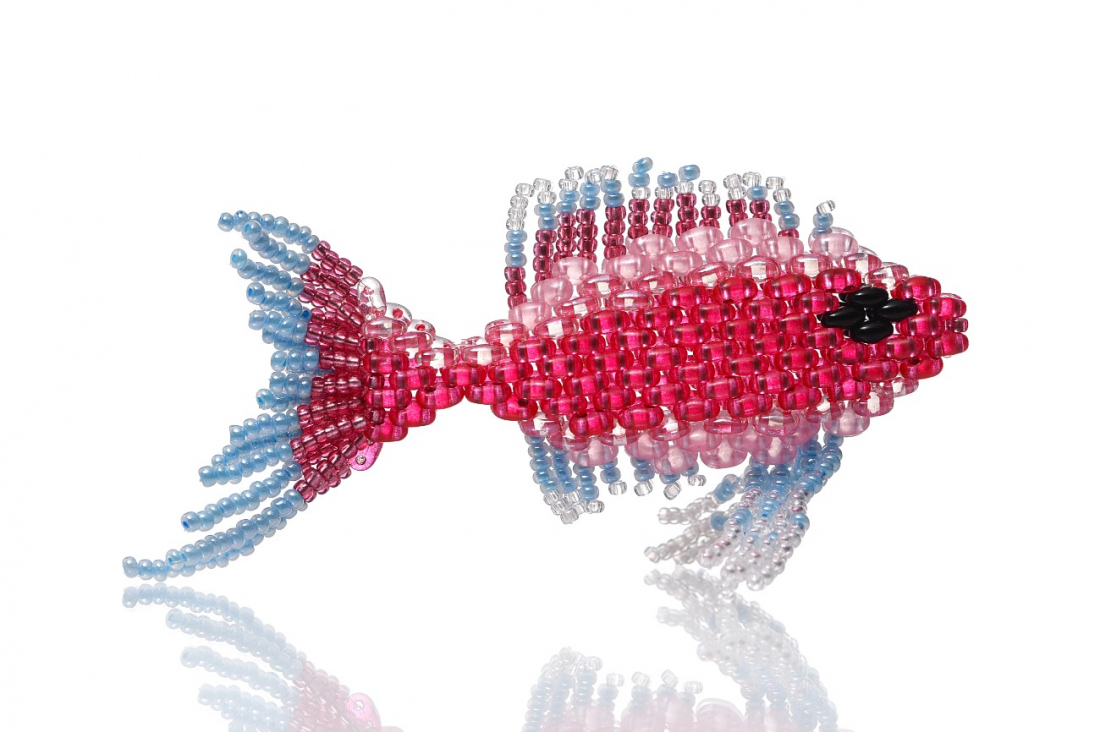
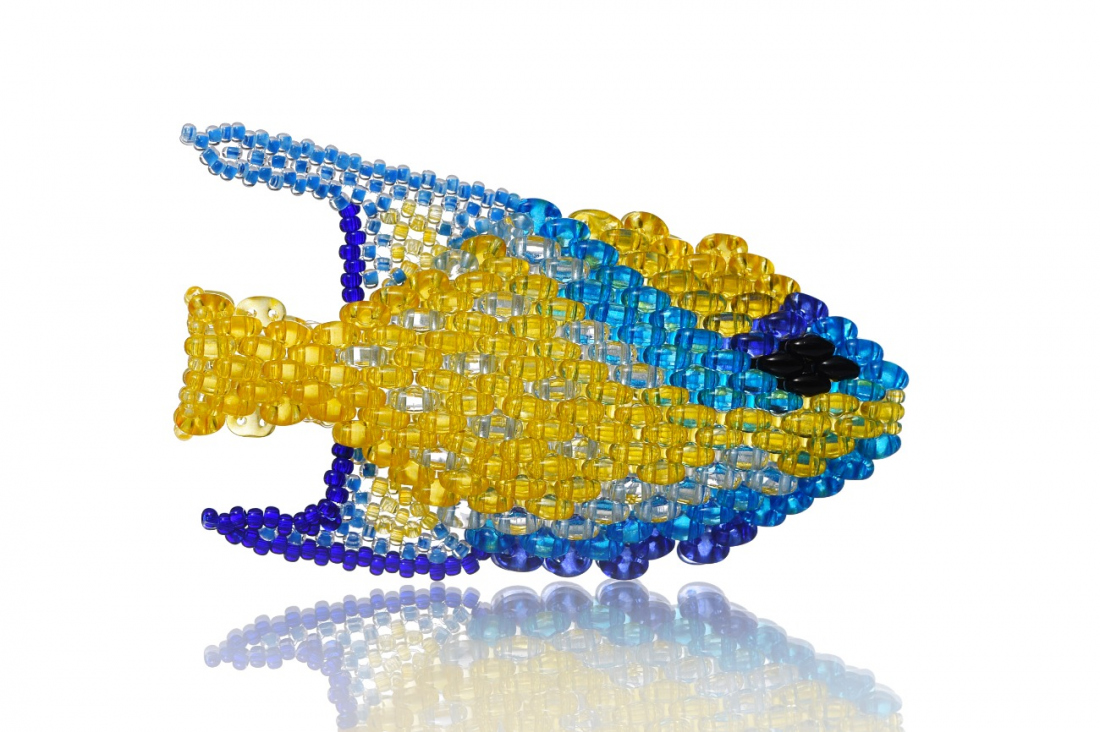
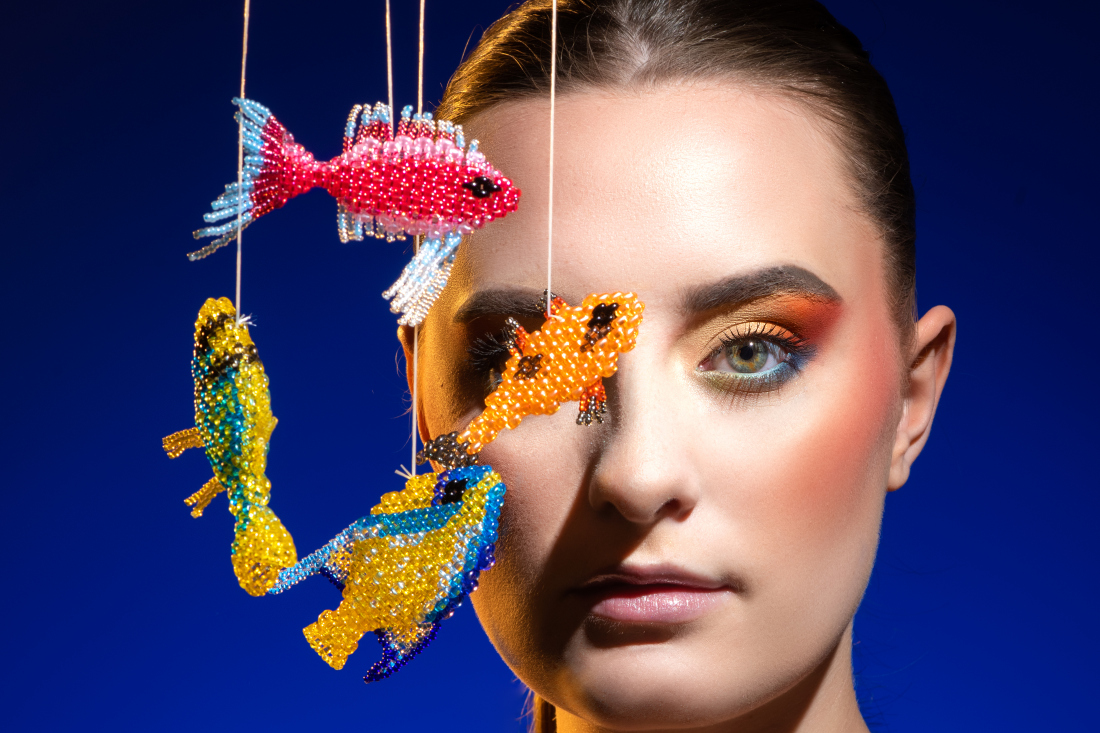
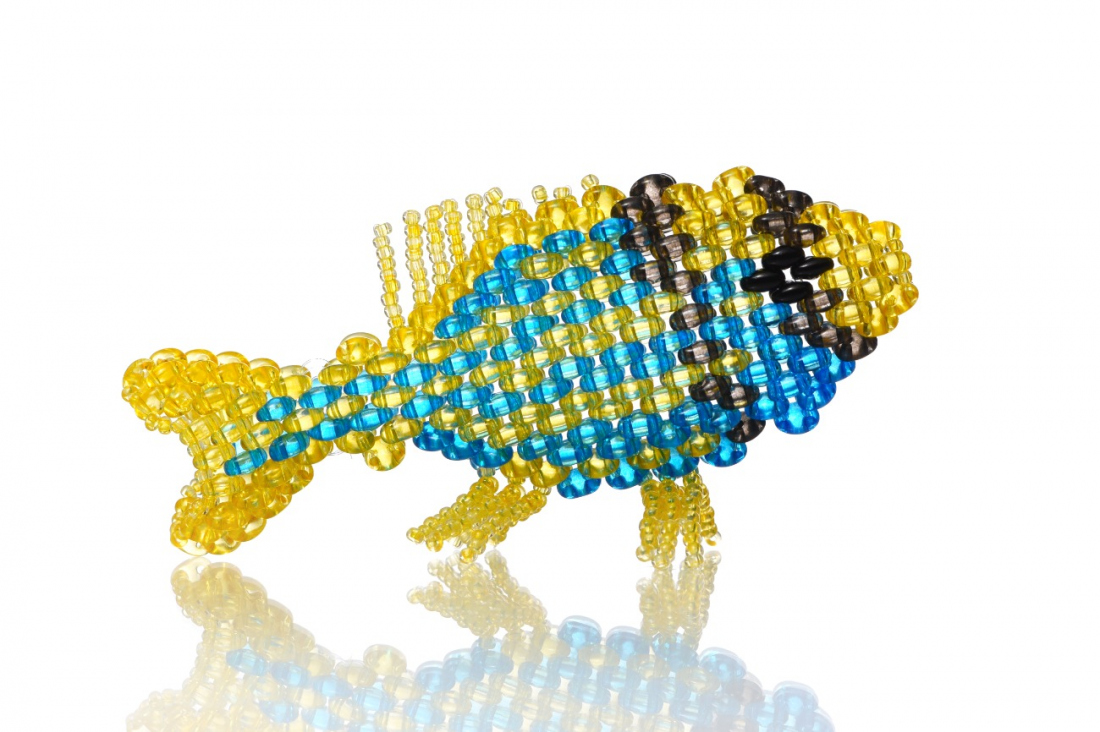
Sun, holidays, the colorful sea world... Try out the creative options provided by unique Czech PRECIOSA Twin™ seed beads and create several fish from the underwater world of the coral reef just for fun. Use your free time during the summer holidays for creative work with this oval two-hole seed bead. Preciosa Ornela offers instructions and inspiration for the production of several colorful sea fish. We wish you much summer holiday inspiration with PRECIOSA Twin™ seed beads and all the other types of Czech seed beads.

Ambassadors

Helena Chmelíková

She is able to switch from luxurious and extravagant fashion show pieces to the preparation of hobby projects,

Learn More

Procedure

Step 1

The fish consists of two identical adjacent T surfaces. A hollow will be created between them and the fins will be placed at the joint between them. The T are placed in a “zig-zag” fashion. Sew through the holes that are located above one another (fig. no. 1a).
The basic shape of the fish consists of 25 columns that zip together and 13 rows (fig. nos. 1b + 1c). Cut off a long piece of line (for example, an arm’s width). Start at the mouth in the centre of the line. String and sew around the T. Both T surfaces at the same time. Gradually add T. Also start stringing R at the site of the fins. The line will intersect twice in one hole of the T after sewing through all the holes above one another; in some places only in the T, but also in the R at the site of the fins. Sew through the empty hole on the same T. Continue sewing the next column (fig. no. 1d).

1 / a

1 / a

Step 2

The fins on the back are only simple. Place the seed bead fins at the site of the join between the T. String the required number of R. Use the top R as a stop bead. Thread the needle with the line back through the remaining R.

2

Step 3

Create the lower double fins in the same way as the top fin. The R at the site of the join between the T is common for both sides. String the necessary number of R. Use the top R as a stop bead. Thread the line through the remaining R. Omit the last R in front of the fish’ torso. String the same number of R on the line as on the already completed side. Once again, thread the needle with the line back through, including through the last one by the body, but just leave the top seed beads as a stop bead.

3 / a

Step 4

In the case of the larger fins, sew the frame in advance and attach them to the body. Then fill in and reinforce the fins after completing the sewing of the fish.

4

Step 5

Form the eye from 4x T; in ones at the edge of the eye and in twos in the central column.

5

Step 6

Modify the number of rows and the number of T in the individual rows according to the shape of the selected fish.

Step 7

Sew the tail in the same way as the fish’ body. The number of columns depends on the length of the tail.

7 / a

Step 8

The snout in smaller fish consists of only 2x in one half; a total of 4x (figure no. 8a + 8b). In the case of the bigger fish, insert 1x R between the 2x T (figure no. 8c + 8d). In wider fish, the snout is created using 3x and 2x (figure no. 8e + 8f).

8 / a

Downloads