Seed bead flower

Difficulty: 3
Technique: basic beadweaving

Earrings made from PRECIOSA Terra Intensive Lining seed beads

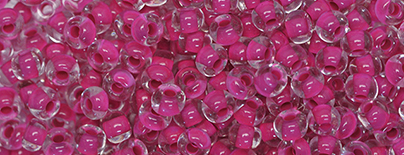
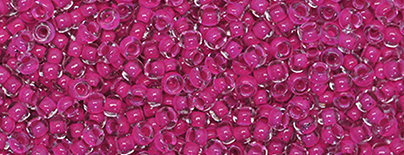
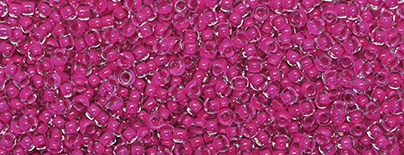
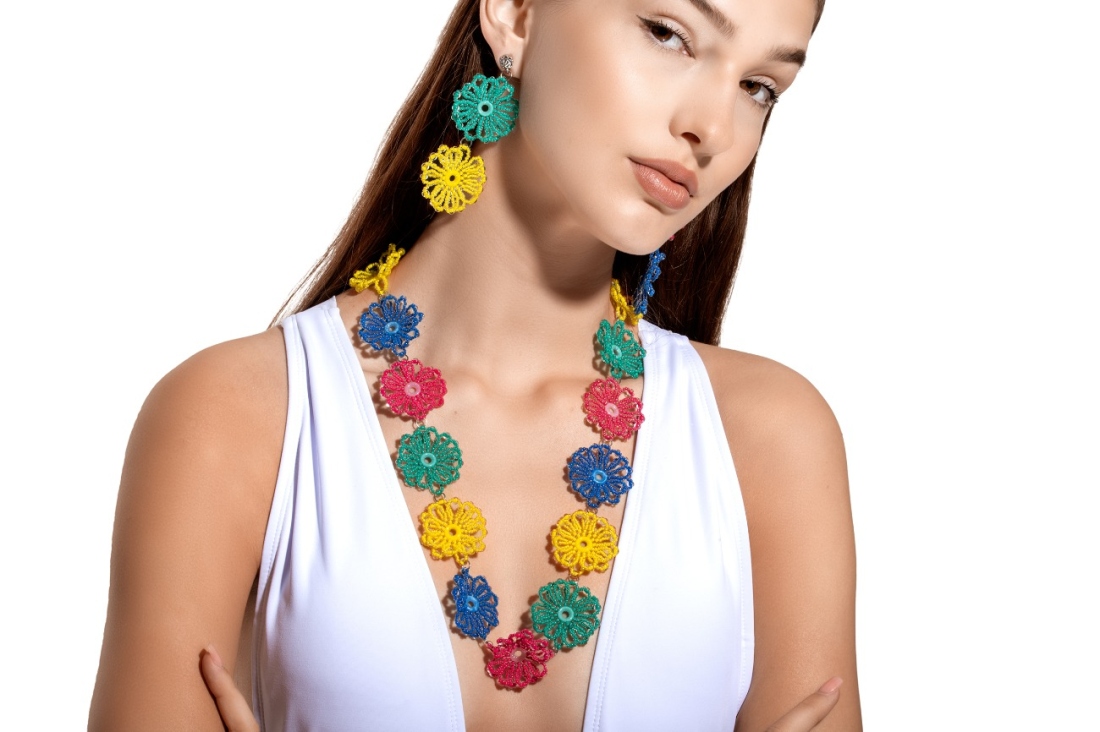
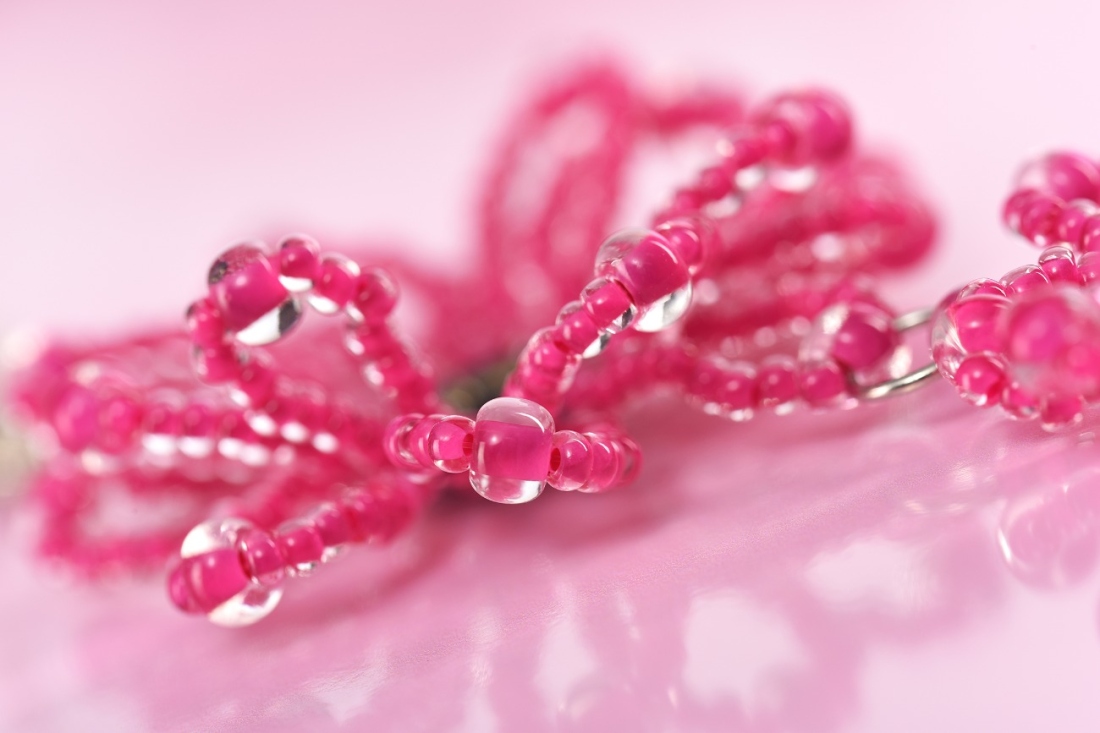
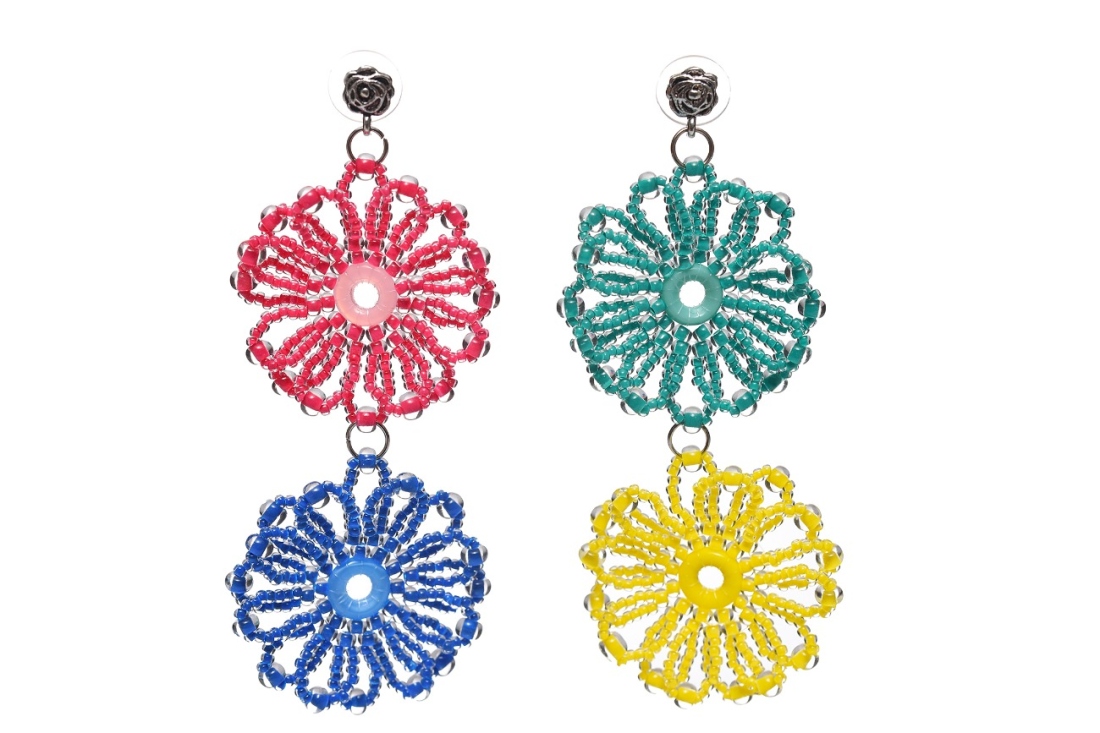
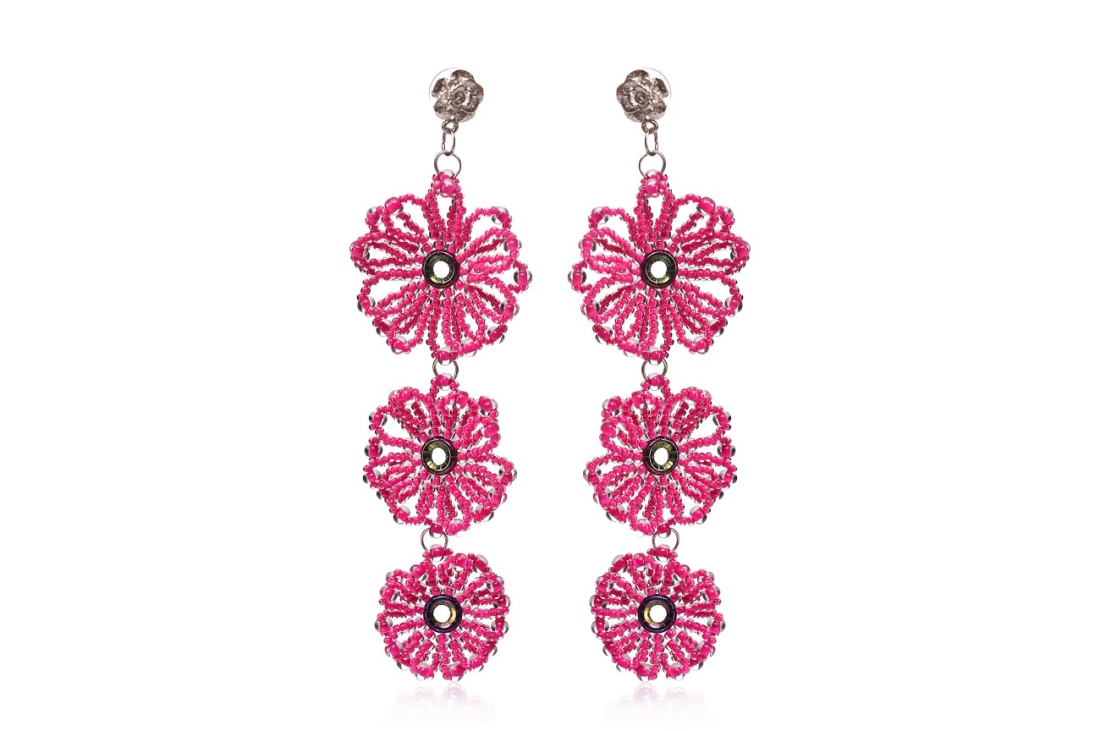
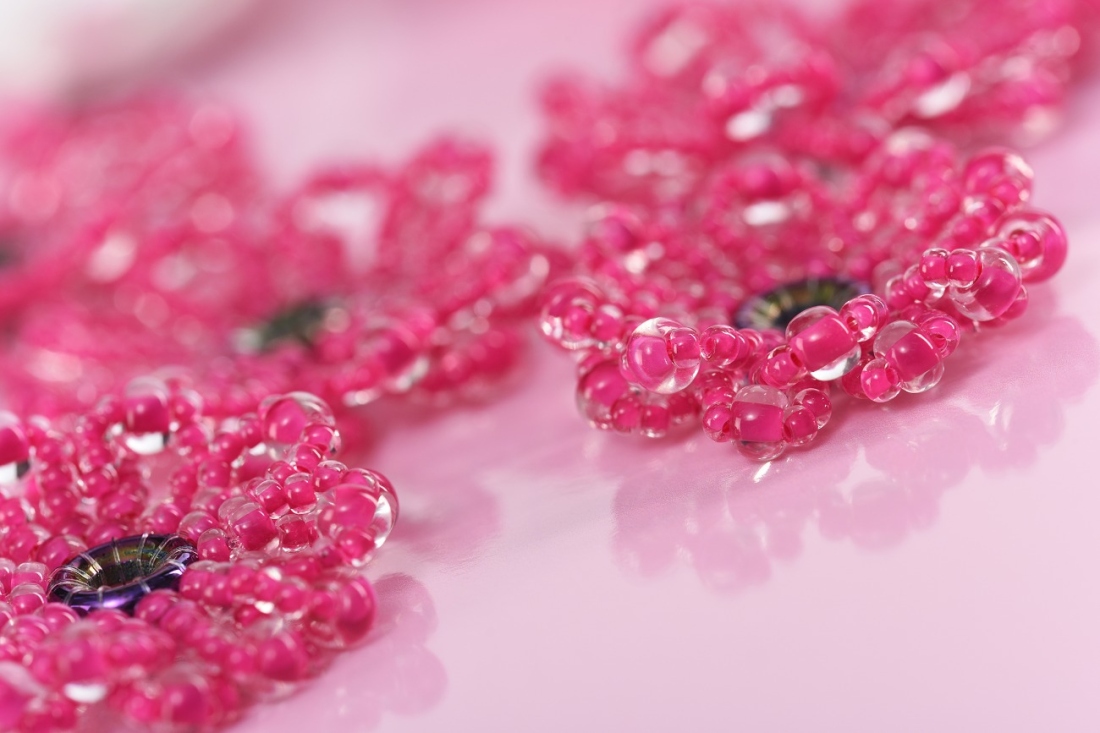
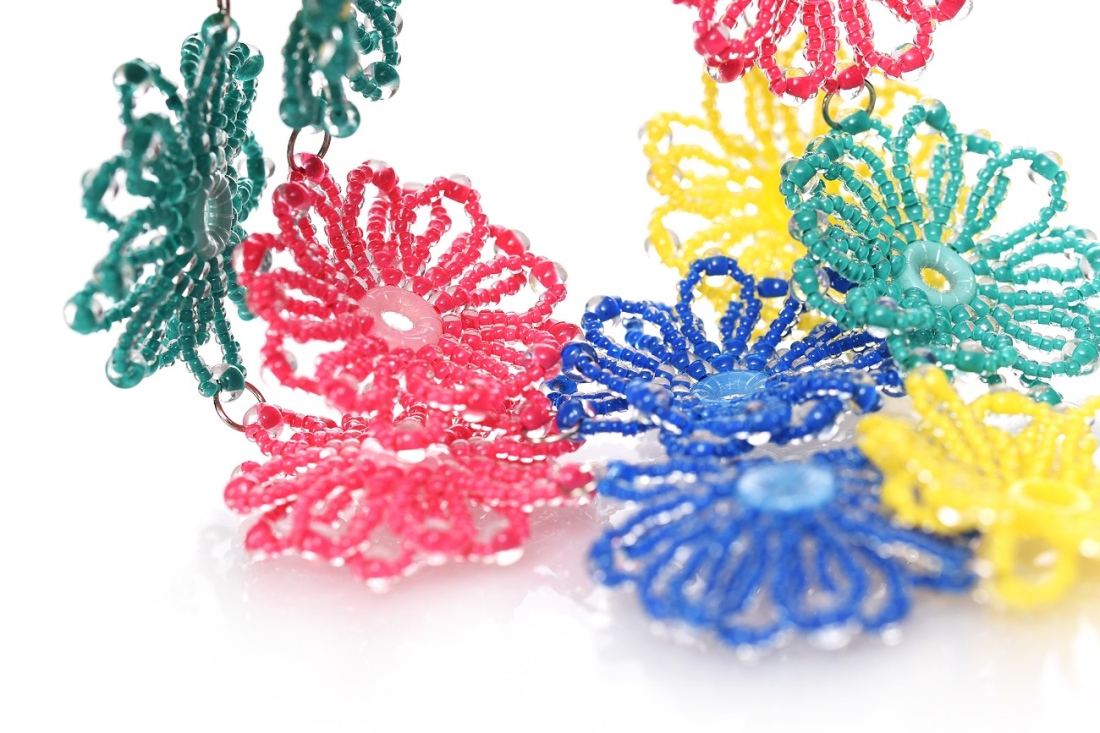
Let your jewelry collection blossom! Make some playful and brilliant seed bead flowers that you can connect into an original necklace or earrings. Choose any colors that you like. We have used seed beads from the PRECIOSA Terra Intensive Lining collection. This tutorial is suitable for both beginners and more advanced beadworkers – all you need is a little patience, skilful hands and a love of seed beads.

Ambassadors

Jana Shweiki

Designer with playful and clean-lined designs of jewelry made using Czech beads and seed beads from the PRECIOSA Traditional Czech Beads™ range.
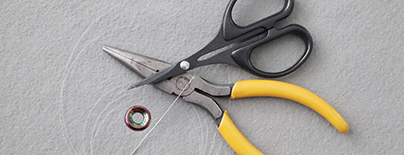
Learn More

Procedure

Step 1

Cut off about 100 cm of the line. String 1x R8, thread the line through a fishing ring (fig. no. 1a) and return to the R8 (fig. nos. 1b + 1c).

1 / a

Step 2

String 1x R8, thread the line through the fishing ring and then return to the R8 (fig. nos. 2a + 2c). Continue this procedure until you have sewn around the circumference of the ring (fig. no. 2d). Tie a knot and the row is finished (fig. no. 2e).

2 / a

Step 3

String 2x R8, pass the needle under the line and return through one R8 (fig. nos. 3a + 3d).

3 / a

Step 4

String 1x R8, pull the needle under the line and return to the R8 (fig. nos. 4a + 4b). Repeat this until such time as the entire row around the circumference has been completed. You should have added an odd number of R8 in this row. At the end, pass the needle through the top of the R8 that was first added in the second row and return upwards through the next R8 (fig. nos. 4c + 4d).

4 / a

Step 5

The line emerges upwards from the R8. String 8x R10, 1x R6 and 8x R10 and pull the needle downwards through the adjacent R8 (fig. nos. 5a + 5b). Pull the needle upwards through the adjacent R8 (fig. no. 5c). Repeat this step until all the petals have been completed (fig. nos. 5d + 5h).

5 / a

Step 6

Turn the flower over (fig. no. 6a) and fill in the spaces between the petals from the last step. String 8x R10, 1x R6 and 8x R10 and pull the needle downwards through the adjacent R8 (fig. nos. 6b + 6c). Pull the needle upwards through the adjacent R8 (fig. nos. 6d). Repeat these steps until you have all the petals (fig. nos. 6e + 6g).

6 / a

Step 7

Sew the ends of the lines into the nearest rocailles, cut them off and the flower is now finished (fig. no. 7). You can make flowers in different sizes by adding or reducing the rocailles in Steps 5 and 6, i.e. when creating the petals, and you can then use them to make earrings or a necklace.

7

Downloads

This website is using cookies

To improve our services and provide information that suits your interest, we use the advanced website traffic analytics tools. However, we need your consent. More information about how we process and protect your data can be found in the privacy statement. We ask you for approval of the terms.

Functional cookies These cookies are necessary for the proper functioning of the website and therefore cannot be turned off.
Analytics cookies Analytical cookies help us track and analyze the way visitors interact with our site in Google Analytics 4. This information allows us to improve content and provide a better user experience.
Marketing cookies Reading and writing cookies for marketing purposes for advertising systems such as Google Ads or Sklik. These cookies allow us to track user behavior and measure website performance and the effectiveness of our advertising campaigns.
Personalized advertising Remarketing cookies allow us to present you with personalized advertising based on your previous interactions with our site in systems such as Google Ads, Sklik.
Use of personal data With this option, you consent to the sending and processing of your personal data to Google for the purposes of targeting and evaluating online advertising and targeted marketing.