Seed bead chicks

Difficulty: 3
technique: Stringing, Weaving around, Wirework, Gluing

Spring inspiration

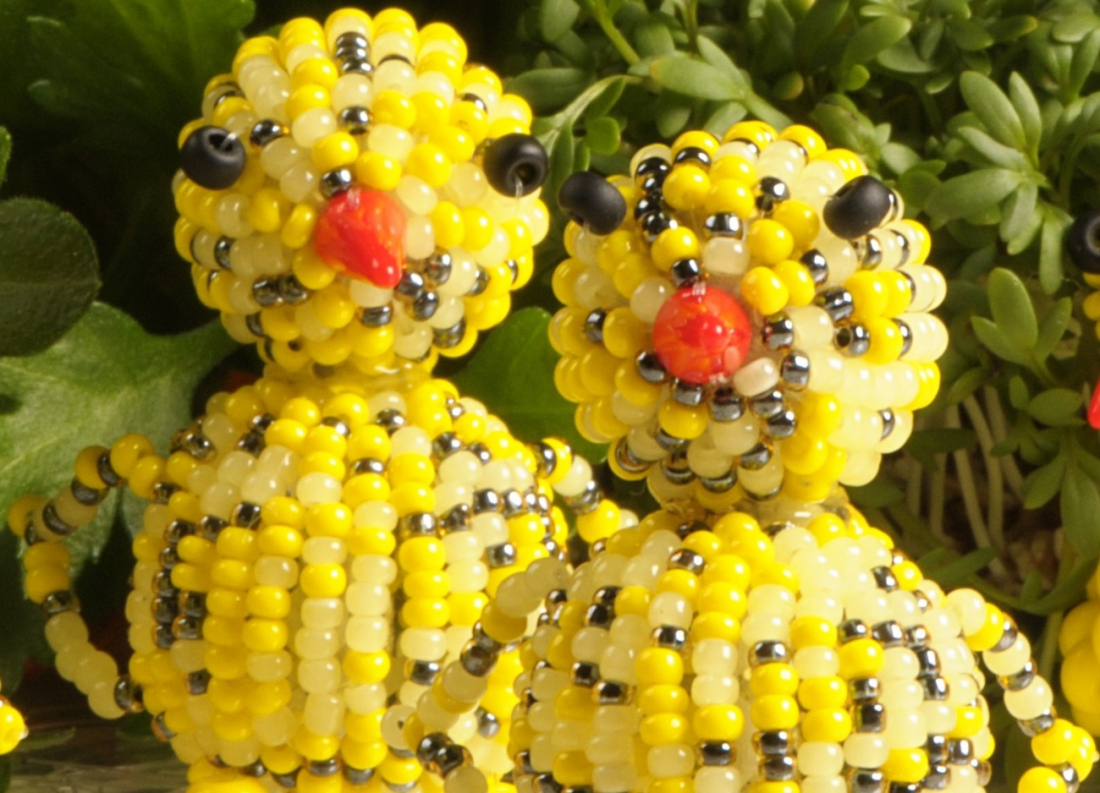
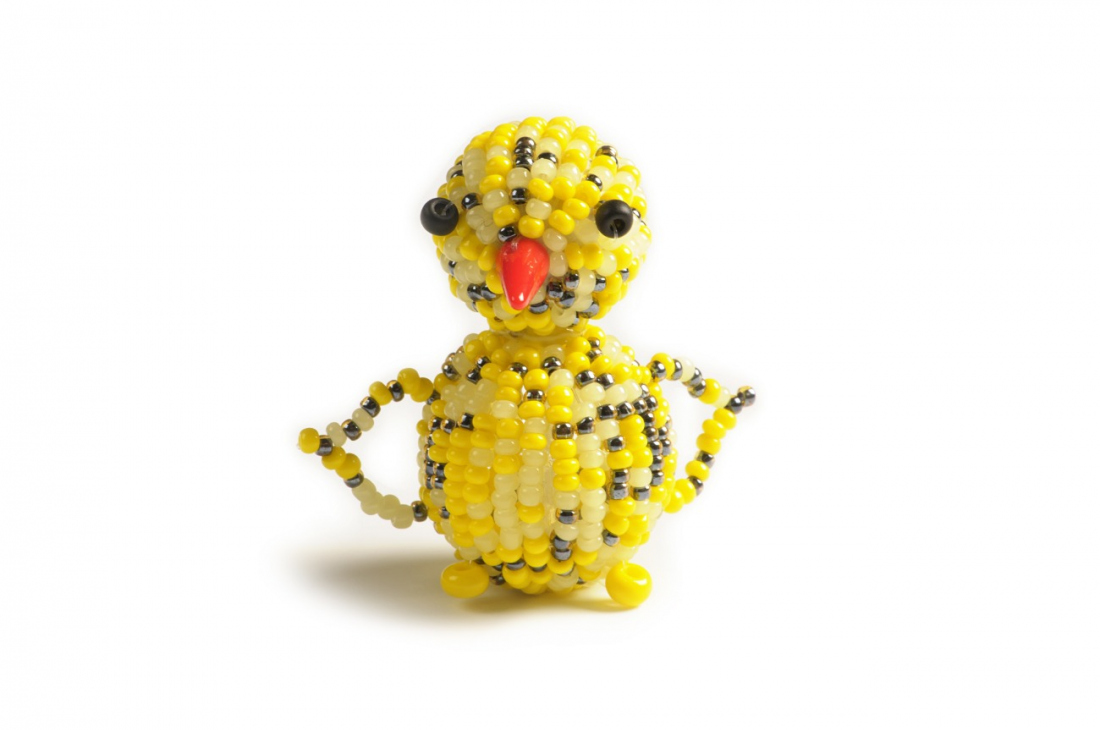
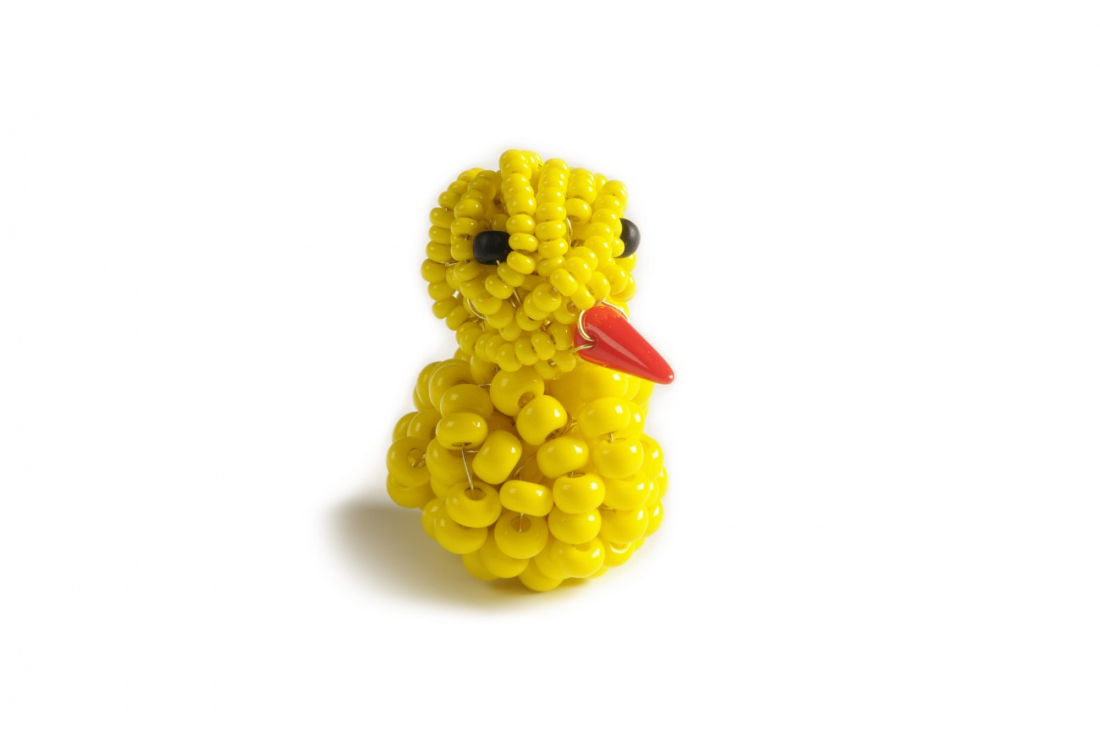
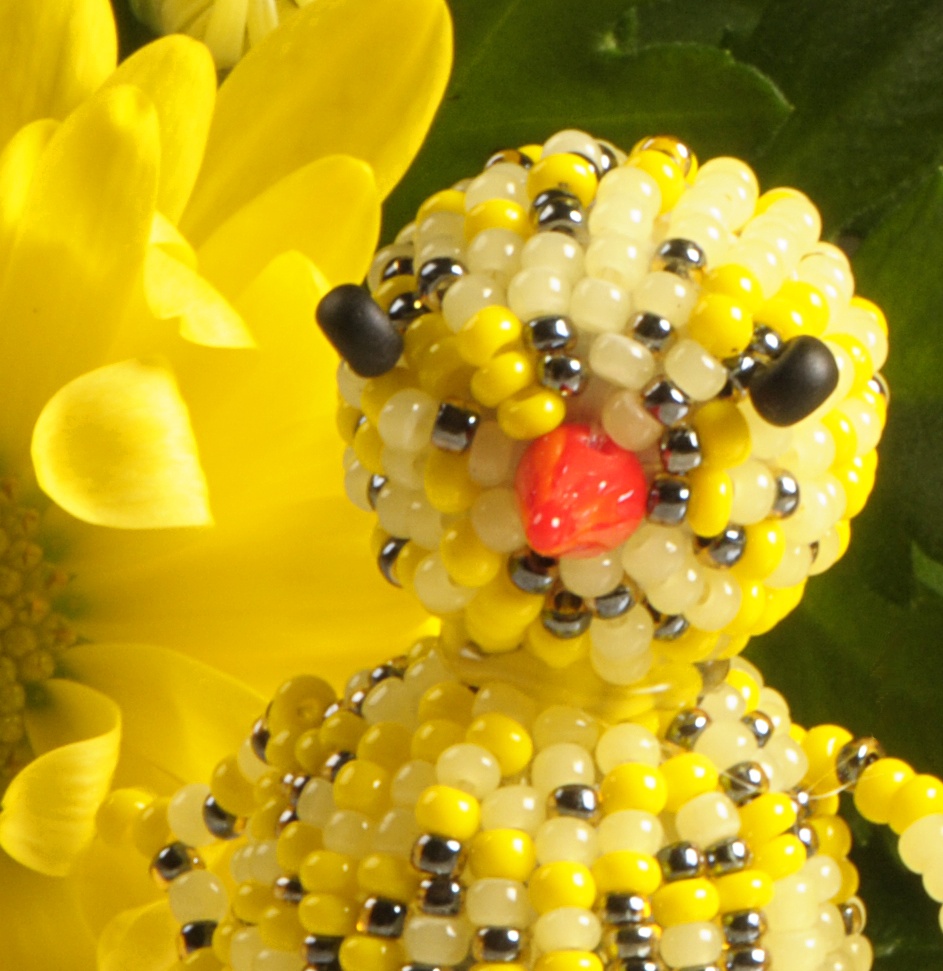
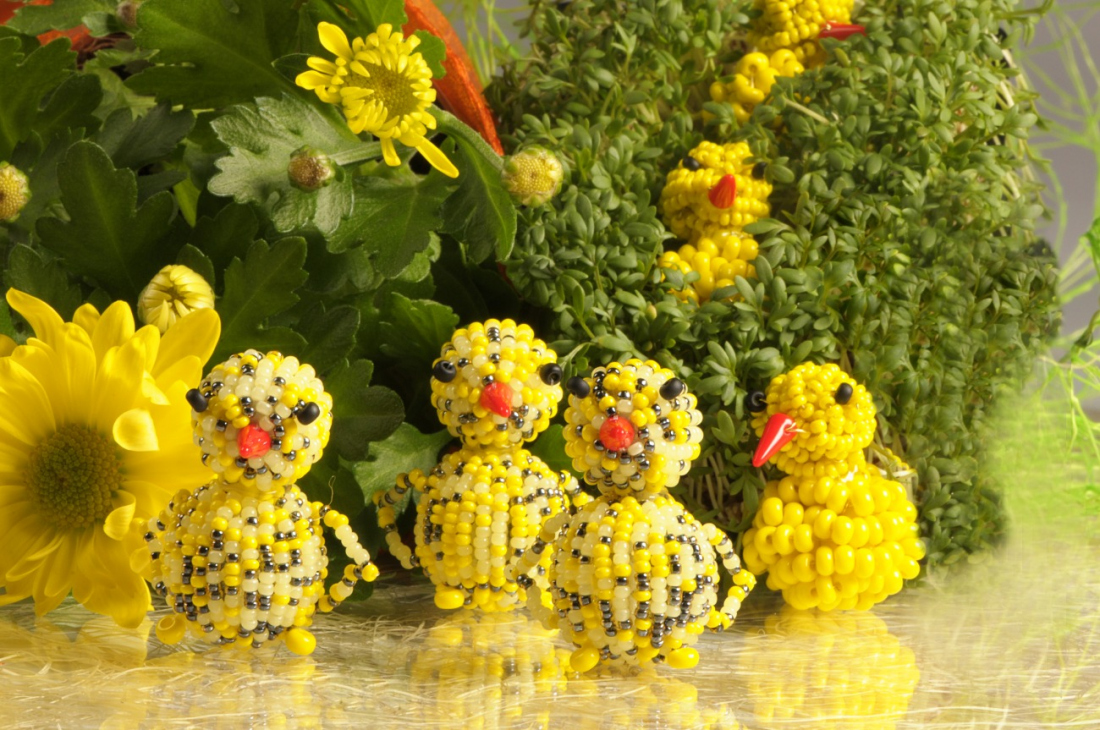
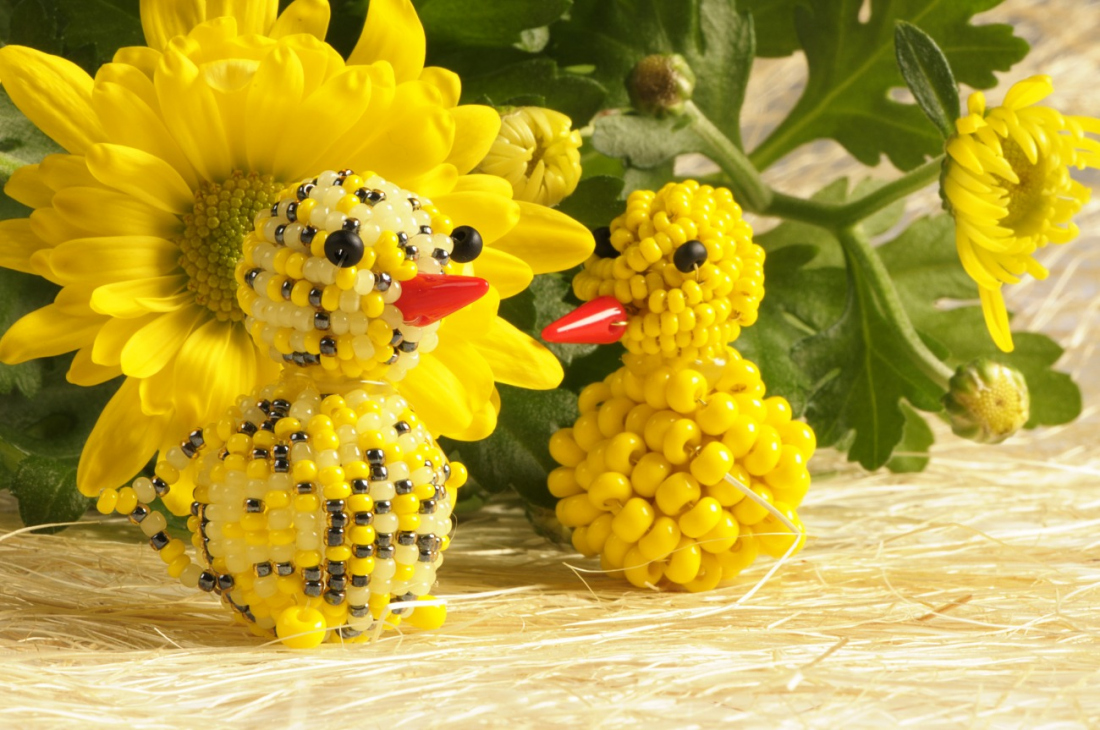
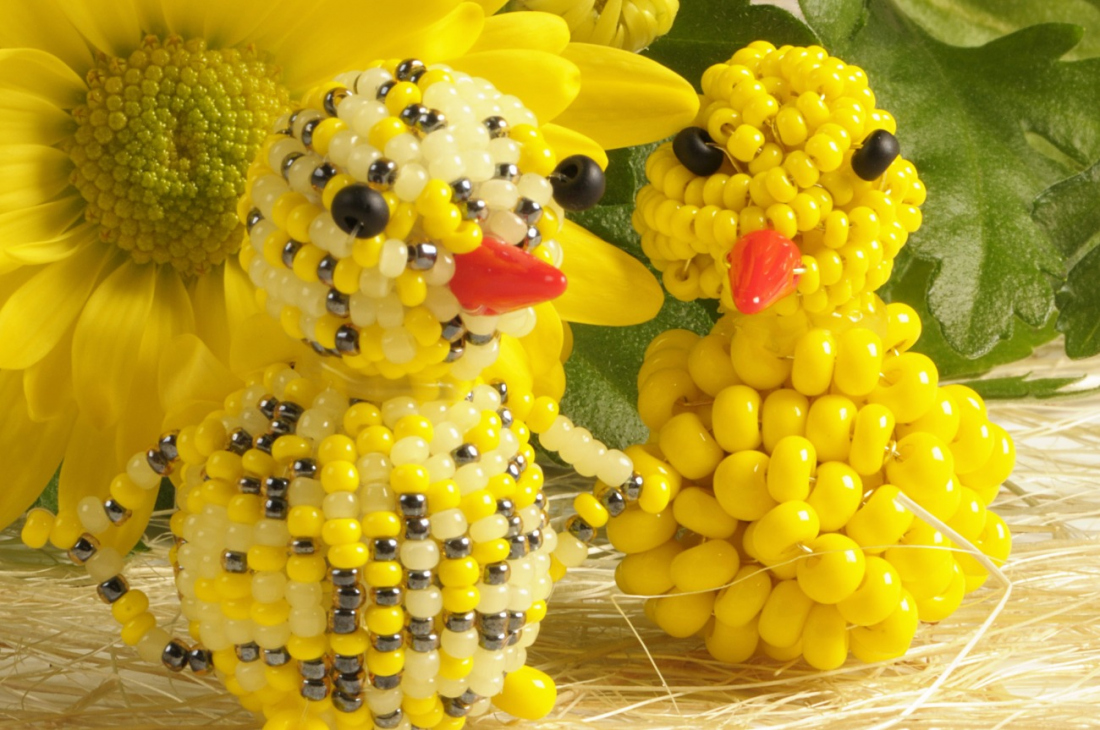
Preciosa Ornela presents a simple tutorial for the creation of spring baby chicks made from seed beads. Let’s celebrate spring with seed bead decorations!
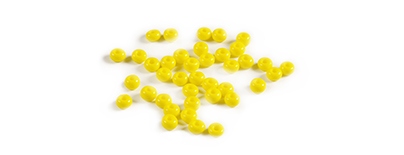
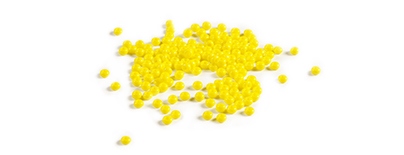
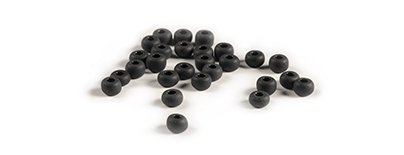
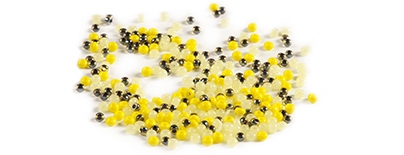
Preciosa Ornela celebrates spring with Czech seed beads from the PRECIOSA Traditional Czech BeadsTM brand. The symbols of spring essentially include chicks, ducklings and goslings. Preciosa Ornela has prepared a relatively simple tutorial for creating spring chicks from seed beads. You can adapt the selection of opaque colors and the resulting size according to your needs. You are sure to be surprised by the easy procedure and the guaranteed success of the preparation of these interesting spring decorations. The basic creative material for the creation of the spring-Easter decoration is the PRECIOSA Rocailles in the distinctive yellow, white and metallic grey opaque colors while the beaks are made using the Spike bead in its smallest size. Preciosa Ornela wishes you happy spring beadworking with seed beads from the PRECIOSA Traditional Czech BeadsTM brand.

Ambassadors

Helena Chmelíková

She is able to switch from luxurious and extravagant fashion show pieces to the preparation of hobby projects,
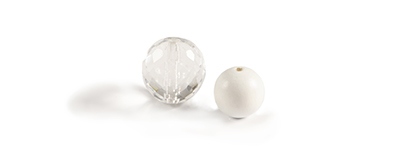
Learn More

Materials & Tools

Other materials

A ball – wooden, glass or plastic - size 15 mm, 20 mm

Tools

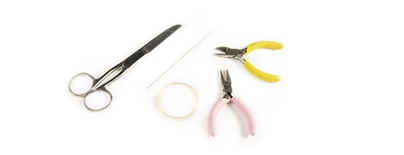
0.33 mm gold binding wire, glue, a melted adhesive pistol, a thin stringing needle, a 0.20 mm fine line, scissors, snipping pliers and flat nose pliers (for the flattening of the beginning of the line)

Procedure

Step 1

A wire chick

First create the head. Prepare 1 m or wire and string about 36 cm of R10 onto it. Secure the beginning of the stringing by passing the wire back through one of the outer rocailles. Twist the wire with the strung seed beads into a small ball which you should strengthen and secure by passing the remaining free wire through it. When passing the wire through the seed bead ball, it is possible to improve the resulting shape by adding further R.

1

Step 2

String the pressed Spike bead (S) onto a new ca 30 cm long wire and this will become the beak. Cross the wire with the strung S and twist the bead several times. Pass one end of the wire through the seed bead ball at the point of the beak and pull it out at the site of one of the eyes. String 1x black R8. Thread the wire through the seed bead ball and pull it out at the site of the second eye. Once again string 1x black R8. Return the wire to the beak made with the S and connect both ends of the wire and twist them several times. Thread the twisted wire through the created head and cut off any excess.

Step 3

String ca 30 cm of R6 onto a 1 m long wire. Continue as in step 1 when creating the head. Connect both sections with melted adhesive.

3

Step 4

A sewn chick

Prepare a mixture of rocailles in the same size in the ratio of 1:1:1. Sew around the ball with randomly strung seed beads. Thread the line through the hole of the large bead, string the amount of seed beads according to the illustration (fig. no. 4). Start with the largest amount (14x = the head, 20x = the body), tie the line and tighten it well with a double knot, then proceed by stringing a smaller amount and gradually attempt to fill in the surface of the ball.

4

Step 5

Create the head using the smaller ball with sewn on seed beads. Once the ball has been completely sewn around, string 1x S and thread the line back through the hole in the ball. String 1x R6 on the other side and once again thread the line through the hole of the ball and through the S. Then thread it through the hole in the ball once again. Tighten the stringing and tie the two ends of the line together using a strong knot. Thread the line through one seed bead stringing once again approximately three seed beads in front of the beak made from the S, string 1x black R8 onto the line and pass back through the secondary stringing. Create the eye on the second side of the head in the same way, tighten the line and tie the two ends of the line together. Pull both ends into the sewn ball and cut off the remainder.

Step 6

Create the body by sewing round the larger ball. Continue in the same way, this time according to figure no. 6. 

6

Step 7

After sewing round the ball, thread the line through one stringing one more time approximately 5x seed beads from the edge, string 1x yellow R6, leave out 2 seed beads and thread the line through the already strung seed beads. Repeat the same about 5 to 7 stringings on. This will create the feet. 

Step 8

The wings are made in a similar way. Thread the line through about four rows of the stringing from the feet and add 10x R10 at the site of the 7th seed bead from the bottom. Thread the line through the ninth R10 in the opposite direction one more time, add 8x R10 and thread the line through the same strung row as where you started to add seed beads at the site of the 5th seed bead above.

Step 9

Create the wing on the second side of the body in the same way. Tighten the line appropriately and tie the two ends of the line together. Then thread both ends through the hole in the bead and cut off the ends. Connect the head and the body with melted adhesive.

9

Downloads