Pellet Bangle

Difficulty: 2
Techniques: ladder stitch

Bracelet with PRECIOSA Pellet™ beads

Playful Perfection is the name of a book full of tutorials written by the internationally renowned designer and author Kerrie Slade. The book includes 30 tutorials on how to produce a wide variety of types of costume jewelry made using the beads and seed beads from the PRECIOSA Traditional Czech Beads™ brand.

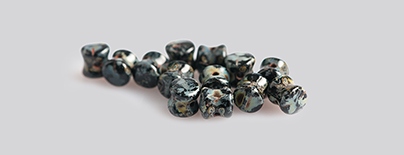
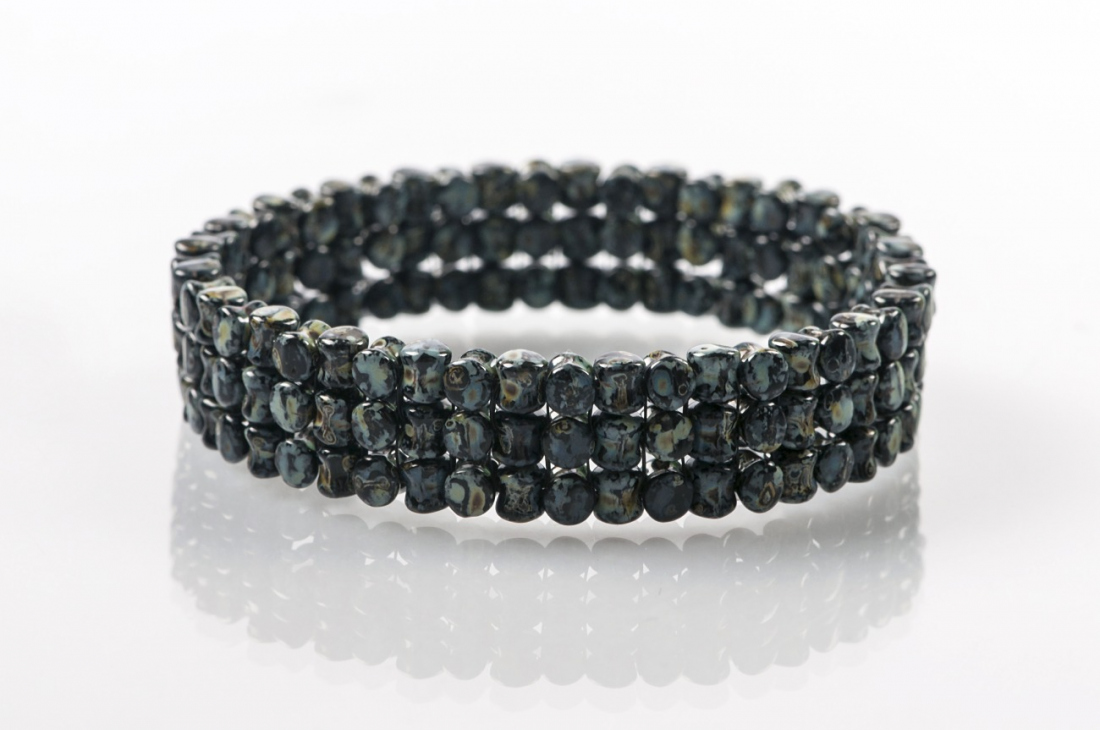
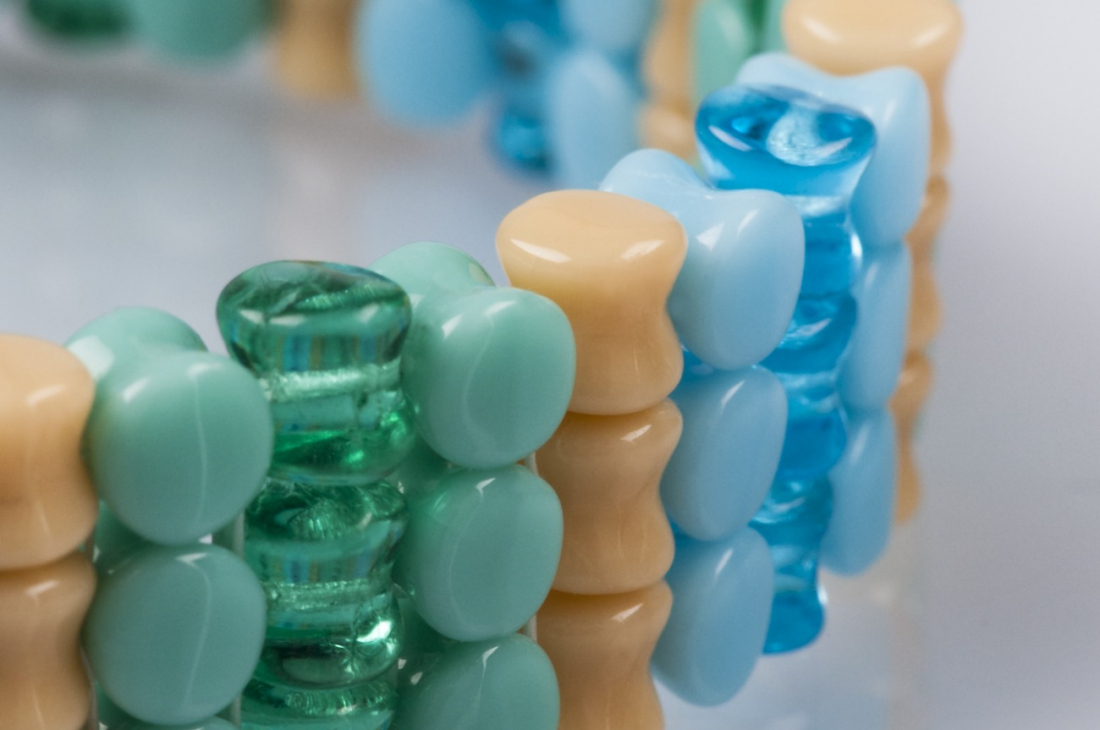
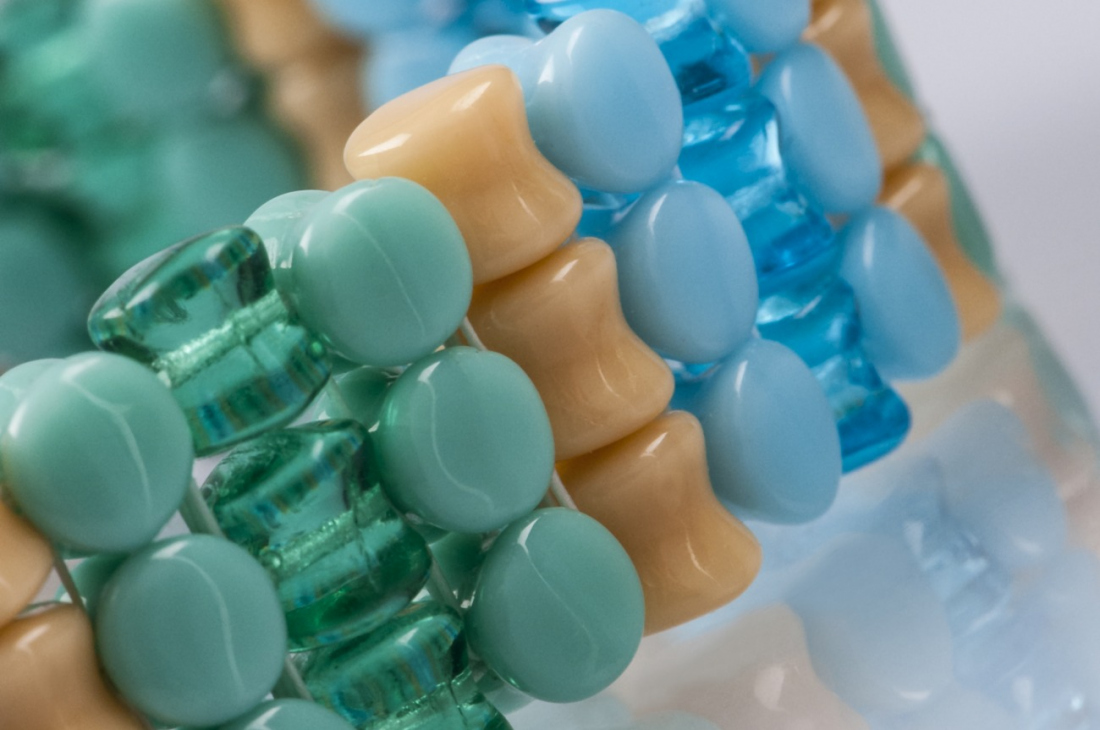
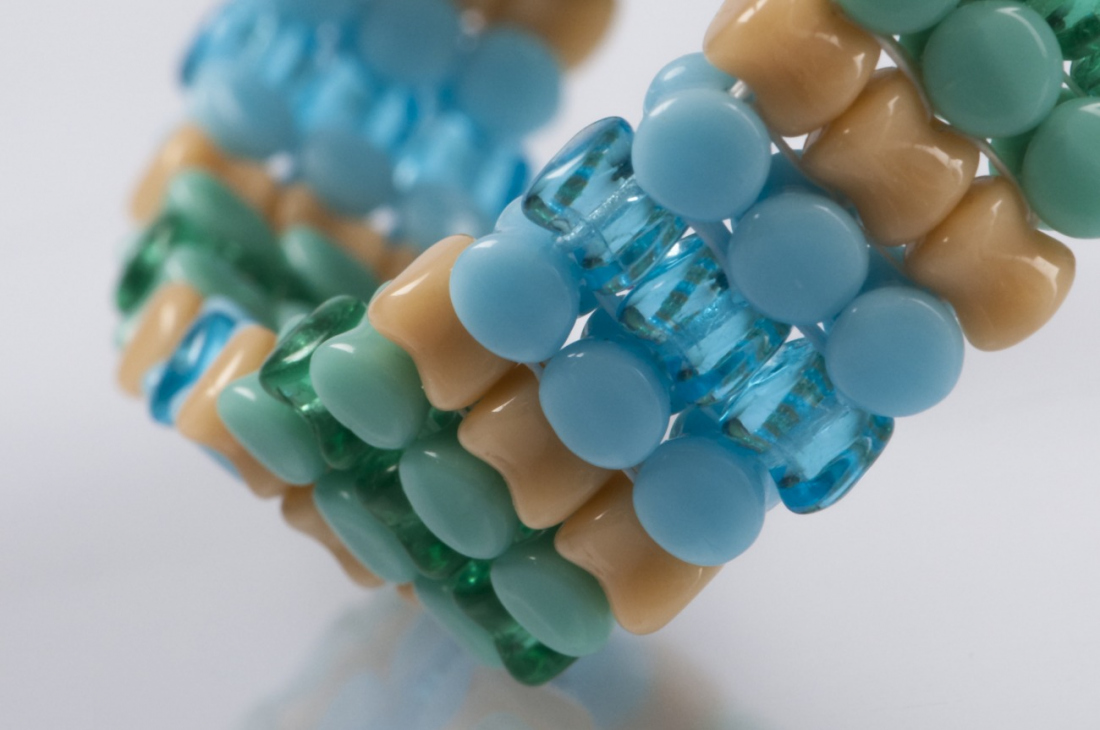
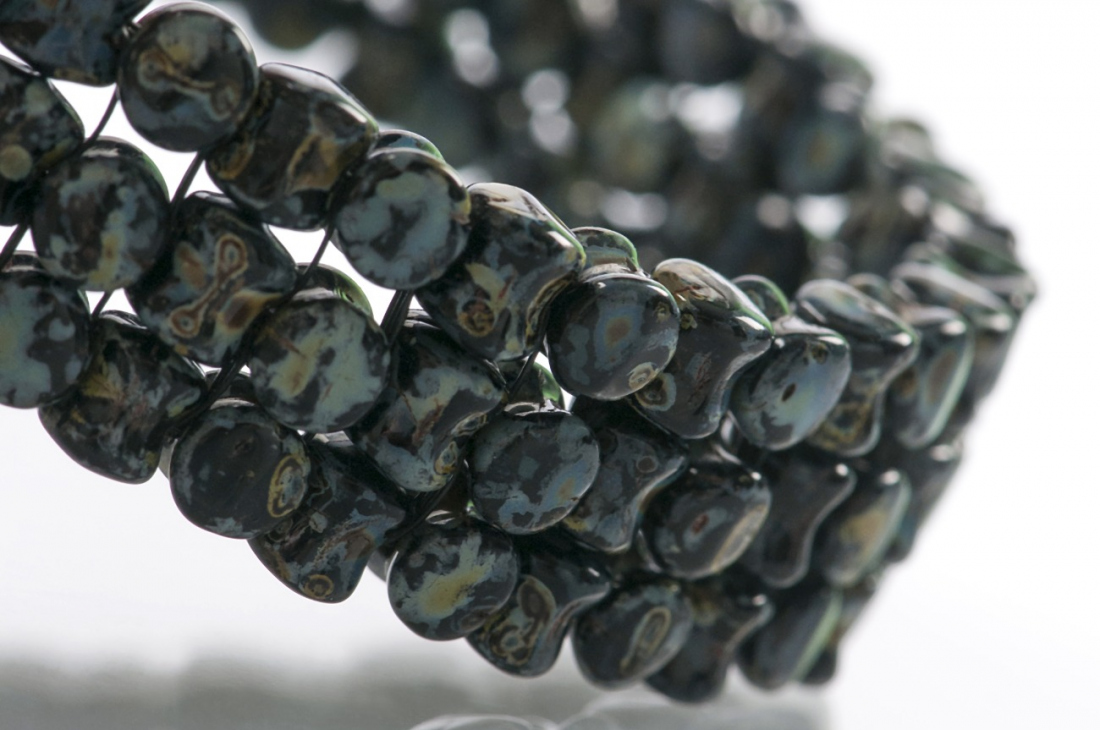
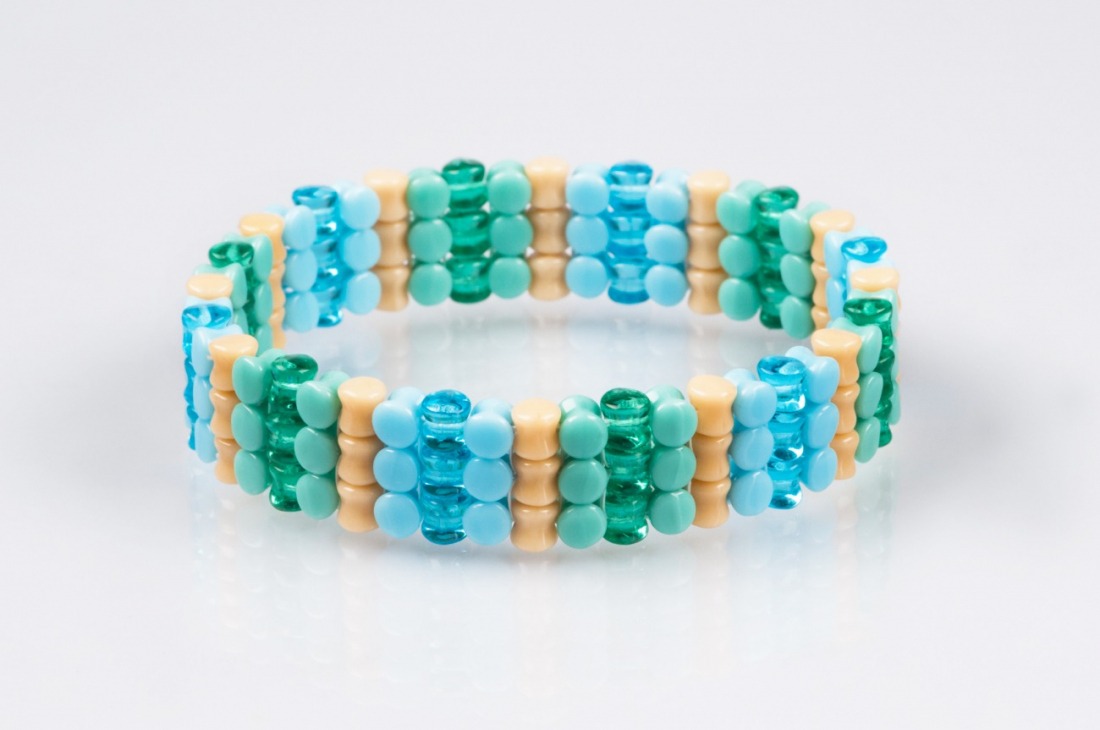
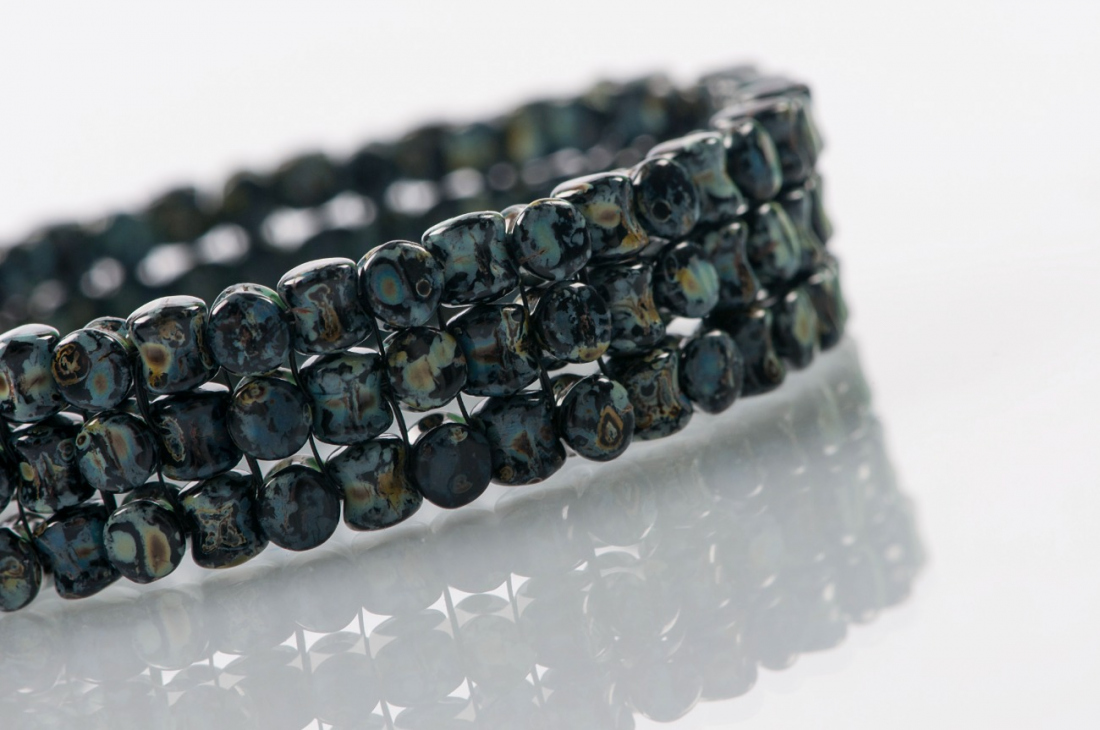
Now, you have the opportunity to try out one of the tutorials from this publication and to make a bracelet from PRECIOSA Pellet™ beads. The book Playful Perfection is on sale from the author.


Ambassadors

Kerrie Slade

Kerrie Slade have used Czech PRECIOSA Traditional Czech seed beads in her creation.

Learn More

Material and Tools

Materials

Strong beading thread to match your chosen beads (8 lb smoke Fireline or 0.20 mm black Wildfire); scissors; size 10 to 12 beading needles

Procedure

Step 1

Thread your needle with 3.3 m of thread (you may find it useful to tie the working end of the thread to the eye of the needle) and leaving a 20 cm tail, ladder stitch 3x P together. Make sure that the 3 Ps sit on top of each other with the flat circular ends facing front to back. See Figure 1.

1

Step 2

To start the next row pick up 2x P and pass your needle through the second P in the previous row and continue through the first P in the previous row. Make sure that the new Ps sit end to end with their sides facing front to back. See Figure 2.

2

Step 3

To complete the row, pick up 1x P and pass your needle through the second P added in this row and through the middle P of the previous row. Continue through the first P of the previous row and through the new P just added. Make sure that all 3 Ps in the new row have their sides facing front to back. See Figure 3.

3

Step 4

To start the next row pick up 2x P and pass your needle through the middle P in the previous row and continue through the first P of the previous row. The 2 new Ps should have the flat ends facing front to back. See Figure 4.

4

Step 5

To complete the row, pick up 1x P and pass your needle through the second P added in this row and through the middle P of the previous row. Continue through the first P of the previous row and through the new P just added. Make sure that all 3 Ps in the new row have their flat ends facing front to back. See Figure 5.

5

Step 6

Repeat steps 2 to 5 until your bangle is the required length (you will need an even number of rows so that the final row ends with the sides of the Ps facing front to back).

Step 7

To join the 2 ends of the bangle, ladder stitch the Ps in the final row to the Ps in the first row using the working thread (see Figure 6). Pass your needle through the joining beads and a row either side of them several times to reinforce the join. Tie off and trim both threads.

7

Step 8

To strengthen the bracelet it is recommended that you tie in a new 1 m length of thread and pass your needle through all Ps around the outside edge on either the top or bottom of the bangle. Travel to the other side of the bangle and travel through the corresponding Ps on the other side. Tie off and trim the thread.
Experiment with blocks of colour or create stripes but remember to keep a careful check of the number of rows required so that the pattern is evenly distributed.

8 / a

Downloads