Pastel Harmony

Difficulty: 3
Techniques: Loom Weaving

Bracelet made from PRECIOSA Rocailles

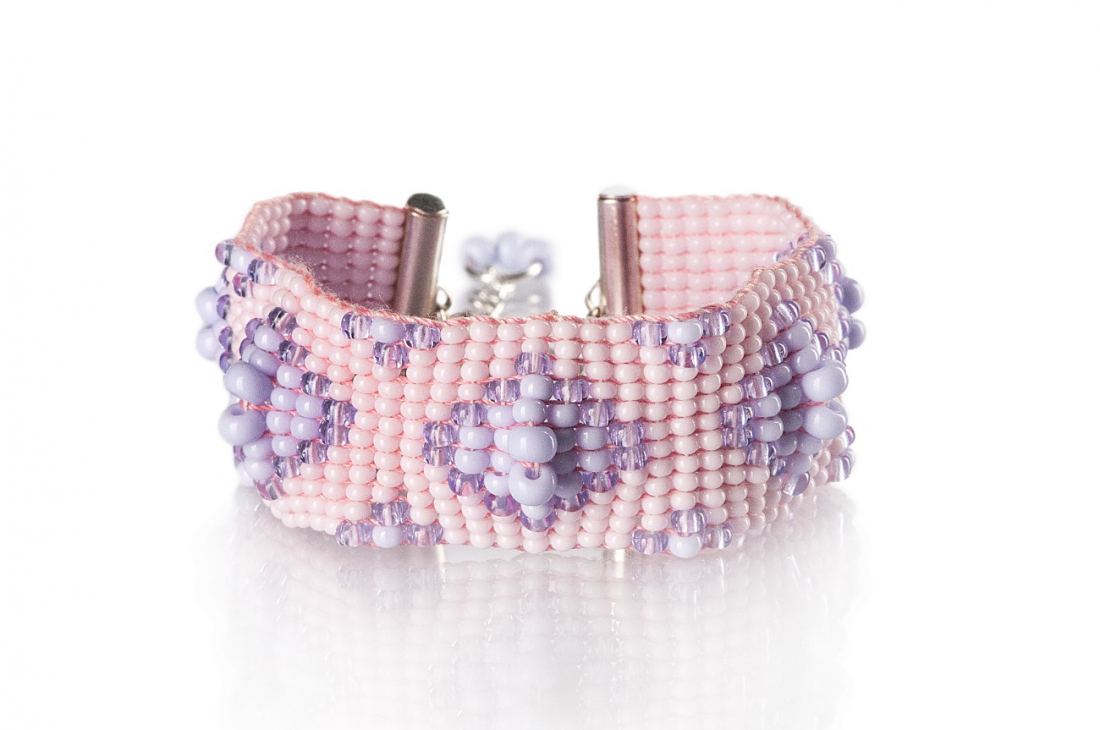
We would like to present a tutrorial on how to make a woven bracelet.

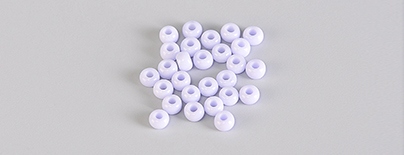
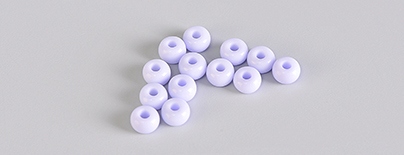
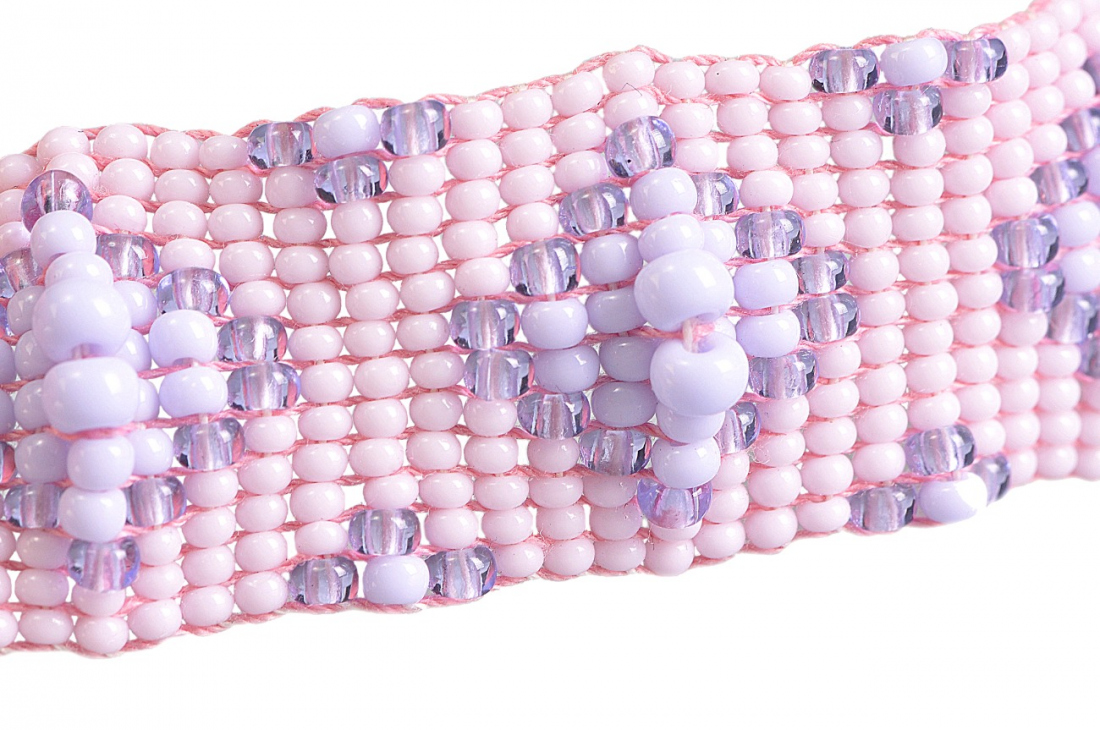
We have used the new seed bead pastel shades from the PRECIOSA Rocailles range in various sizes and in opaque and transparent glass. We wish you a lot of fun when making your patterns.

Ambassadors

Helena Chmelíková

She is able to switch from luxurious and extravagant fashion show pieces to the preparation of hobby projects,
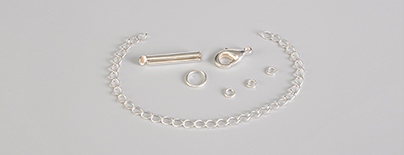
Learn More

Material and Tools

Materials

A hollow cylinder frame; a carabiner; 5 mm and 8 mm rings; an adjusting chain

Tools

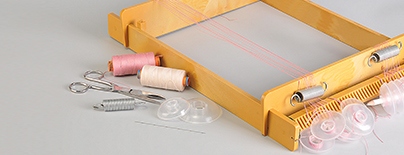
Thin and medium thread (Belfil-S 30 – the warp; Belfil-S 50 – the weft); a long thin needle; scissors; a small loom; flat nose pliers (for closing the rings); a disc or metal spiral (it enables the thread to be moved, for example when using the Kumihimo technique)

Procedure

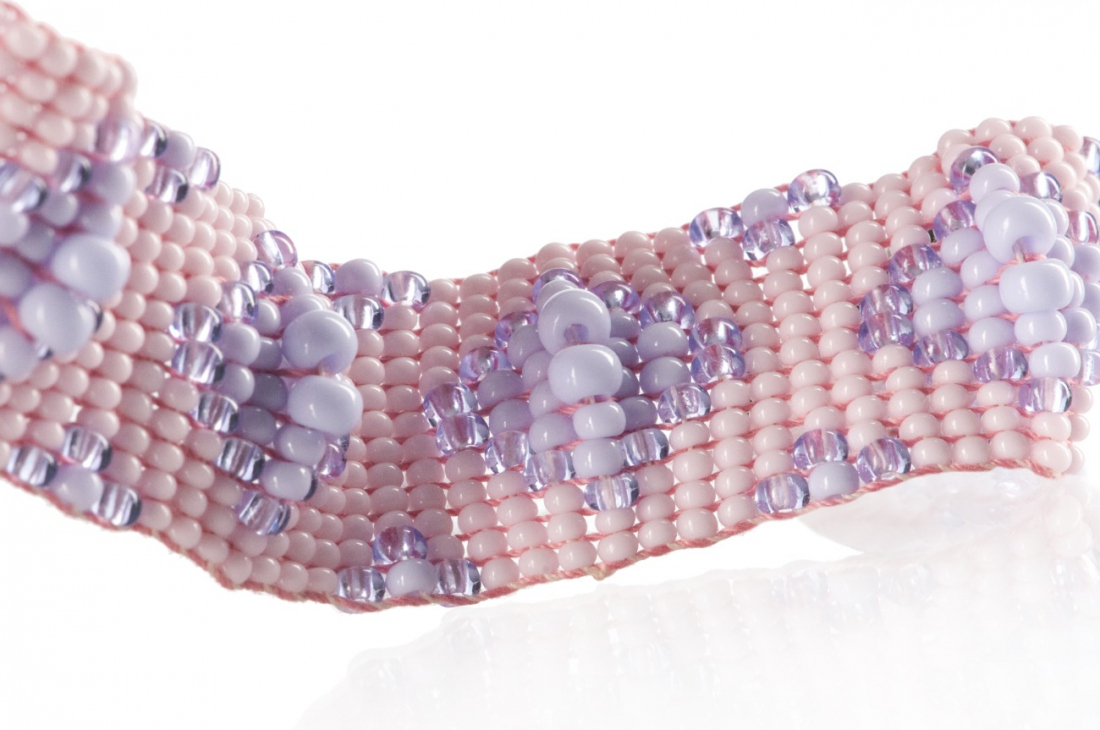
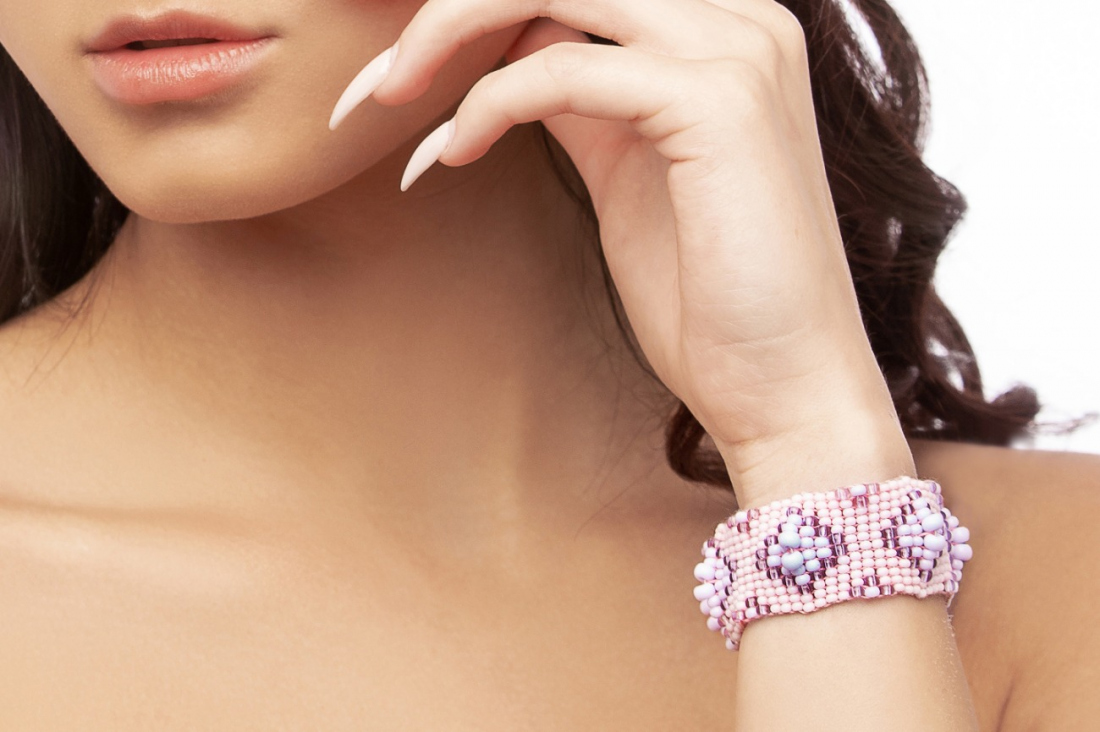
The bracelet is 2 cm (12 rows) wide. The woven section consists of 57 columns using R of different sizes. The total length of the bracelet with the fastening is 17.5 cm.


Step 1

Create a warp consisting of 13 threads. Use approximately the same shade as that of the rocailles (cream, light pink). Cut off a long piece of thread (4x the length of the loom), (fig. no. 1a). Fold it in half (fig. no. 1b). Secure the middle of the thread at one end of the loom (fig. nos. 1c, 1d). Wind the thread on at the opposite end of the loom. Secure it with a sliding disk or a metal spiral. The threads can be shifted when working with the larger R (fig. nos. 1e, 1f, 1g and 1h).

1 / a

Step 2

Start stringing the individual rows according to the illustration (fig. no. 2a). Pull off or cut the long thread very obliquely. Cut off any delicate "fluff" at the end. Pass the thread directly through the eye of the needle. String 12 R according to the illustration (fig. no. 2b). Slide them to the end of the thread. Leave about 20 cm free at the end of the thread. Press the R to the warp from below. Pass the thread through it in the opposite direction from above and in doing so you will create the weft (fig. nos. 2c, 2d). The weft will be more difficult to tighten at the start. This problem will be resolved after the creation of several columns.

2 / a

Step 3

Attaching the thread
Complete a column on the decreasing amount of thread. Once again leave about 20 cm free at the end of the thread. String a new thread. Leave about 20 cm free at the end of the thread. Continue weaving 3 – 4 columns (fig. no. 3a). Tie off the ends of the thread with two knots (fig. nos. 3b). You can pull them into the rocailles now or wait until you have woven the entire bracelet (fig. nos. 3c, 3d, 3e, 3f, 3g and 3h).

3 / a

Step 4

Pull the free thread into the rocailles at the beginning and the end of the woven section (fig. no. 4a). Secure it with a double knot (fig. nos. 4b, 4c). Once again, pull it through several rocailles and cut it off (fig. nos. 4d, 4e, 4f and 4g).

4 / a

Step 5

Cut off the warp about 10 cm from the woven section. Tie the threads together. Cut them off about 2 mm from the knots (fig. nos. 5a and 5b).

5 / a

Step 6

Assembly

Insert the end columns into the hollow frame. Carefully squeeze it closed. Attach a carabiner to the eyes on the crimp ends using 2 rings (fig. no. 6a). Attach about 4 cm of adjusting chain to the opposite end (fig. no. 6b). Decorate the eye with 3x R8 strung onto an 8 mm ring (fig. nos. 6c, 6d).

6 / a

Downloads