2 in 1 bracelet

Difficulty: 2
Technique: Peyote spiral stitch
Andrea Klimperová

Bracelet or a scrunchie made from PRECIOSA PermaLux seed beads

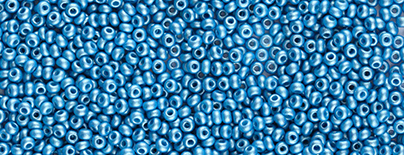
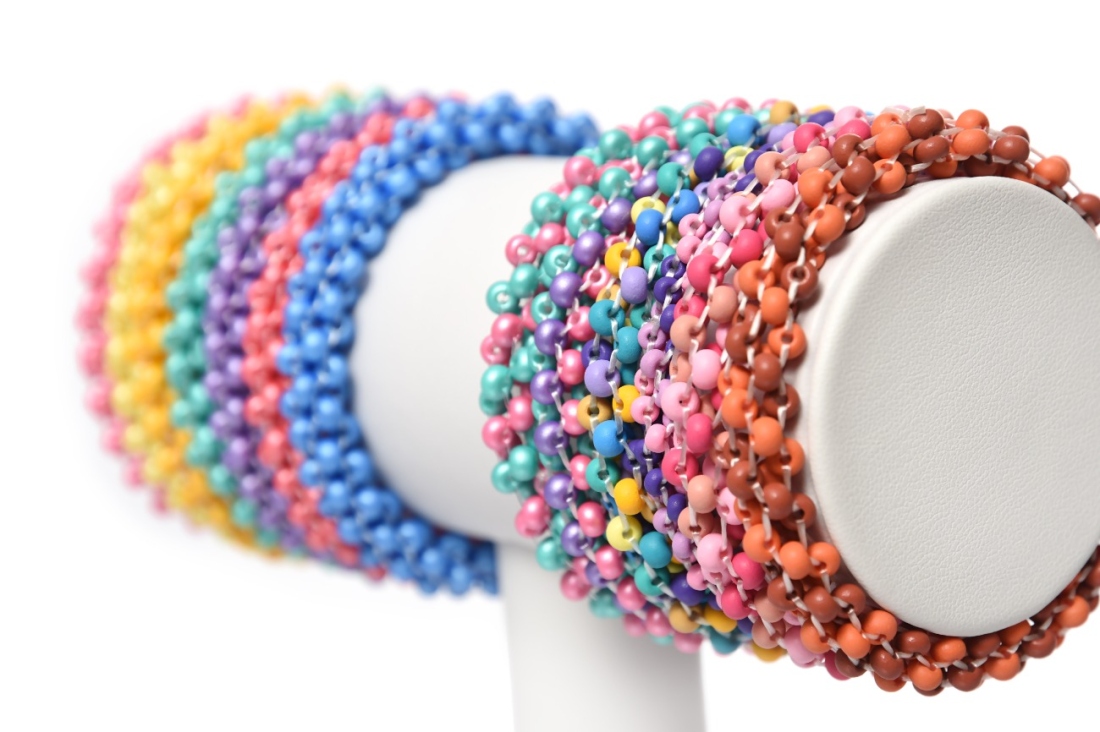
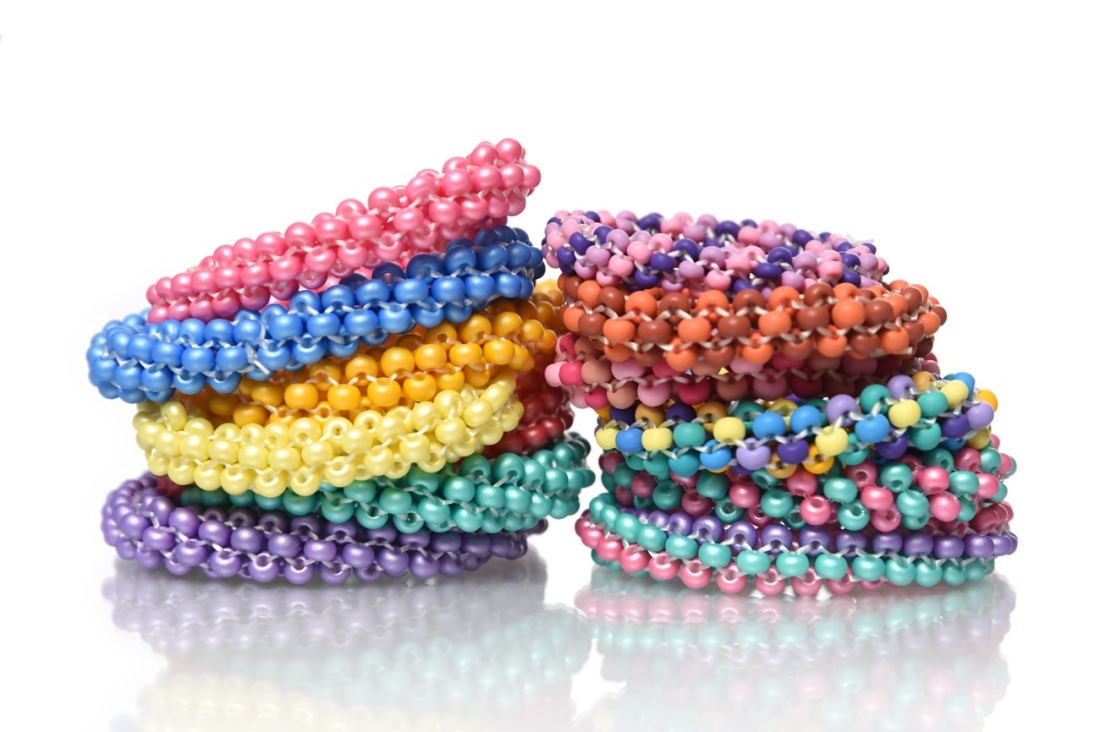
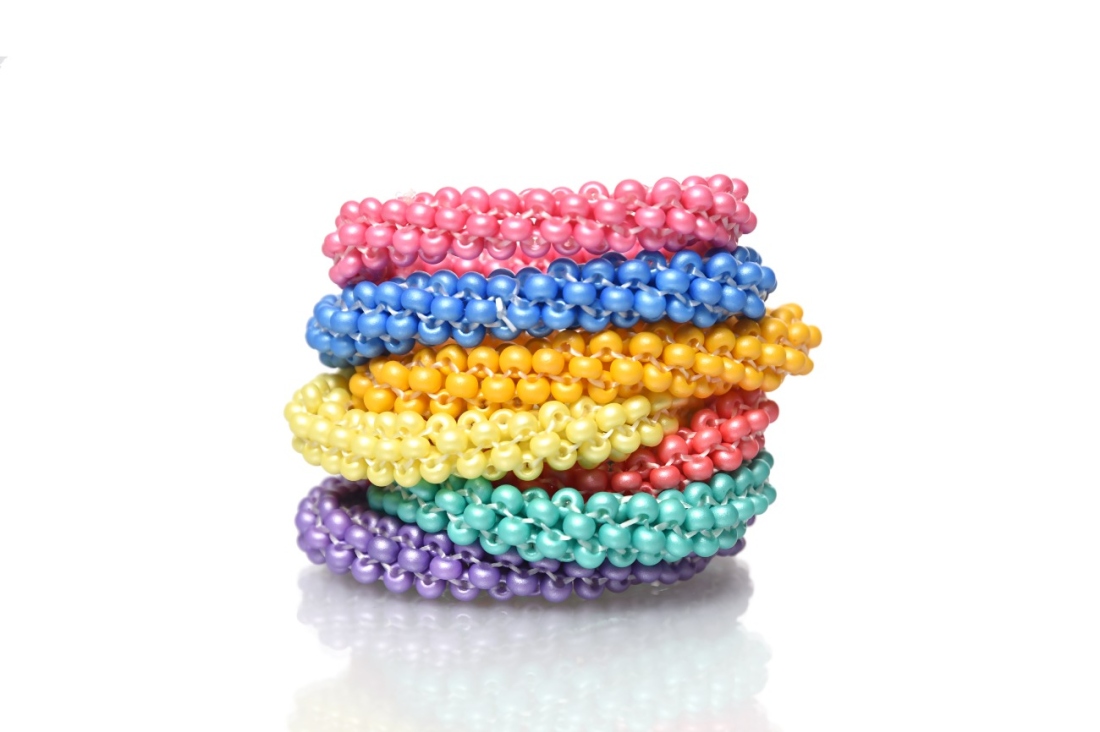
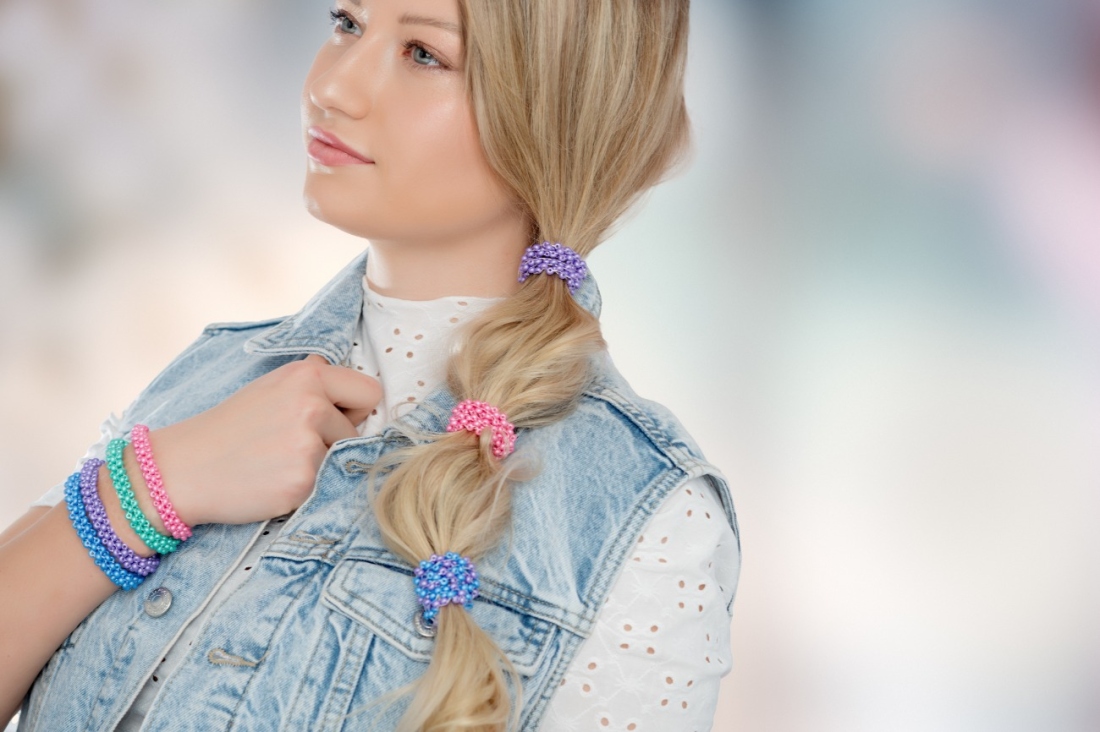
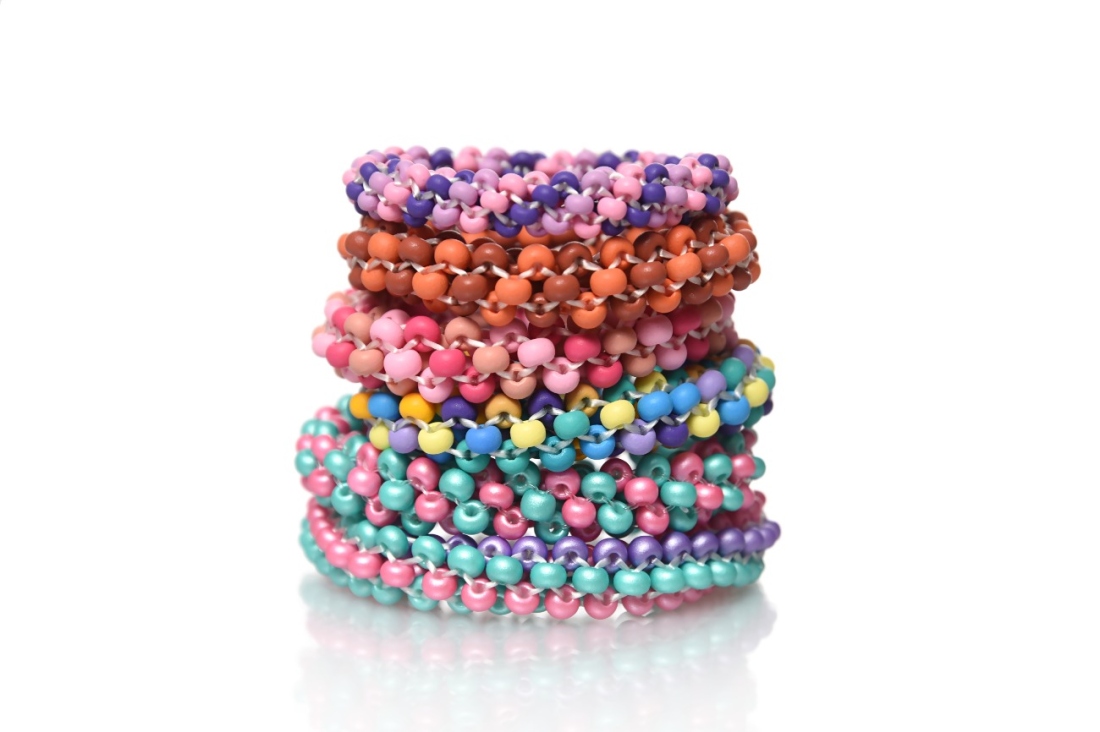
This 2 in 1 bracelet that can also be used as a scrunchie will always come in handy! Use this simple tutorial to create just such a scrunchie or bracelet. All you need to do is choose the beads or seed beads that you like. We have chosen the vivid seed beads from the PRECIOSA PermaLux collection.


Material and Tools

Tools

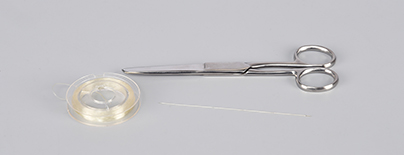
A thin needle; Opelon beading cord; scissors

Procedure

Step 1

Thread 1.5 - 2 m of Opelon onto the needle. String 5 seed beads. Leave 15 cm of Opelon free at the end and thread it back through the 1st seed bead again. This will create a little flower. You have now completed 1 row of seed beads.

1 / a

Step 2

Hold the end of the Opelon tightly and start stringing the 2nd row of seed beads. String 1 seed bead and thread the line through the 3rd seed bead from the 1st row (always thread the line through every second seed bead).

String the next seed bead and thread the Opelon through the 5th seed bead from the 1st row.

Tighten. The seed beads from the 2nd row will sit on top of the seed beads from the 1st row. String another 1 seed bead and thread the line through the 1st seed bead from the 2nd row.
Continue stringing in this way and threading the line through every other seed bead so that the odd number leads to the creation of a further type of spiral stitch.

String another seed bead and thread the line through the next seed bead but one. You have finished the 2nd row of seed beads – the second little flower.

Add another seed bead and thread the line through the next seed bead but one.

2 / a

Step 3

Continue stringing, so that you create another flower consisting of 5 seed beads. Always add 1 seed bead and thread the line through the next seed bead but one as in the first two rows. Keep adding seed beads until you reach the required length of the bracelet.

3

Step 4

Once you have reached the required length, it is necessary to join the first and last rows of seed beads. You will no longer need to add any seed beads. Find the seed bead that the end of the Opelon is coming from and thread the needle through the seed bead located directly next to the seed bead with the end of the Opelon.

4

Step 5

Then thread the line trough the next seed bead but one on the other end of the bracelet.

5

Step 6

Once again, thread the line through the next seed bead but one on the opposite side of the bracelet. Do the same again on the other side of the bracelet. Now, all that is left is to tighten both ends and tie them off with two knots.

Tip: You can also choose different color combinations. You should constantly repeat the order of the colors in this case.

6 / a

Downloads

This website is using cookies

To improve our services and provide information that suits your interest, we use the advanced website traffic analytics tools. However, we need your consent. More information about how we process and protect your data can be found in the privacy statement. We ask you for approval of the terms.

Functional cookies These cookies are necessary for the proper functioning of the website and therefore cannot be turned off.
Analytics cookies Analytical cookies help us track and analyze the way visitors interact with our site in Google Analytics 4. This information allows us to improve content and provide a better user experience.
Marketing cookies Reading and writing cookies for marketing purposes for advertising systems such as Google Ads or Sklik. These cookies allow us to track user behavior and measure website performance and the effectiveness of our advertising campaigns.
Personalized advertising Remarketing cookies allow us to present you with personalized advertising based on your previous interactions with our site in systems such as Google Ads, Sklik.
Use of personal data With this option, you consent to the sending and processing of your personal data to Google for the purposes of targeting and evaluating online advertising and targeted marketing.