Sunny Flowers Necklace

Difficulty: 3
Technique: peyote and ladder stitch

Small flowers from seed beads PRECIOSA Terra Intensive Lining

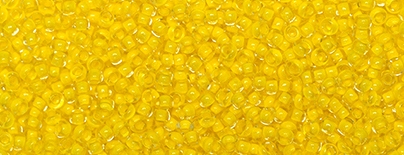
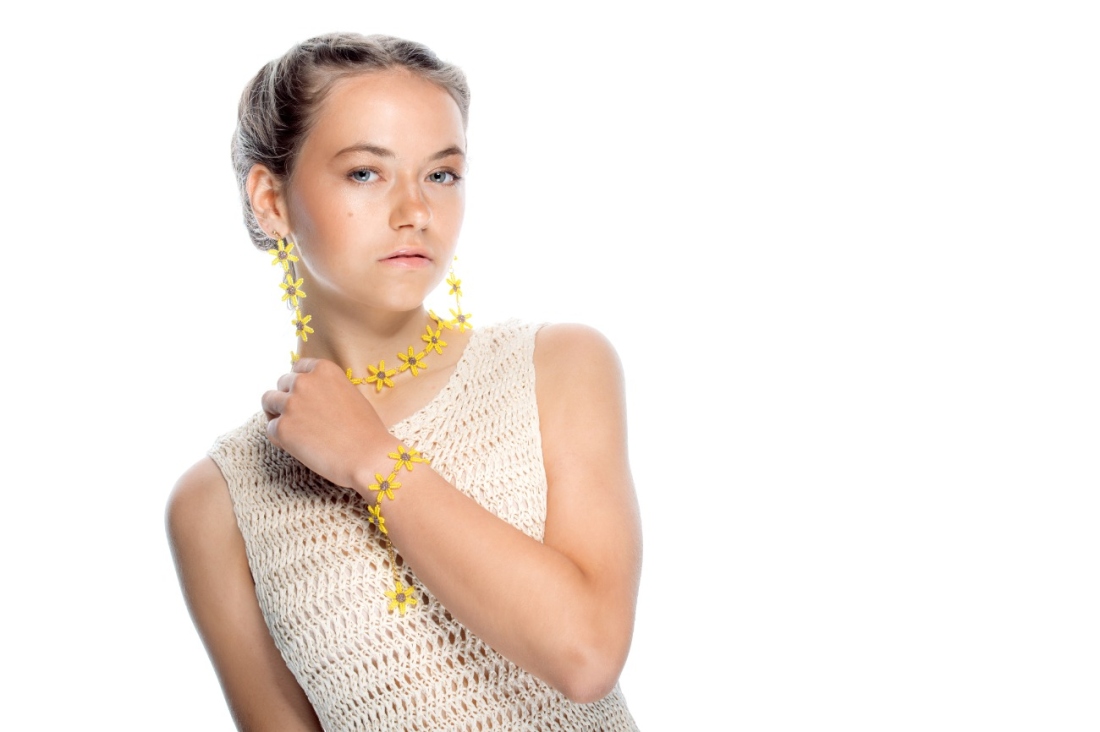
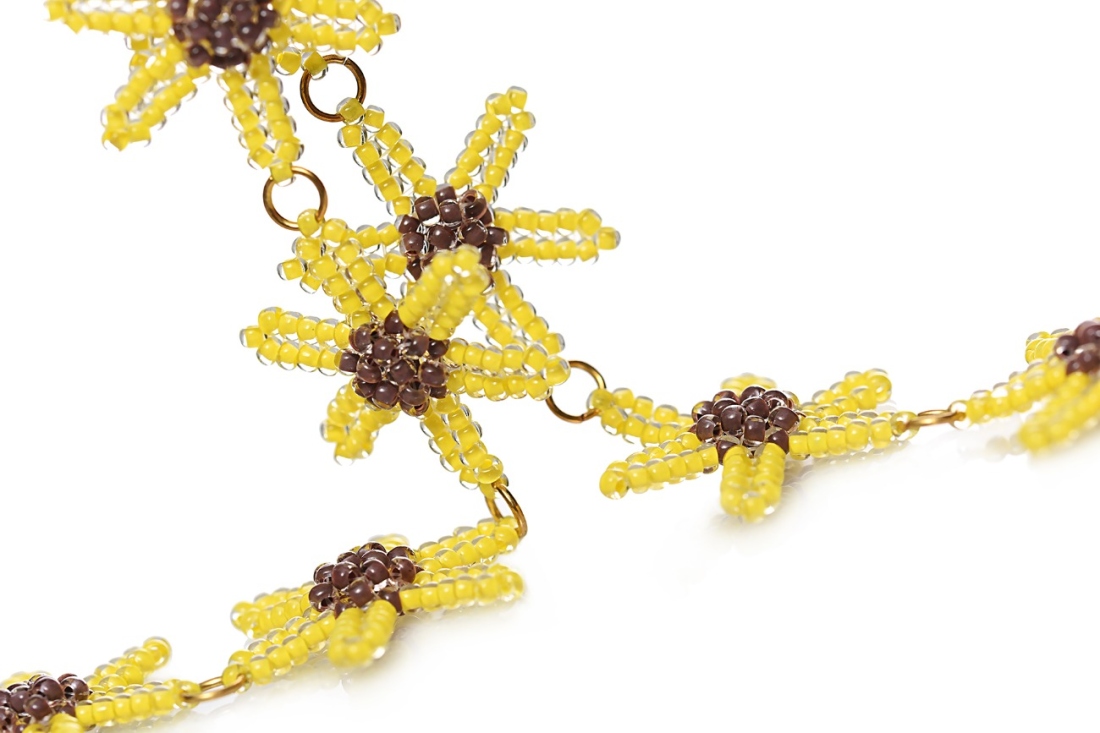
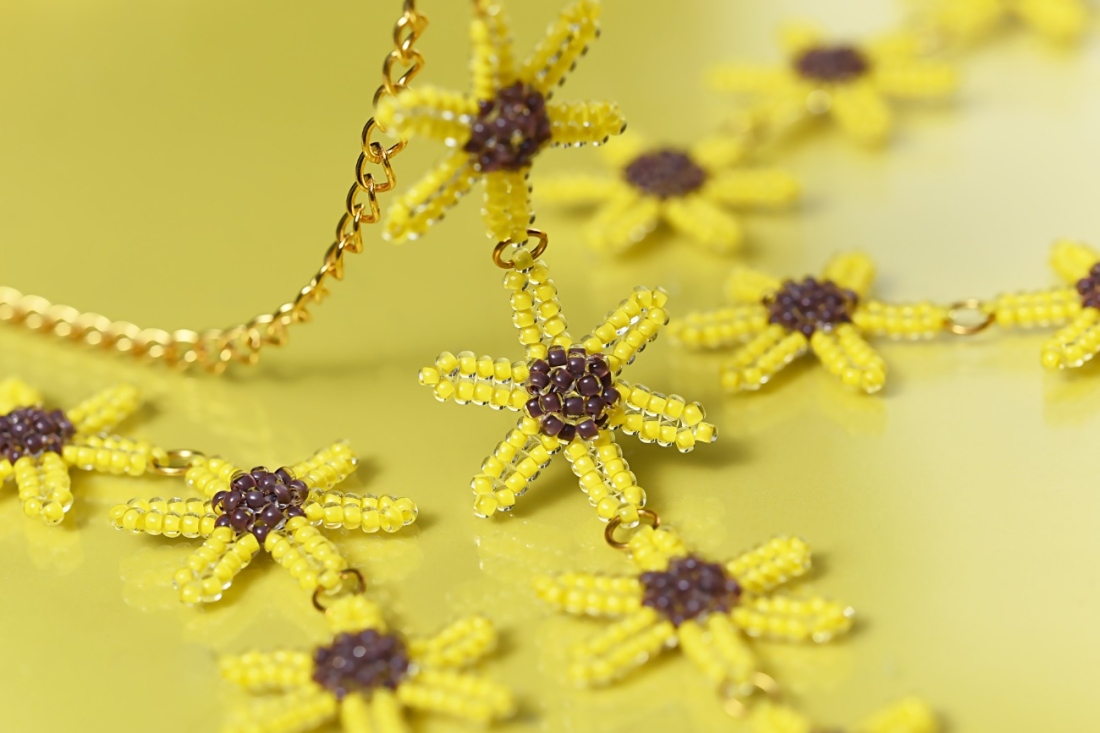
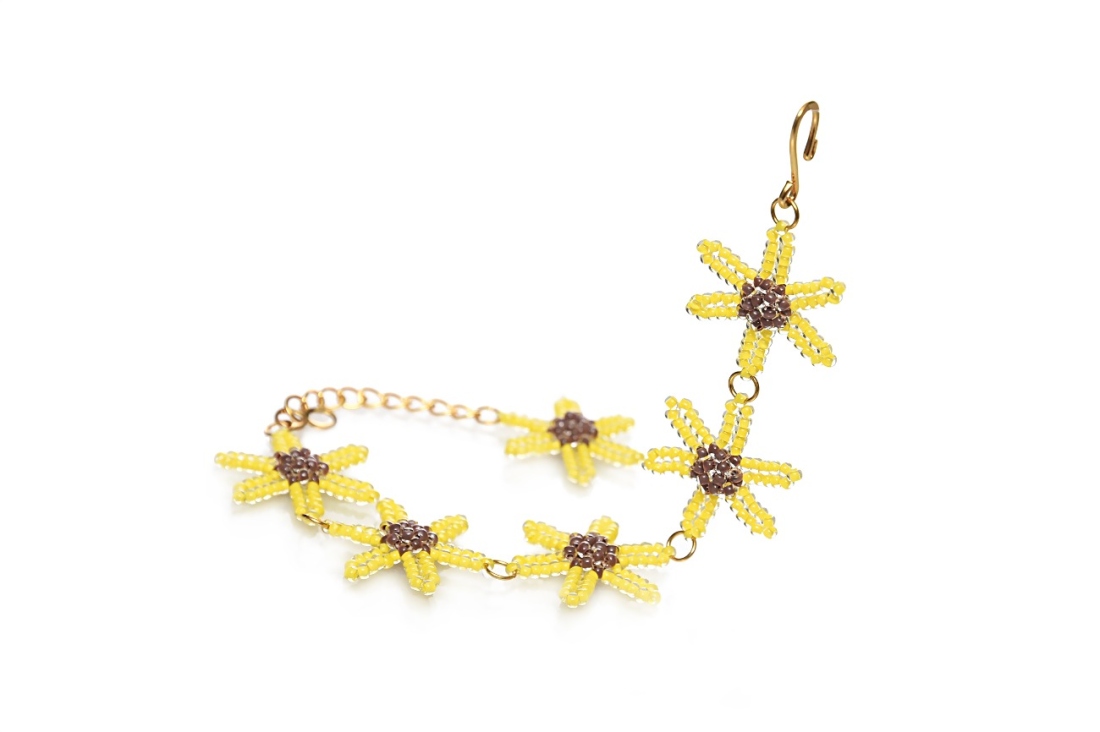
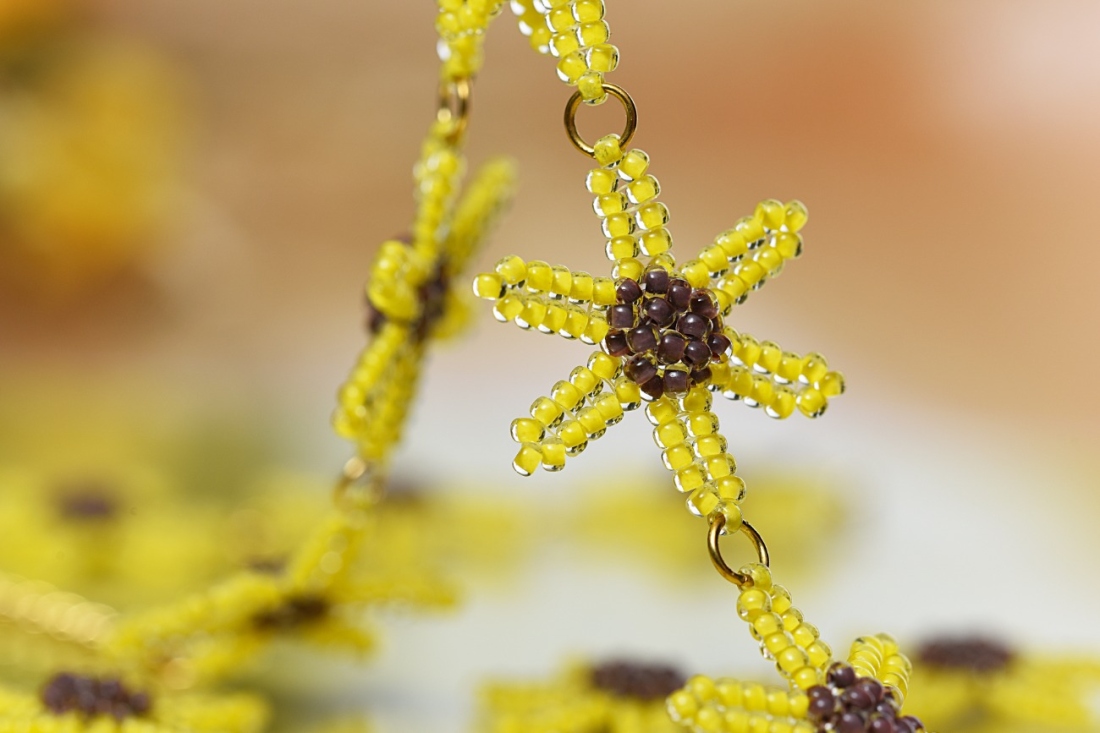
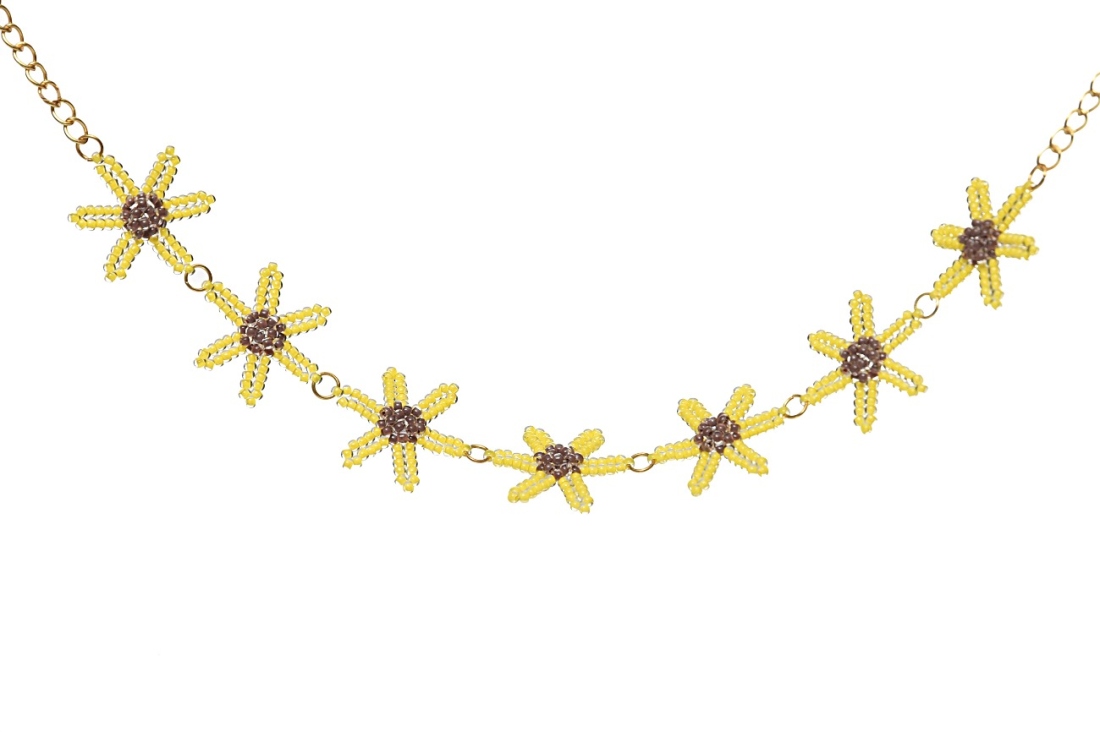
Using simple techniques, weave sparkling PRECIOSA Terra Intensive Lining rocailles into bright little flowers that can be turned into a cute everyday necklace with a decorative detail at the back. If you have a special occasion coming up this summer, why not create a matching bracelet and earrings to elevate your look!

Ambassadors

Kerrie Slade

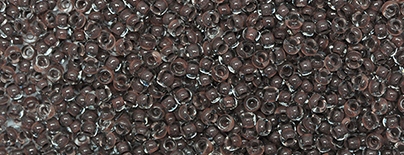
Kerrie Slade have used Czech PRECIOSA Traditional Czech seed beads in her creation.
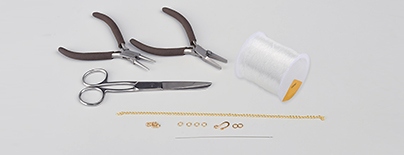
Learn More

Material and Tools

Tools

Beading thread to match your chosen beads, (Fireline 4lb crystal or a similar bonded thread is recommended); size 10 to 12 beading; needles; scissors; gold chain; approximately 29 cm; Jump rings, size 5 mm, gold, 11x; clasp, gold, 1x; flat nose pliers, 2x; wire cutters, 1x

Procedure

Size: The finished necklace measures approximately 46 cm but can be made to measure.

Note: In the diagrams, beads with a black outline are the new beads being added, beads with no outline were added in previous steps.

Step 1

To make the necklace

Thread your needle with 80 cm of thread and pick up 3x R10A. Leaving a 15 cm tail, pass through all the R10A again to form a triangle and then pass through the first R10A again. Figure 1.

1

Step 2

Add 1x R10A between each R10A added in the previous step and complete the row by stepping up through the first R10A of this row. Figure 2.

2

Step 3

Add 2x R10A between each R10A added in the previous step and complete the row by stepping up through the first R10A only of this row. Figure 3. Pull your thread firmly as you work.

3

Step 4

Pick up 2x R10B and pass your needle through the next R10A added in the previous step. Pick up 2x R10B and pass through the next R10A added in the previous step. Continue adding 2x R10B between each pair of R10A added in the previous step and between the R10A in each pair. Complete the row by stepping up through the first R10B only of this row. Figure 4.

4

Step 5

Working in ladder stitch, add 4 pairs of R10B to the first pair of R10B added in the previous step. Figure 5a.
 

Pick up 1x R10B and follow the thread path shown in Figure 5b to add the tip to the petal and to get into position to start the next petal.

5 / a

Step 6

Following the method shown in Figure 5a and Figure 5b, create 5 more petals adding 4 pairs of R10B to each pair of R10B added in step 4 and 1x R10B to the tip of each petal. Figure 6a and 6b.

6 / a

Step 7

Travel through your work to exit an R10A added in step 3 and add 1x R10A between each R10A in step 3. Complete the row by stepping up through the first R10A of this row. Figure 7.

7

Step 8

Pick up 1x R10A and pass through the next R10A added in the previous row, through the next R10A added in step 3 and through the next R10A added in the previous row. Continuing in this way, add 3x R10A and complete the row by stepping up through the first R10A of this row. Figure 8.

8

Step 9

Add 1x R10A between each R10A added in the previous step and complete the row by stepping up through the first R10A of this step. Figure 9a. Tie off and trim both the working thread and tail thread. Figure 9b.

9 / a

Step 10

Following steps 1 – 9, make a total of 8 flowers.

Step 11

To assemble the necklace

Using the 2 pairs of flat nose pliers, open a jump ring and pass it through an R10B at the tip of one of the petals on a flower and through the corresponding rocaille on another flower before closing the jump ring. Figure 11a.


Using the same method, attach 7 flowers into a row, ensuring that all the flowers have the raised middle at the front and that each flower has 2 petals free either side of the jump ring. Figure 11b.

11 / a

Step 12

Using the wire cutters, cut the chain into 2x lengths of 12 cm and 1x length of 5 cm.

Step 13

Using the flat nose pliers, open a jump ring and pass it through the R10B at the tip of an end flower and through the link at one end of one of the longer pieces of chain before closing it again. Using another jump ring, attach half of the clasp to the other end of the chain. Figure 13a.


Attach the second piece of longer chain to the tip of the flower at the other end of the necklace. Add the remaining half of the clasp to the other end together with the smaller piece of chain. Use the remaining jump ring to attach the final flower to the end of the smaller piece of chain. Figure 13b.

13 / a

Step 14

To make the bracelet

Following the steps above, make 5 – 6 flowers (depending on required size). Attach them into a row and then add half of the clasp to either end. If desired, attach an extra flower to one end as a decoration. Figure 14.

14

Step 15

To make the earrings

Following the steps above, make 6 flowers. Using jump rings, attach 3 of them into a row and then add an earring finding to the tip of an end flower. Repeat to make a second earring. Figure 15.

15 / a

Downloads

This website uses cookies

PRECIOSA ORNELA, a.s. hereby informs you that its website uses cookies You can find more information about our cookies and how your data is processed in the privacy statement. We request your consent to use cookies specified below.

Functional cookies These cookies are necessary for the proper functioning of the website and therefore cannot be turned off.
Analytical cookies Analytical cookies help us track and analyze the way visitors interact with our site using Google Analytics 4. This information allows us to improve content and provide a better user experience. We also use the D&B Visitor Intelligence system as part of our cookies. It helps us more closely identify the individual access to our website.
Marketing cookies Reading and writing cookies used for marketing purposes in advertising systems such as Google Ads or Sklik. These cookies allow us to track user behavior and measure our website performance and the effectiveness of our advertising campaigns.
Personalized advertising Remarketing cookies allow us to present you with personalized advertising based on your previous interactions with our site in systems such as Google Ads, Sklik.
Use of personal data Checking this option means that you consent to your personal data being sent to and processed by Google for the purposes of targeting and evaluating online advertising and targeted marketing.