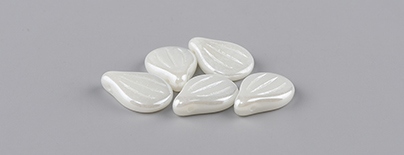
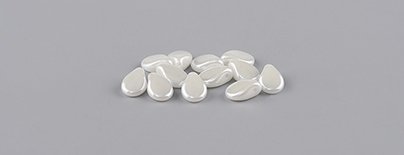
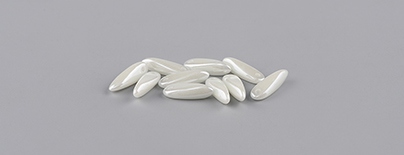
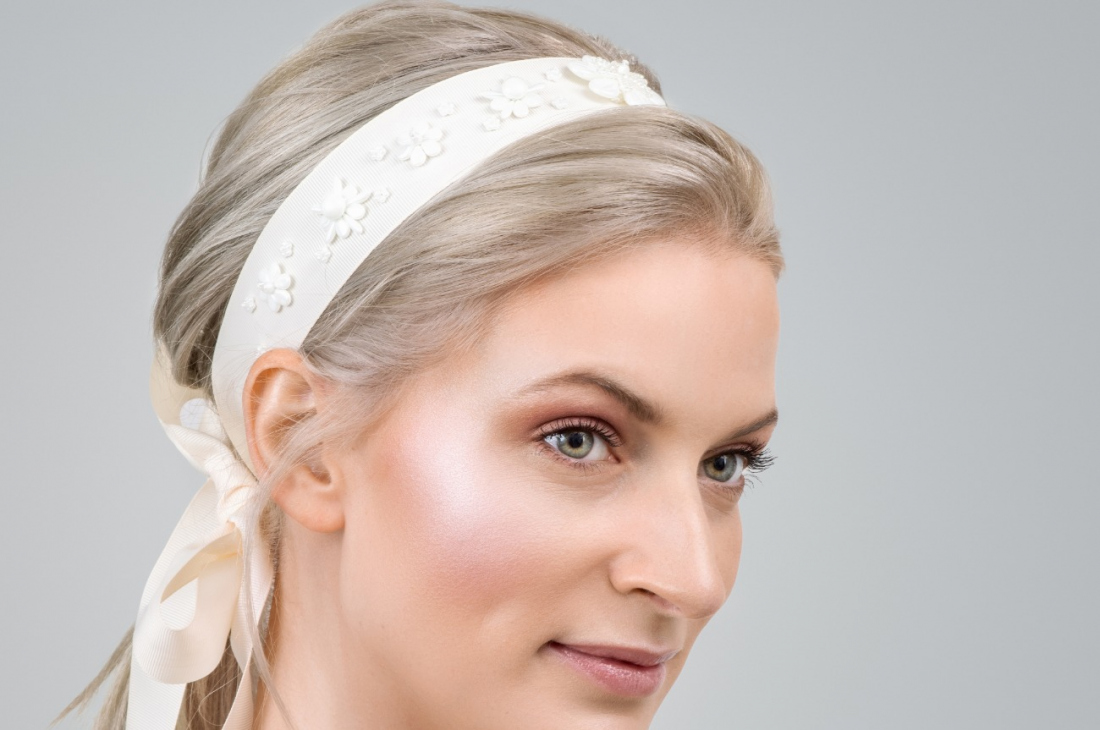
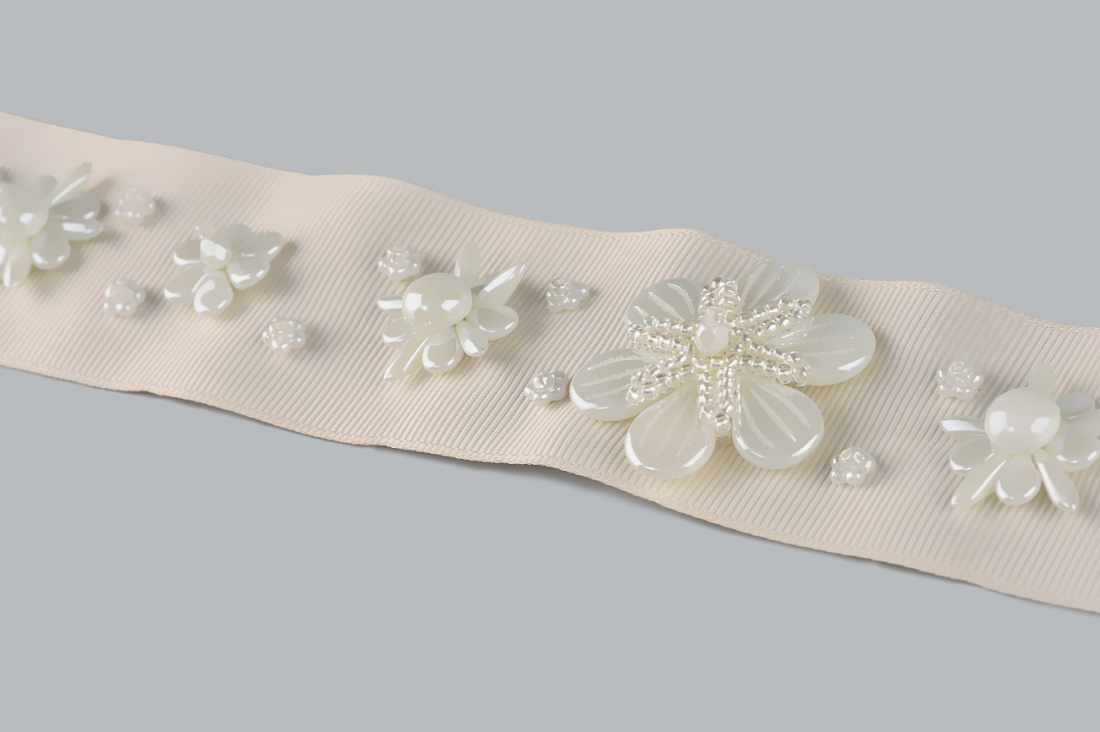
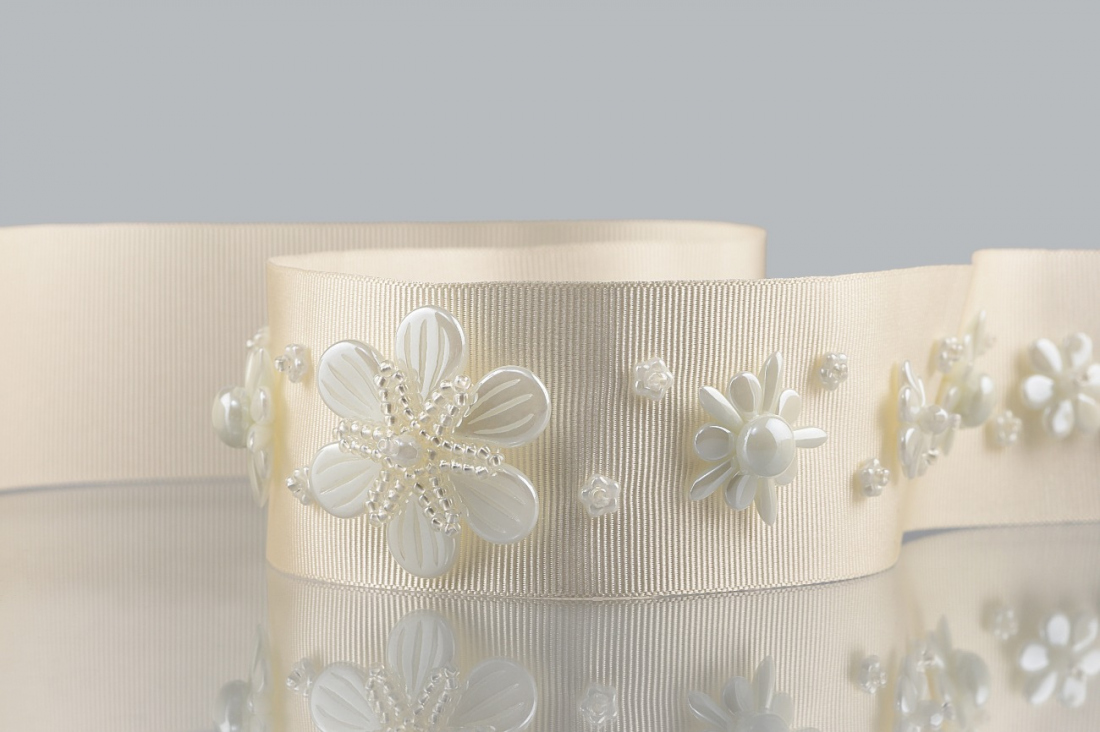
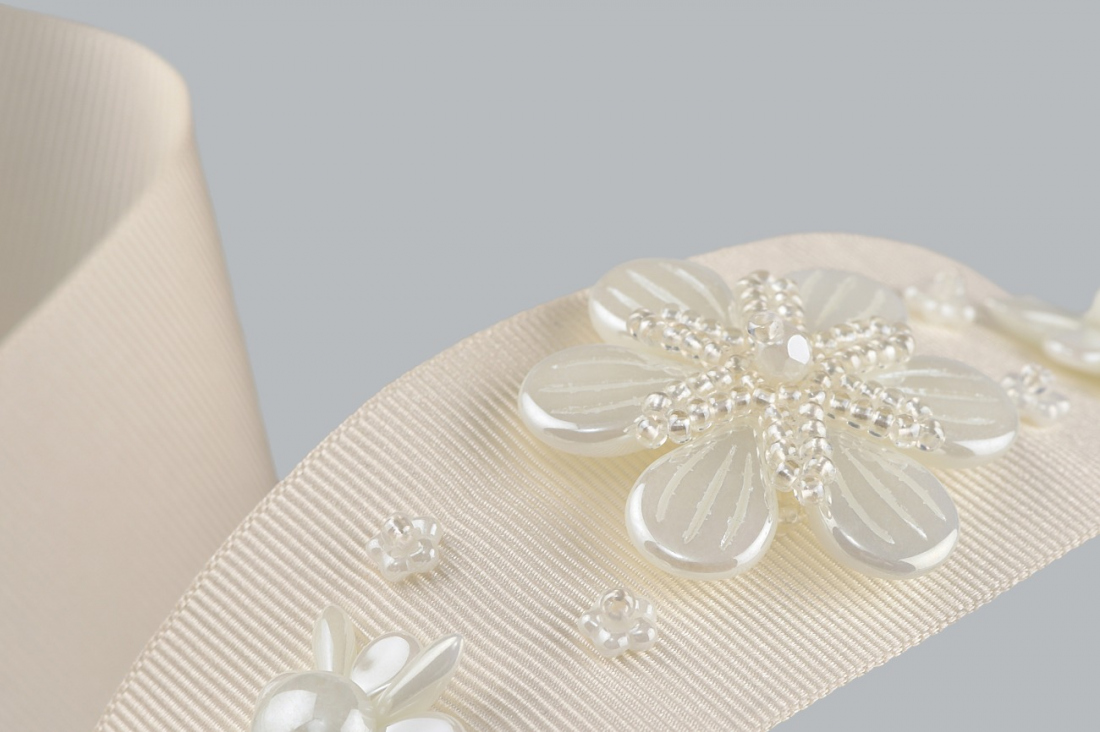
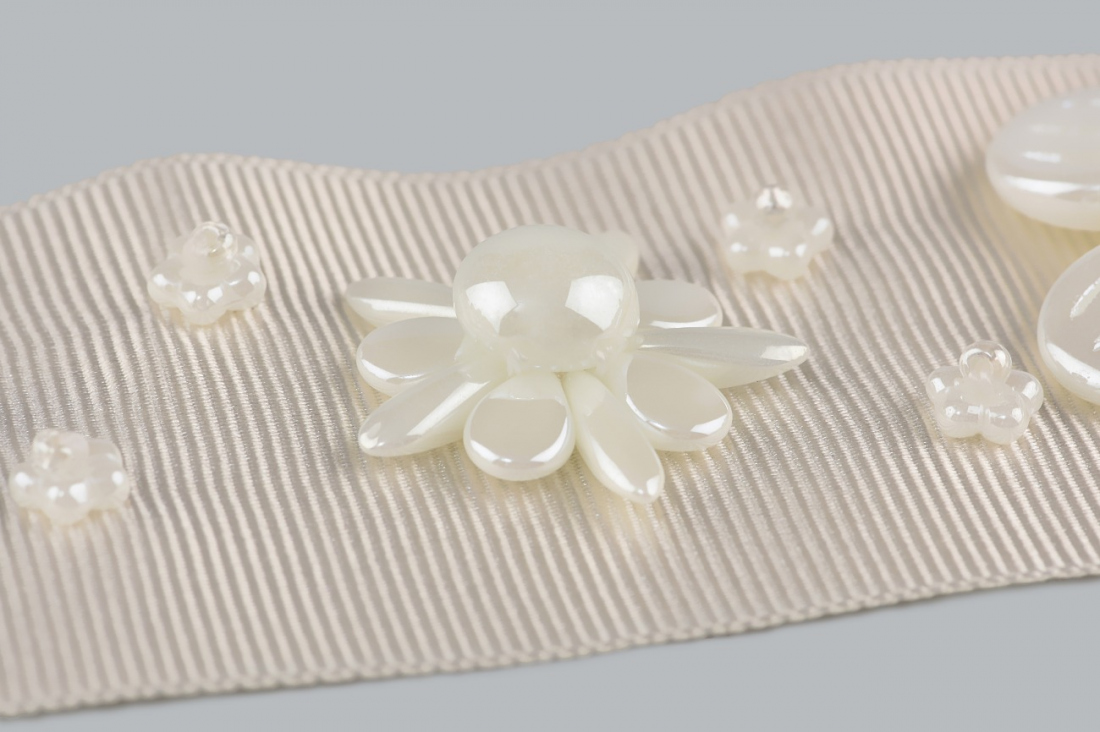
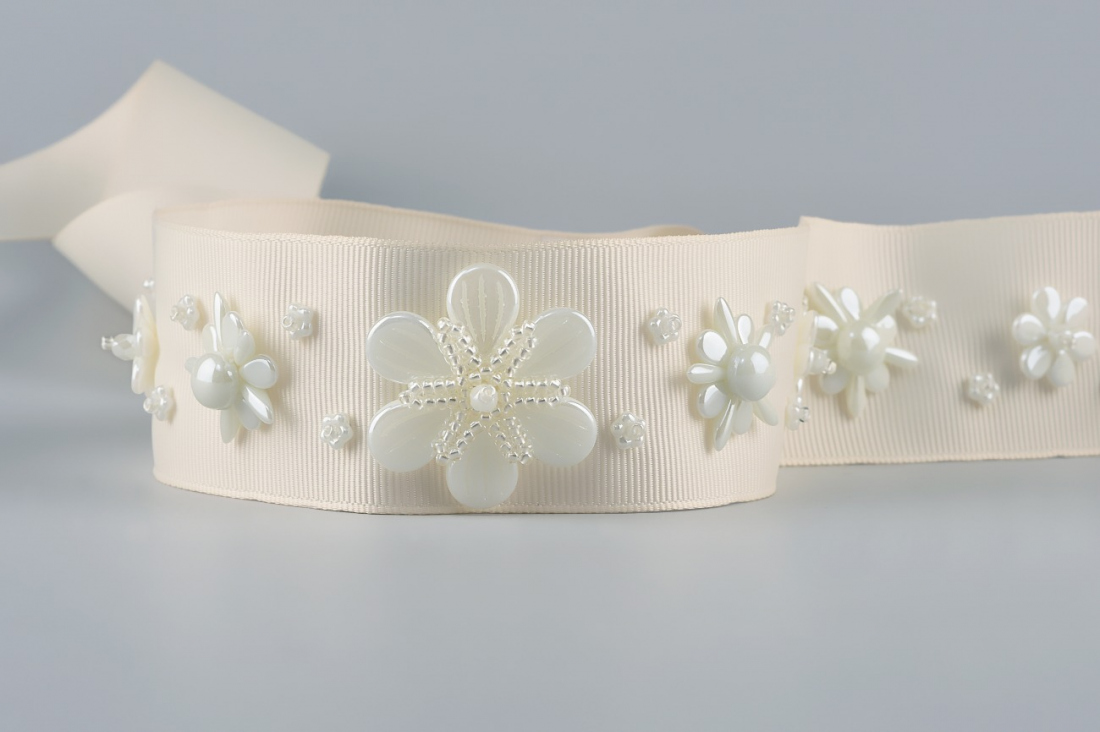
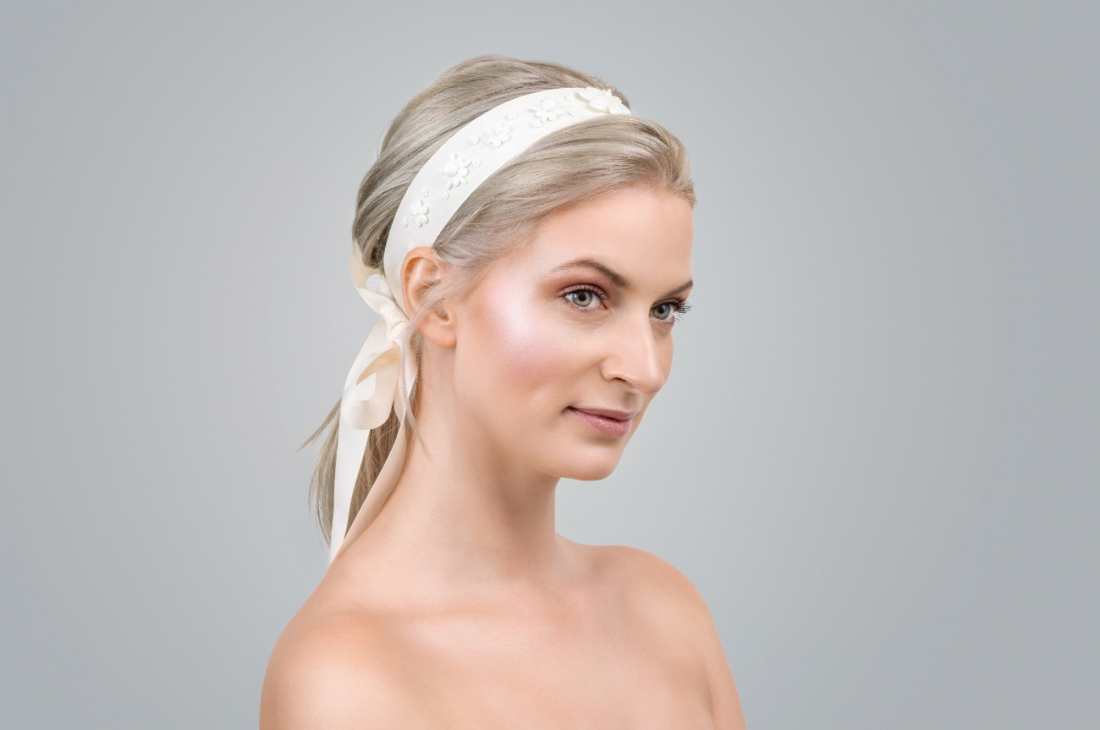
Follow this tutorial to make a variety of flower shapes with the PRECIOSA Light Ivory Wedding range and sew them onto a length of wide ribbon to create a romantic hair adornment for the bride. The band can also be worn around the waist and matching items can be made for the bridesmaids.

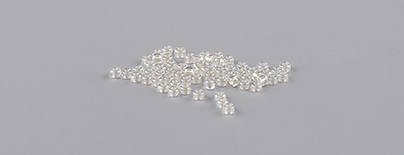
Kerrie Slade have used Czech PRECIOSA Traditional Czech seed beads in her creation.
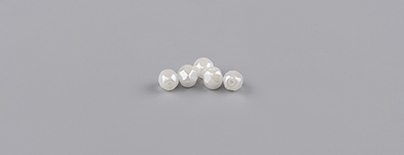
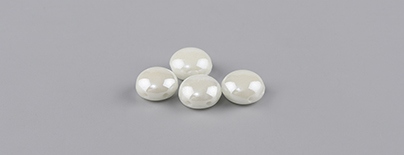
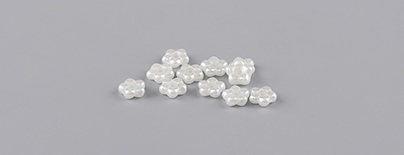
Learn More111 01 362; 5 mm; 83500/21402; 20x
(F)
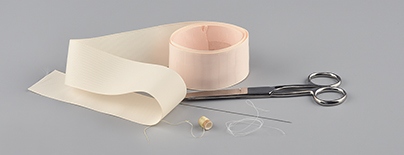
Beading thread to match your chosen beads; Fireline 6lb; crystal; sewing thread; ivory;
40 mm wide ribbon; ivory; approximately 2 m;
scissors; size 10 to 15 beading needles; Dressmaker’s pen (optional)
The finished band measures approximately 2 m.
Share this project with your friends
This website uses cookies
PRECIOSA ORNELA, a.s. hereby informs you that its website uses cookies You can find more information about our cookies and how your data is processed in the privacy statement. We request your consent to use cookies specified below.