Chick

Difficulty: 4
TECHNIQUE: crocheting

Crocheted Chick egg

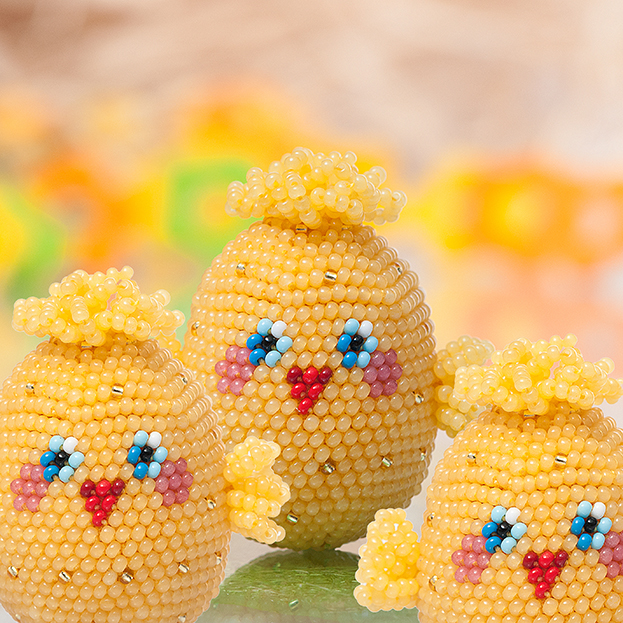
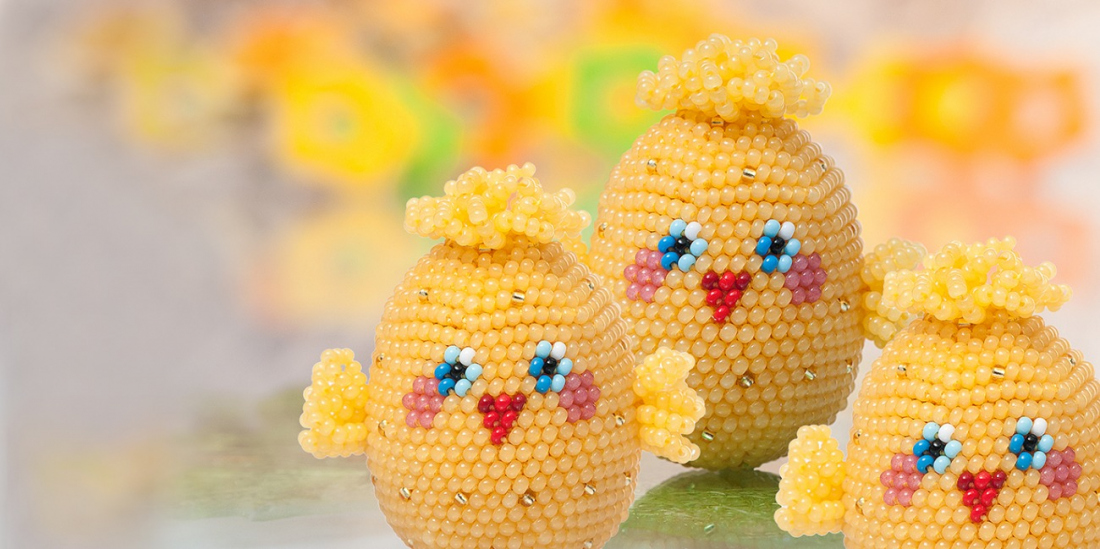
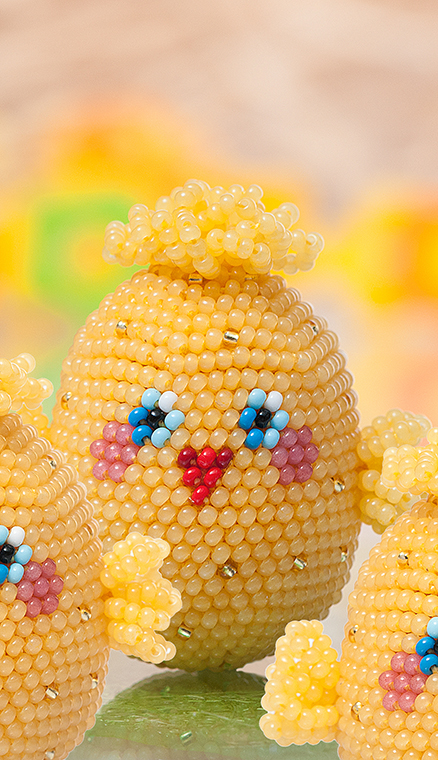
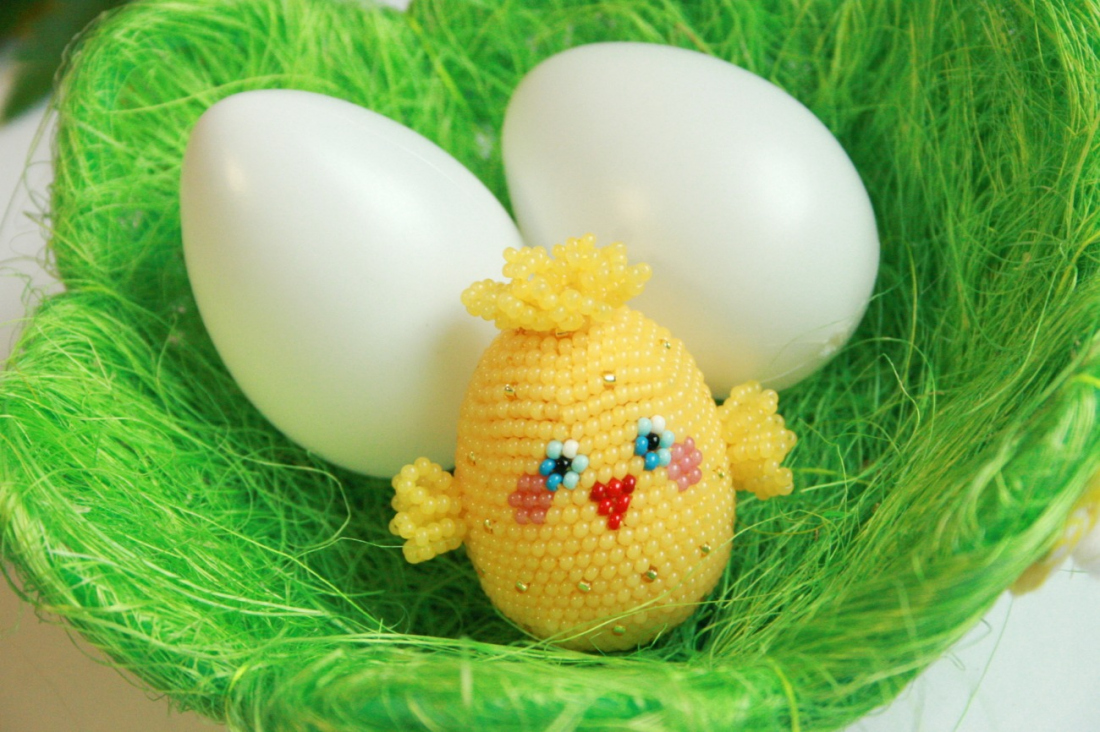
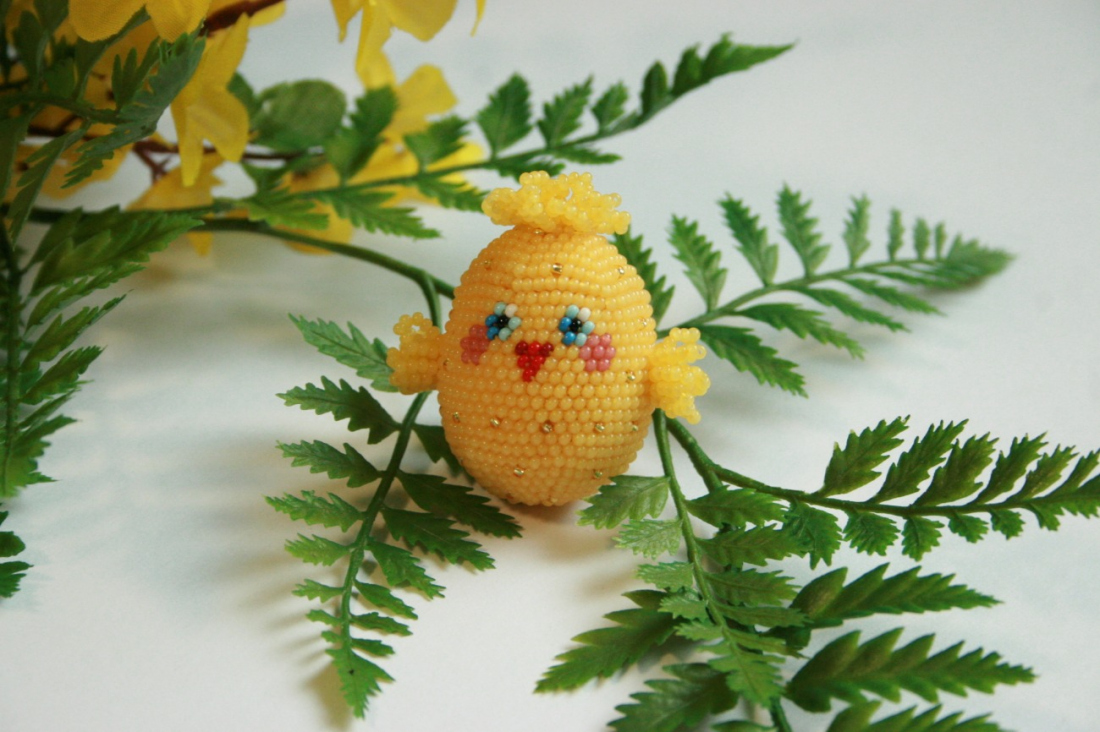
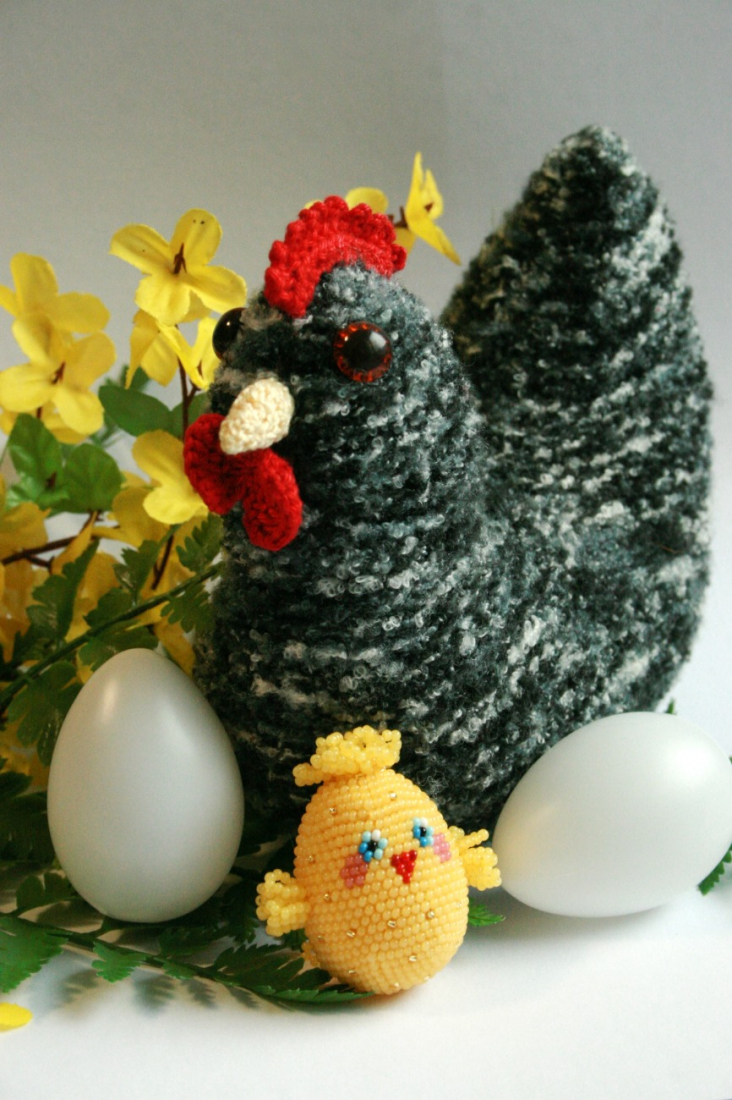
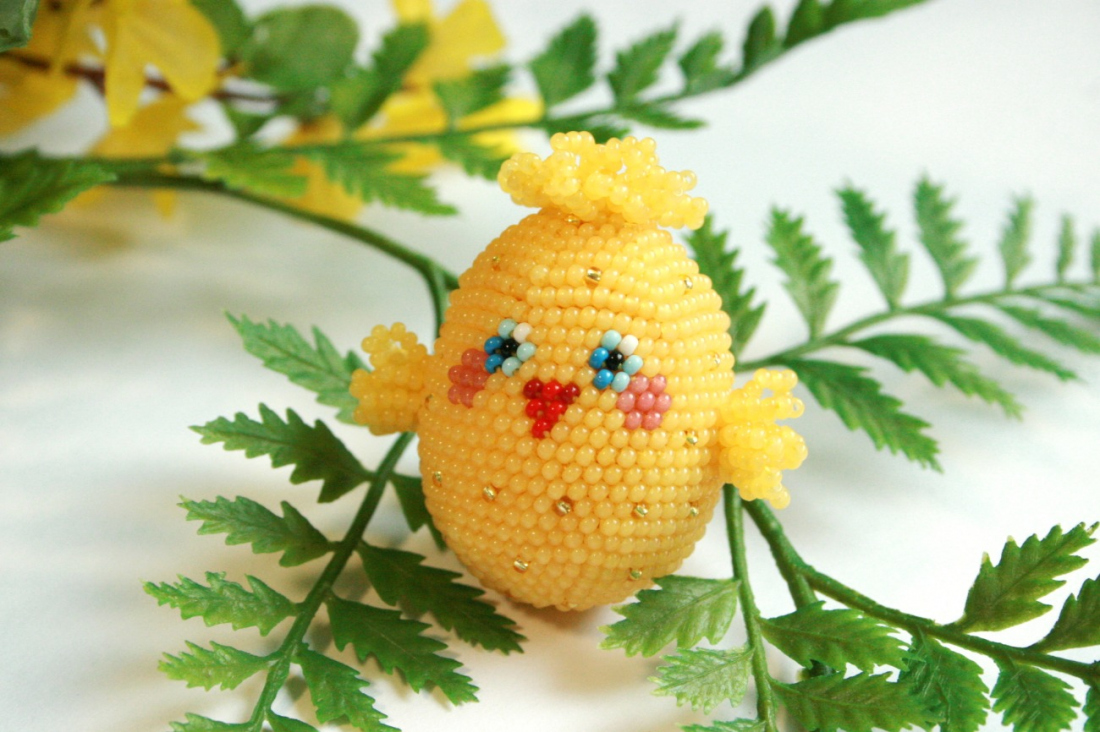
Easter is distinguished by typical Easter decorations. Easter chicks are one of the most popular symbols of Easter. Crochet a cute seed bead chick using PRECIOSA Rocailles in Solgel colors.

Ambassadors

Alexandra Lysenko - Snow Mirna

Her name has resounded throughout the world of bead and seed bead costume jewellery for a number of years.
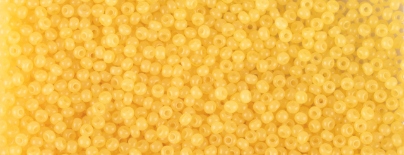
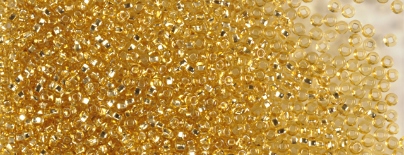
Learn More

Materials & Tools

PRECIOSA Rocailles

331 19 001; 10/0; 02681 yellow SolGel; ca 20 g
(R)

PRECIOSA Rocailles

331 19 001; 10/0; 17020 topaz; ca 5 g
(R)

PRECIOSA Rocailles

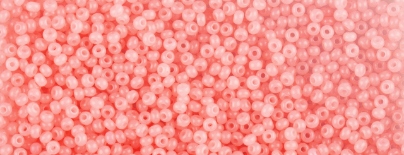
331 19 001; 10/0; 02291 pink SolGel; 14x
(R)

PRECIOSA Rocailles

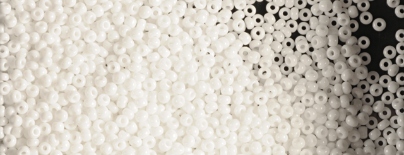
311 19 001; 10/0; 03050 white; 2x
(R)

PRECIOSA Rocailles

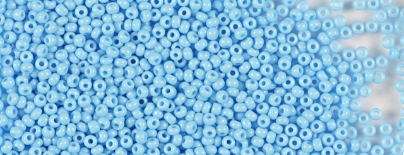
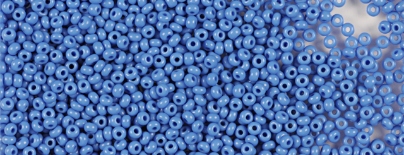
311 19 001; 10/0; 63000 light blue; 6x
(R)

PRECIOSA Rocailles

311 19 001; 10/0; 63080 blue; 4x
(R)

PRECIOSA Rocailles

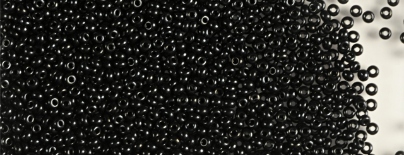
311 19 001; 10/0; 23980 black; 2x
(R)

PRECIOSA Rocailles

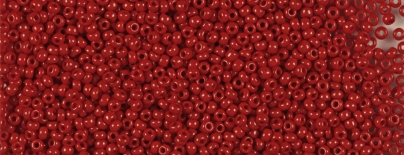
311 19 001; 10/0; 93210 dark red; 2x
 (R)

PRECIOSA Rocailles

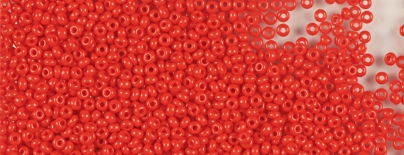
311 19 001; 10/0; 93170 red; 4x
(R)

Tools

Pearl crocheting yarn, a 1 mm hook, a Big Eye needle, a 4 cm high plastic egg

Procedure

Step 1

Start the stringing the pattern from above (the first bead in the first row is marked with a black dot). I recommend that you string a small piece of paper between the rows, so that you can avoid any eventual errors and to make them easier to count.

Row 1 – 6x R
Row 2 – 12x R
Row 3 – 18x R
Row 4 – 24x R
Row 5 – 30x R
Row 6 – 36x R
Row 7 – 42x R
Rows 8 to 22 – 48x R
Row 23 – 42x R
Row 24 – 36x R
Row 25 – 30x R
Row 26 – 24x R
Row 27 – 18x R
Row 28 – 12x R
Row 29 – 6x R

1 / a

Step 2

Crochet 3 loops without R (fig. 2a). Then crochet short columns consisting of 6 loops onto the first loop in the chain so that you end up with a circle (fig. 2b). Further continue with a short column and add one R to each of the loops (fig. 2c).

2 / a

Step 3

Continue with the second row. Crochet two loops with a short column and 1x R into each of the loops from the first row (fig. 3a). There will be a total of 12x R in the second row (fig. 3b). Add another 6x R to the next row – a total of 18 all around. Always add the R to the last R in the row. Continue expanding the circle until you have 48x R all around (fig. 3c). Then crochet 14 straight rows without any additions (fig. 3d).

3 / a

Step 4

You will now reduce (skip/omit) one loop at the start of each new row so that you eventually end up at 6 columns. As such, skip the first R in the row and insert the hook directly into the second column (fig. 4a) and crochet 7 short columns into the remaining 7 loops in the row. Once you have reduced half the rows, place the plastic egg into the crocheted pouch (fig. 4b). Continue reducing R at the beginning of each row, until you reach the last 6 R. Sew in the remainder of the yarn and hide it inside the crocheting (fig. 4c) .

4 / a

Step 5

Sew the feathers (each feather consists of 10x R) onto the upper R. Sew on the wings and the tail in the same way as the feathers (figs. 5a-5b). Your first seed bead chick is now finished!

5 / a

Downloads